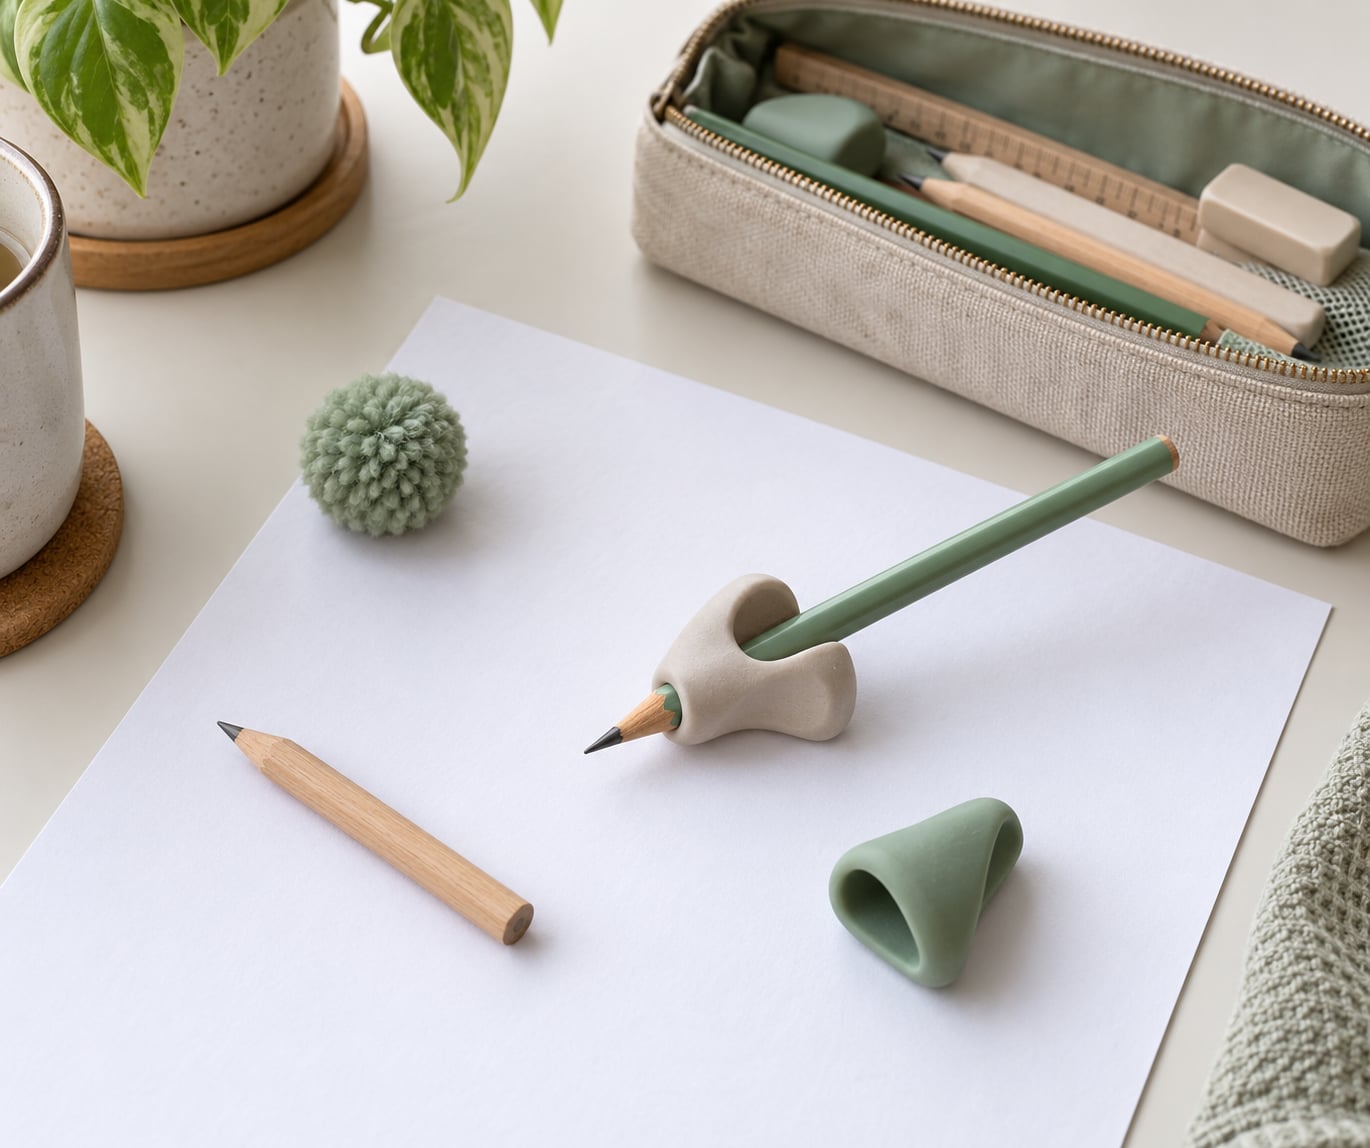
You can improve pencil grip in kids by fixing position and strength before habits: teach the nip, flip and grip method, build the fingers underneath it, and practise in short daily sessions instead of long corrections. Most children need a few weeks of steady five-minute practice, and a tripod grip is a goal rather than a deadline.
The position therapists work towards is the dynamic tripod grasp. The pencil rests on the middle finger, sits lightly between thumb and index finger, and the ring and little fingers curl softly into the palm. Because the hand moves with the pencil, the fingers never have to squeeze hard enough to tire.
Grip develops bottom-up, from core and shoulders to hand to fingers, which is the same principle behind our 10 easy proprioceptive activities for kids at home.
One rule matters more than the rest: writing should never hurt. A child who shakes out their hand, swaps hands mid-task or asks to stop writing is giving you information, not being difficult. Change the approach rather than adding corrections.
Table of Contents
- What You Need
- How to Improve Pencil Grip in Kids: Step by Step
- 1. Confirm the Hand, Pencil, and Paper Position
- 2. How to Improve Pencil Grip Without Forcing It
- 3. Choose a Pencil That Fits the Child
- 4. Try a Grip Tool Only as a Training Aid
- 5. Practise Tiny, Repeated Hand Movements
- 6. Check Comfort and Progress Instead of Appearance
- Common Mistakes
- Frequently Asked Questions
- When should my child be ready to use a tripod pencil grip?
- How long should my child practice holding a pencil each day?
- Does a pencil grip tool actually help children improve their grip?
- What should I do if my child squeezes the pencil very tightly?
- When should I ask an occupational therapist about my child’s pencil grip?
- Conclusion: Start With One Small Change
What You Need
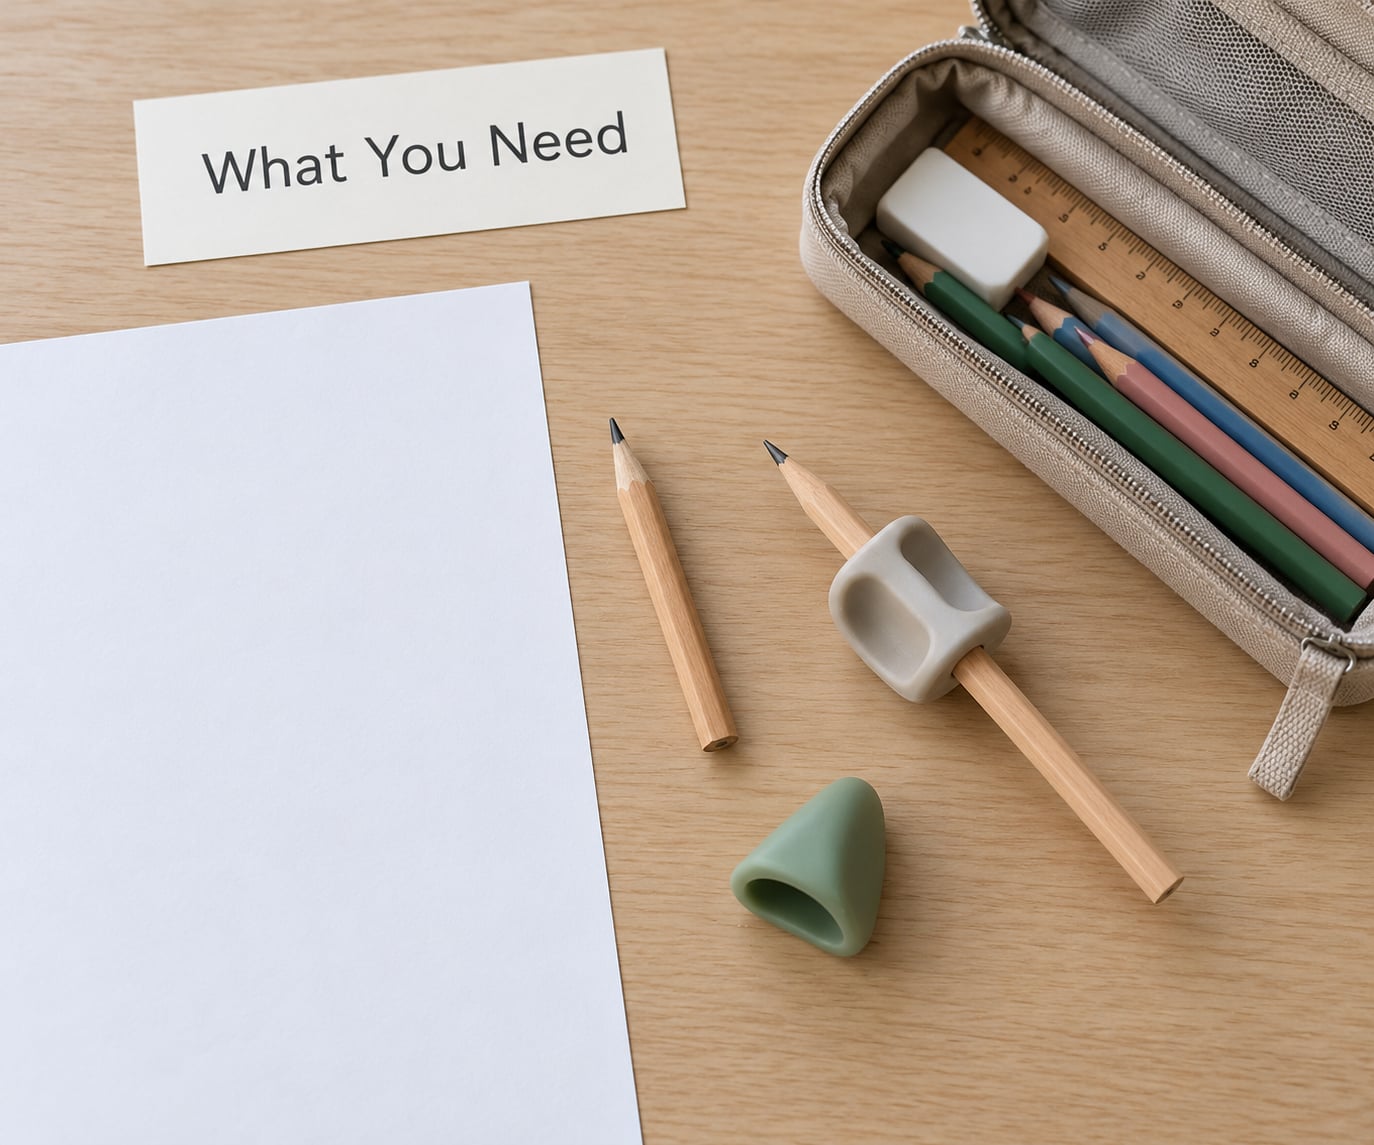
You need very little. A short unbranded pencil, a flat surface to write on, the pencil your child already uses plus one sample of their writing, and five quiet minutes.
- A short pencil. An unbranded wooden pencil snapped or trimmed to roughly three inches, or a golf-length pencil. A short barrel makes a fist grip physically impossible.
- A writing surface. A table at elbow height with paper lying flat, or a clipboard so the child can tilt the page toward them.
- Their current pencil and a writing sample. One paragraph of their handwriting, or a drawing, so you can compare pressure and control before and after.
- Optional: one soft grip. A finger guide, a soft pencil gripper or a triangular pencil to trial, one change at a time.
- Five minutes, three or four days a week. Frequency beats duration for hand skills.
The goal is a comfortable tripod position, not an instant one. Some children land there within a fortnight, others take most of a school term, and a few need an occupational therapist to work out why the hand is compensating so hard.
How to Improve Pencil Grip in Kids: Step by Step
Work in this order. Position first, then the hold, then the pencil, then the aid, then strength, then review, because each step only makes sense once the one before it is comfortable.
| Age | What the grip usually looks like | What to work on |
|---|---|---|
| 3 to 4 years | Palmar grasp, whole fist around the pencil, or digital pronate with the pencil held against the pad of the thumb | Posture, core strength and a short pencil so the hand starts from a relaxed place |
| 4 to 5 years | Digital pronate or quadrapod, pencil resting on the middle finger while the fingers sit against the pad | Finger isolation and gentle pressure, still no pressure to look perfect |
| 5 to 6 years | A tripod that appears in some tasks and disappears in others | Consistency of the position and hand strength underneath it |
| 6 years and up | Dynamic tripod, pencil moving with the fingers rather than the wrist or arm | Endurance, legibility and pressure control |
A tripod grip before age five is not a red flag. Research cited by therapists such as Feder and Majnemer (2007) links handwriting quality to motor control and even to how much of the child’s attention goes to the task, which is why an efficient grip saves thinking energy.
1. Confirm the Hand, Pencil, and Paper Position
Watch your child draw, eat and turn the pages of a book for a week. The hand they choose for those things is the writing hand. Children who swap hands mid-task are often mixed-dominant, and they need one settled hand chosen calmly, not a conversation about it.
- Paper. Flat on the table or clipped to a board they can tilt. Slanted slightly toward the child beats straight on.
- Height. Elbows at roughly table height, feet flat on a footrest or the floor, back supported.
- Forearm. Resting on the table or on a rolled towel, with the wrist floating just above the surface.
- Shoulders. Down and back. A shoulder lifted to the ear means the hand is compensating for a setup that is too high or too unstable.
You will know this step worked when your child can write for five minutes without shifting in the chair or holding their wrist up with the other hand.
2. How to Improve Pencil Grip Without Forcing It
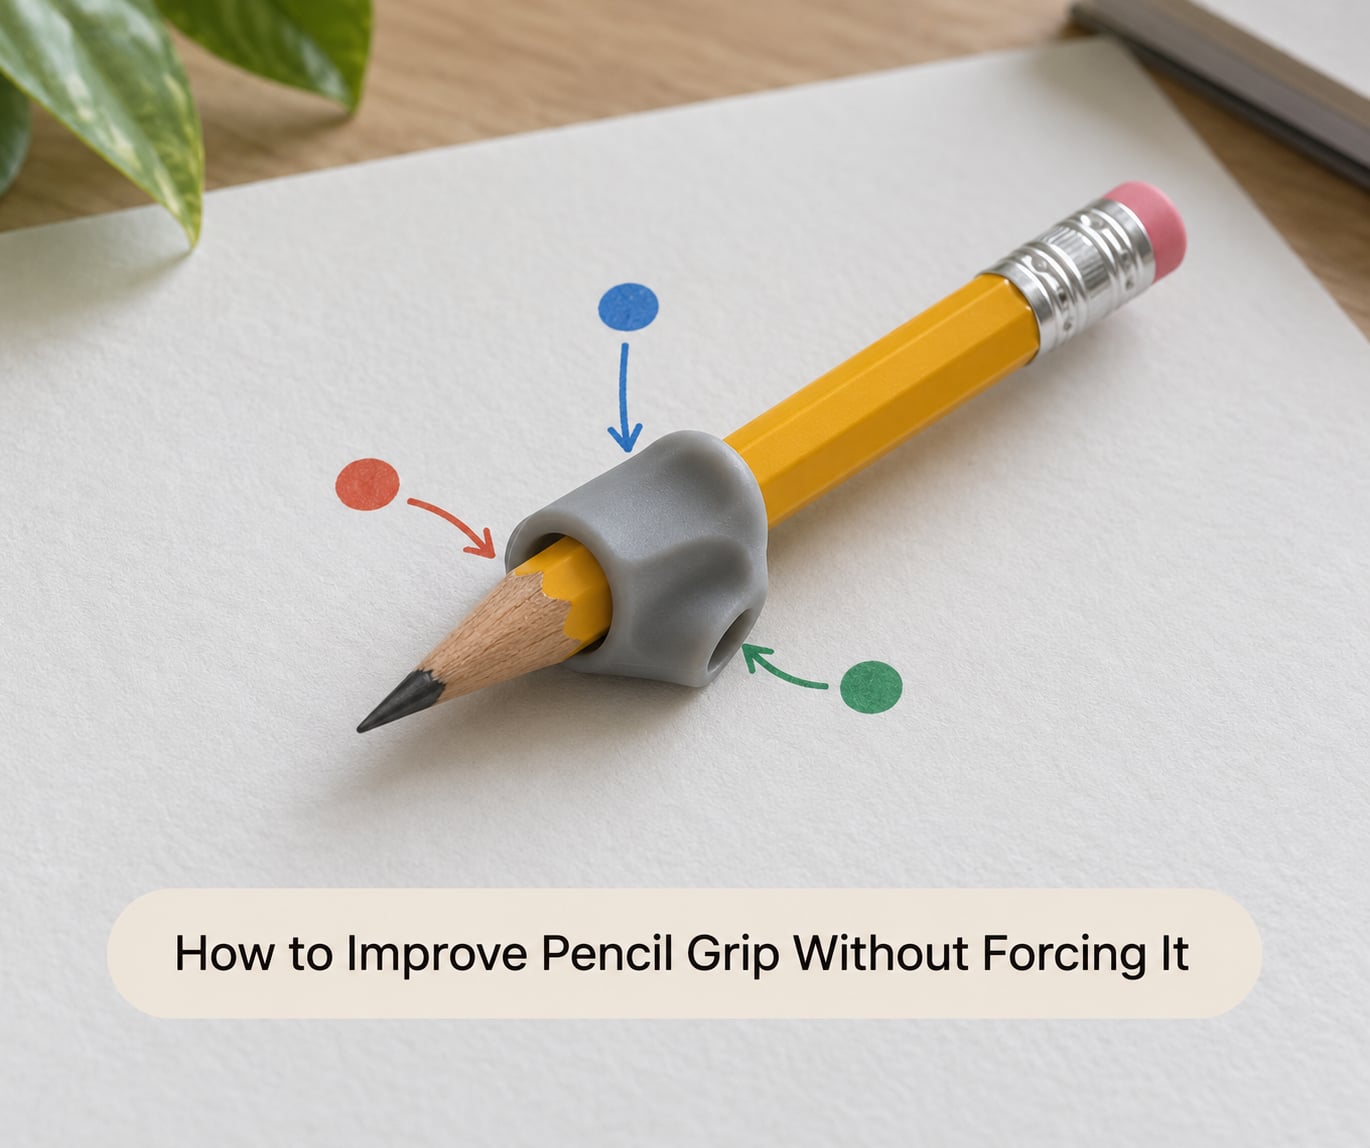
The method most therapists teach is called nip, flip and grip. It works because it teaches the position by feel rather than by instruction.
- Nip. Pinch the pencil gently between thumb and index finger, about halfway down, like holding a crumb.
- Flip. Roll the pencil under your fingers so the sharpened tip points away from the palm rather than across the knuckles.
- Grip. Lay the pencil on the pad of the middle finger, tuck the ring and little fingers softly into the palm, and let the thumb wrap over the top.
The pencil should stay exactly where it is when the child opens their thumb. If it falls, the pencil is sitting too far forward in the fingers. If the knuckle goes white or dents the paper, they are squeezing, which means the hand needs strength, not instructions.
Demonstrate it once on their hand, then stop. Guiding the thumb the first time and then letting go is far more useful than narrating every attempt afterwards.
3. Choose a Pencil That Fits the Child
Four things decide whether a pencil is comfortable: length, diameter, weight and shape.
- Start short and light. Roughly three inches, unbranded, unsharpened or sharpened to a shallow point. A sharp point and a deep barrel both force a fist.
- Change one thing at a time. Buying a pack of five aids teaches you nothing about which one worked.
- Try a triangular pencil. Parents on Mumsnet have repeatedly reported it as the single biggest change for their child, because the flat side stops the pencil rolling into the palm.
- Use a chunky crayon for the youngest writers. Broad shapes and thick lines come before letter formation.
You will know the pencil fits when the page has no groove pressed into it and your child can finish a line without leaning on the pencil.
4. Try a Grip Tool Only as a Training Aid
Occupational therapists generally recommend fixing hand strength and posture before adding equipment, which is the opposite of what most shops and school letters push. That does not mean aids are useless. It means an aid has a job and an end date.
- Size it to the middle finger. A grip that is too big crowds the hand and pushes the child back to a palmar hold.
- Use it briefly. Five minutes at the start of practice is enough. Leave it off for everything else.
- The palm-ball trick. A small pom-pom or tissue ball in the palm gives the ring and little fingers something to hold, so they stop squeezing the pencil.
- Fade it out. Drop the aid every few days and check whether the hold survives. That is the only real test.
- Skip it entirely if writing is comfortable as it is, if the child dislikes the texture, or if the grip causes pain.
5. Practise Tiny, Repeated Hand Movements
Two or three minutes of hand work most days beats twenty minutes of worksheet corrections once a week. These are the activities worth rotating through, each building something slightly different.
- Rolling soft clay or playdough into balls with the finger pads builds finger isolation and hand strength.
- Threading large beads or lacing cards works the pincer grasp and hand-eye coordination together.
- Snapping craft-stick tweezers or kitchen tongs to lift small pieces trains isolated finger movement.
- Wringing out a flannel with both hands, or scrunching tissue paper into balls, builds grip endurance and proprioceptive feedback.
- Punching holes with a single-hole punch coordinates both hands and strengthens the writing side.
- Clipping clothes pegs onto a washing line or peg board develops pinch strength and shoulder stability.
- Elastic bands looped around fingers and gently extended open the web space and separate finger movement.
- Tracing broad shapes with a chunky crayon, or drawing on a whiteboard, teaches big shoulder-led patterns before small ones.
Stop while the child is still enjoying it. Fatigue and frustration do more damage than five extra minutes would help. Cross-curricular heavy work counts too, which is part of why our guide to finding swim lessons for special needs kids is worth reading if your child is avoiding writing tasks and needs a physical outlet first.
6. Check Comfort and Progress Instead of Appearance
Judge progress by pressure and endurance, not by how the hand looks in a photograph. These are the signals worth watching.
- The pencil no longer dents the paper and no knuckle goes white.
- Letters are steadier and the child writes for longer without shaking out a hand.
- Picking the pencil up and putting it down is easier.
- Writing takes less effort, so the child complains about it less.
A tripod hold that only lasts for part of a session is still progress. What you are aiming for is stability over weeks, and forcing an ideal-looking grip creates the tension that stops children writing altogether.
Common Mistakes
Forcing the tripod too early. A grip built on a hand that has no strength yet collapses within minutes. Fix: aim for a comfortable position now, and let the tripod arrive with strength.
Correcting every pencil pickup. Constant correction turns writing into a test the child fails forty times a day. Fix: correct one attempt per writing session, then leave it alone.
Using an oversized grip. A bulky aid crowds the web space and pushes the child back into a whole-hand hold. Fix: size down or drop it.
Practising for too long. Twenty minutes of writing produces pain, not progress. Fix: five minutes, then stop while it still feels easy.
Buying several aids at once. Mixed packs make sense for trial and error, and children reject most of what they are handed. Fix: one change at a time, kept for two weeks before you judge it.
Comparing your child with a classmate. Grip development runs at its own pace. Fix: compare handwriting to what it looked like six weeks ago.
Two beliefs are worth dropping. First, a pencil grip does not fix handwriting on its own, and any tool that promises legibility on contact is overselling. Second, screen time is not the villain by itself, though hands that spend all day swiping arrive at writing with less strength and less endurance. Our practical guide to setting screen time rules for autistic kids is useful if that boundary is the sticking point in your house.
Consistency does most of the work here. Same spot, same time, same short pencil, five minutes, no negotiating. A little hand strength built daily beats an hour of correction once a term.
Frequently Asked Questions
When should my child be ready to use a tripod pencil grip?
Most children begin moving toward a tripod grasp between five and seven years, and many hold one consistently by eight. Before age five, a fist or thumb-pad hold is developmentally normal and does not need correcting. If your child is older and still grips with the whole hand, look at hand strength and posture first rather than forcing the position. A child in pain or avoiding writing should see a pediatrician or an occupational therapist for an assessment.
How long should my child practice holding a pencil each day?
Three to five minutes, three or four days a week, is plenty for most children. Grip is a motor habit and it consolidates with short frequent repetitions rather than long sessions. Stop before fatigue appears, because tired hands create squeezing and frustration. Longer blocks of writing homework are fine for literacy practice, but they are not grip practice. Persistent difficulty despite steady short practice is worth raising with a pediatrician or occupational therapist.
Does a pencil grip tool actually help children improve their grip?
A grip aid can help, but mostly as a teaching aid. It gives the hand a correct shape to copy while hand strength catches up, and it works best when it is small enough for the middle finger and used for a few minutes rather than all day. Occupational therapists generally prefer to build hand strength and posture first. If your child grips comfortably without an aid, or dislikes the texture of one, skipping it is a reasonable choice. Ask an occupational therapist if you are unsure.
What should I do if my child squeezes the pencil very tightly?
Tight squeezing usually means the small muscles of the hand are not strong enough yet, so the child recruits everything at once. Shorten the pencil, lower the grip pressure by aiming for light marks, and build strength with playdough rolling, bead threading and tweezers. Do not ask the child to relax, because pressure is not something a child can consciously change. Pain, shaking out the hand or hand switching are reasons to see a pediatrician or occupational therapist.
When should I ask an occupational therapist about my child’s pencil grip?
Ask when the difficulty is not just the grip. Signs include hand or arm pain while writing, shaking out the hand after a few minutes, switching hands mid-task, messy writing that is not improving with practice, fatigue and refusal to write, or grip that is much weaker than expected for the age. A pediatrician can rule out hypermobility, vision and developmental concerns first. We are not a healthcare provider, so any diagnosis or treatment plan should come from your child’s clinician.
Conclusion: Start With One Small Change
Start this week with one thing: a three-inch pencil, paper flat on the table, elbows resting, and five minutes of play. Show the nip, flip and grip once, then let the fingers do the work. That is how to improve pencil grip in kids, and it is far less dramatic than it sounds.
Watch for pressure and comfort rather than a perfect photograph, keep sessions short, and let the habit build over weeks. If your child hurts, tires quickly or avoids writing altogether, book a conversation with your pediatrician or an occupational therapist.