Scissor skills activities for preschoolers are play-based cutting games, crafts, and practice sheets that teach a child to open, close, and control safety scissors. They build hand strength, fine motor coordination, and the hand stability a kindergartner needs for writing and classroom work, and most take ten minutes with paper you already have at home.
Most children are ready for blunt-tip scissors around age three, and plenty start later without falling behind. What matters more than age is repetition: a few minutes of snipping a few times a week beats one long session that ends in tears.
Below are ten activities I return to, ordered roughly from easiest to hardest. Each one names the materials, the skill it practices, and how to move a child up when they are ready for the next challenge.
Table of Contents
- Scissor Skills Activities for Preschoolers at a Glance
- 1. Snipping Paper Strips With Child-Safe Scissors
- Scissor skills activities for preschoolers start with snipping, not cutting
- 2. Cutting Play-Dough Snakes
- 3. Snipping Cardstock Shapes
- 4. Cut-and-Paste Shapes
- 5. Make a Paper Strip Caterpillar
- 6. Cut a Shape From a Sensory Tray
- 7. Cut Lines to Free a Toy
- 8. Cut and Thread Paper Rings
- 9. Cut a Simple Paper Shape Art Project
- 10. Cut and Sort Shapes by Color or Size
- Frequently Asked Questions
- When should I start scissor skills with my child?
- Is it developmentally appropriate for a 2-year-old to use scissors?
- How do I teach my preschooler to hold scissors correctly?
- What scissors are best for a 3-year-old?
- What if my child refuses to cut or cries during practice?
- Should a 5-year-old be able to cut shapes on their own?
- How to Start Scissor Skills at Home
Scissor Skills Activities for Preschoolers at a Glance
The table gives you a quick read on all ten before you start. Use it to pick one that matches where your child is today rather than where you wish they were.
| Activity | Skill practiced | Materials | Difficulty | How to progress |
|---|---|---|---|---|
| Snipping paper strips | Open-and-close motion, grip | Strips of thick paper, blunt-tip scissors | Easiest | Move to a continuous cut along a line |
| Cutting play-dough snakes | Blade control without paper pressure | Soft play dough, child-safe scissors | Easiest | Add a straight line to follow |
| Snipping cardstock shapes | Steady hand, bilateral coordination | Thick cardstock shapes, tray | Easy | Try thinner cardstock |
| Cut-and-paste shapes | Shape recognition, precision | Large printed shapes, glue stick | Easy | Smaller shapes, more sides |
| Paper strip caterpillar | Repeated snips, sequencing | One long paper strip, glue, googly eyes | Easy | Cut the segments unevenly on purpose |
| Sensory tray cutting | Controlled cuts, sustained attention | Shallow tray, paper, dry rice or sand | Easy | Hide the shapes under the medium |
| Cut lines to free a toy | Straight cuts, staying on a path | Heavy paper lines, small toy, tray | Moderate | Add wavy or zig-zag paths |
| Cut and thread paper rings | Snipping plus in-hand strength | Wide paper rings, shoelace or cord | Moderate | Use narrower rings |
| Simple paper shape art project | Curved cutting, following an outline | Bold outline template, markers, stickers | Challenging | Let them cut their own simple shape |
| Cut and sort shapes | Classification, functional cutting | Coloured paper shapes, bowls | Challenging | Sort by size or by three colours |
1. Snipping Paper Strips With Child-Safe Scissors
Scissor skills activities for preschoolers start with snipping, not cutting
This is the first skill to teach and the one most families rush past. Give your child a strip of thick paper about the width of a ruler and ask them only to snip: open, close, open, close. Short, choppy snips are a win here, not a mistake.
Sit beside them rather than across from them, close enough that your hand can steady the paper when it wanders. Once they can make a snip every second or so without squeezing their whole arm, hand them a line drawn with a thick marker and let them follow it.
Wide lines mean more success. A preschooler cutting a quarter-inch line is doing real work; a hairline they cannot see is just a frustrating guessing game.
Stop while it is still going well. Two minutes of happy snipping builds more skill than ten minutes of a child pushing through tears, and it makes tomorrow’s session easier rather than harder.
2. Cutting Play-Dough Snakes
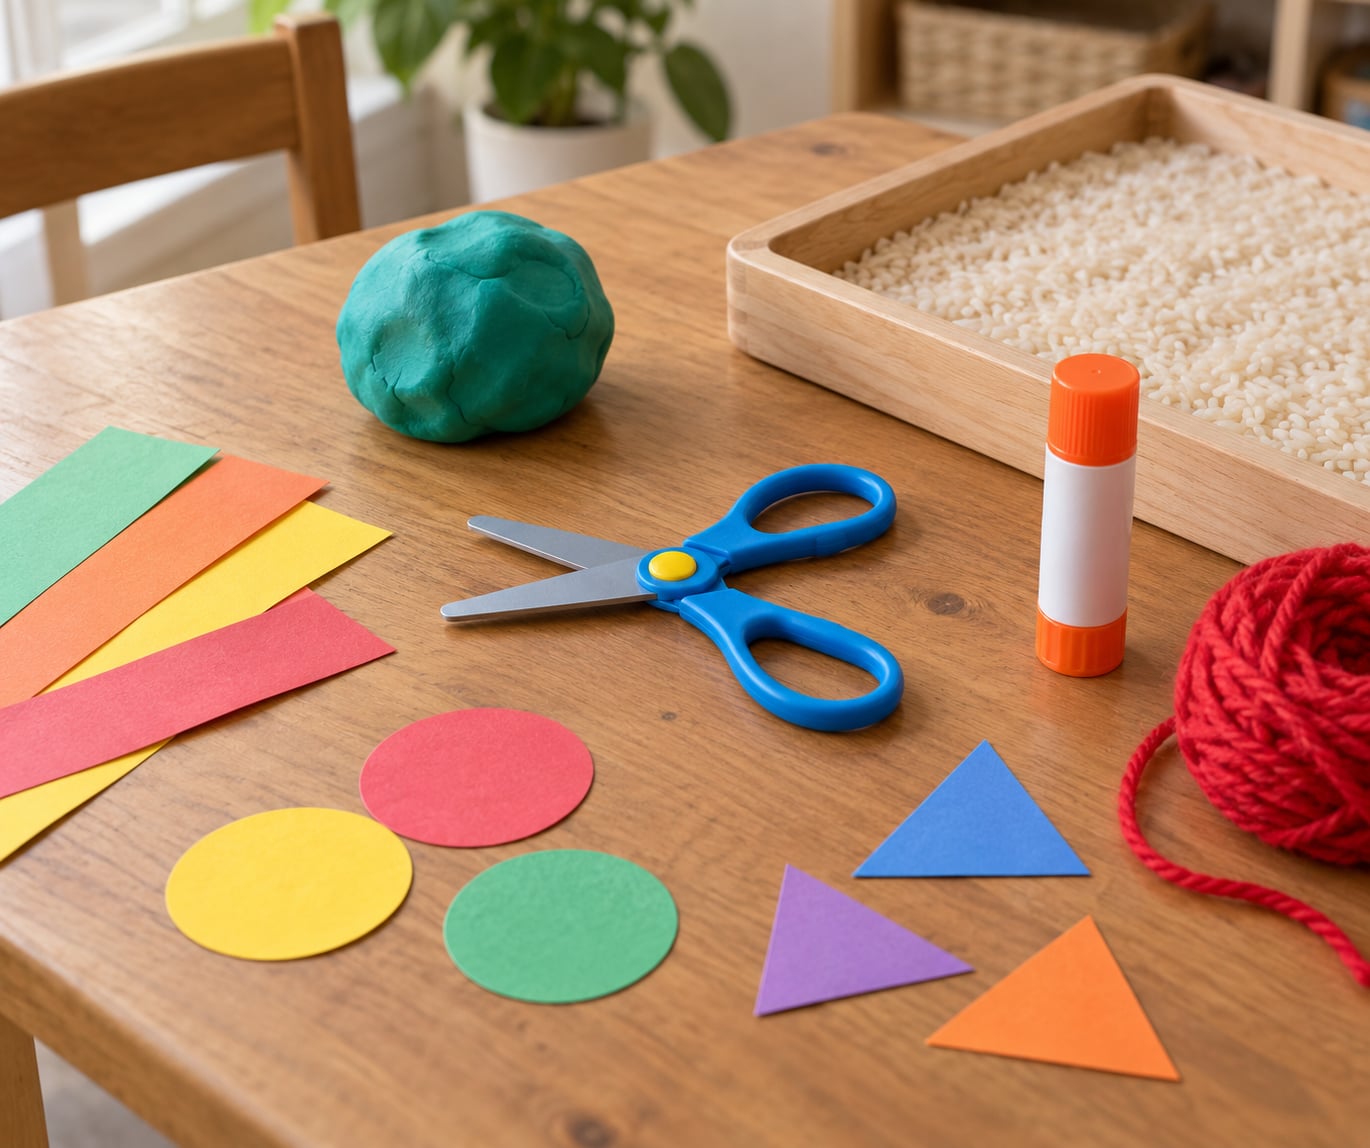
Play dough removes the two things that make paper practice hard, which are tear resistance and line accuracy. Roll a thick rope of dough and let your child snip it into pieces. The dough pushes back softly, so there is no ripping and no wrong side.
Large motor work matters here too. Kneading, rolling, and pressing the dough builds the same hand strength the scissors need, which is why it works well alongside indoor gross motor activities that burn off energy before fine motor work begins.
To make it harder, draw a straight line on a flattened piece of dough and have them cut along it. That is the first bridge from free snipping to following a path.
Dough practice also tells you something useful. If a child snips dough easily but tears every strip of paper, the weakness is paper resistance rather than the scissors, and thicker or longer strips are the fix.
3. Snipping Cardstock Shapes
Thick cardstock gives a child something satisfying to bite into and the least possible tearing. Draw or print large shapes with wide spacing between the lines, roughly half an inch apart, and let them cut out one shape at a time.
Your non-cutting hand has a job: flatten the cardstock and rotate it toward the blades instead of trying to steer it side to side. That one habit is the difference between ragged shapes and clean ones, and it teaches the bilateral coordination that cutting actually trains.
Cut the shapes small enough to fit in one hand. If your child is holding a shape bigger than their palm, they are working on arm movement rather than finger movement.
4. Cut-and-Paste Shapes
Cutting on its own has no ending, so it drifts. Cut-and-paste gives it a finish line: cut the shape, then stick it in the right space. Print or draw three big shapes with plenty of white space around them, along with a matching page of outlines.
Large triangles, circles, and rectangles work best at the start. Once those land reliably, add a square and a star, which need the child to turn a corner mid-cut.
Glue sticks get messy and that is fine, but use a chunky one. A liquid glue bottle will slow them down more than it speeds them up, and the cutting is the part you are practising.
5. Make a Paper Strip Caterpillar
This one turns repetition into a product, which is exactly why it works. Cut a long strip from a sheet of construction paper, draw dots along it with a marker, and have your child snip it into short segments.
They glue the segments into a chain, add eyes and legs, and hang it somewhere they can see it. A child who spent six minutes snipping will look for that caterpillar every day, which is a much better motivator than a worksheet.
For a harder round, alternate colours so the segments have to be sorted before they go on. That adds sequencing to the cutting without changing the material.
6. Cut a Shape From a Sensory Tray
Put a sheet of paper in a shallow tray with a thin layer of uncooked rice, or a layer of kinetic sand if your child plays there without mouthing. The cutting happens in the medium, so the pieces are hidden a little and cleanup is a dump into the bin.
This suits children who need sensory input alongside fine motor work. Ask for something specific, such as cutting three squares, so the activity has a shape to it rather than being aimless scissoring.
Keep it shallow and keep it supervised. Nothing here is risky, but rice finds every gap in a room, and an open container of sand indoors is a known mess. Do it outside or on a tray you can carry.
For children who find the rice itself distracting, swap it for a shallow layer of kinetic sand or simply leave the tray dry. The point is a contained cutting surface, not the medium itself.
7. Cut Lines to Free a Toy
Motivation solves a lot of what patience cannot. Draw three or four thick paths on cardstock, place a small toy at one end, and explain that the toy is stuck until the paths are cut.
Straight paths first, then a gentle curve, then a zig-zag. This is the activity where you find out whether a child can turn a corner, since a straight line hides almost every alignment problem.
If they wander off the line constantly, trace each path with a highlighter so the target stands out, or tape a low-tack sticker strip down the middle of it for a bit of resistance. Teachers report that added resistance actually slows children down enough to control the blades.
8. Cut and Thread Paper Rings
Cutting a ring out of a wide paper strip is a useful intermediate step: it needs a full turn around a corner without letting go of the paper. Snip about twenty rings, then hand over a shoelace, a thick yarn length, or a plastic cord with a stiff tip.
Threading is a second skill layered on top. Sorting the rings by size first, then threading them up in order, gives you hand strength, sequencing, and a visual motor challenge in one quiet ten minutes.
Narrower rings are the obvious next step, and narrow rings are harder, so do not assume a child who struggles here has a problem. It is a normal difficulty jump.
9. Cut a Simple Paper Shape Art Project
Print one large bold outline, a fish, a flower, a house, or a tree, and let your child cut it out before decorating it with stickers or washable markers. One shape, not a page of them, keeps the session short enough that they finish it.
Curved cutting is the whole point here. Curved lines are where hand-eye coordination gets tested, because the paper has to turn while the blades stay pointed in one direction.
When the outline is finished, let them draw a background around it or cut a second simple shape on their own. Inventing the shape means they chose where the scissors go, which is the skill you actually want.
10. Cut and Sort Shapes by Color or Size
Cut a stack of coloured shapes, then hand over three bowls. Sorting by colour is the easy version; sorting by size, then by both at once, is where attention and visual discrimination get worked.
Functional cutting, where the scissors are the means rather than the goal, is the step most worksheets skip. A child who can decide what to make and go make it is cutting for a reason, and that is the level you want before kindergarten.
Keep a basket of strips, rings, and shapes by the door for cutting on the go. Children practise what is available, not what is scheduled.
Frequently Asked Questions
When should I start scissor skills with my child?
Most children are ready around their third birthday, once they can hold a pencil-shaped object with a static tripod grip and show hand strength on a heavy toy. Start before that if you want to, but keep it to snipping paper strips and dough. Teachers regularly see children arrive at kindergarten having never held scissors at all, so the safe answer is to start whenever your child is developmentally ready, without rushing.
Is it developmentally appropriate for a 2-year-old to use scissors?
Not real scissors, in most cases. A two-year-old’s hands are not ready for the grip or the hand strength, and a squirming toddler with sharp blades is a genuine injury risk. Offer pre-scissor activities instead: tearing paper with both hands, snipping play dough with a blunt plastic knife, tongs at a snack tray, or squeezing clothespins. Most children are ready for blunt-tip scissors at age three.
How do I teach my preschooler to hold scissors correctly?
Show the thumb pointing up, not wrapped around a finger, and say it out loud every time you hand them over. Ask for a thumbs-up shape first, then slide the blades into the hand with the thumb on top. The cutting hand does the opening and closing, and the other hand stays flat on the paper to keep it still and turn it. Practise the grip with no paper in front of them until the hand shape lasts.
What scissors are best for a 3-year-old?
Blunt-tip child scissors with a spring, which open slightly on their own and take less squeezing than a basic pair. Look for a short, wide handle that fits a small hand, and skip anything shaped like a toy character, since novelty scissors tend to have worse blades. Whatever you choose, check the blades before every use and keep an adult within arm’s reach the whole time.
What if my child refuses to cut or cries during practice?
Stop cutting first and go back one level. Most tears come from a task that is genuinely too hard, not from reluctance. Offer paper tearing, play dough, or a snack-tong activity with no scissors at all, then try snipping a wide strip the next day. If cutting still triggers distress, that is worth raising with your child’s pediatrician or occupational therapist, who can assess grip strength and sensory response.
Should a 5-year-old be able to cut shapes on their own?
Yes, most five-year-olds should be cutting along a line, turning corners, and cutting out a large simple shape with supervision nearby. Neatness matters less than staying on the path and keeping a steady grip. If a five-year-old cannot manage that with help, mention it to the teacher and ask for an occupational therapy screening, since it may point to grip weakness or a visual motor delay rather than practice.
How to Start Scissor Skills at Home
Pick one activity from this list, not five. The paper strip snipping from activity one is the best starting point for most children because it is short, forgiving, and the material cannot tear.
Set up on the floor or at a table with feet flat, put a damp cloth or non-slip mat under the paper so it does not skate, and sit beside your child rather than watching from across the room.
Ten minutes, three times a week, is enough to see change within a month. Move up a level only when the current one stops being interesting, and celebrate control over speed every single time. If you want a way to practise the same skills without scissors in the mix, video modeling for life skills works well for teaching the wider sequence.
Cutting practice travels well beyond the craft table. Dressing skills such as zipping and buttoning rely on the same grip strength, and once scissor skills are solid, those tasks get easier too.