Hand strengthening activities for kids are play-based exercises that build the small muscles of the hands, fingers and wrists so children can grip, pinch, twist and hold things with growing control. The best ones double as ordinary play, use materials you already own, and take under ten minutes.
Strong hands quietly underpin a lot of school life and daily independence: holding a pencil to write a name, holding scissors steady through a shape, fastening a coat, opening a lunchbox. When those muscles are weak, a child compensates with a tight fist grip, a bent wrist, or shoulder and arm tension, and handwriting tires them out long before the rest of the class.
Nothing on this list is therapy. It is play with a purpose, and the point is repetition that feels enjoyable enough to keep happening. Start with one activity your child already likes and add a second once that one stops being interesting.
If your child seeks heavy input, sensory play or proprioceptive work alongside fine motor practice, the 10 easy proprioceptive activities for kids at home pair well with several of these. Because most of the ideas below need no prep, they also fit neatly into a calm daily routine rather than a scheduled therapy session.
Table of Contents
- 12 Hand Strengthening Activities for Kids at a Glance
- 1. Scoop and Sort Pompoms With Kitchen Tongs
- 2. How to Make Tongs Easier for Hand Strengthening
- 3. Wipe Tables With Washable Cloths
- 4. Mold and Hammer Play-Dough Shapes
- 5. Make Scissor Art With Thick Paper
- 6. Peel, Place, and Balance Stickers
- 7. Roll a Ball Against a Wall and Catch It
- 8. Spray Water Into Outdoor Targets
- 9. Push and Pull Toys With Gentle Resistance
- 10. Lace Cards and Thread Large Shapes
- 11. Stack, Twist, and Connect Large Cups
- 12. Do Supported Animal Walks
- Frequently Asked Questions
- What age can children start hand strengthening activities?
- How often should a child do hand strengthening activities at home?
- What if my child has a weak grip or cannot make a pincer grasp?
- How can I adapt hand activities for sensory sensitivities?
- When should I ask an occupational therapist about my child’s hands?
- Where to Start Tomorrow Morning
12 Hand Strengthening Activities for Kids at a Glance
| Activity | Main skills practised | Best age | Materials |
|---|---|---|---|
| 1. Scoop and sort pompoms | Pincer grasp, finger isolation, wrist control | 2 and up | Large tongs, big pompoms, cups |
| 2. Tongs made easier | Grip adjustment, attention | 2 and up | Stiff tongs, thick yarn loops |
| 3. Wipe tables | Grip, finger isolation, coordination | 2 and up | Washable cloths, low table |
| 4. Mold and hammer play-dough | Hand and finger strength, bilateral use | 3 and up | Play-dough, plastic tools |
| 5. Scissor art | Scissor skills, bilateral coordination | 3 and up | Blunt or spring-action scissors, thick paper |
| 6. Peel, place and balance stickers | Fingertip pinch, release, placement | 2 and up | Large peel-off stickers |
| 7. Roll and catch a ball | Whole-hand control, motor planning | 3 and up | Soft ball, clear wall space |
| 8. Spray water into targets | Finger strength, controlled pressing | 3 and up | Trigger spray bottle, tray, chalk |
| 9. Push and pull toys | Bilateral strength, motor planning | 3 and up | Wheels, yarn ball, tub |
| 10. Lace cards and shapes | Pincer grasp, sequencing, bilateral use | 4 and up | Cardstock, thick yarn |
| 11. Stack, twist and connect cups | Wrist rotation, alignment, two-handed work | 3 and up | Nesting cups, large lids |
| 12. Supported animal walks | Hand and arm strength, core stability | 3 and up | Clear floor space, low blocks |
Before you start, three safety rules matter more than any single activity.
Small parts. Pompoms, beads, dried beans and small craft pieces are choking hazards for children under three. Use oversized pompoms you cannot fit through a toilet paper roll, or do the activity with pieces big enough that the child cannot possibly swallow one. If your child still mouths everything, skip the small-part version entirely.
Supervision. Scissors stay within arm’s reach. Spray bottles do not travel indoors, and water play happens over a tray or outdoors.
Age-appropriate challenge. A child who cannot yet hold the tongs closed is not failing at the activity, they are working at the wrong level for it. Make the job easier first, then add difficulty. Progressing too fast is the fastest route to frustration, and frustration is the reason most families quit by week two.
1. Scoop and Sort Pompoms With Kitchen Tongs
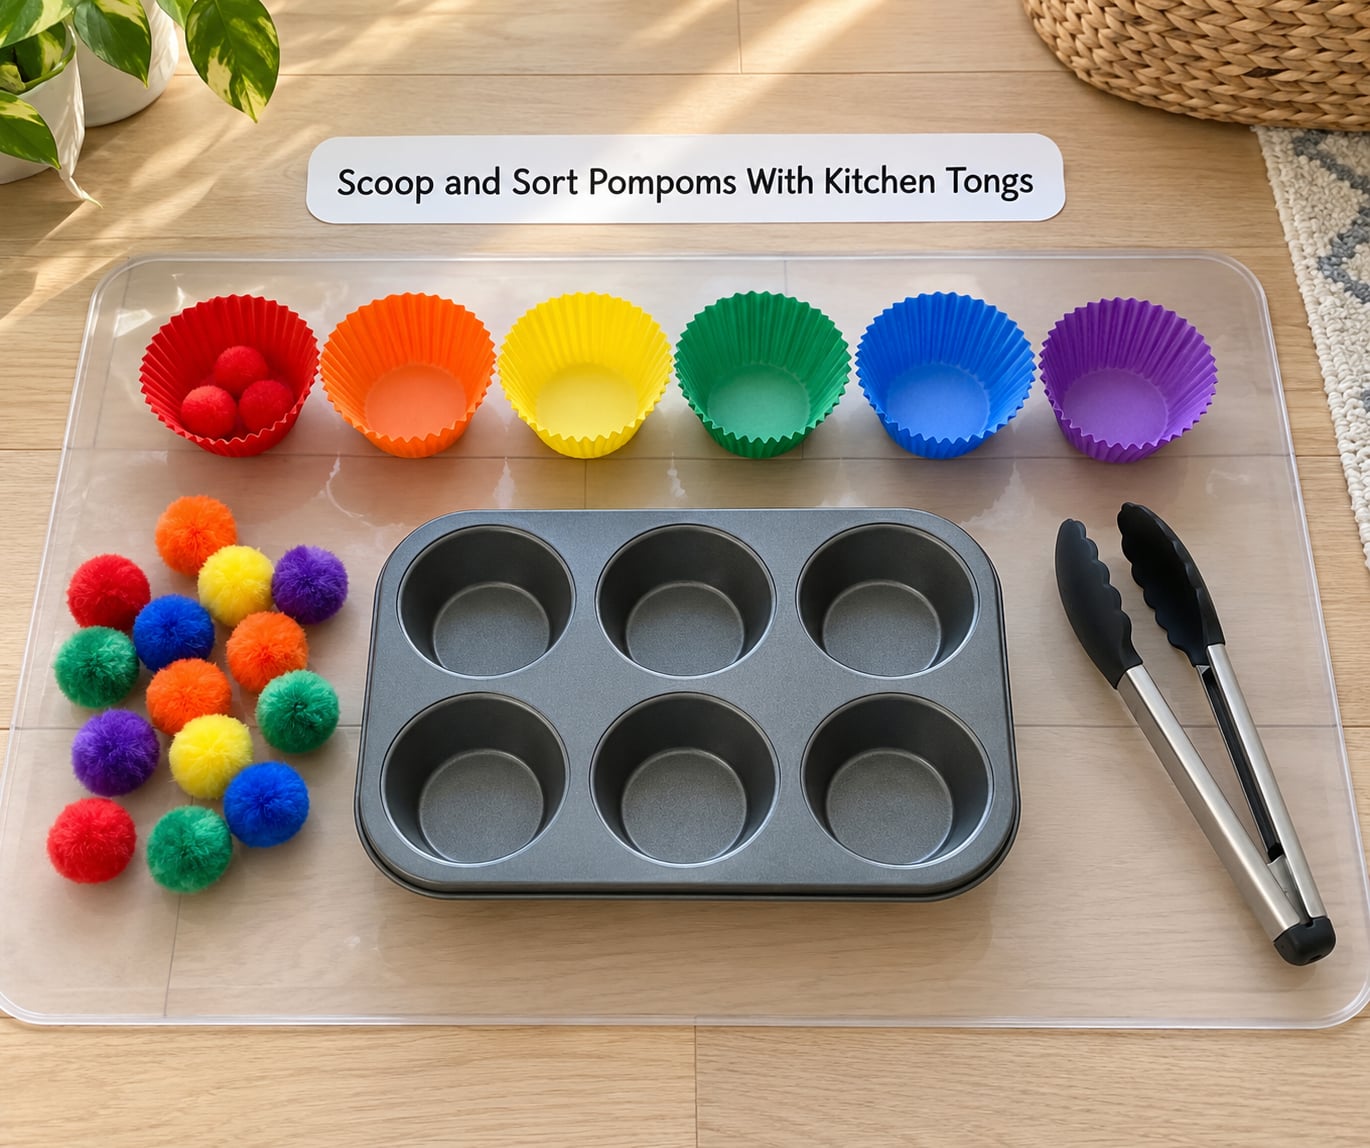
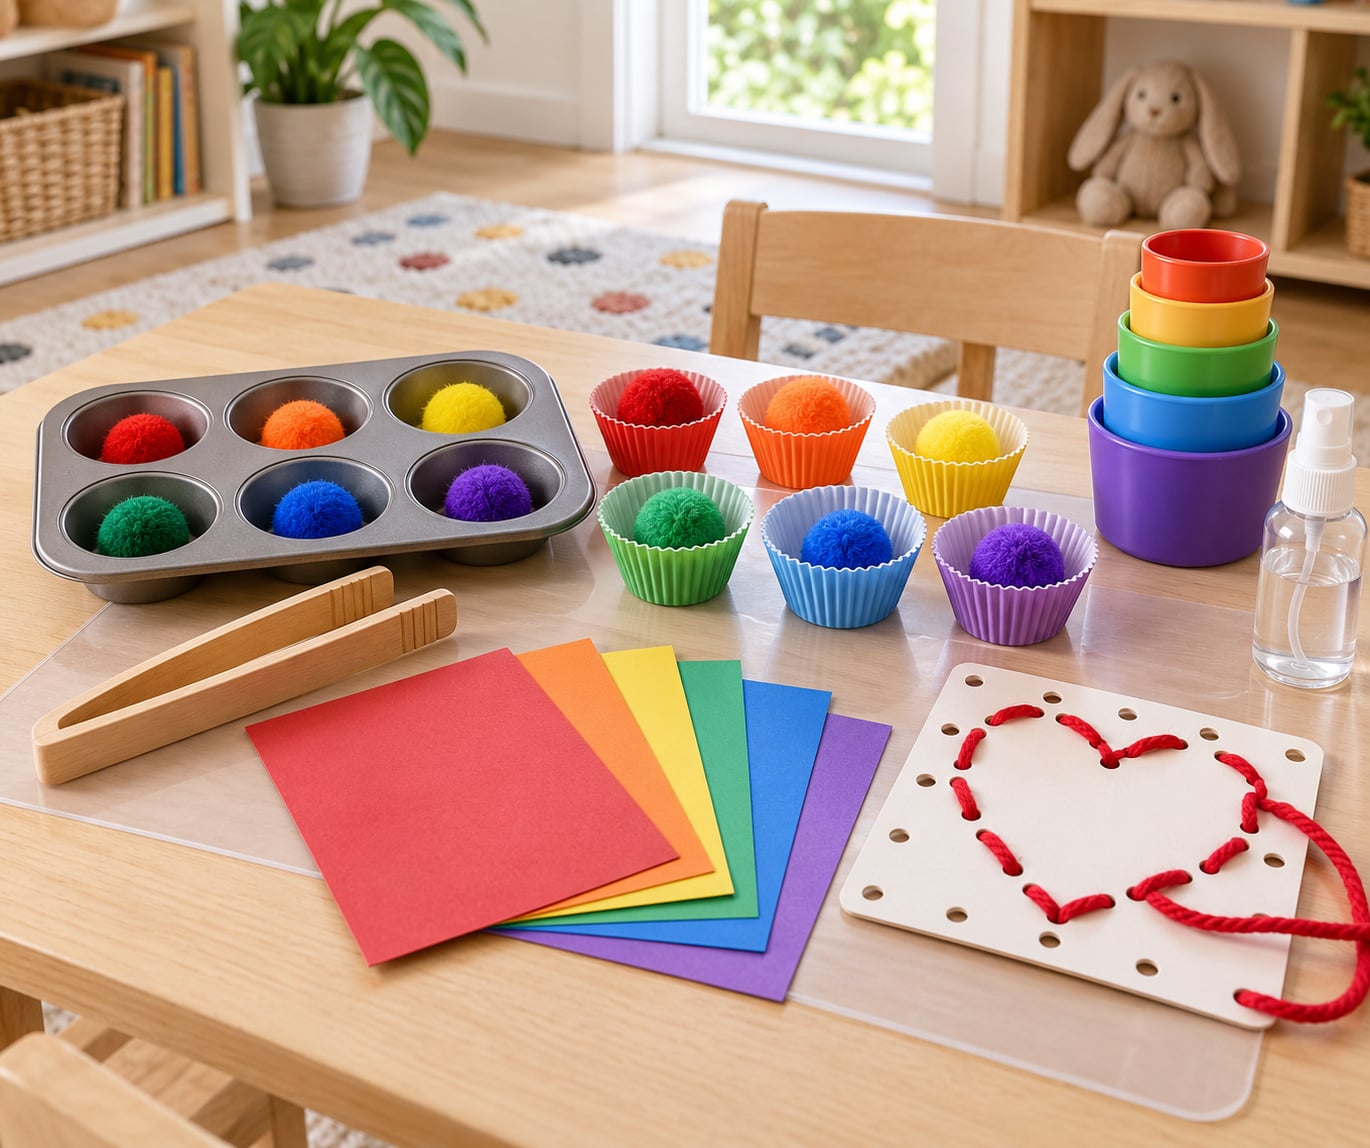
Sorting pompoms with tongs is the single most useful hand strengthening activity for a young child, because one set of materials works on grip, pinching, wrist control and visual sorting at the same time. Ask your child to pick up one pom-pom and drop it into the matching coloured cup. Two colours first, then three or four.
Tongs require a three-jaw pinch that most children cannot produce until around three years old, so younger kids will use a raking scoop instead. Both are useful. The raking version strengthens the arch of the hand, and the pincer version builds the same strength with more precision.
Keep the session short. Five minutes and one colour is plenty on a good day.
2. How to Make Tongs Easier for Hand Strengthening
Stiff tongs, fewer cups and bigger pompoms are the fastest fixes when tongs feel impossible. Add a loop of thick yarn or a wide rubber band around the handle ends so the jaws close on their own, and put the whole setup on a non-slip surface so it does not wander across the table.
Model it once, slowly, then stop talking. Parents often end up doing the activity for the child by describing it too much.
If your child loses interest, park the tongs somewhere visible and let the sorting happen in bursts. Ten seconds twice counts more than one abandoned minute.
Transitions get easier when the end of an activity is predictable. How to make transitions between activities easier covers the warning signs and routines that stop the clean-up fight.
3. Wipe Tables With Washable Cloths
Hand strengthening does not have to be a therapy task, and wiping down a low table is the easiest sell in this list. Give your child a damp washable cloth and a low surface, then hand over the job.
Try folding the cloth, bunching it into a ball, draping it over two fingers, and rubbing with the flat of the hand. Each variation loads the hand differently. Folding isolates individual fingers, bunching builds grip strength, draping stretches the webbing between fingers and works the arch of the hand.
You can turn it into a game by drawing chalk shapes on a dry table and asking for the shapes to be wiped in a specific order. My niece asked for her table every evening for about three weeks, purely because she liked choosing the colour of the cloth.
4. Mold and Hammer Play-Dough Shapes
Play-dough is the workhorse, and parents in the early-years groups I read while researching this name it most often for exactly that reason. Rolling, squashing, pinching and pressing all load the small muscles of the hand, and none of it feels like practice.
Add a plastic hammer or a toy rolling pin and the work becomes bilateral. One hand holds the dough steady, the other hand works the tool, which is the same two-handed coordination a child needs for scissors later.
Three challenges worth trying: hide a small item inside the dough and have your child find it by touch, roll the dough into a long snake and cut it with plastic scissors, or make a flat pancake and decorate it with small pieces. Stop while your child still wants another one, because that is the moment the skill consolidates.
5. Make Scissor Art With Thick Paper
Cutting is one of the highest-value hand strengthening activities because it combines a power grip, finger isolation, bilateral coordination and visual-motor integration in a single movement. It is also where parents tend to rush, and rushing produces tears rather than scissors skills.
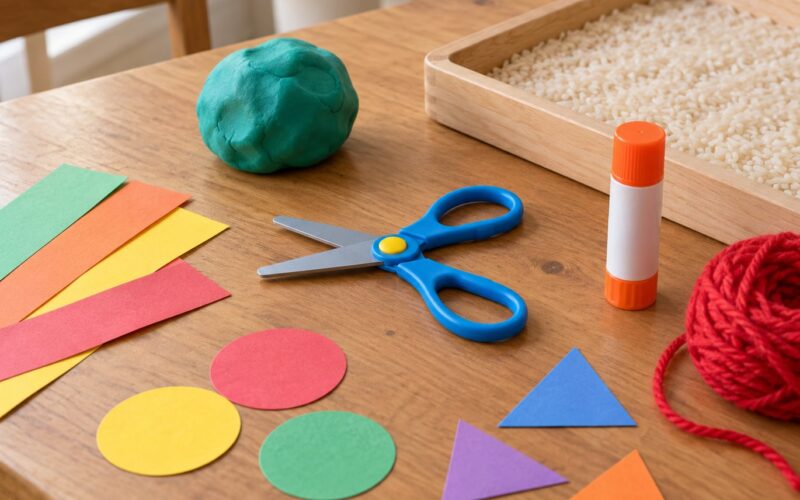
Use blunt child scissors for beginners and spring-action scissors for children who lack the strength to open and close a standard pair. Thick cardstock, a folded sheet of paper or a paper-towel tube gives more resistance than printer paper, which is a plus, not a problem.
If your child cannot yet cut safely, tearing along a drawn line with both hands is the honest substitute. Tearing uses the same two-handed pull and gives the small muscles a real workout.
The most reliable trick, borrowed from an OT clinic I read, is cutting something with no right answer: a paper snowflake or a border for a paper plate. There is no line to stay on, so a snip that veers off the path is not a mistake.
Teach the closed-then-open thumb cycle in one sentence: close the blades, look where you are going, open the blades. Then repeat it, and stop explaining.
6. Peel, Place, and Balance Stickers
Large peel-off stickers train the fingertip pinch and the controlled release that writing later depends on. Place them on a clear window, a baking sheet or a sheet of paper for your child to remove and place somewhere specific.
For older or stronger hands, turn the sticker into a balancing game. Give your child a clothespin and ask them to carry stickers on the tip of it, or hand over tweezers and a sticker sheet and let the transfer work itself.
Wrist support is the part parents skip. Resting the forearm on the table while peeling keeps the wrist steady, which lets the fingers do the work instead of the whole hand flopping sideways.
7. Roll a Ball Against a Wall and Catch It
Rolling a soft ball at a wall and catching it as it returns builds whole-hand control, fingertip control and timing in one go. It also requires a decision about how hard to send it, which is real motor planning work.
Ball size sets the difficulty. A large soft ball needs less finger strength and more whole-hand control, while a smaller foam ball is for a child who has the grip to manage the bounce. Add distance from the wall once catching is reliable.
If your child tires quickly, halve the distance rather than pushing through fatigue. Endurance is built across many short sessions, not one long one.
8. Spray Water Into Outdoor Targets
A trigger spray bottle is a resistance band in disguise. Every press of the trigger loads the fingers, and the effort needed to control the stream keeps a child working far longer than squeezing a stress ball alone does.
Keep it outdoors, or over a tub outdoors. Use a gentle mister, never an aerosol or cleaning product, and never a bottle that sprays paint or detergent.
Draw targets on a fence or the driveway with chalk, or spray into an open plastic cup. If your child enjoys water play generally, oral sensory activities for chewing and mouthing covers the parallel mouth-based regulation work that often goes with a sensory-seeking profile.
9. Push and Pull Toys With Gentle Resistance
Pulling a wheeled truck across the floor, pushing a yarn ball or dragging a filled tub develops both hands at once and gives a child a visible reason to use more force. Plan first, then power: get the truck lined up, then push it to the target.
Choose resistance that takes about four or five strong pushes to cross the room. Increase it gradually by loading the container a little more each session. Stop if the setup is so heavy that your child compensates with their whole body or gets frustrated.
A tug-of-war with a rope or a thick ribbon is the next step up, done seated on the floor rather than braced against a door.
10. Lace Cards and Thread Large Shapes
Lacing is quiet, satisfying and hard for a child to get wrong, which makes it a useful activity on a low-energy afternoon. Cut thick cardstock shapes, punch wide holes with a craft punch or the tip of a thick pen, and use thick yarn with a knot at one end.
Skip the lacing needle. A stiff yarn end or a plastic tip is safer for small hands and works just as well. Lacing patterns built on a card turn it into a sequencing task, so your child copies a printed path before making their own.
For a small child, begin with three giant holes and a shoelace. The threading is the work.
11. Stack, Twist, and Connect Large Cups
Nesting cups are usually treated as a stacking toy for babies, which wastes them. Ask for a two-handed build instead: two cups in one hand, one cup in the other, joined together on the table.
Then add a twist. Large screw-top jar lids, with the label peeled off, or wide plastic lids from food containers give wrist rotation and forearm strength that stacking never reaches.
Towers add postural demand and planning. To make it easier, build the tower together. To make it harder, ask for a specific colour sequence or a set number of cups before anyone may knock it down.
12. Do Supported Animal Walks
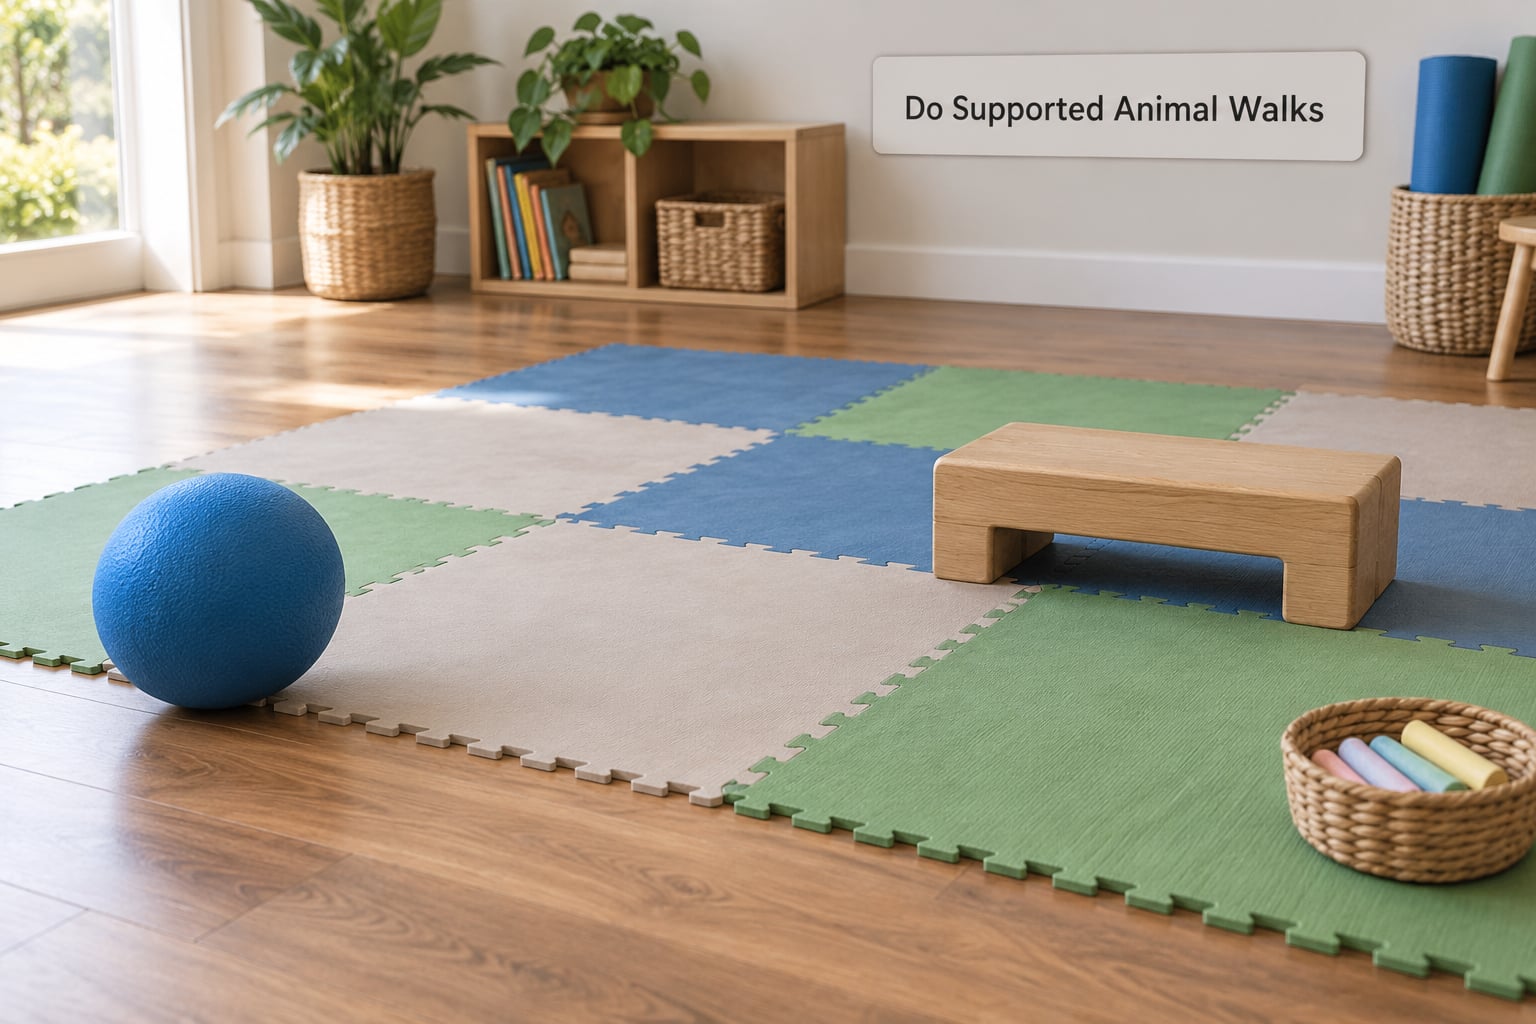
Animal walks are hand strengthening activities that children remember, which is why therapists reach for them before fine work. A bear walk on hands and feet loads the wrists, shoulders and core, and a crab walk on hands and feet with the hips lifted builds the hand and arm strength that supports a steady writing posture.
Start on a clear, non-slip surface with shoes off, and keep the runs short. Five crossings of the room is a full session.
Not every child can bear weight through the arms. If yours cannot, try a wall push-up, a supported plank with hands on a table, or a push-pull with a towel against an anchor. Any of those loads the same muscles without the floor impact.
Children who tire easily also do better with a short movement warm-up before fine motor work, because a regulated body settles into a seated task faster. That is the same idea behind proprioceptive activities for kids at home, which work well as a five-minute opener.
Frequently Asked Questions
What age can children start hand strengthening activities?
Most children can begin around 12 to 18 months, using whole-hand play like squeezing a sponge or tearing paper. Blunt scissors usually suit children from about three years, and tongs with a three-jaw pinch from around three as well. Watch your child rather than the calendar, and move any activity up or down an age band if it is too easy or too hard right now.
How often should a child do hand strengthening activities at home?
Short and often beats long and rare. Five to ten minutes most days works well for a developing child, and a twice-daily routine of a few minutes each suits young toddlers. You will see more change from three weeks of daily practice than from one long weekly session, because hand strength comes from repeated loading rather than a single workout.
What if my child has a weak grip or cannot make a pincer grasp?
Skip the pincer tasks entirely for now and build strength with whole-hand squeezing first: play-dough, wringing a wet cloth, a foam ball, a spray bottle. A child who cannot yet hold tongs closed needs a thicker handle, a bigger target and fewer containers, not more practice at the failed version. If grip weakness is new or one-sided, ask your pediatrician to check it.
How can I adapt hand activities for sensory sensitivities?
Change the material, not the goal. Swap sticky play-dough for a dry version that does not smear, choose stiff tongs over floppy ones, and offer wet or dry options so your child can pick. Give a visual preview of the steps, allow a finished piece to be rejected without comment, and end before your child asks to stop. Regulation comes before repetition.
When should I ask an occupational therapist about my child’s hands?
Ask when skills are noticeably later than same-aged peers, when your child avoids tasks others manage easily, or when the same frustration shows up across home and school. Pain, frequent clumsiness, dropping objects, or a sudden loss of a skill your child had are reasons to call a pediatrician first. Home play complements therapy, but it does not replace an assessment.
Where to Start Tomorrow Morning
Pick the activity your child already gravitates toward, do it for five minutes without correcting anything, and stop while they still want more. These hand strengthening activities for kids only work when they get repeated, and repetition only happens when the child wants another turn.