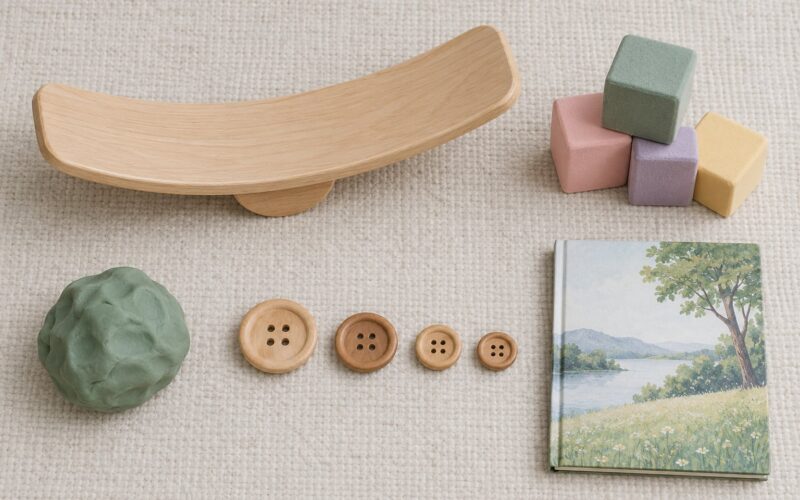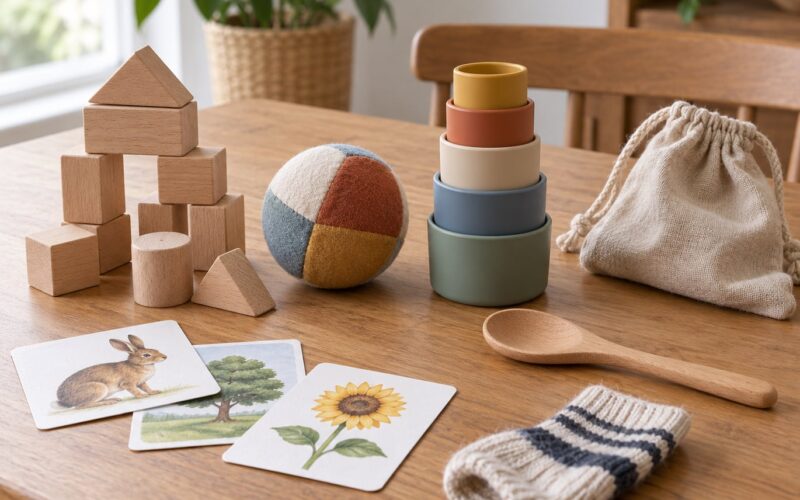
Fine motor activities for preschoolers are playful tasks that use the small muscles of the hands, fingers, thumb and wrists — grasping, pinching, twisting, threading, tearing and cutting — to build the hand strength, dexterity and hand-eye coordination a child needs for writing, dressing and everyday self-care.
Most of what it takes is already in your kitchen drawer. A plastic cup, a muffin tin, some yarn and a handful of dry cereal give a preschooler more hand-strength practice than most of the manipulative toys sold for the purpose.
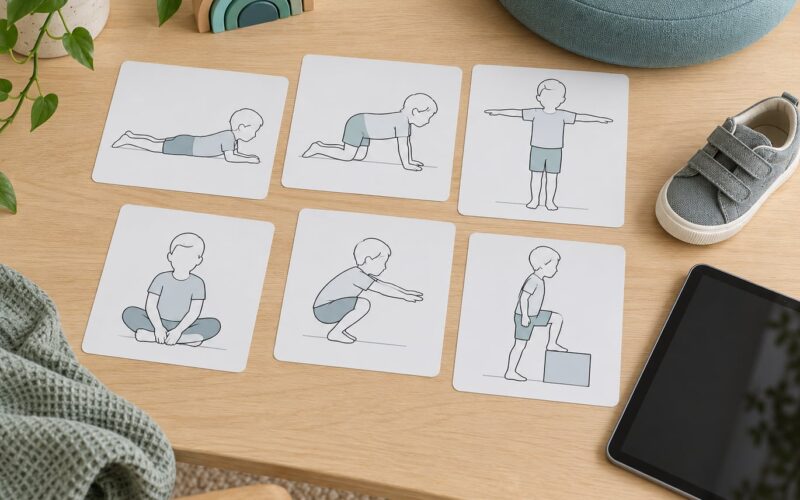
One thing worth saying up front: fine motor control grows out of gross motor work. A child who has spent the morning climbing, jumping and running has a steadier hand at the table than one who has been sitting still. Montessori parents put it more bluntly — have them climbing, running, jumping, bouncing around first. If you need indoor movement ideas to pair with the fine work, how to build gross motor skills indoors covers the basics.
Everything below runs on kitchen staples, takes five minutes or less to set up, and comes with an easier and a harder version so you can match it to a two-year-old or a four-year-old. Length matters more than any particular toy: about two minutes of focused activity per year of age is a realistic target, so a three-year-old gets six minutes and a four-year-old gets eight.
Table of Contents
- Fine Motor Activities for Preschoolers at a Glance
- 1. Pouring Water Between Cups
- 2. Stacking and Balancing Blocks
- 3. Threading Beads or Large Lacing Cards
- 4. Play-Dough or Clay Creations
- 5. Tearing and Ripping Paper
- 6. Using Large Tweezers or Tongs
- 7. Drawing with Large Crayons
- 8. Stamping with Sponge or Vegetable Pieces
- 9. Scattering and Picking Up Small Items
- 10. Closing, Opening, and Manipulating Containers
- 11. Winding Yarn or Ribbon
- 12. Pouring, Scooping, and Molding with Sensory Materials
- Frequently Asked Questions
- How long should a fine motor activity be for a preschooler?
- How do I help my 3 year old with fine motor skills?
- How can I improve fine motor skills in a 4 year old?
- What are good fine motor activities that need no supplies?
- How do I know if my child needs occupational therapy?
- How do I adapt fine motor activities for a sensory-sensitive child?
- Where to Start
Fine Motor Activities for Preschoolers at a Glance
Here is the whole list at a glance, with the skill each activity really trains. Scan this column first — if a child struggles with dressing, jump to the containers row; if the goal is a ready pencil grip, go straight to crayons and paper tearing.
| Activity | Primary skill practiced | Materials needed | Best setting |
|---|---|---|---|
| 1. Pouring water between cups | Bilateral coordination and wrist control | Two cups, water, towel or tray | Bathroom or outdoor table |
| 2. Stacking and balancing blocks | Grasp strength and visual-motor planning | Blocks, small boxes, cardboard tubes | Floor or table |
| 3. Threading beads and lacing cards | Pincer grasp and crossing the midline | Large beads, shoelace, hole-punched card | Table, quiet corner |
| 4. Play-dough or clay creations | Hand strength and finger isolation | Play-dough or air-dry clay, cutters | Table with a tray under it |
| 5. Tearing and ripping paper | Two-handed coordination and scissor preparation | Scrap paper, tissue paper, old magazines | Floor or table |
| 6. Tongs and tweezers sorting | Tripod grasp and visual scanning | Kitchen tongs, pom-poms, cereal, small cups | Table, any time |
| 7. Drawing with large crayons | Pre-writing skills and pencil grip | Large crayons, chalk, washable markers | Outdoor ground, easel, wall paper |
| 8. Stamping with sponges and vegetables | Pressure control and bilateral coordination | Sponges, washable paint, potato halves | Table with a cloth underneath |
| 9. Scattering and picking up small items | Pincer grasp and depth perception | Muffin tin, large beads or dry cereal | Seated, within reach |
| 10. Opening and closing containers | Finger strength and wrist rotation | Wide-lid jars, zippers, large buttons | Real-life routine time |
| 11. Winding yarn or ribbon | Coordinated movement and grip adjustment | Yarn, cardboard tube, ribbon, small box | Table, quiet time |
| 12. Pouring and scooping sensory materials | Controlled release and sustained attention | Rice, dry beans, sand, scoops, cups | Outdoor tray or bathtub |
1. Pouring Water Between Cups
This is the classic first fine motor activity, and it works because water gives instant, honest feedback. Pour too fast and it spills. Pour too slowly and nothing happens.
Lay a towel on the table, set two unbreakable cups on a small tray, and fill one with water. Show your child how to tip the full cup slowly over the empty one. Nothing else is needed.
What it builds: controlled wrist movement, hand-eye coordination and bilateral coordination, because one hand holds the cup steady while the other pours. Pouring back and forth, hand over hand, also gets the hands working across the midline.
To make it easier, use short wide cups and put a dot of tape on the table to mark the target spot. To make it harder, switch to a small pitcher with one handle, or ask your child to fill a muffin tin one cup at a time and keep going until every well is level.
2. Stacking and Balancing Blocks
Stack building looks simple and actually trains more than people expect. Each block has to be oriented, gripped, lifted, aligned and released with control — that is a full hand-strength and visual-motor planning circuit.
Give your child whatever you have: wooden blocks, stackable bricks, small cardboard boxes, empty toilet paper tubes, or a stack of old coasters. Ask for a tower as tall as their arm, then knock it down and build it again.
What it builds: grasp strength, steady hands, spatial reasoning and sustained attention. Towers that lean and topple teach cause and effect better than a perfectly engineered bridge.
To make it easier, build on a flat surface with large blocks and let your child copy your three-block tower. To make it harder, set the blocks out in a pile so your child must choose the right one each time, or try building a wall rather than a tower. Teachers tell us free-reign building with recycled boxes is a hit for ages three to five, because kids invent the challenge themselves.
3. Threading Beads or Large Lacing Cards
Threading is one of the best fine motor activities you can run at home, because the task has a clear beginning, middle and end and the child can see the progress pile up on the string.
Start with big wooden beads and a thick shoelace with a knot at the end, or punch holes in heavy card stock to make a lacing card with a path drawn on it. Larger holes and thicker cord are kinder to small hands than pony beads and embroidery thread.
What it builds: a true pincer grasp (thumb and fingertip holding a thin object), hand strength, crossing the midline and visual tracking. Occupational therapists commonly suggest lacing cards and large-bead threading as preparation for shoe-tying, which explains why parents who work on this often see laces stop being a battle.
To make it easier, use a stiff pipe cleaner instead of string so the tip does not fray and the beads do not slide off. To make it harder, move to smaller beads, thinner cord, or a lacing card with a zig-zag path. Add a sorting twist: two bowls, one for round beads and one for square ones.
4. Play-Dough or Clay Creations
Play-dough is probably the highest-value item in any fine motor kit, and you do not need the expensive tub. Homemade dough with flour, salt and water plus a dash of oil works fine and costs almost nothing per batch.
Set out the dough, a rolling pin, cookie cutters and a drinking straw. Ask your child to roll it flat, cut shapes, and poke the straw through the middle of each one to make holes. Then reroll.
What it builds: sustained hand and finger strength, finger isolation (moving one finger while the rest stay still), creativity and tolerance for frustration when a shape falls apart.
To make it easier, offer a pre-rolled ball so your child starts from shaping rather than rolling. To make it harder, ask for a specific target — a snake as long as your arm, or a wall with a window in it. If you buy dough, look for products labelled non-toxic, and check the label rather than trusting the packaging colour.
5. Tearing and Ripping Paper
Tearing sounds too simple to count as fine motor work, but it is genuinely one of the best bridges to scissor skills. Ripping paper requires each hand to grip, angle and pull against resistance in opposite directions.
Give your child old magazines, junk mail envelopes, gift wrap and coloured paper. Draw thick black lines on a sheet so there is a clear place to start, then let them tear along the lines or anywhere they like.
What it builds: two-handed coordination, hand strength, finger control and the ability to apply pressure on purpose — the exact motion scissors will later demand.
To make it easier, use tissue paper or printer paper with a jagged starting edge. To make it harder, hand over blunt-tip safety scissors once your child can tear reliably, and cut along a thick drawn line. Skip worksheets that ask a preschooler to cut out tiny shapes; teachers commonly warn that most preschoolers lack the hand control to succeed at that, and forcing it just teaches frustration.
6. Using Large Tweezers or Tongs
Tongs and tweezers are the fastest way to build a pincer grasp without buying a single specialized toy. Kitchen tongs, salad servers and plastic tweezers from the drawer all work.
Put a bowl of large pom-poms or chunky cereal on one side, and small cups, a muffin tin, or an egg carton on the other. Your child transfers every piece with the tongs and sorts it by colour or type as they go.
What it builds: a tripod-like grip, pincer control, visual scanning, hand-eye coordination and the controlled release that separates dropping a thing from placing it.
To make it easier, use big tongs with a springy grip and large pom-poms in high-contrast colours. To make it harder, use tweezers with small beads, or narrow the targets to the small wells of an egg carton. If your child can pick up pasta with a fork by age four, they are probably ready for tweezers next.
7. Drawing with Large Crayons
Pre-writing practice is not about making letters look neat. It is about the hand travelling in a controlled path while the fingers manage a tool that resists.
Tape a long sheet of paper to a wall and set out large crayons, or take thick sidewalk chalk outside. Let your child draw lines, spirals, dots and squiggles without asking for letters or numbers.
What it builds: pre-writing skills, pencil grip, hand strength and visual expression. Working upright at a wall or easel also encourages the child to use their whole arm instead of scrunching over a table, which tends to produce a tighter, less mature grasp.
To make it easier, use chunky triangular crayons that rest in a relaxed fist. To make it harder, try short, thin broken crayons or chalk holders — the shorter the tool, the more the fingertips have to control it, which nudges the grasp toward a more mature pattern. A large white board with dry erase markers is a perennial favourite for long, absorbed drawing sessions.
8. Stamping with Sponge or Vegetable Pieces
Stamping adds a push force that drawing does not, which is exactly the pressure control children need. It also rewards precision, because a wobbly stamp leaves a mark your child can see and want to fix.
Cut a sponge into shapes, halve a potato, or slice a spring onion and okra. Set them out with a shallow tray of washable paint and a sheet of thick paper, then stamp a repeating pattern, a border, or a picture of something familiar.
What it builds: bilateral coordination (one hand steadies the object, the other presses), pressure control, creativity, and a natural reason to start putting things away when the paint tray is full.
To make it easier, use a big sponge cut into a simple square or circle and put a dot of paint on the paper first. To make it harder, ask for an alternating colour pattern or a border around the whole page. Choose non-toxic washable paint and keep the tray on a folded cloth to catch drips.
9. Scattering and Picking Up Small Items
Scattering is the pickup-and-drop game with a twist: your child puts items into small wells one at a time, which forces control at the point of release. Dropping from height also means the hand learns to judge distance and depth.
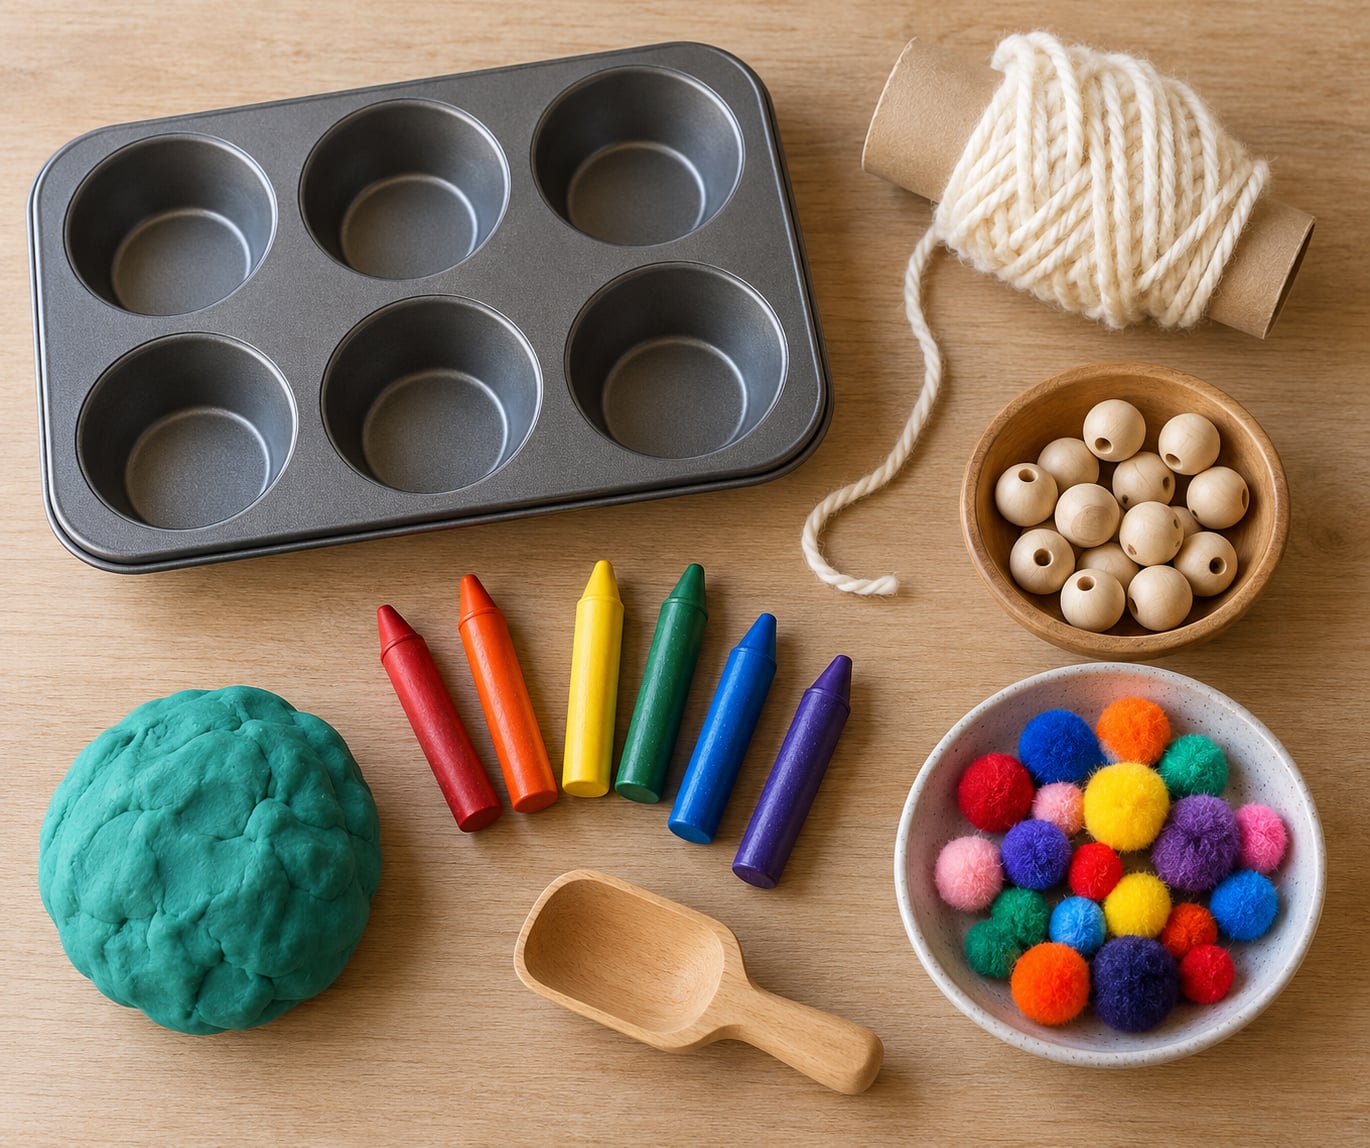
Set a muffin tin or an egg carton within reach, then scatter large beads, dry cereal, or foam squares across a tray. Your child picks up each piece and drops it into a well.
What it builds: pincer grasp, depth perception, hand-eye coordination, motor planning and problem-solving when a piece gets wedged in a corner.
Safety note: stay within arm’s reach for the whole activity, and skip anything small enough to fit through a toilet paper roll. Large beads, cereal and puffed rice are the safer picks for a three-year-old; whole dry beans and small dried pasta are choking risks, so save those for older children with the same close supervision. To make it easier, use a tray with raised sides so nothing rolls away; to make it harder, use a muffin tin and name the row and column for each placement.
10. Closing, Opening, and Manipulating Containers
This is the activity that quietly teaches independence, because it uses the same motions as zipping a coat, fastening a seatbelt and unscrewing a jar at dinner time.
Collect a few wide-mouth jars with loose lids, screw-top containers, a zipper bag, and a set of large buttons on a piece of thick card with big buttonholes punched through it. Practise opening and closing each one, then use the buttons to fasten the card like a coat.
What it builds: finger muscles, wrist rotation, finger isolation and the practical coordination of self-care skills — zippers, buttons, snaps and lids.
To make it easier, use jars with loose lids or plastic containers that twist only a little. To make it harder, move to real zippers, snap buttons and hooks. Occupational therapists suggest building up to shoe-tying through lacing cards, large-bead threading and sorting small objects first, rather than going straight to laces.
11. Winding Yarn or Ribbon
Winding is a calm, absorbing activity that keeps both hands working together — one guiding the yarn, the other turning the object — and it rewards a gradual loosening of grip over time.
Give your child a ball of yarn and an empty cardboard tube, or a ribbon and a small box with a slit cut in the lid. Wind the yarn around the tube to fill it, then wrap the ribbon around the box.
What it builds: bilateral coordination, grip adjustment (loosening and tightening as the material changes), sequencing and sustained play, because filling something is satisfying in a way that stamping is not.
To make it easier, use a wide tube and thick yarn, and wind in one direction only. To make it harder, ask for a specific stopping point or a pattern of colours. Add a transition here if your child struggles with stopping: finishing one colour before switching to the next gives the activity a built-in boundary, and our guide to making transitions between activities easier covers the rest.
12. Pouring, Scooping, and Molding with Sensory Materials
Sensory bins get a bad reputation as pure fidgeting, but scooping and pouring is a serious strength exercise. A full cup of rice is heavy, and controlling that weight through a short journey is hard work for a four-year-old hand.
Put a layer of rice, dry beans, sand or kinetic sand in a shallow bin with cups, scoops, funnels and small containers. Your child fills, transports, empties and molds, then runs a shovel track through it to reset.
What it builds: controlled scoop-and-release, sustained attention, tool use and hand strength, plus the tactile input some children actively seek.
How to make sensory-bin fine motor activities for preschoolers easier: skip dry beans and small pasta entirely, use a wide bin so scooping does not need accuracy, and keep a paper towel roll or a small dustpan and brush beside the tray so cleanup is part of the game. Over the sink or outdoors is the easiest clean-up of all.
For sensory-sensitive or autistic preschoolers, swap the bin for a dry, low-texture version: kinetic sand, a bowl of smooth packing rice, or even plastic spoon play with dry pasta shapes. Fiddly, crumbly or noisy materials are exactly what some children avoid, and a bin that ends in a meltdown teaches nothing. If your child needs more input before and after the activity, our proprioceptive activities for kids at home are a good pairing.
Choking risk applies here too: sit close for dry beans and small dried pasta, keep the container shallow, and do not let a child eat or mouth the contents. Wash hands afterwards, and vacuum or sweep the tray rather than shaking it out.
Frequently Asked Questions
How long should a fine motor activity be for a preschooler?
About two minutes of focused activity per year of age is a realistic target: roughly six minutes for a three-year-old and eight minutes for a four-year-old. Quality beats duration — a short session where your child stays engaged builds more than a long one that ends in tears. Stop while the interest is still there, then come back to the same activity another day rather than pushing through resistance.
How do I help my 3 year old with fine motor skills?
At three, focus on single-handed, large-object work before anything demanding. Stacking big blocks, tearing paper, poking holes in dough, and scooping with a large spoon all build hand strength without crowding two hands together. Save threading small beads, cutting and pencil writing for later, when attention and finger isolation have caught up. Short, repeated play beats one complicated session.
How can I improve fine motor skills in a 4 year old?
Four-year-olds are ready for more precise work: threading smaller beads, using tongs and tweezers, cutting along thick lines with blunt-tip safety scissors, and drawing with short thin tools that encourage a mature grasp. Add real self-care tasks — buttoning, zipping, unscrewing lids — because those are the skills that matter most at school. Keep each activity to about eight minutes and change the challenge as they succeed.
What are good fine motor activities that need no supplies?
Household items cover nearly everything: cup stacking, tearing magazine pages, winding yarn around a cardboard tube, sorting coins or dry cereal into a muffin tin, cutting play-dough with a plastic knife, and opening and closing plastic containers. A towel on the table and a tray to catch spills is the only setup most of these need. Nothing has to be bought to build real hand strength.
How do I know if my child needs occupational therapy?
Talk to your pediatrician if your child consistently avoids drawing, colouring or lacing tasks, drops things constantly, has difficulty holding a crayon even with a fat grip, cannot fasten large buttons, or loses skills they once had. Another sign is a clear difference between what the child can do with one hand versus two. Occupational therapists can assess grip, muscle tone, coordination and sensory response, and early help tends to work better than late help.
How do I adapt fine motor activities for a sensory-sensitive child?
Change the material, not the goal. Swap dry rice for kinetic sand or smooth packing rice, replace crumbly modelling dough for a firmer one, offer a chunky crayon instead of a thin one, and skip noisy containers. Start with dry materials, which give predictable feedback without sticking to hands, and keep the bin shallow and within reach so the child can control the pace. You can also cut a straw shorter and tape it to a tongue depressor so the grip is easier to maintain.
Where to Start
Pick one activity from this list that your child already chooses on their own, set it up in under five minutes, and let the session end while they are still enjoying it. Ending on a high note is what makes tomorrow’s attempt possible, and repetition is what actually builds the hand muscles.
Two more things worth keeping in your pocket. Big-muscle play first, then fine work — the steady hand comes from the shoulders and trunk as much as the fingers. And do big-muscle, fine motor and sensory activities all double as practice for the everyday stuff: buttons, zippers, cups and lids are the skills your child will need most, so fold them into real routines whenever you can.