To know how to pick a safer water bottle for kids, start with the child’s age and daily routine, then check every part that touches the water: the body, the lid, the straw or spout, the gasket, any coating, and how an insulated bottle is sealed. A BPA-free sticker covers one of those seven things and only one.
Children drink more water per kilogram of body weight than adults, and their endocrine systems are still developing, so anything that leaches out of a bottle reaches them at a higher concentration than it would reach you. The National Institute of Environmental Health Sciences, the CDC, and the CPSC all treat food-contact materials as a separate question from the bottle’s shape, color, or brand name. None of them is risk-free. The job is to narrow the exposure and then buy something your child will actually use and you will actually wash.
This is the process I use, roughly ten minutes in the aisle or on the sofa with your phone.
Table of Contents
- What You Need to Pick a Safer Water Bottle for Kids
- Step-by-Step
- Step 1: Set Your Child’s Needs Before Shopping
- Step 2: Check Materials for a Safer Water Bottle for Kids
- Step 3: Look for a Secure, Easy-to-Use Lid
- Step 4: Choose a Bottle That Is Easy to Clean
- Step 5: Match Size, Weight, and Insulation to Daily Use
- Step 6: Test Durability, Portability, and Labeling
- Step 7: Buy From a Seller With Clear Return Policies
- Common Mistakes
- Frequently Asked Questions
- What material is safest for a child’s water bottle?
- Are stainless steel or plastic water bottles safer for kids?
- How do I know if a water bottle lid is leak-resistant?
- Can young children use a water bottle with a straw?
- How often should I replace a reusable kids’ water bottle?
- Is an insulated water bottle hard to clean?
- Conclusion
What You Need to Pick a Safer Water Bottle for Kids
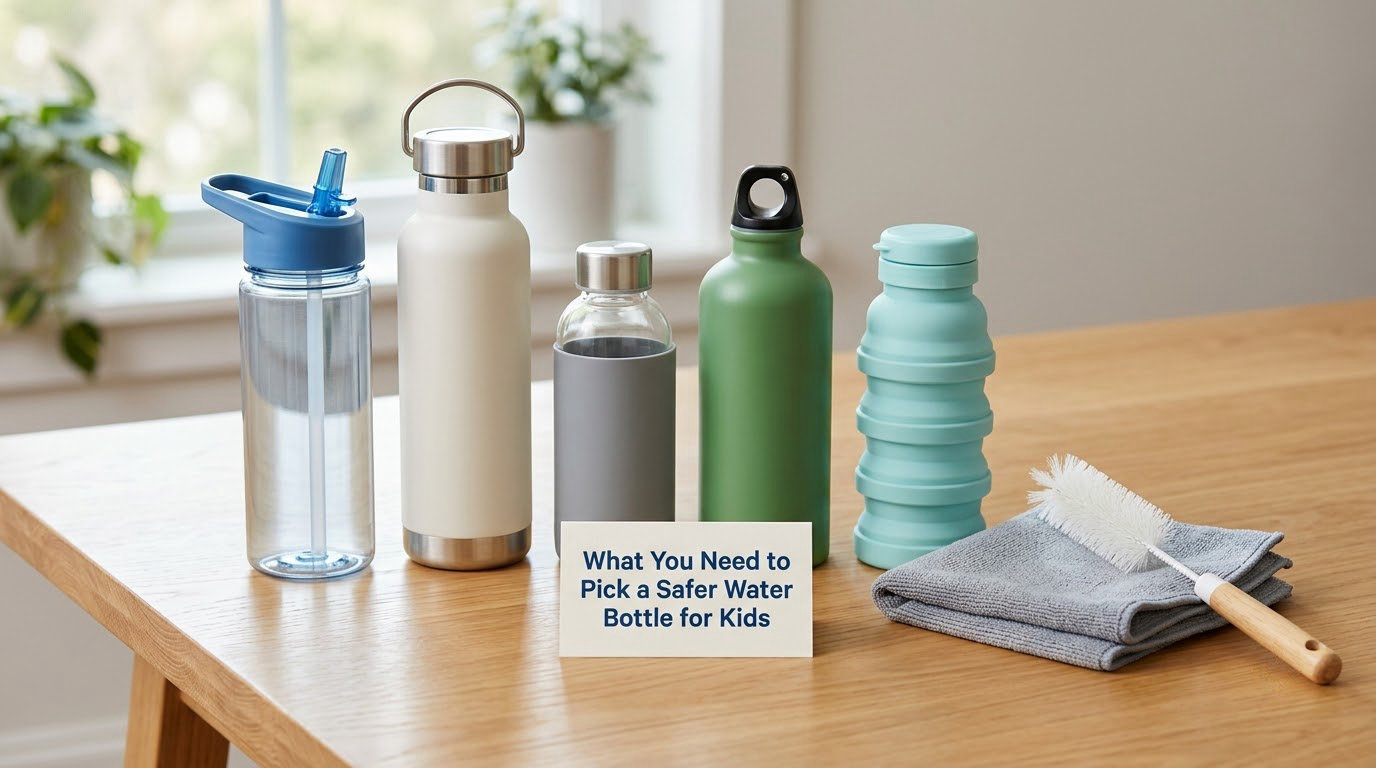
Before you compare anything, you need four facts about your child, not about bottles.
- Age and hand coordination. A three-year-old opening a screw lid and a ten-year-old opening a flip-top are two different shopping problems.
- Sensory preferences. Some children object to the sound of a click, to a cold metal surface, or to a straw in their mouth. Others need the same object every day with no variation.
- Where the bottle lives. A backpack all day, a lunchbox, a soccer bag, a car cup holder, and the dinner table each punish a different weakness.
- How you will clean it. If the lid has eleven parts and you only have a minute at bedtime, that decides the bottle more than the material does.
If your child has a medical fluid restriction or a special diet, take those instructions from their pediatrician rather than from a product listing. Nothing below replaces that guidance.
Step-by-Step
Step 1: Set Your Child’s Needs Before Shopping
Write down the child’s age, how much they drink on a school day, and who fills the bottle. If they carry it themselves, the weight when full matters as much as the capacity, because a bottle they cannot lift is a bottle they will ask you for. For preschool and daycare, independence is usually the top functional priority, ahead of insulation and color.
Step 2: Check Materials for a Safer Water Bottle for Kids
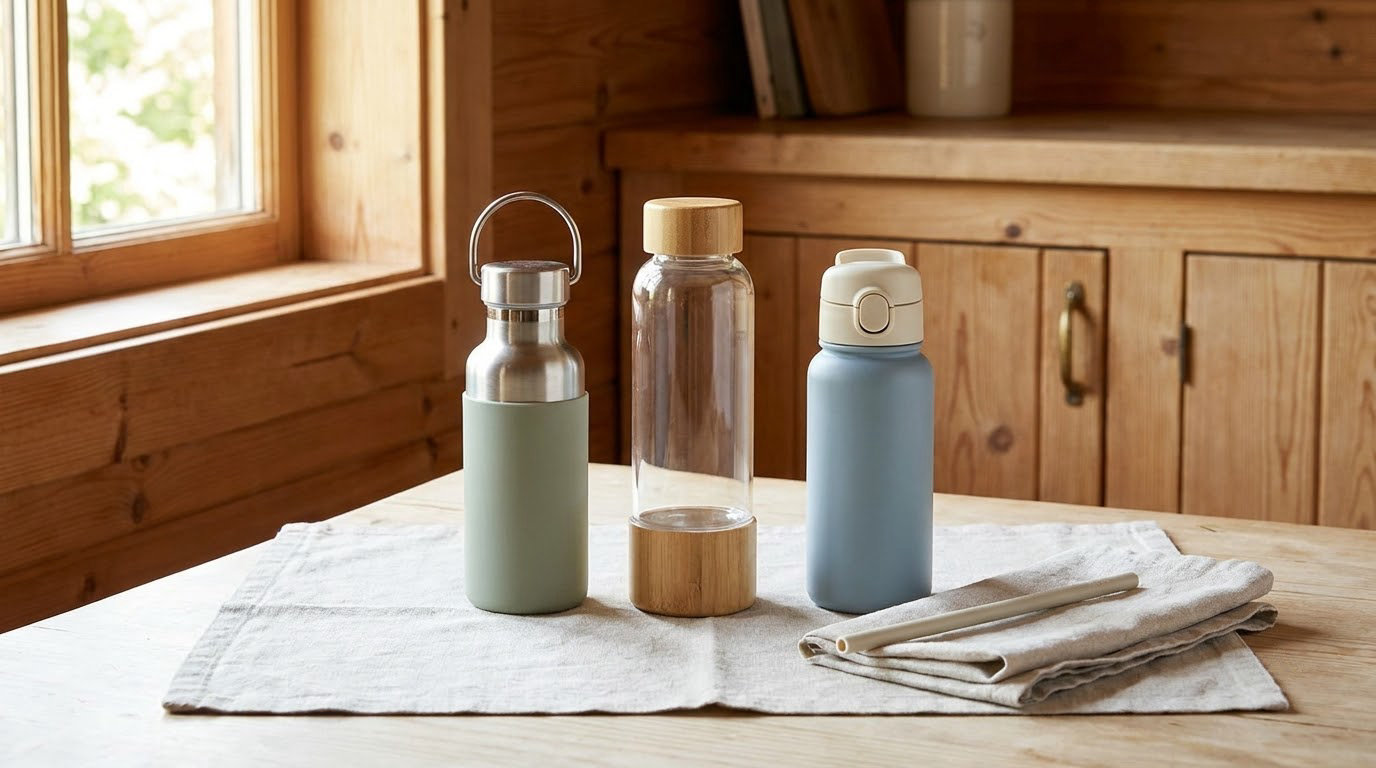
Ignore vague words like eco-friendly and non-toxic. Look for a specific material and a specific claim: food-grade silicone, 18/8 stainless steel, borosilicate glass, or Tritan copolyester. BPA-free is a floor rather than a ceiling, because some manufacturers substitute other bisphenols such as BPS or BPF after BPA is ruled out, and those substitutes are less thoroughly studied.
| Material | Safety | Weight when filled | Breakage | Cleaning |
|---|---|---|---|---|
| 18/8 (304) stainless steel | No added plastic lining in quality models; watch how the vacuum seal is done | Heaviest | Dents, does not shatter | Wide-mouth models wash easily |
| Borosilicate glass | Inert, no leaching of the kind plastics raise | Heavy | Shatters, including inside a protective sleeve | Easy, unless the lid hides a straw channel |
| Tritan copolyester | Bisphenol-A free; not a guarantee about every other additive | Light | Scratches and clouds over time | Hand-wash to stay clear |
| BPA-free plastic | Varies widely by maker; check the entire lid, not the body | Lightest | Survives drops | Dishwasher-safe lids vary by brand |
| Food-grade silicone | Used mainly for gaskets and sleeves, rarely as a body | Light | Tears if chewed | Scrub the seams |
On glass, the honest answer is that a sleeve is not a guarantee. A first-grade teacher on the BabyCenter community forum reported two children in two years shattering the bottoms of sleeved bottles at school, and she now advises against glass for classroom use.
Step 3: Look for a Secure, Easy-to-Use Lid
The lid decides whether a bottle survives a school year, because it is the part that touches your child’s mouth and takes the most abuse. Look for a cover over the drinking opening when the bottle lives in a backpack, and for parts a small child cannot pop off and swallow.
For a child who chews, skip silicone-tipped straws and look for a hard plastic straw tip, which is what one parent on r/specialneedsparenting asked for directly. Parents on the What to Expect forum described the opposite failure repeatedly: sippy spouts that were chewed until they disintegrated, sometimes within six months. Their workaround was to drop straws entirely and give a small-mouth bottle with a silicone-seal lid that the child drinks from like a cup.
Skip lids with pinch points, springs your fingers can catch, and mechanisms needing more than one hand. Check that it opens and closes with one hand before you leave the house.
Step 4: Choose a Bottle That Is Easy to Clean
A safer bottle that is never washed is not safer. Count the removable parts and picture washing them at 9pm on a Tuesday. Favor a wide mouth you can get a hand or a bottle brush into, a lid that comes apart fully, and dishwasher-safe parts that the manufacturer states in writing rather than in a photograph.
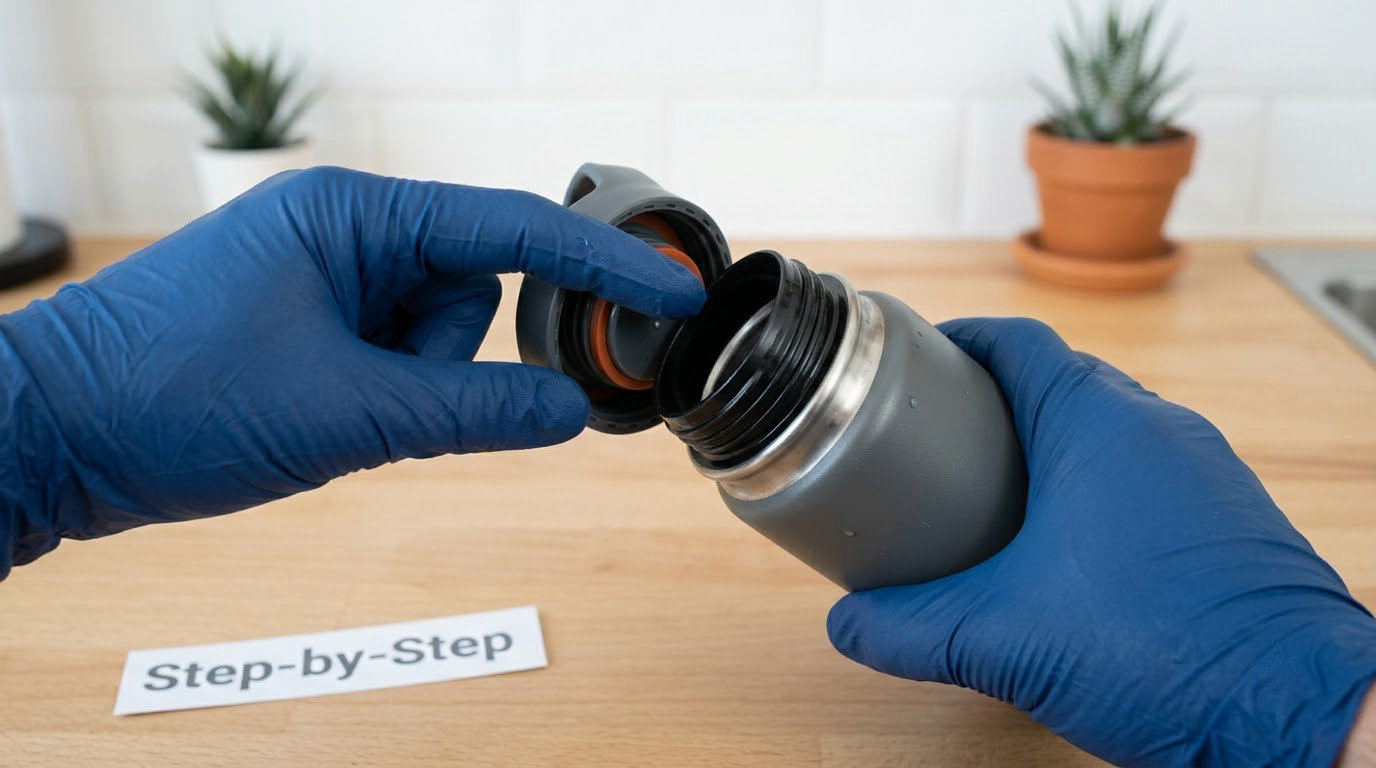
Straw channels are where mold hides. If the straw cannot be removed and run through with a brush, expect to replace it on a schedule rather than clean it properly. Silicone gaskets sit in the same category, and they are usually cheap to buy separately.
Step 5: Match Size, Weight, and Insulation to Daily Use
Insulation is worth it when the bottle sits unrefrigerated all day or when a child plays outdoors in heat. It is unnecessary when the bottle lives in a school fridge or comes home at lunch, and it is a real cost in weight and in cleaning, because double walls narrow the opening and welded seams are less pleasant to scrub.
| Age band | Typical capacity | Approximate filled weight | Note |
|---|---|---|---|
| Toddler (1-2) | 10-14 oz | 1-1.5 lb with a steel body | Lighter plastic body often serves better |
| Preschool (3-5) | 12-16 oz | 1.5-2 lb if insulated | The point at which weight starts to matter |
| School age (6-11) | 16-20 oz | 2 lb or more if insulated | Must survive a backpack side pocket |
| Tween and teen | 18-24 oz | 2-3 lb if insulated | Cup holder fit starts to matter |
For a child who opens their own bottle, a lightweight plastic body under 14 oz often beats an insulated steel one they cannot lift.
Step 6: Test Durability, Portability, and Labeling
Run this test yourself before the bottle reaches a backpack: fill it to the top with water, put the lid on as you normally would, turn it upside down over the sink, and shake it hard for ten seconds. Any water at the lid means it will not survive a lunchbox. Manufacturers advertise splash resistance and true leak-proof sealing as different things.
Then check the rest of the build: a flat base that stands without a kickstand, a carry loop that fits a finger, a diameter that fits a backpack pocket or a car cup holder, and care information you can actually read. Look for a stamped steel grade on metal bodies, and check the maker’s recall notices before the school year rather than after something goes wrong.
For a child with sensory needs, the finish and the mechanism matter more than most guides admit. Matte or opaque surfaces read very differently from high-gloss, a two-way valve or a wide-grip shape reduces the effort of opening, and offering two or three colors lets a child choose without changing the whole routine.
Step 7: Buy From a Seller With Clear Return Policies
Before you pay, find out whether replacement straws, gaskets, and lids exist for this exact model. Parents in these threads treat that as the deciding factor, and one parent found it pays to contact the manufacturer directly rather than buying single parts through a marketplace. Check the warranty length, the return window, and whether a damaged lid can be replaced without replacing the whole bottle.
Give any new bottle a trial period at home, unboxed, for two weeks. That is long enough to hit every cleaning cycle and one full school week, which is when fit problems show up.
Common Mistakes
Shopping by color and character first is the most common error, because a bottle a child loves gets used and a safe bottle they refuse sits empty. Choose the material and lid first, then let your child pick among bottles that pass.
The second mistake is treating BPA-free as finished. It describes one chemical in one part, and it says nothing about the lid, the gasket, or the vacuum seal. Read the material list for every component that touches water.
The third is buying too big. An oversized insulated bottle weighs more when full than a preschooler can comfortably lift, and the child ends up asking for help, which defeats the point of a water bottle they carry.
The fourth is assuming all plastic is unsafe and all plastic is equally safe at the same time. Tritan, polypropylene lids, and BPA-free plastics behave differently, and a hard plastic body is often the most practical choice for a young child. Decide from the specific polymer, not from the word plastic.
The fifth is skipping the care instructions. A bottle that requires hand-washing and a part the dishwasher will warp will quietly stop being washed correctly.
The sixth is failing to check that replacement parts exist. If no straw, gasket, or lid is sold separately, you are buying a whole new bottle every time one small piece cracks.
Two final tips. Keep one backup bottle so cleaning never becomes the reason a child skips water, and check the recall page for insulated bottles at the start of each school year rather than trusting the packaging.
Frequently Asked Questions
What material is safest for a child’s water bottle?
Food-grade 18/8 stainless steel is the most common answer, because it does not leach plastic additives and it does not shatter. Stainless steel also draws heat from a child’s hand, which some sensory-sensitive children dislike, and the vacuum seal is where lead or other metals can enter a bottle. Tritan copolyester and BPA-free plastics are reasonable second choices for toddlers who need something light. Glass is inert but breaks. No material is completely risk-free, so check every part that touches water, not just the body.
Are stainless steel or plastic water bottles safer for kids?
Stainless steel wins on chemical questions and loses on weight and temperature. It is lighter to carry only in the sense that a small plastic bottle beats a large steel one, but filled weight matters more than empty weight for a young child. Plastic is more forgiving of drops and easier for small hands to work. Many families end up with both: steel for school days and a lightweight plastic bottle for outings, snacks, and travel.
How do I know if a water bottle lid is leak-resistant?
Look for a threaded seal or a locking mechanism rather than a simple press fit, and check whether the manufacturer distinguishes leak-proof from splash-resistant. Then test it: fill to the top, close the lid as you normally would, invert it over the sink, and shake hard for ten seconds. No water means the seal held under the conditions a backpack creates. Retest after a few weeks, because seals loosen and hard water leaves deposits that change the fit.
Can young children use a water bottle with a straw?
Yes, once a child can sit and drink from a straw reliably, usually around a year old. Choose a short straw, check the length against your child’s mouth, and avoid a cap a child can tip over, which lets them suck air or spill. Many parents move away from straws earlier than expected because children chew the silicone tip, which is the most common failure parents describe. A hard plastic straw tip or a small-mouth lid without a straw avoids the problem entirely.
How often should I replace a reusable kids’ water bottle?
Replace the body when it cracks, dents deeply, scratches into a rough surface, or develops a smell you cannot remove. Replace the parts on a shorter cycle: straws every few weeks if your child chews them, gaskets when they flatten or the lid starts leaking, and lids when hinges loosen. Keep a spare set on hand so a cracked gasket never becomes a reason to send your child to school without water. Follow the maker’s care instructions for the full schedule.
Is an insulated water bottle hard to clean?
Usually more than a single-wall bottle, though not badly if the mouth is wide. The narrow neck of a double-wall body is the main obstacle, and the sealed base cannot be scrubbed from the inside at all. Choose a wide-mouth insulated design if your child will use it daily, and put the lid on the top rack of the dishwasher if the manufacturer allows it. If you cannot reach the inside of the straw channel with a brush, plan to replace the straw rather than trying to rinse it.
Conclusion
To pick a safer water bottle for kids, work in a fixed order. Start with your child’s age, coordination, sensory preferences, and daily schedule, because those eliminate most options before you compare a single material. Then check the body, the lid, the straw, the gasket, and the insulation seal as one system rather than as separate claims. Test the seal over the sink, wash every part on purpose, and confirm replacement parts exist before you leave the store.
If anything in your child’s routine is driven by medical advice, bring that conversation to their pediatrician rather than to a product page.