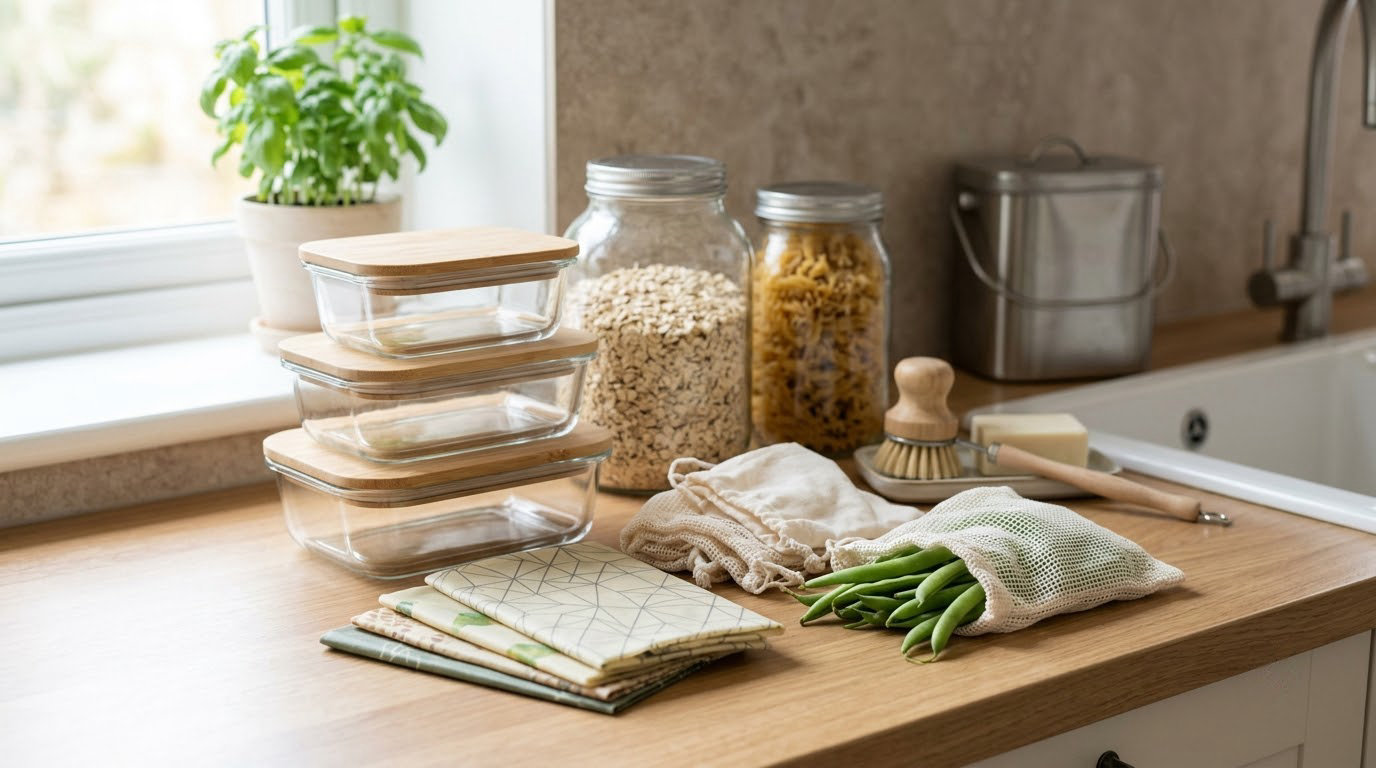
If you want to reduce plastic in the kitchen without replacing everything at once, start with the items you touch every day: zip-top bags, takeout containers, plastic wrap, scrub sponges, and storage lids. Swap those for glass jars, silicone bags, beeswax wraps, wood and stainless utensils, and washable cloths, then add more changes as the old items wear out. Most families get through the bulk of it in a few weeks of steady swaps, and it costs very little if you buy one thing at a time.
That is the honest version of this advice, because the tidy plastic-free kitchen online usually starts with an empty cabinet and a big pile of money. This guide is built for real kitchens, small ones included, and for households where a child has allergies, a sensory sensitivity, or a feeding routine that depends on equipment you cannot swap out.
Two things matter more than the shopping list. The first is knowing which plastics actually shed into food, so you spend effort where it counts. The second is that food storage safety does not bend for sustainability: cool food fast, refrigerate within two hours, and follow the same temperatures you always have.
Table of Contents
- What You Need
- Step-by-Step
- 1. Audit the plastic items you use most
- 2. Replace single-use food and drink items
- 3. Choose safer everyday storage
- 4. Rethink cooking tools and appliances
- 5. Make grocery shopping lower-plastic
- 6. Clean and maintain the kitchen with less plastic
- 7. Build a system you can actually maintain
- Common Mistakes
- Frequently Asked Questions
- What is the safest way to start reducing plastic in the kitchen?
- Are glass containers safe for the microwave and dishwasher?
- How do you store leftovers without plastic wrap or containers?
- Is it affordable to reduce plastic in the kitchen?
- Which kitchen utensils do not release microplastics?
- When is it not realistic to remove plastic from the kitchen?
- Start With the Most-Used Plastic Items
What You Need
You do not need a whole new kitchen. You need a short list of durable replacements in five categories, plus a few minutes of attention to what you already own.
- Glass or stainless storage. Glass jars you already have, borosilicate containers, and stainless canisters for pantry goods.
- Wood, bamboo, or silicone utensils. Spatulas, spoons, tongs, and strainers that will not scratch a nonstick surface or shed into hot food.
- Washable produce bags and a canvas or nylon shopping bag that lives by the door.
- Bulk and returnable packaging at whatever stores you actually have nearby, not the ones an article assumes exist in your town.
- Lower-plastic cleaning supplies: washable dishcloths, cellulose or coconut fiber scrubbers, and refillable or bar options where they make sense.
Before buying anything, check compatibility. Many reusable containers are not microwave safe because of a plastic seal ring or a printed ink layer, and some wood boards cannot go in the dishwasher. Read the manufacturer instructions rather than assuming a product behaves like the one it replaced.
One category deserves patience: medical equipment, feeding supplies, adaptive utensils, and anything a therapist or doctor has recommended. Keep those until a suitable alternative is in your hands and has been tested with the person who depends on it. Plastic-free is not a goal that outranks safety, mobility or nutrition.
Step-by-Step
1. Audit the plastic items you use most
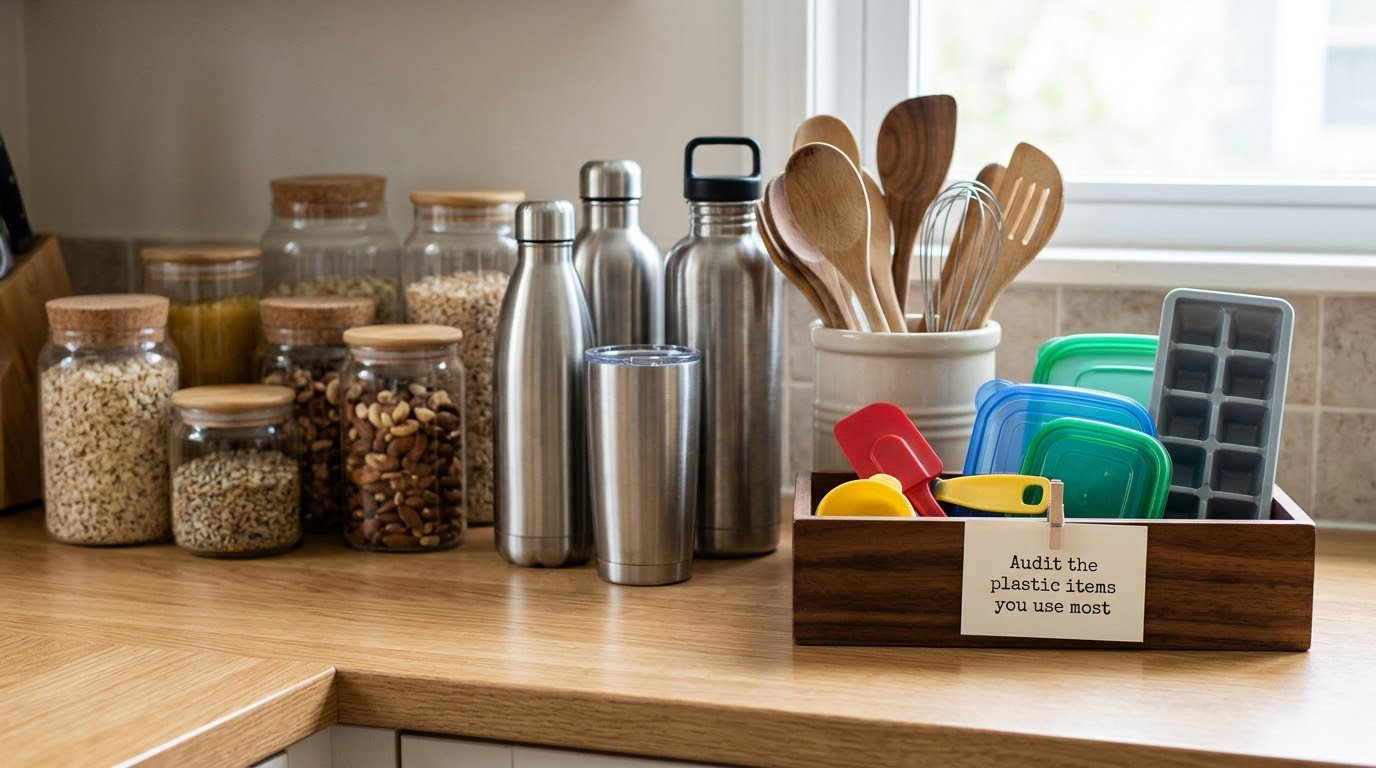
Pull out the plastics you actually touch. Most kitchens contain far fewer high-use items than people assume: a stack of zip-top bags, a roll of cling film, a sponge or two, a takeout container, a water bottle, a sippy cup, and a set of scratched storage lids.
Sort them into two piles. High priority is single-use and replaced constantly: bags, wrap, straws, deli containers, coffee cups, produce bags. Low priority is durable stuff that already works: a cutting board in decent shape, a colander, a measuring cup set. Low priority means later, not never.
A simple inventory method that works: a notes app list with a tally next to each item, and mark it again a week later. The number that goes up fastest is your first purchase. Families posting in r/ZeroWaste tend to reach the same conclusion, that the win is in repetition rather than in a dramatic purge.
How do you know the audit worked? By the end of the week you can name your top three plastic items without opening the cabinet, and at least one of them has a replacement in your budget or already in a drawer.
2. Replace single-use food and drink items
This is where most of the waste goes, and where the payoff is fastest. A silicone zip bag does the job of a freezer bag for prepped produce or a sandwich half. Beeswax wraps handle cheese, herbs, a bowl of dough, and a leftover plate; they are unreliable for liquids, so keep a jar or a lidded container for soup and leftovers with moisture.
For coffee and water, a stainless travel mug and a bottle you actually like drinking from beat a paper cup every day of the year. For takeout, ask whether the order can go into a container you bring. It cannot always, and that is fine; a request declined is not a failure.
For families packing lunches, the switch that sticks is a stainless container with a snap lid for wet foods and a small glass jar for dry snacks. Many people on r/PlasticFreeLiving report stainless lunch boxes still going years later, while plastic lids yellow and warp in the dishwasher.
There are legitimate reasons to keep a disposable option on hand. Individually packed medical-adjacent snacks, food for a person who cannot handle a reusable container, takeout from a restaurant that requires its own container. Plan for that rather than pretending it does not happen.
The signal that this step landed: your bin no longer has cling film or a stack of baggies in it at the end of the week.
3. Choose safer everyday storage
Glass is the workhorse here. Jars from pasta sauce and pickles are free storage, and mason jars in two or three sizes cover most leftovers, dry goods, and snacks. They are nonporous, they do not absorb odors or stains, and they survive a dishwasher and most microwaves if they are plain, undamaged, and marked microwave safe.
Stainless canisters work for the pantry and for items that do not go in the fridge. Silicone stretch lids seal odd-shaped bowls better than wax wrap does. For the freezer, choose containers rated for freezing, leave headspace for expansion, and let food cool before the lid goes on.
Know the limits. Oven-safe glass needs to be borosilicate or tempered and rated for the temperature you are using. Seals with plastic rings are usually the part that fails in the microwave or dishwasher, so check the whole lid, not just the body. And never microwave a container with a metal rim or a cracked, cloudy, or scratched body, because damaged glass can fail under heat.
Still using plastic containers for now? Put them in a bin you open first, and move them down the list as lids warp and bases get cloudy.
4. Rethink cooking tools and appliances
Wood, bamboo, stainless steel, and ceramic all do things plastic does badly: they take heat, they do not scratch, and they do not shed particles. A wooden spoon, a metal tong, a silicone scraper that is rated for heat, and a metal strainer cover most of what a kitchen does daily.
That is not a claim that any material is risk-free. Wood needs drying and oiling, and porous wood can hold on to bacteria if you leave it wet. Silicone turns gummy and permanently stained once it has been heated past its rating. Nonstick coatings, even the ones marketed as plastic-free, lose their surface if you use them on high heat with a metal utensil, so treat a pan as the coating it is.
Replace worn tools instead of throwing away usable ones. A dedicated plastic cutting board that has deep knife grooves is worth replacing, because those grooves trap food and require more scrubbing, which is itself a plastic-shedding problem. A hairline scratch in a plastic container is not an emergency. A scorched nonstick pan whose coating is flaking is.
Small appliances are the overlooked plastic. Blender jars, food processor bowls, coffee makers, electric kettles, and air fryer baskets often have plastic housings that never come off. Do not throw away a working appliance over it; instead, limit contact. Keep the kettle filled with water you would drink rather than water that has been reheated repeatedly, and consider a glass carafe or a pour-over setup if your coffee maker sheds on every brew. Follow the manual on every appliance you keep.
5. Make grocery shopping lower-plastic
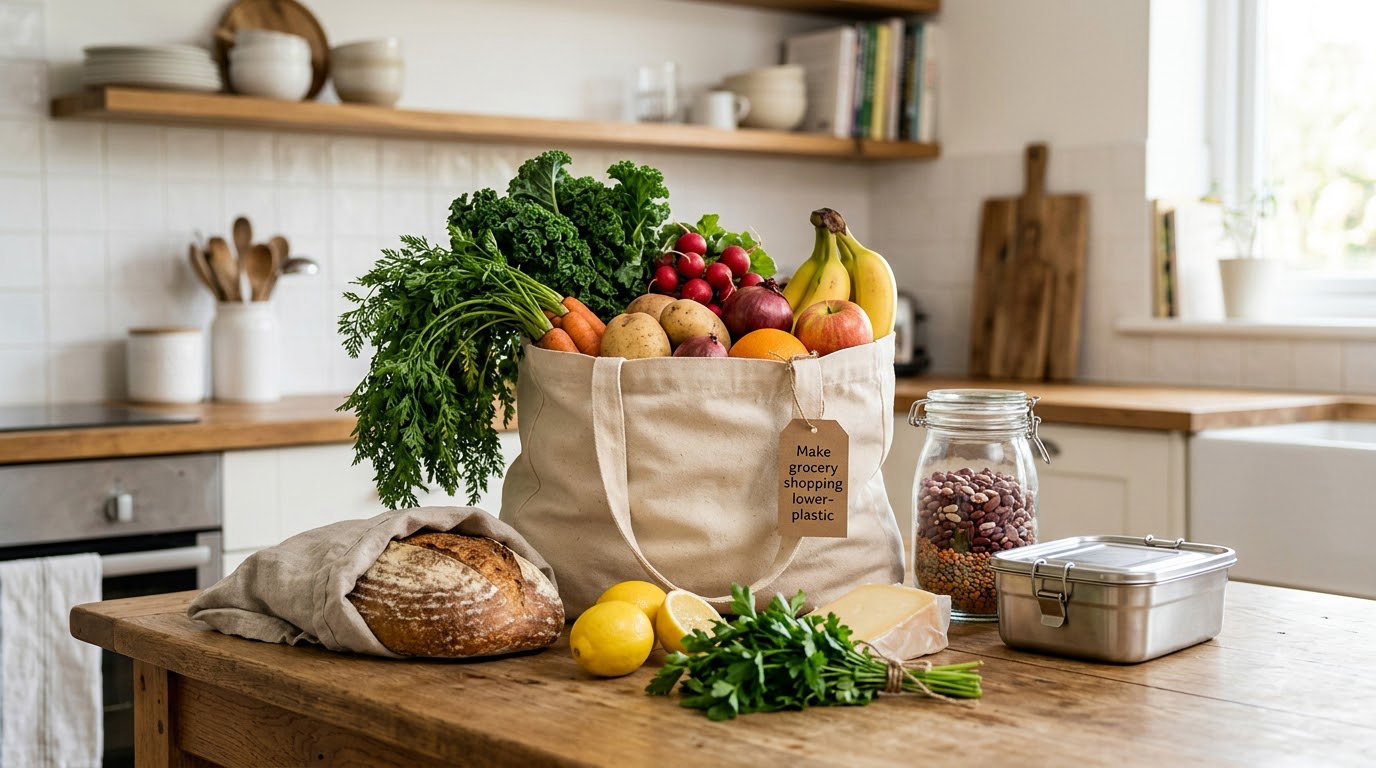
At the store, the wins are unglamorous: loose produce instead of clamshells, dry goods from a bulk bin into your own jar, block cheese you slice at home, and refills when a store offers them. Skip the produce aisle entirely and say no to the plastic bag when you are paying, whether or not the clerk is watching.
Where there is no bulk store within reach, this gets harder and honesty helps. Buy the largest package you will actually finish, and move it into a glass or stainless container at home so the next purchase is smaller. For meat, cheese, and deli items that almost always come wrapped, ask the counter for paper or bring your own container; some will, some will not.
For caregivers shopping for a child with allergies or sensory needs, packaging reduction can stress the label-reading routine you depend on. Keep a backup container in the bag, check the label before you leave the store rather than after unpacking, and ask staff about ingredients instead of relying on a print too small to read.
Cloth produce bags weigh nothing at checkout and pack flat in a drawer, which makes them far easier to keep using than a rigid tote.
You will know this worked if your grocery trash changed shape: fewer twist ties and fewer thin film bags, and more jars sitting in the pantry.
6. Clean and maintain the kitchen with less plastic
The dishwasher is not plastic, but a worn dishwasher rack coating and a scratched sponge both shed more than most people expect. Replace sponges with washable dishcloths for everyday dishes, and use a cellulose or coconut fiber scrubber for stuck food. A loofah or natural sponge handles the bigger jobs. Wood and fiber scrubbers dry between uses, and compost when they are done.
Bar soap or a refillable dispenser replaces the plastic bottle on the sink. For cleaner made at home, white vinegar and baking soda handle most routine kitchen jobs. Safety rules still apply: follow the product directions, ventilate, and never mix cleaning chemicals, including bleach with vinegar or with ammonia.
Dishwasher racks, utensil baskets, and silicone seals are the parts people forget. If your rack coating is flaking, contact the manufacturer about a replacement rather than leaving it to wear down over years.
7. Build a system you can actually maintain
Habits fade without a home. Give every replacement a drawer or a shelf it lives in, so it is not a hunt at 5pm. Run a ten-minute reset once a week: dry the wood, wash the cloths, count what ran out, and put the next month’s single purchase on a list.
Buy in stages. One new item a month is a perfectly good pace and it matches how things wear out rather than how a sale calendar works. When something breaks, replace that one thing, and reach for the drawer where the spare lives.
A workable first month looks like this: week one, audit and swap your top three single-use items; week two, replace the sponge and add washable produce bags; week three, start cooking with wood and metal tools and retire the scratched plastic board; week four, review what survived and what quietly went back to the drawer. Anything that failed has told you something useful about your household, and that is not a failure of the plan.
Track the result, not the perfection. A note on your phone that says how many plastic bags went in the bin this week is enough.
Common Mistakes
Buying every replacement at once. It costs a lot, it clutters the kitchen, and half of it ends up unused. Fix: one item per month, chosen by what broke or ran out.
Ignoring heat compatibility. A container with a plastic seal or a printed ink layer can warp in the microwave or leach into hot food. Fix: read the temperature guidance, and never heat a container that is cracked, deeply scratched, or not rated for it.
Scrubbing plastic too hard. Abrasive powders and stiff brushes wear the surface that was keeping particles in. Fix: wash plastic with warm water and a soft cloth, and skip the scouring powder on anything you hope to keep using.
Assuming reusable means plastic-free. Silicone lids often include a plastic ring, and glass jars have plastic liners in some lids. Fix: read the material list, and choose the fully metal or fully glass version when that matters to you.
Forgetting food storage basics. Reducing plastic is the goal, not food safety. Cool leftovers promptly, refrigerate within two hours, and cook to the safe internal temperature: 165F for poultry, 160F for ground meat, 145F for whole cuts and fish.
A few extra tips that help: keep using what you own until it fails; borrow a container from a neighbor before buying a new set; and if a swap fails twice, write down what broke and let that item go rather than fighting it.
Frequently Asked Questions
What is the safest way to start reducing plastic in the kitchen?
Start with the single-use items you use most, such as zip-top bags, cling film, and scrub sponges. Count them for one week, then replace the top two with something you already own or can buy cheaply, like a glass jar or a washable dishcloth. Reusing what you already have costs nothing and finishes a plastic item before a new one is bought, which matters more than perfecting a list.
Are glass containers safe for the microwave and dishwasher?
Usually, but check each container. Plain, undamaged borosilicate or tempered glass marked microwave safe works in most microwaves, and most glass containers handle a dishwasher well. Containers with plastic seal rings, metal rims, or printed decorations may not. Never microwave a container that is cracked, deeply scratched, or cloudy, because damaged glass can fail under heat. Follow the manufacturer’s instructions.
How do you store leftovers without plastic wrap or containers?
Use glass containers with snap lids for anything wet or saucy, and beeswax wraps for cheese, cut produce, and a plate of food that needs a breathable cover. Wax wrap does not seal liquids reliably, so soups and curries belong in a jar or lidded container. Silicone stretch lids handle odd-shaped bowls well. Refrigerate leftovers within two hours and cool them in shallow containers so heat dissipates faster.
Is it affordable to reduce plastic in the kitchen?
It can be, especially if you stage it. Replacing an item only when it wears out spreads the cost across months rather than a single weekend, and using up jars and containers you already own costs nothing. Buying in small quantities also means fewer unused items taking up cabinet space. Skip bulk deals on things you will not use, because a cheap item you never reach for is not a saving.
Which kitchen utensils do not release microplastics?
Wood, bamboo, stainless steel, glass, and ceramic utensils do not shed plastic particles, which makes them the simplest swap. Silicone is a reasonable choice when it is food-grade and kept within its heat rating, though it wears out and stains over time. Replace cutting boards that have deep knife grooves, since those grooves trap food and need harsher scrubbing. Avoid using any utensil that is already torn, cracked, or flaking.
When is it not realistic to remove plastic from the kitchen?
Keep plastic where it serves safety, access, or nutrition. That includes medical and adaptive feeding equipment a therapist has recommended, food served to someone who cannot safely use a reusable container, and appliance parts you cannot remove without destroying the appliance. Prepackaged food in a busy household, travel, and takeout from a restaurant using its own containers will also keep plastic in the picture. Progress in those areas is steady, not absolute.
Start With the Most-Used Plastic Items
If you do one thing this week, pick the disposable item that left your kitchen most often in the last seven days, find the replacement you already own, and use it for a full week before adding anything to the cart. Seven days is long enough to learn whether it actually fits your cooking, your cabinet space, and the people eating from it.
Then repeat. Most households that stick with this end up with a noticeably lighter trash bin within a couple of months, and they did it without a single big purchase. That is the whole method: how to reduce plastic in the kitchen is not a renovation, it is a habit built one worn-out item at a time.
Readers who want the science behind the swaps, including what actually degrades plastic and which tools shed the most, usually get more out of starting with one item than from reading another list. Pick the item. Track it for a week.