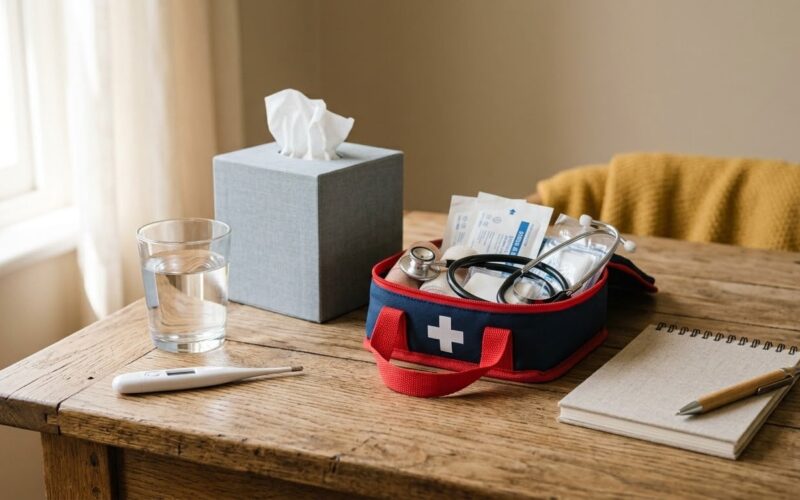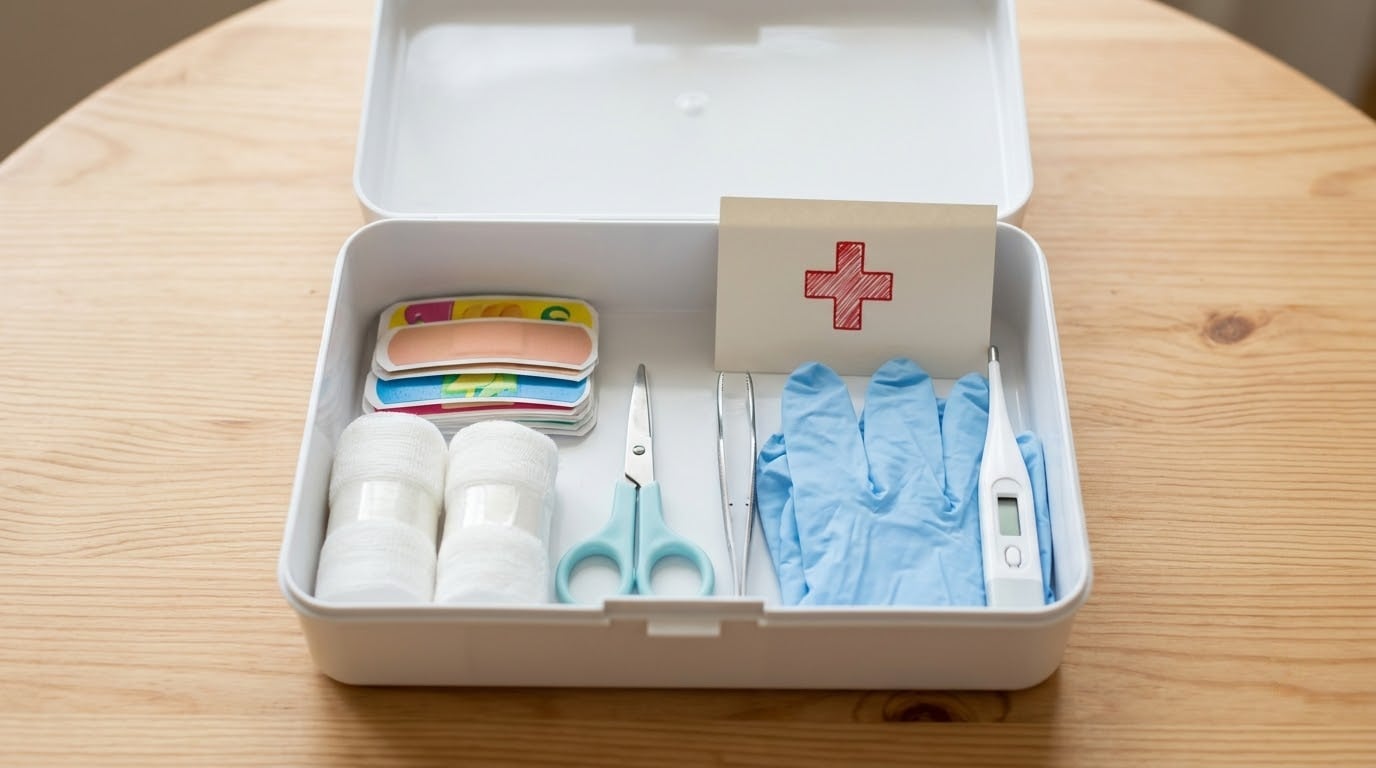
To make a first aid kit for kids, gather child-sized wound care supplies, your child’s prescriptions and allergy action plan in their original packaging, a digital thermometer, and a written emergency contact sheet, then pack them into a labeled, waterproof container every adult caregiver knows how to find. Set aside about an hour the first time and ten minutes a month for checks. This is general information, not medical advice, so every medication choice and dose comes from your child’s pediatrician or pharmacist.
Most of the work is deciding what your family actually needs, not shopping for hours. Families on this site often layer extra items in for allergies, asthma, sensory needs, or communication differences, and that personalization matters more than any brand name.
A useful starting point for the basic three C’s of first aid: check the scene is safe, check the child and the injury, then call for help when the situation is serious. A kit equips you for the first steps. It does not replace medical care.
Table of Contents
- What You Need to Make a First Aid Kit for Kids
- Wound care basics
- Allergy and asthma supplies
- Fever and illness basics
- Medication management materials
- Emergency information
- Accessibility adaptations
- Step-by-Step: How to Make a First Aid Kit for Kids
- Step 1: Plan How to Make a First Aid Kit for Kids
- Step 2: Add Everyday Wound-Care Supplies
- Step 3: Add Child-Specific Health and Emergency Supplies
- Step 4: Label and Store the Kit Safely
- Step 5: Check and Replenish the Kit
- Common Mistakes to Avoid
- Frequently Asked Questions
- What should I put in a first aid kit for my child?
- Should I buy a ready-made first aid kit or make my own?
- How should I store a child’s first aid kit safely?
- What special supplies should be included for a child with allergies?
- How often should I check and replace first aid kit items?
- What should I keep in a first aid kit for a child with medical or sensory needs?
- Conclusion
What You Need to Make a First Aid Kit for Kids
A complete pediatric first aid kit falls into six categories, and you can build it from supplies you already own. Many families start with a store-bought kit as a base and then add the items that matter for their own children.
Wound care basics
- Adhesive bandages in several sizes, including small ones sized for fingers and knees
- Sterile gauze pads and medical tape
- Sterile saline for rinsing a wound before you cover it
- Blunt-tip scissors and tweezers for clothing and splinters
- Nitrile or latex-free gloves
- An instant cold pack sealed in a pouch
Allergy and asthma supplies
If your child has a diagnosed allergy, asthma, or any condition with an emergency plan, that plan belongs in the kit in writing, along with every medication and device the plan names. Ask the prescribing clinician which items to keep on hand and how often to replace them.
Fever and illness basics
A digital thermometer, oral rehydration solution, and any other item your child’s clinician has told you to keep at home. Keep each medicine in its original container with the label and the child-resistant cap intact.
Medication management materials
A current medication list with the name, dose, and prescriber for each medicine, a pharmacy phone number, and a pen and card so refills get logged instead of guessed at. Ask your pharmacist about an extra labeled bottle for caregivers and school.
Emergency information
A card with the child’s full name, date of birth, allergies, primary and pediatrician phone numbers, insurance details, and the emergency contact for another adult. Add copies of any allergy action plan, asthma action plan, or school medical authorization form.
Accessibility adaptations
Picture-based instruction cards, a small social story that walks your child through finding the kit, comfort items like a favorite bandage character or a small fidget, and travel versions for the car, the backpack, and the caregiver bag. If your child cannot tell you where something hurts, keep the plan cards simple and visual.
One note on kit types you may see described online: retail kits are sometimes labeled by type, and a type 4 kit is the small personal kit intended for one person’s everyday use in a home, office, or vehicle. That is roughly the right size for the kit you are building here.
Step-by-Step: How to Make a First Aid Kit for Kids
Assembly goes faster than shopping lists suggest if you work through it in a fixed order. Choose the container first, fill by category, then document what is inside before you close the lid.
Step 1: Plan How to Make a First Aid Kit for Kids
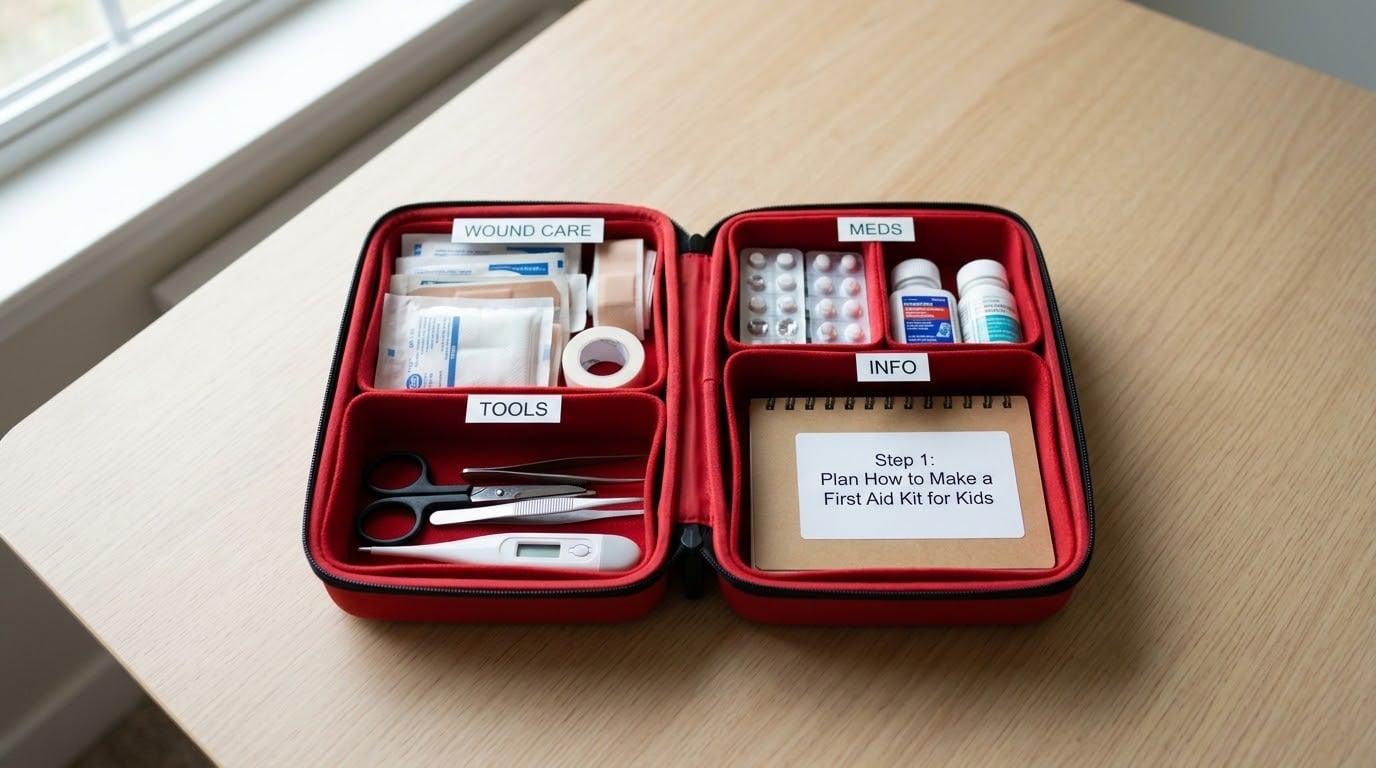
Three routes get you to the same place. Buy a ready-made kit if you want a complete baseline with no assembly decisions. Buy an empty kit if you want a sturdy case with a lid that stays shut and a handle that survives a backpack. Or repurpose a container you own, such as a plastic bin or a soft zippered pouch.
Choose based on who will reach the kit and when. A toddler-proof latch matters in a house with a three-year-old. A grab-and-go format matters if a sitter has to find gauze in the dark. Athletes and teen kids need something light enough to sit in a gym bag.
Write down your child’s age, activities, allergies, and any chronic conditions before you buy anything. That list answers most of the what-do-I-need questions before you hit the store aisle.
Step 2: Add Everyday Wound-Care Supplies
Start with the ten items that cover the vast majority of childhood injuries, then sort them into small pouches by purpose.
- Adhesive bandages in assorted sizes
- Sterile gauze pads
- Medical tape
- Sterile saline for rinsing
- Antiseptic wipes or spray
- Blunt-tip scissors
- Tweezers
- Nitrile gloves
- An instant cold pack
- A waterproof pouch or zippered bag for the whole kit
Bandage sizing is a small detail with a real payoff. A bandage that slides off a wiggly toddler’s knee gets thrown away after one use, so buy many small ones and keep them near the kit for quick restocking.
Store scissors and tweezers with the tips down inside a rigid case so a curious child cannot reach them unsupervised. A lidded container fixes most of that problem, but a loose pair of shears in an open bin does not.
Step 3: Add Child-Specific Health and Emergency Supplies
This is the step that turns a general kit into your child’s kit. Every item here should trace back to a written plan from a clinician rather than a guess from an internet checklist.
Add the allergy action plan and any prescribed emergency medication, the asthma action plan and inhaler if applicable, the thermometer, and anything else your child’s doctor or pharmacist recommends. Keep the medicines in their original child-resistant packaging, and never decant them into an unmarked container.
Print a medication list and an emergency contact card. Include the pediatrician’s after-hours number, the pharmacy, and a second adult who can be reached when you cannot. Put copies of school forms and any medical authorization in a slim folder inside the same container so everything leaves the house together.
Your child’s school nurse or the office that runs your child’s care will tell you exactly which documents they need on file, and most will hand you the form directly. Families who want the same paperwork ready for a hospital visit or a long trip can work through how to make a go bag for a child with medical needs and keep both packs stocked together.
Step 4: Label and Store the Kit Safely
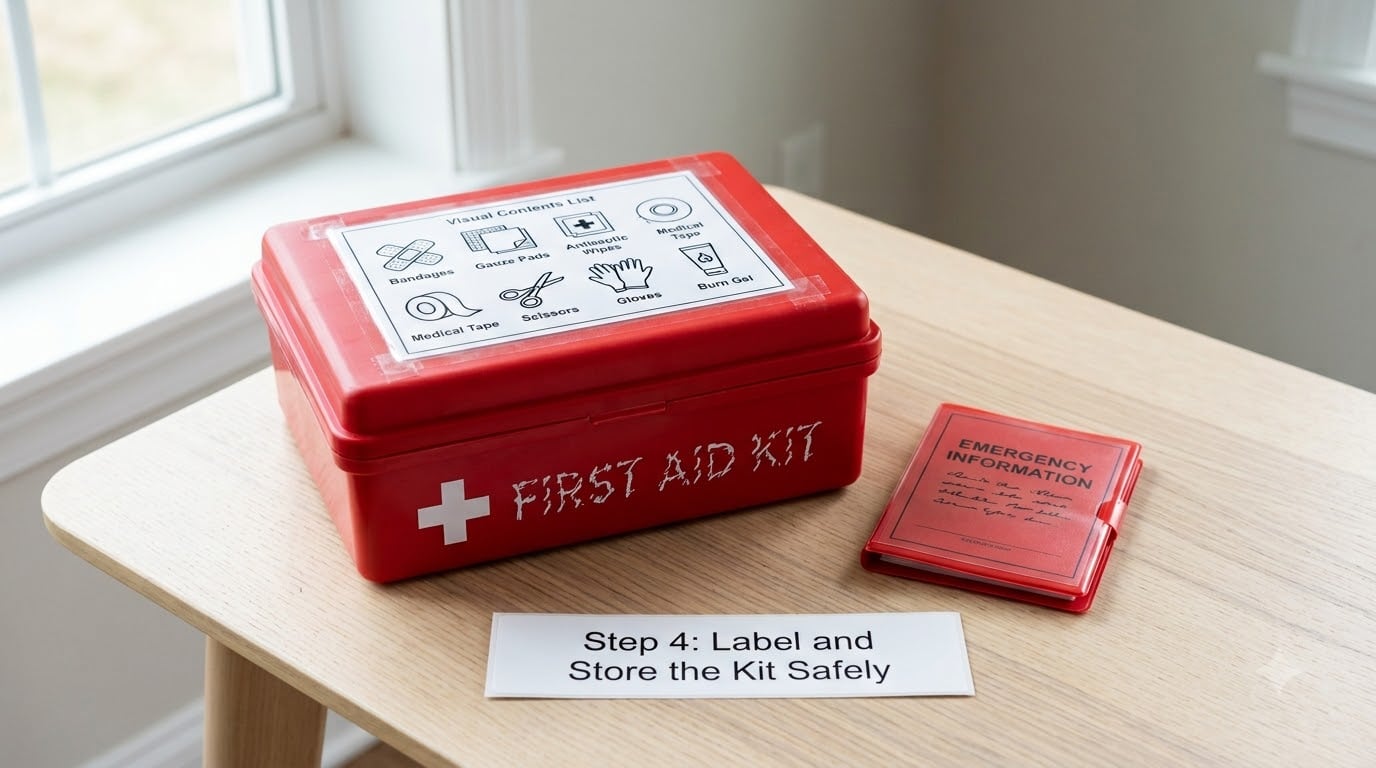
Label the outside with the words first aid kit and a simple contents list. For a child who reads or who learns visually, tape a photo-based checklist to the lid showing each pouch and what it holds.
Pick one storage spot everyone knows, such as a high but reachable kitchen cabinet or a hallway closet, and tell the sitters, the grandparents, and the coach. A kit in a high closet that nobody can locate is not a plan.
Make the smaller versions now while the contents are in front of you. A reduced kit for the car, one for a backpack or sports bag, and one for travel take five minutes each if you copy the main kit’s checklist and cut it down. Restock them from the same shopping list on a schedule.
If your child tends to open containers or becomes overwhelmed by a jumble of unfamiliar objects, use separate labeled pouches instead of one open bin. Children who cannot yet read can still find a pouch by color or picture, and a parent can carry the labeled pouch instead of the whole kit. A low-stimulation spot near the storage location helps too, and how to make a calm down corner at home covers that setup in detail.
Step 5: Check and Replenish the Kit
Put a recurring calendar event on the first Saturday of each month with a ten-minute check. Look at expiration dates on ointment, wipes, saline, gauze, and medications, then confirm every package is sealed and uncrushed.
Compare the medication list against the actual medicines in the kit. When a dose changes or a prescription is switched, swap the label and the medication together so they never disagree. Update the emergency contact card whenever a phone number changes.
Do a deeper review each season. Summer calls for insect bite care, extra hydration packets, and sun exposure supplies for outdoor days. Winter calls for hand warmers, lip balm, and dry skin care for hands that crack in cold weather. Ask your pediatrician or pharmacist to review the medical portion of the kit at every well-child visit.
A kit is ready when any adult can open it, find the gauze, read the contact card, and reach the child’s prescribed medication without searching. Walk that path once a year with a different caregiver and you will find any gap within a minute.
Common Mistakes to Avoid
Buying far more than you will use. A massive kit expires in the cabinet. Fix: pack the ten essentials first, then add only what matches your child’s real activities.
Leaving out allergy and asthma supplies. Parents assume the medicine lives in a purse or a backpack, then discover at the clinic that it does not. Fix: keep a second set of prescribed emergency medication in the home kit and check it on the monthly round.
Moving medicines out of their original packaging. A loose tablet in an unlabeled bag loses its instructions, its expiration date, and its child-resistant seal. Fix: transport the labeled container, or ask the pharmacy for an extra properly labeled bottle.
Keeping outdated emergency contacts. Cards with an old pediatrician number are common after a move or an insurance change. Fix: review the card each September and whenever the roster of caregivers changes.
Ignoring expired supplies. Adhesive loses its grip long before you would guess, and old ointments harden. Fix: date the kit when you assemble it and check it monthly rather than waiting for a scrape to reveal the problem.
Storing the kit somewhere adults cannot reach quickly. Too high, buried in a closet, or in the car with no backup copy means nobody finds gauze at the moment it matters. Fix: one known indoor location, one car kit, and a printed location card inside each.
Treating the kit as care. A kit handles scrapes, small cuts, and blisters. Anything involving trouble breathing, a suspected poisoning, severe bleeding, a head injury, or a reaction you cannot identify needs professional help. Fix: keep emergency numbers on the contact card and call for help first when you are unsure.
Summer and water season bring their own injuries, and swim programs that build comfort around water reduce them. If you are still looking, how to find swim lessons for special needs kids covers what to ask a program. Either way, a stocked kit handles the small stuff so you can focus on the bigger safety steps.
Frequently Asked Questions
What should I put in a first aid kit for my child?
Start with assorted adhesive bandages, sterile gauze, medical tape, saline, tweezers, blunt-tip scissors, gloves, and an instant cold pack. Add a digital thermometer, a written medication list, and an emergency contact card. If your child has allergies, asthma, or another diagnosed condition, include that written action plan and every medication the plan names. Keep all medicines in their original child-resistant packaging and follow your pediatrician’s guidance.
Should I buy a ready-made first aid kit or make my own?
A store-bought kit is a fast baseline and covers ordinary cuts, scrapes, and blisters well. Building your own costs less over time, fills the gaps retail kits miss, and lets you match supplies to your child’s age, activities, and medical needs. A practical middle path is to buy one ready-made kit as a starting container, then customize its contents with items like a thermometer, comfort bandages, and prescribed emergency medication.
How should I store a child’s first aid kit safely?
Choose one location every adult caregiver knows, high enough that a young child cannot reach it without supervision but reachable quickly by an adult. Use a container with a secure latch, and keep scissors, tweezers, and any medication out of open reach. Make a reduced version for the car, a backpack, or travel, and put a card inside each one listing its contents and the main kit’s location.
What special supplies should be included for a child with allergies?
Include the written allergy action plan from your child’s clinician, every medication and device the plan names, and a current list of triggers. Keep prescribed emergency medication in its original packaging, check its expiration date monthly, and confirm any school or caregiver copy is current. Ask your pediatrician or allergist exactly which emergency items to store at home and how they should be replaced.
How often should I check and replace first aid kit items?
Do a ten-minute check on a set day each month for expiration dates, sealed packaging, and missing items. Review the medical portion more thoroughly at every well-child visit, and update the emergency contact card whenever a phone number changes. Add seasonal supplies twice a year, such as insect bite care in summer and hand warmers in winter. Replace anything expired, damaged, or used up rather than restocking it later.
What should I keep in a first aid kit for a child with medical or sensory needs?
Add visual and picture-based instructions, a simple social story showing your child how the kit is stored and opened, and comfort items that lower stress during a minor injury, such as favorite character bandages or a small fidget. Keep the child’s action plans together in one folder. A calm space nearby can make first aid easier, and a calm down corner at home is a useful addition for sensory needs.
Conclusion
Three actions cover almost everything. Pick a container that fits where your family will actually find it, fill it with the basic wound care supplies plus your child’s own action plans and medications, and put a monthly check on the calendar.
Once the kit exists, hand it to someone who is not you. Show a sitter or a grandparent where the gauze and the emergency card live, and give them a copy of the allergy plan. That ten-minute walk-through is what makes the kit worth the hour you spent building it.
Keep your child’s pediatrician and pharmacist in the loop as they grow and as conditions change, and call for professional help any time a symptom is more than a scrape. A home kit supports that care, it never stands in for it.