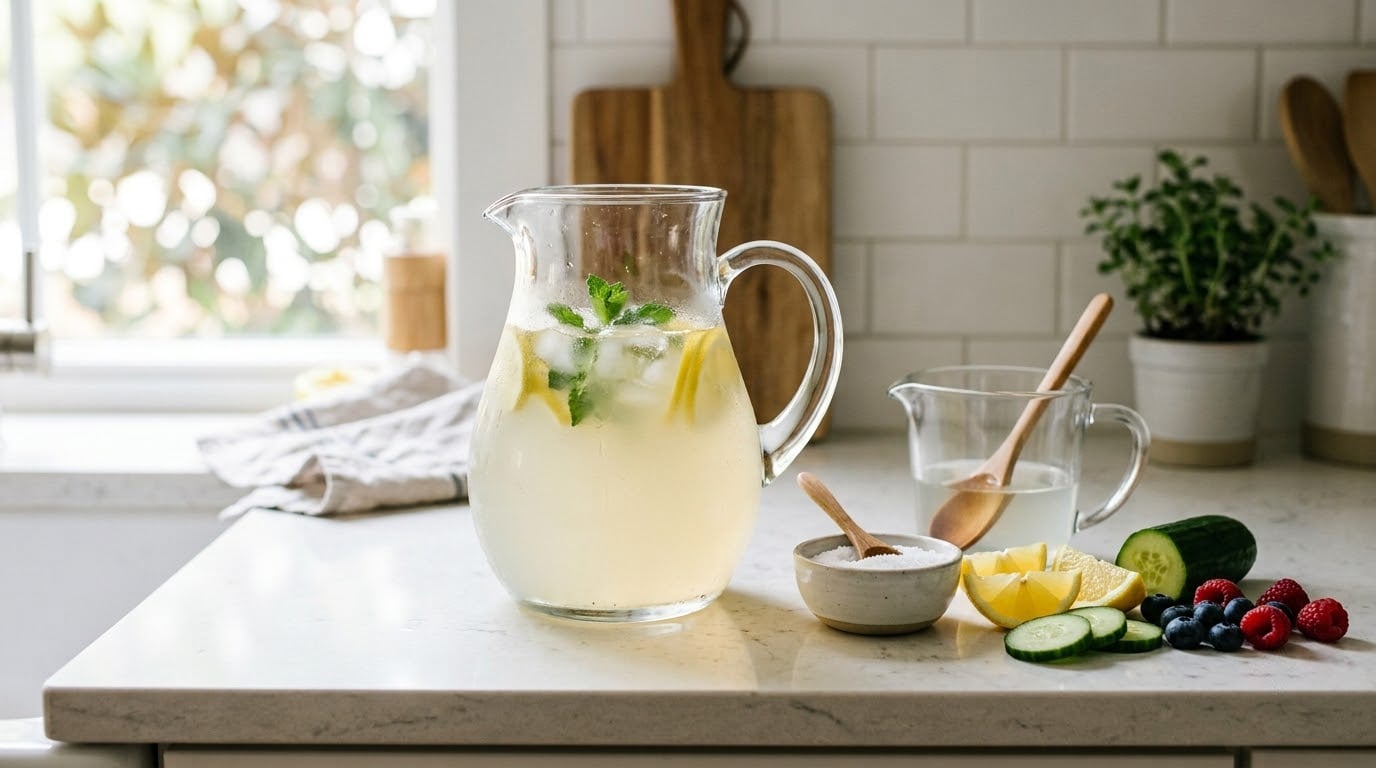
To make a homemade electrolyte drink for kids, stir 1/4 teaspoon of fine sea salt, 1 tablespoon of honey or maple syrup, and 2 tablespoons of fresh lemon juice into 4 cups of cold water. Chill, taste, adjust, and serve in small amounts throughout the day.
That is the whole recipe. Most of the fussing people do with these drinks is really about taste, because salt water on its own tastes like a mistake. Fix the flavor and the rest is easy.
Kids lose sodium and water fast when they sweat, run a fever, or have a stomach bug, and plain water alone puts the water back but not the minerals. A drink with a little sodium, a little sugar, and often a potassium source holds onto the fluid better, which is the whole point. It also lets you skip the neon dyes, preservatives and heavy sweetness in most commercial kids’ drinks.
A few honest words before you start. This is an everyday drink for heat, sports and mild fluid loss. It is not a medical oral rehydration solution, and it is not a treatment for illness. Never give a honey version to a child under 12 months. And if your child has a kidney or heart condition, ask their pediatrician first.
Table of Contents
- What You Need
- Step-by-Step: How to Make a Homemade Electrolyte Drink for Kids
- 1. Choose the Base Ingredients
- 2. Dissolve the Ingredients Completely
- 3. Add Kid-Friendly Flavor Without Excess Sweetness
- 4. Chill, Serve, and Store Safely
- Common Mistakes
- Too much salt or powder
- Adding sugar by default
- Treating a concentrate as a ready-to-drink drink
- Ignoring an allergy or a restricted diet
- Leaving the pitcher out warm for hours
- Expecting it to do a medical job
- How to make a homemade electrolyte drink for kids that a picky eater will actually drink
- Frequently Asked Questions
- Is a homemade electrolyte drink safe for toddlers?
- Can I make this drink without sugar for a child with diabetes?
- How can I adapt the recipe for a gluten-free or dairy-free diet?
- Can homemade electrolyte drinks replace a doctor-prescribed oral rehydration solution?
- How long does a homemade electrolyte drink stay good in the refrigerator?
- What should I do if my child has vomiting, diarrhea, or signs of dehydration?
What You Need
Everything here is a pantry staple or a two-minute trip to the grocery store. Measure it the first time with real measuring spoons and cups, because the difference between 1/4 teaspoon and 1/2 teaspoon of salt is the difference between a pleasant drink and one your kid will refuse.
- Water: 4 cups (1 quart) cold or room-temperature water as the base.
- Salt: 1/4 teaspoon fine sea salt or pink Himalayan salt.
- Sweetener: 1 to 2 tablespoons honey, maple syrup, or a sugar-free option.
- Citrus: 2 tablespoons fresh lemon or lime juice for flavor.
- Optional: a pinch of potassium chloride, 1/4 teaspoon baking soda, or 4 cups of coconut water in place of the water.
- Tools: measuring spoons, a measuring cup, a long spoon or whisk, and a pitcher or jar with a lid.
Here is what each ingredient is actually doing, so you can swap things without wrecking the balance.
| Ingredient | What it contributes | For one quart |
|---|---|---|
| Water | The base fluid your child drinks | 4 cups (1 quart) |
| Fine sea salt or pink salt | Sodium, the main electrolyte lost in sweat and illness | 1/4 teaspoon |
| Honey or maple syrup | Glucose, which helps the body absorb fluid, plus taste | 1 to 2 tablespoons |
| Lemon or lime juice | Flavor, and a small amount of potassium and citrate | 2 tablespoons |
| Potassium chloride | Extra potassium, useful after heavy sweating | A small pinch, about 1/8 teaspoon |
| Baking soda | A little extra sodium; softens a bitter edge | 1/4 teaspoon |
| Coconut water (swap) | Replaces the water and brings natural potassium and some sugar | 4 cups in place of water |
Two notes on shopping for ingredients. Check the label on any salt substitute or electrolyte powder for potassium chloride, because several of them are high-sodium products aimed at adults. And if your child reacts to citrus, mint, or anything else, leave that ingredient out entirely rather than reducing it to a token amount.
If your child is on a gluten-free or dairy-free plan, this recipe already fits: every ingredient above is naturally free of both. Check labels on honey and maple syrup for cross-contact if it matters in your house, and skip coconut water if it is not something your child tolerates.
Step-by-Step: How to Make a Homemade Electrolyte Drink for Kids
1. Choose the Base Ingredients
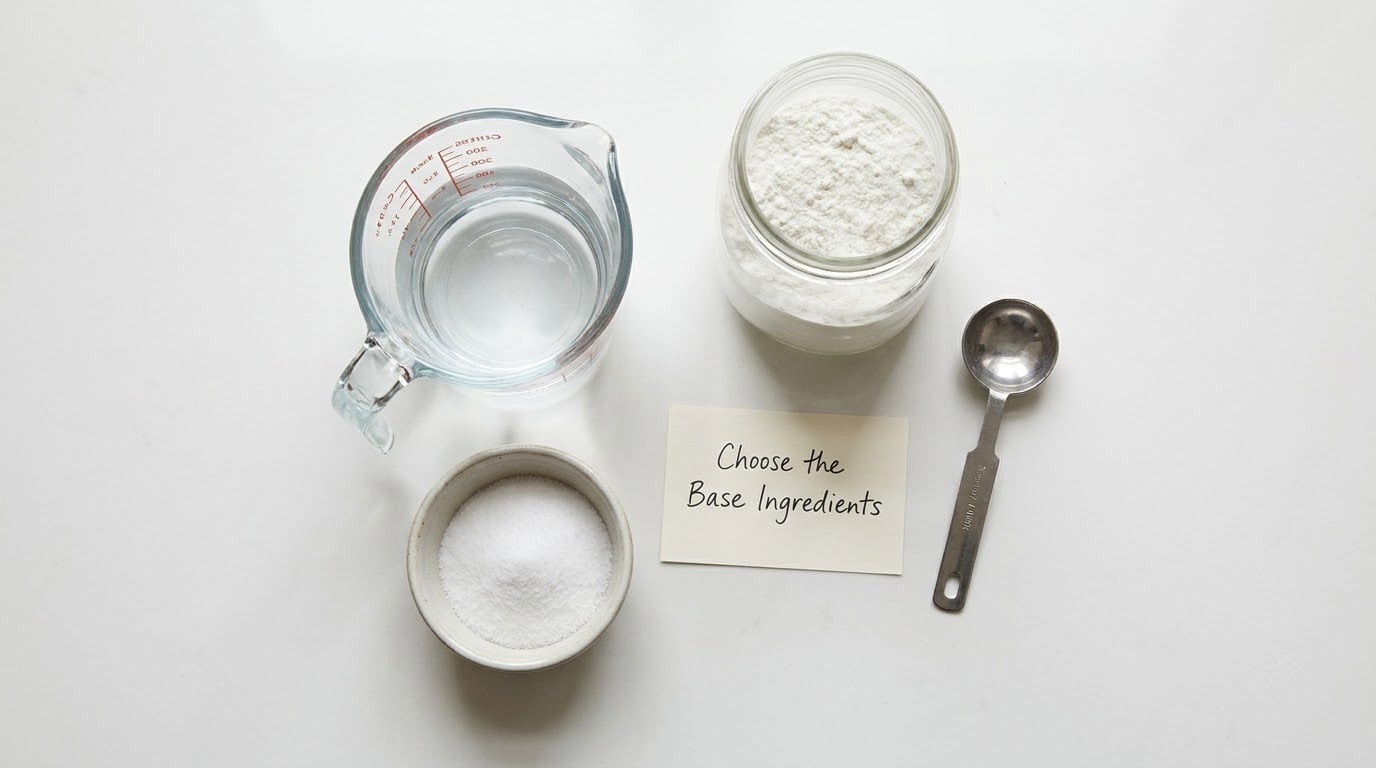
Measure 4 cups of water into your pitcher or jar. Use cold or room-temperature water, and skip boiling water, which flattens the flavor you are about to add.
Add 1/4 teaspoon of fine salt. If you only have table salt, that is fine; a pinch less works because it packs tighter. If you have a salt with visible flakes, crush it or measure it very lightly, because a flake that lands in a cup reads as a mouthful of salt.
Add the sweetener next. Honey and maple syrup work at 1 to 2 tablespoons for a quart; start low and taste. Then squeeze in about 2 tablespoons of lemon or lime juice. If you are using coconut water, it replaces the water entirely rather than sitting on top of it.
Measure by volume for water, citrus and sweetener, and by weight for the salt if you own a small kitchen scale. Volumes for salt are the most common place homemade drinks go wrong.
2. Dissolve the Ingredients Completely
Stir with a long spoon until the salt is gone. This takes about a minute, and it is the step people rush, which is how you end up with a pitcher of sweet water and a layer of salt crystals at the bottom.
Look at the bottom of the pitcher before you serve. If you see crystals, keep stirring or swirl the pitcher until the liquid runs clear at the base. A properly mixed drink looks the same as water, maybe a shade paler and slightly cloudy.
Taste it with a clean spoon. It should taste faintly sweet and faintly salty, and you should not be able to identify either one as a separate flavor. If it tastes like salt water, add more water and a little more sweetener rather than trying to fix it with more lemon.
3. Add Kid-Friendly Flavor Without Excess Sweetness
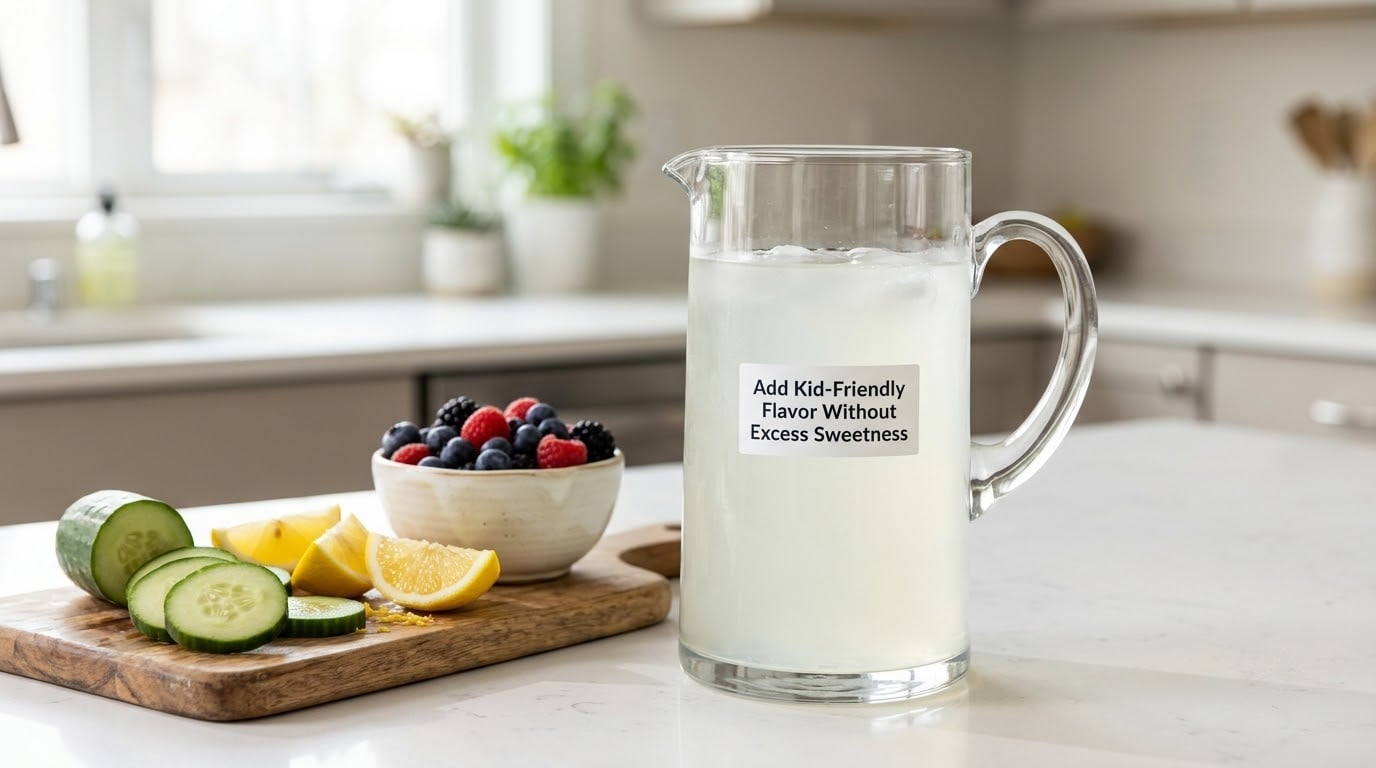
Keep the flavor mild. Citrus is the easiest starting point because children tend to accept sour over salty. Muddled cucumber or a few mint leaves, gently crushed and then removed, give a lighter note for kids who find lemon too sharp.
For a fruity version, stir in 2 to 3 tablespoons of mashed berries or a splash of orange juice. Keep in mind that juice brings sugar of its own, so reduce the honey or syrup by the same amount rather than adding both.
A frozen version works well for kids who will not drink anything from a cup. Pour the finished drink into a popsicle mold and freeze it. That solves the problem on a hot day better than any flavor trick, because ice pops are a different food than a drink.
Some citrus and mint additions simply do not sit well with certain children, and for a sensory-sensitive kid even a familiar drink can be a hard sell, for reasons that have more to do with food texture than taste. If your child rejects a version, dilute it. Half the drink, half water, is still doing useful work.
4. Chill, Serve, and Store Safely
Refrigerate the pitcher and serve it cold. Small frequent sips work better than a large glass, and offering a 4-ounce pour at a set time through the day is easier for a child to accept than an open pitcher on the counter.
Use a clean spoon each time you serve, and rinse the pitcher before refilling it. Store it covered at or below 40 degrees, and use it within about 24 hours, or up to 48 hours if you are deliberate about cleanliness and refrigeration. Toss it if it has sat out warm for more than a couple of hours.
For a sports practice or a long outing, portion it into a bottle or small reusable cups the night before and pack it with an ice pack. If you have not settled on a bottle yet, how to pick a safer water bottle for kids covers the parts that matter for a drink like this. Bottling is the practical problem most parents hit, and it goes a long way toward replacing the drink kids would otherwise grab from the vending machine.
If you want a concentrate for a big family or a whole season, mix the salt and sweetener with a small amount of warm water, keep that concentrate cold, and dilute it with water when you serve. Never keep the undiluted concentrate on hand for a child to sip, and never mix a concentrate expecting the child to drink it straight.
Common Mistakes
Almost every disappointing batch comes down to one of these.
Too much salt or powder
The single most common error is doubling the salt because the drink seemed flat. Extra salt does not mean extra hydration; it means a drink your child will refuse and you will waste. The fix is to add salt by the measured teaspoon and stop. If a batch is too salty, dilute it with water rather than adding more sweetener.
Adding sugar by default
Sugar and glucose do help the body absorb fluid, but a full pitcher of sweetened drink is not a neutral hydration tool, especially for a child with diabetes or a weight plan. Start with 1 tablespoon, taste, and only go higher if the drink is genuinely unpalatable without it. Many kids are fine with a citrus-forward drink and no sweetener at all.
Treating a concentrate as a ready-to-drink drink
Salt and sweetener mixed with a splash of water look finished. They are not. Undiluted concentrate is far more concentrated than anything you want a child to swallow. Dilute immediately, and store the concentrate somewhere a child cannot reach it.
Ignoring an allergy or a restricted diet
Citrus, honey, coconut and vanilla are common triggers or restricted ingredients in some households, and honey is off the table entirely under 12 months. The fix is to build the recipe from ingredients your child already tolerates rather than removing an ingredient and hoping the flavor carries. If your child is on an elimination diet for allergy or autism-related food selectivity, treat the recipe as a starting structure and fill in from their safe-food list.
Leaving the pitcher out warm for hours
A warm pitcher in a hot car or on a picnic table is the fastest way to lose a batch. Electrolyte drinks are perishable because of the sugar and the fresh juice. Keep them cold from the moment they are mixed, and if you cannot keep them cold, make smaller batches more often.
Expecting it to do a medical job
This is the mistake that matters most. An everyday homemade drink is for sweat, heat, and mild fluid loss. A child who is vomiting, has diarrhea, or cannot keep fluids down needs a real oral rehydration solution and a call to their pediatrician, not a pitcher of lemon and salt.
How to make a homemade electrolyte drink for kids that a picky eater will actually drink
Dilute more than feels right at first, about half water, and serve it cold in a familiar cup. Freeze part of the batch into pops. Keep the citrus visible by squeezing half a lemon into the whole pitcher instead of a measured amount in each cup, so no single serving tastes strongly of anything. Small frequent pours beat one big glass every time, and offering it alongside a meal changes how it lands.
Forum threads on parenting and nutrition sites repeat the same frustration: the recipe is fine, the kid refuses it. The parents who get traction are the ones who dilute, chill and change the format rather than trying to convince their child to like salty water.
Frequently Asked Questions
Is a homemade electrolyte drink safe for toddlers?
A homemade electrolyte drink can be fine for toddlers over 12 months, served in small amounts and kept mild in flavor. Skip any honey version under 12 months because of botulism risk. Toddlers have small fluid reserves, so offer frequent small sips rather than a full cup, and dilute it if your child is new to the taste.
Can I make this drink without sugar for a child with diabetes?
You can leave out the sweetener, or swap in a sugar-free option, and the drink still works as an everyday hydration fluid for heat and sports. Some children do better with a small amount of carbohydrate for absorption, so talk with your child’s pediatrician or registered dietitian about whether any glucose is appropriate for them and how much.
How can I adapt the recipe for a gluten-free or dairy-free diet?
The basic recipe is already free of both. Water, salt, honey or maple syrup, and citrus contain no gluten or dairy. The only things to check are labels on honey and maple syrup for cross-contact, and coconut water if it is not on your child’s safe list. Nothing in the recipe needs replacing for a gluten-free or dairy-free household.
Can homemade electrolyte drinks replace a doctor-prescribed oral rehydration solution?
No. A homemade drink is for everyday sweat, heat and mild fluid loss. Oral rehydration solution is made to precise medical proportions and is what a clinician recommends during vomiting, diarrhea, or dehydration, because the sodium and glucose ratio has to be exact. If your child is ill enough to need rehydration help, use what the doctor recommends.
How long does a homemade electrolyte drink stay good in the refrigerator?
Use it within about 24 hours when it contains fresh citrus and honey, or within about 48 hours if you mix it with very clean utensils and keep it tightly covered at or below 40 degrees. Because it has no preservatives, it will not keep like a store-bought bottle. Discard it if it has sat warm at room temperature for more than a couple of hours.
What should I do if my child has vomiting, diarrhea, or signs of dehydration?
Call your pediatrician rather than treating it with a homemade drink. Signs that need same-day attention include no urine for many hours, a very dry mouth, no tears when crying, sunken soft spots in infants, and unusual sleepiness or irritability. Oral rehydration solution from the clinic or pharmacy is the right tool here, along with guidance on how much to offer.
Start with the basic recipe: 4 cups of water, 1/4 teaspoon of salt, a tablespoon of sweetener, and 2 tablespoons of lemon. Measure carefully, keep it cold, and let your child’s taste drive how sweet it gets. For anything involving illness, a restrictive diet, or a medical question about your own child, talk to a doctor, pharmacist or registered dietitian before you start mixing.