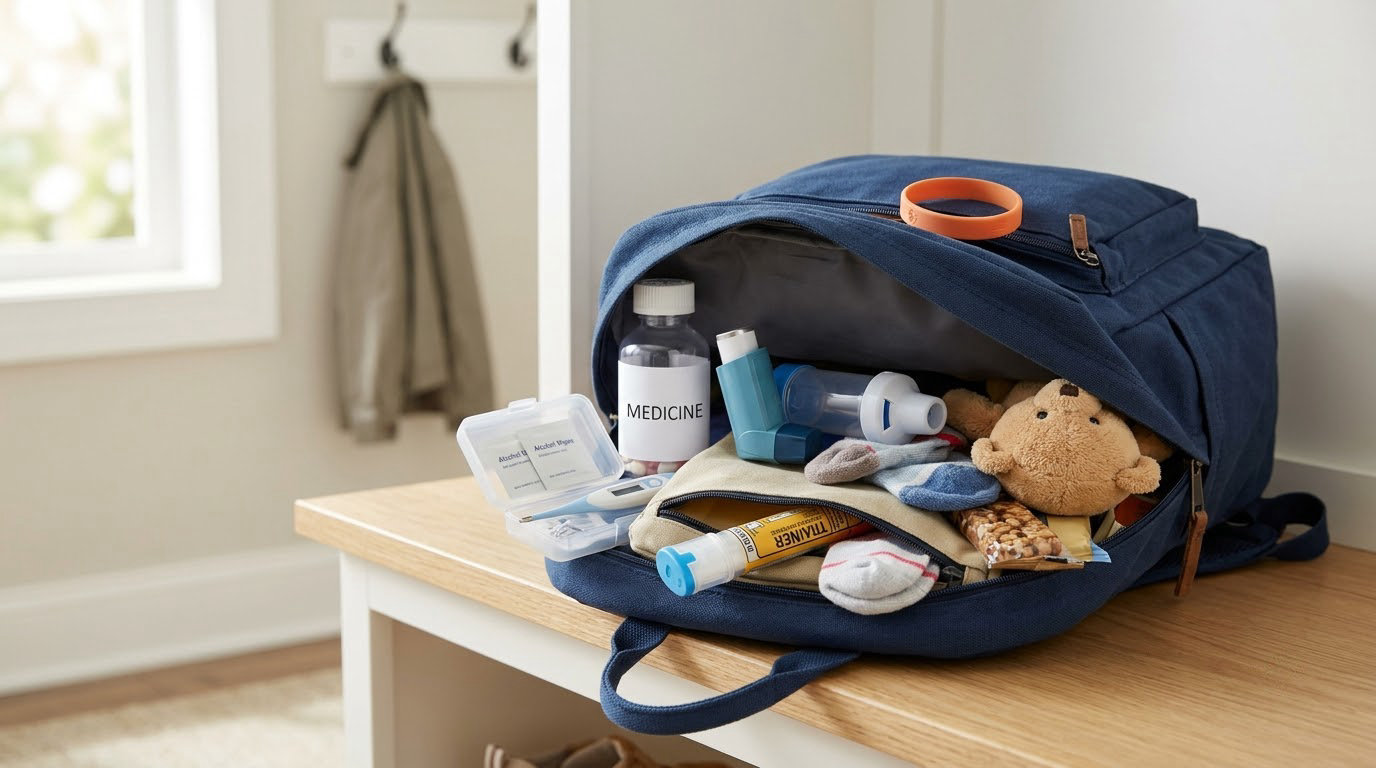
A go bag is one packed container holding your child’s medications, records, care supplies, and comfort items, kept ready so you can grab it and go without searching the house. Knowing how to make a go bag for a child with medical needs takes about an hour to build and twenty minutes to review every couple of months.
It is not the same thing as a first aid kit. A first aid kit treats cuts, scrapes, and fevers. A go bag carries the specific things your child cannot function without: a feeding tube set, an inhaler, a seizure rescue medication in the exact prescribed form, a change of clothes, a charger for powered equipment.
The reason to build one ahead of time is simple. In a real emergency, pharmacies close, hospitals are hours away, and you are standing in a hallway at 2 a.m. trying to remember what the pulmonologist said about storage temperature. The bag answers that question before you are asked.
I have talked with a lot of families on this site, and the same pattern keeps repeating. The parents whose kids had the smoothest unplanned hospital stay were the ones who had already decided what the bag contained. Not because they are more organized than anyone else, but because they had done the thinking on a calm day.
Table of Contents
- What You Need to Build the Bag
- Step-by-Step: How to Make a Go Bag for a Child With Medical Needs
- Step 1. Decide When and Where the Bag Will Be Used
- Step 2. How to Make a Go Bag for a Child With Medical Needs: Build the Core Checklist
- Step 3. Add Current Medical and Emergency Information
- Step 4. Pack Medication and Care Supplies Safely
- Step 5. Pack Sensory, Feeding, and Comfort Supports
- Step 6. Test the Bag in a Realistic Practice Run
- Step 7. Store, Review, and Update the Bag
- Common Mistakes to Avoid
- Frequently Asked Questions
- What should be in a medical go bag for a child?
- How many days of medication should I keep in the go bag?
- What medical documents do I need for an emergency kit?
- What belongs in a school or day-care version of the go bag?
- How do I keep medications safe in a go bag?
- What do I do when my child’s care instructions change?
- Conclusion
What You Need to Build the Bag
Before you pack a single thing, gather your child’s current care plan and any written instructions from their healthcare team. Everything else in this guide attaches to those documents, and without them you are guessing.
The organizer
A clear, durable bag with separate pockets or pouches works better than a single open tote. You want to see at a glance which category a supply belongs to without unpacking the whole thing. A rolling bag helps if your child uses a wheelchair or a heavy piece of equipment, since the caregiver is often carrying the child at the same time.
Medical records and identification
One page is the working document: diagnoses, allergies, current medications with dose and timing, equipment your child uses, the routines that matter, and two emergency contacts. Add copies of the insurance card, identification, any consent forms, and the most recent care plan. Many families keep a medical alert bracelet on the child’s wrist as a backup when nobody is around to explain.
Current medications and equipment
Only the items your child’s clinician, pharmacist, or written care plan says should travel. That includes any rescue or emergency medication in the form that was prescribed, plus the supplies needed to administer it. Bring the measuring tools your child actually uses rather than whatever is in the cupboard.
Feeding and personal care supplies
For children who use a feeding tube, that means the specific tube type and size, syringes, connectors, tape, and a simple schedule. For diapers, pack more than you think: a day of diapers for a weekend trip, plus wipes, a barrier cream, and a change of clothes. If the child eats by mouth, include the safe foods and any safe snacks they will actually accept.
Sensory and communication supports
Headphones, a communication card, a familiar blanket, a weighted item, or a chew tool can settle a child who is already overwhelmed by a loud unfamiliar room. These are not extras. A regulated child cooperates with care; a dysregulated one makes every task slower and harder.
A printed emergency information sheet
This is the page that does the talking when you cannot. It goes in the outermost pocket, and it stays current. A laminated single page beats a folder of documents nobody can find in a noisy waiting room.
Ask your child’s healthcare team which items they consider essential for your child specifically. They have seen the admissions that went sideways because a supply was missing, and they can also tell you what your child must not travel without.
Step-by-Step: How to Make a Go Bag for a Child With Medical Needs
Step 1. Decide When and Where the Bag Will Be Used
Write down the situations it must cover before you decide what goes in it. Most families need three: a grab-and-go bag for clinic visits and pickup lines, a school or day-care bag that stays with the caregiver, and a larger travel or evacuation bag.
The distinction matters. A bag that lives in the car cannot serve an overnight hospital stay, and a bag packed for a week in a hotel is miserable to carry into a quick appointment. Pick a container that fits your child’s equipment and that one caregiver can manage alone.
Step 2. How to Make a Go Bag for a Child With Medical Needs: Build the Core Checklist
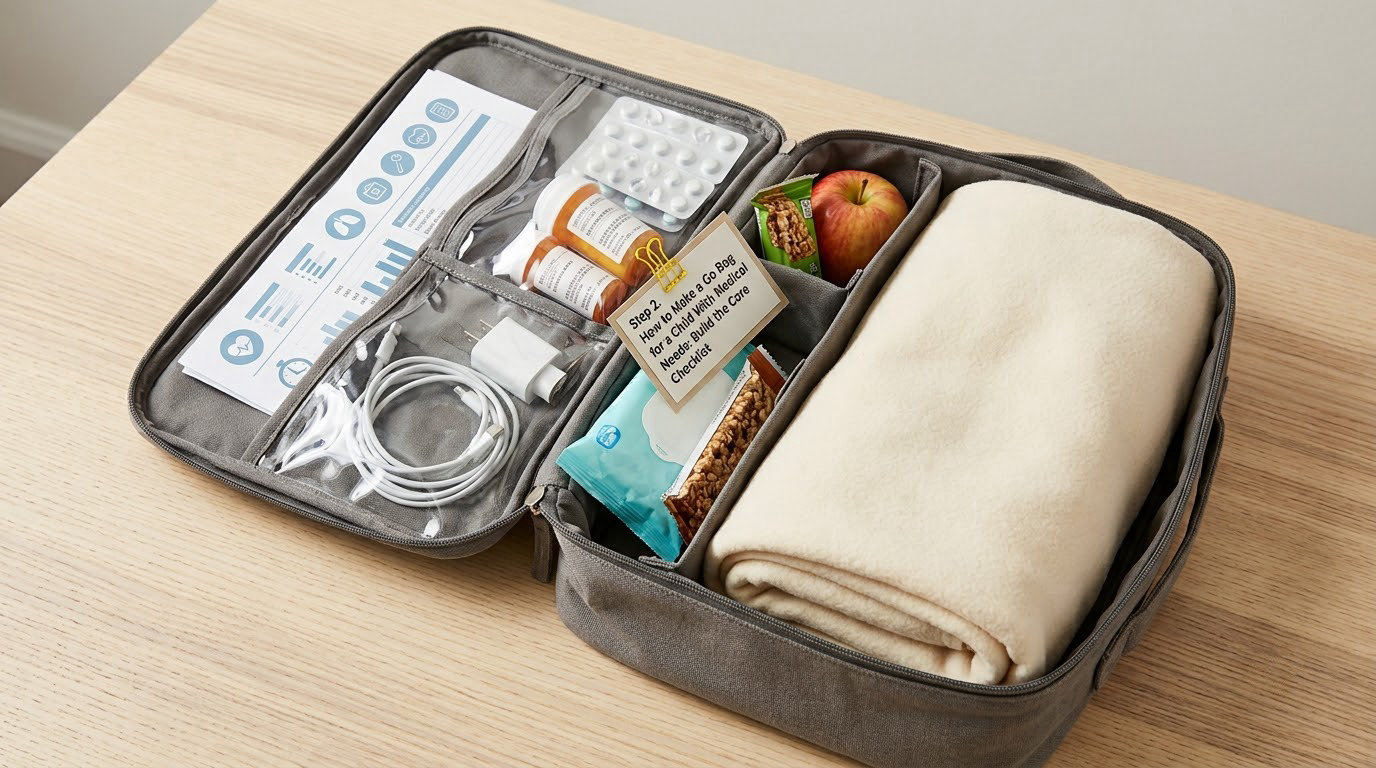
Label the pockets and assign each one a job before you fill anything. A workable layout has nine categories: health summary, insurance and identification, healthcare contacts, medications, equipment, care supplies, communication supports, and comfort items.
Work through the pockets one at a time and use the checklist on your child’s care plan as the source list. The goal is not to include everything the family owns. The goal is that any adult who opens this bag can find what they need in under a minute.
Labeling does more than tidy things up. When you repack the bag after a trip, consistent labels mean you put things back where they belong instead of rebuilding the layout from scratch.
Step 3. Add Current Medical and Emergency Information
Build one-page health summaries that another adult can act on. Include diagnoses, allergies, every current medication with the instructions from the pharmacy label, equipment your child uses and how to use it, important routines, and emergency contacts in order of who to call first.
Keep paper copies in the bag and identical digital copies somewhere reachable without the bag. A shared folder that a couple of adults can access, plus a copy on a phone that stays with the caregiver, covers most outages. Add a printed copy for anyone who cares for your child without regular phone access.
Protect the private information. Use a separate document wallet for the insurance card and identification rather than pinning everything to one sheet, and store the whole organizer where only your family can reach it.
Step 4. Pack Medication and Care Supplies Safely
Pack only the medications your child’s clinician or pharmacist says should travel, in their original labeled containers, with the quantities your child’s care plan specifies. Ask your pharmacy directly how to request an emergency supply, because insurance limits and refill rules vary and that conversation is far easier in advance than during a closure.
Commonly needed care supplies include syringes and measuring tools, diapers, wipes, feeding items, skin products, and barrier supplies. Many families also pack a small power bank and the charger for any powered equipment the child depends on.
Check expiration dates and storage instructions on a schedule and write them down on a card inside the lid. If a medication needs refrigeration, confirm the correct storage range with your pharmacist and ask what to do during an outage or travel before you need to know.
Nothing about dose, timing, or which medication to give belongs in a general packing guide. Your child’s clinician and pharmacist own those decisions, and their written instructions belong in the bag verbatim.
Step 5. Pack Sensory, Feeding, and Comfort Supports
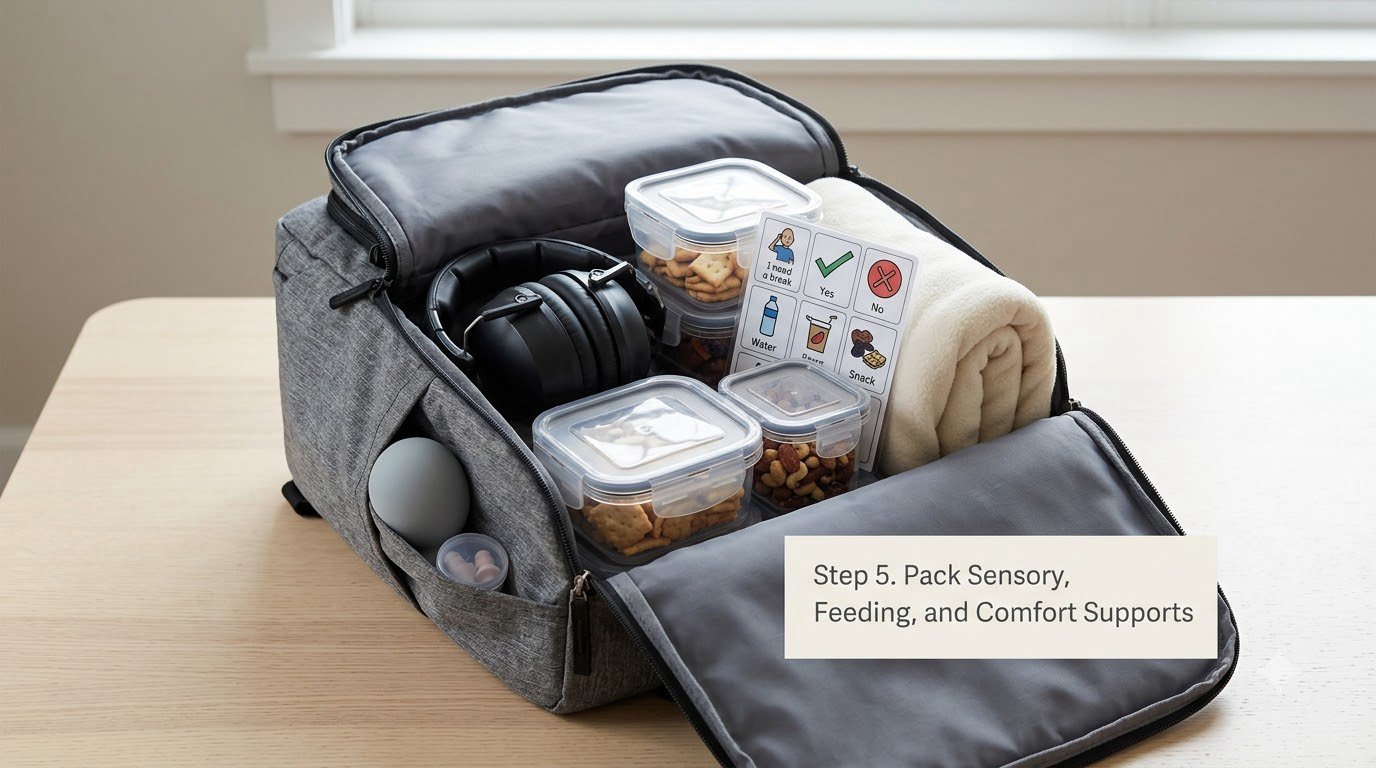
Add what helps your child feel safe and function in an unfamiliar setting. For many children that means a noise-reducing headset, a communication card or picture card, a favorite snack in a sealed container, and one familiar comfort item from home. Keep it to items your family can safely use according to the child’s care plan.
Unplanned admissions run long. Families have told me the items they wish they had packed were rarely the critical medical ones. They were the phone charger, snacks, and a soft blanket.
Think about the adults too. A sibling watching a sibling go through a medical crisis needs something to hold, and a caregiver who has been awake for a day needs food and a way to charge a phone. A small sibling pouch costs nothing to add and prevents a meltdown from derailing the whole visit.
Step 6. Test the Bag in a Realistic Practice Run
Pack the bag as if you were leaving for a two-hour appointment, then hand it to another adult and ask them to find each essential item without your help. Time it. Anything that takes more than a few seconds to locate gets a new spot or a new label.
This is the step families skip, and it is the one that catches the most problems. An empty bag and a loaded bag are very different objects, and the compartment that fits neatly before you add supplies can be impossible to open once everything is packed in.
While you are at it, confirm the bag is comfortable to carry, that the heaviest items sit near the top, and that the emergency information sheet is understandable to a stranger with no context. If your child is old enough, practicing the routine together turns packing into something predictable rather than chaotic.
Step 7. Store, Review, and Update the Bag
Store the ready-to-go bag in a fixed, dry, reachable spot near an exit, not buried in a closet or inside the child’s room. Keep a second copy of documents with another trusted adult or in a secure off-site location, and tell that person where it is.
Set two reminders. A short monthly check covers expiration dates, used supplies, and whether anything feels off. A longer review each season or before a known trip covers medications, contacts, instructions, equipment fit, allergies, and any change in the care plan.
After a hospital stay or a change in therapy, rebuild the affected pockets rather than restocking them blindly. Replace what was used, add what the care team introduced, and remove what is no longer current.
If you travel by air, check the airline and the security authority’s current rules for medical supplies and liquids before you leave, and carry the documentation your child’s clinician provides. Requirements change, so verify them each trip rather than relying on old advice.
Common Mistakes to Avoid
Packing everything you own. A bag nobody can carry does not get carried. Fix: pack only what your child’s care plan lists as essential, then test whether one adult can manage it.
Burying medications in a bottom compartment. The one item you cannot lose is the one that takes longest to dig out. Fix: a dedicated top-pocket pouch that opens on the first movement of the bag.
Ignoring expiration dates. Expired rescue medication is the worst possible discovery. Fix: a monthly date check with a written list taped inside the lid, so you are reading a short list instead of inspecting every package.
Relying on outdated contacts. Phone numbers change when people move, change jobs, or step back from caregiving. Fix: confirm emergency contacts at each longer review, and include a secondary contact for every entry.
Failing to involve a second caregiver. The person who actually grabs the bag is rarely the only adult who might use it. Fix: hand the bag to a grandparent, respite worker, or co-parent and let them run the practice run from step 6.
Forgetting the digital backup. During a power or internet outage, a cloud folder is useless. Fix: paper copies in the bag, a copy on the caregiver’s phone, and one more on a drive that does not depend on a signal.
A few habits make the maintenance part painless. Color-coded pouches tell you at a glance that the blue one is medications. A laminated checklist in the lid doubles as an inventory sheet. And a calendar reminder for the first of each month takes about as much effort as making coffee.
Frequently Asked Questions
What should be in a medical go bag for a child?
A medical go bag for a child holds current medications in their original labeled containers, the equipment and supplies needed to administer them, a one-page health summary with diagnoses and allergies, insurance and identification copies, emergency contacts, care supplies, and comfort items. The exact contents depend entirely on your child’s diagnoses, medications, and care plan. Start from your child’s written instructions and ask their healthcare team what must travel.
How many days of medication should I keep in the go bag?
Federal emergency preparedness guidance commonly recommends keeping an emergency supply of prescription medications on hand for a child, and many families use two weeks as their working number. Your child’s situation may call for more, especially if the local pharmacy is far away or refills are slow. Ask your child’s clinician or pharmacist directly how much they recommend and how to request an emergency supply before you need it.
What medical documents do I need for an emergency kit?
Keep a one-page health summary listing diagnoses, allergies, current medications, equipment, and important routines, plus copies of the insurance card, identification, consent forms, and the latest care plan. Many families also add a medical alert bracelet note and an authorization letter for a caregiver who is not the parent. Keep one paper copy in the bag and a matching digital copy reachable without it.
What belongs in a school or day-care version of the go bag?
A school bag should be smaller and focused on a school day: a day’s worth of any medication the child takes at school, emergency contacts for you and a backup, a copy of the health summary and any school care forms, a change of clothes, and any classroom comfort items. Ask the school nurse which forms they require, and keep the bag at the child’s school rather than in the car. The classroom teacher should know where it is stored.
How do I keep medications safe in a go bag?
Keep every medication in its original pharmacy-labeled container so the name, dose, and instructions are readable. Ask your pharmacist about correct storage temperature and travel conditions, especially for refrigerated medicines, and never transfer pills or liquid into an unmarked container. Keep the bag dry and out of direct heat or a parked car. Your pharmacist is the right person to confirm handling requirements for your child’s specific medicines.
What do I do when my child’s care instructions change?
Update the affected pockets rather than the whole bag. Rewrite the one-page health summary first, since a stale summary is more dangerous than a missing item. Then adjust medications, equipment, and supply quantities to match the new instructions, and replace anything used or discontinued. Bring the revised health summary to your child’s next appointment and ask the clinician or pharmacist to confirm it matches their records.
Conclusion
Start with the situations your bag has to cover, then gather the current health information and pack only what your child’s clinician and pharmacist say should travel. Everything else is detail you can add later.
Give yourself an hour to build it, run one practice run with another adult, and set a monthly reminder so the dates and instructions stay current. When something changes in the care plan, update the health summary before anything else. And ask your child’s healthcare team to review the finished bag, because they will spot gaps you cannot.