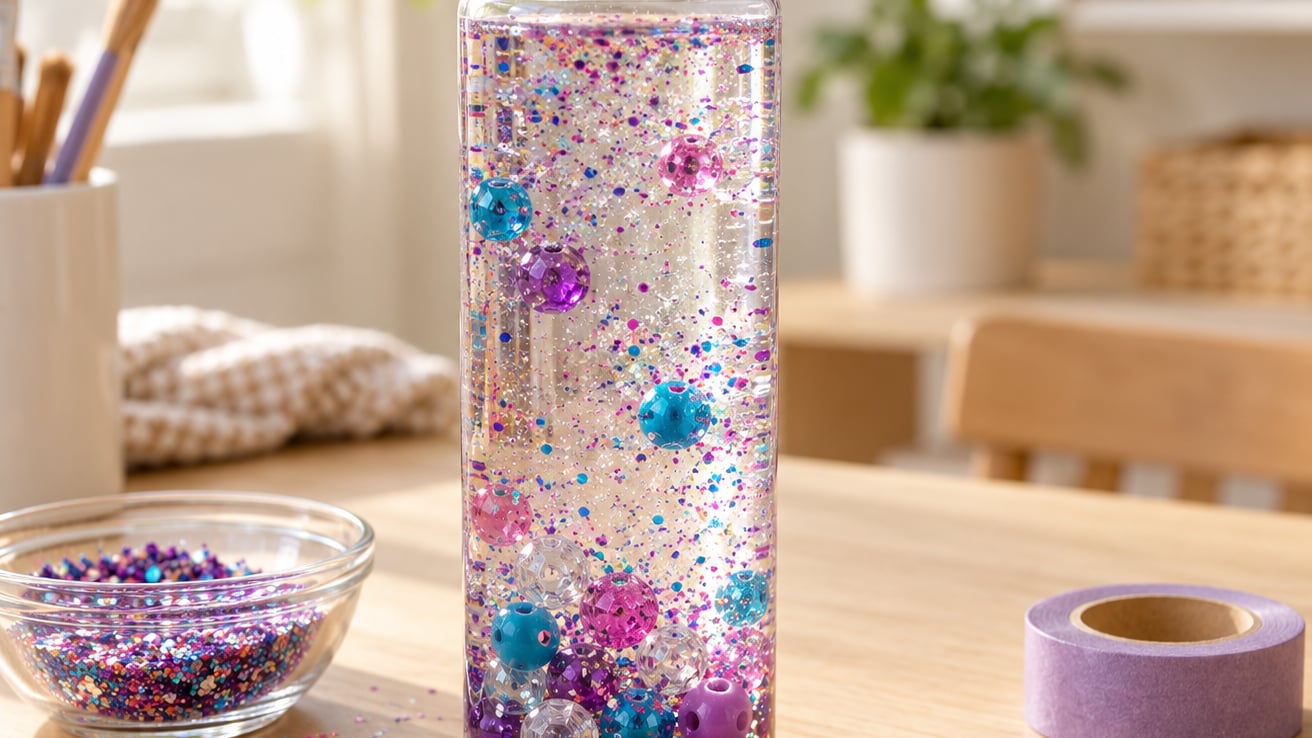
A sensory bottle is a clear container filled with water, a slow-moving liquid base such as clear glue or glycerin, and floating fillers like glitter, sequins or beads, so a child can shake, tilt and roll it for contained sensory play. Learning how to make a sensory bottle takes about ten minutes with a plastic bottle and a few simple craft supplies, and the finished jar earns its keep on car rides, in waiting rooms and in quiet corners. Updated for October 2026.
There are two very different things people mean by a sensory bottle. A sealed bottle has a permanently glued lid and can be handed to a child for independent play. An open craft bottle, more like a jar of discoveries, stays on the table and gets tipped and swirled with adult help.
Table of Contents
- What You Need
- The Bottle
- The Liquid Base
- The Fillers
- How to Make a Sensory Bottle Without a Craft Stash
- How to Make a Sensory Bottle, Step by Step
- Step 1: Choose a Safe Bottle and Base
- Step 2: Add Color and Sensory Materials
- Step 3: Seal and Test the Bottle
- Step 4: Introduce the Sensory Bottle
- Common Mistakes
- Frequently Asked Questions
- What liquid do you put in sensory bottles?
- Is glue or baby oil better for sensory bottles?
- What type of bottle is best for a sensory bottle?
- How do I stop my sensory bottle from leaking?
- What age is a sensory bottle appropriate for?
- Do sensory bottles help with autism and sensory overload?
- Conclusion
What You Need
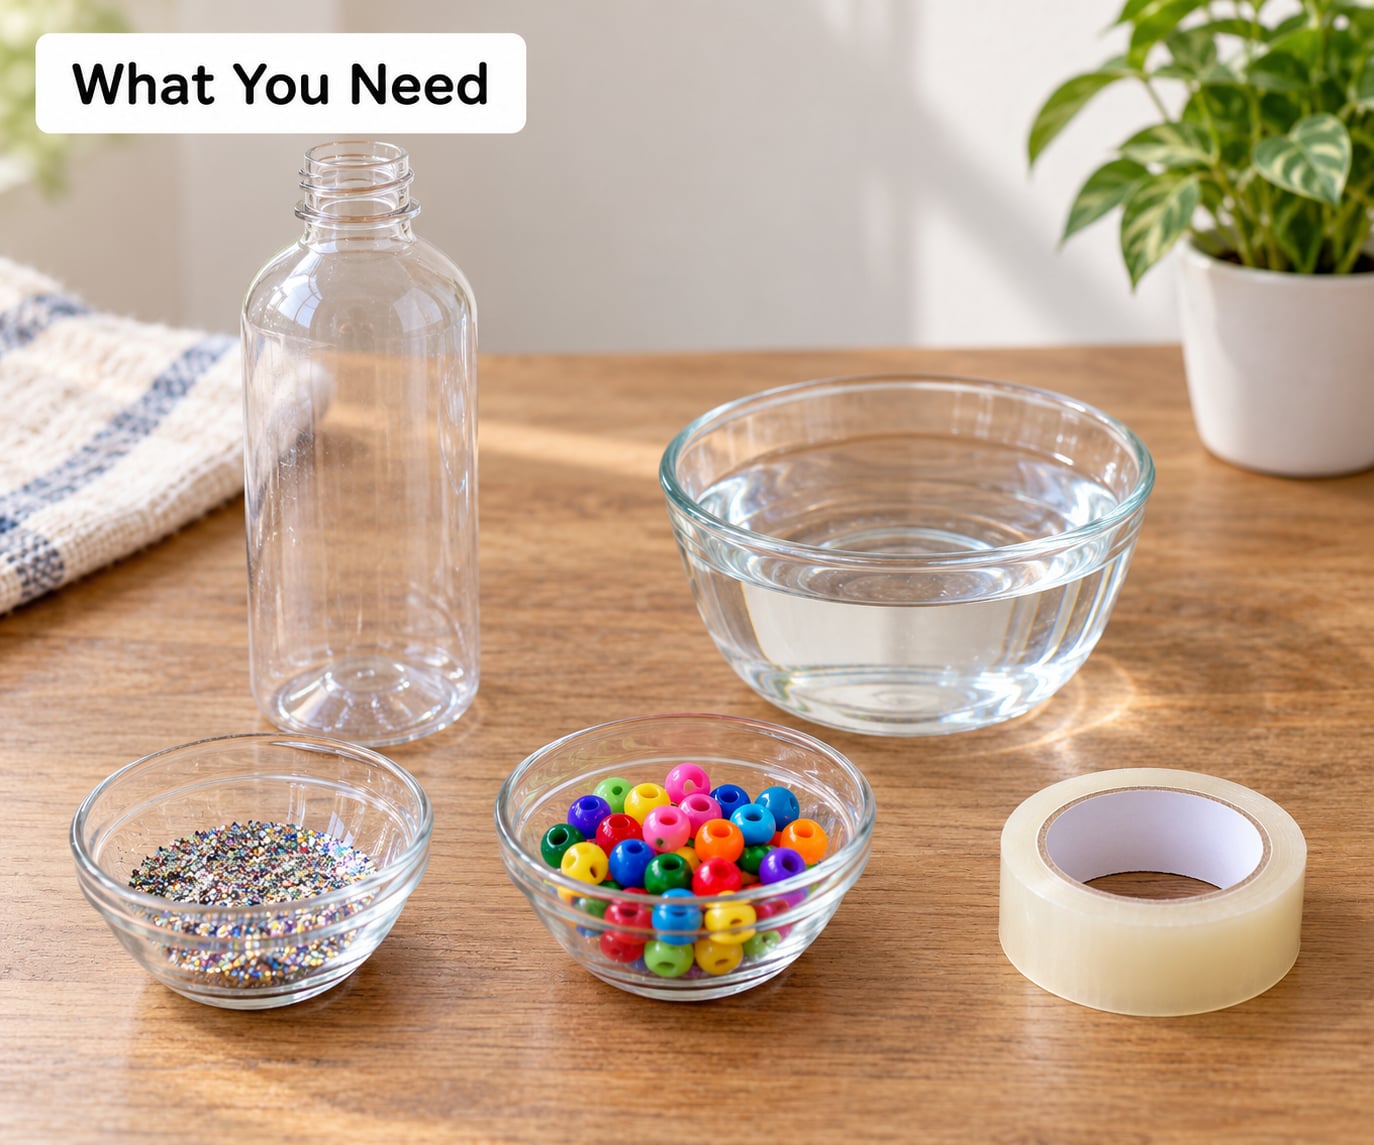
A sensory bottle needs four things: a clear container, a liquid base that slows the fall, fillers to watch drift, and a way to keep the lid on. Beyond that, a single plastic bottle is usually all the equipment you need.
The Bottle
Pick a transparent plastic bottle with a screw-on lid. Cylindrical bottles work better than tapered sport bottles, because the contents move freely instead of wedging into the corners.
Avoid glass entirely. A dropped sensory bottle that shatters is the one risk that turns a calming tool into an emergency.
Strip the label before you start. Kids lick bottles, and leftover adhesive is a choking hazard; a little dish soap and warm water, or a glue remover on a cloth, gets the residue off.
Size the bottle to the child’s hands. For a first attempt, something that holds a cup or two of liquid is plenty, and a wide mouth is easier to fill and to wash out later.
The Liquid Base
Plain water makes everything fall fast, which is exciting for about thirty seconds. A thickening agent is what turns the bottle into a calming tool.
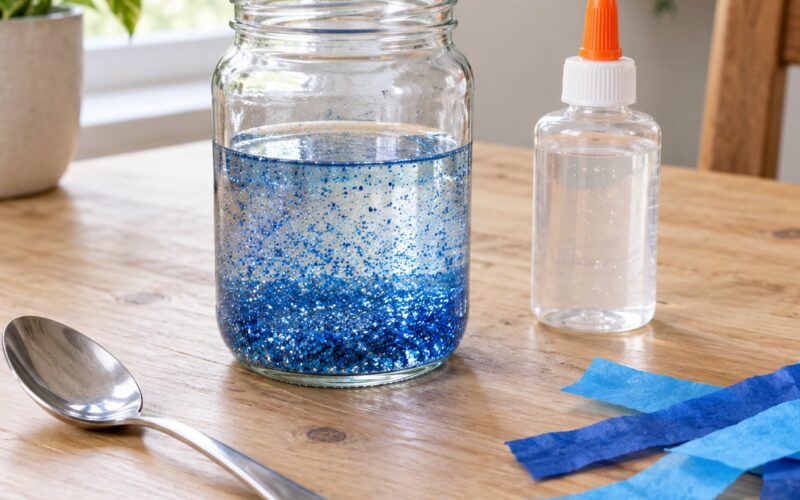
Fill the bottle about one-third to one-half full with the base. Clear school glue or glitter glue gives the classic slow drift. Glycerin or baby oil gives a heavier, smoother swirl. A drop or two of clear liquid hand soap or dish soap thickens water nicely, and corn syrup works if you are okay with a sticky bottle and washing it out afterward.
Fillers still float or sink in each of these, so the base changes the speed rather than the direction.
The Fillers
Large, visible fillers are the point of the bottle. Chunky glitter, sequins, craft gems, pom-poms, flat buttons, plastic confetti, dried pasta, coarse sand and clean shells all read clearly through the plastic as they fall.
The size rule is simple: every piece has to pass through the neck easily and move without packing tight against the bottom. If two or three items lined up across the opening will not drop through, the bottle will clog.
For a child under three who still mouths objects, skip everything that fits in a toilet paper tube. Use food coloring, larger pom-poms and a plain water base instead, and expect to supervise every second.
How to Make a Sensory Bottle Without a Craft Stash
You do not need a craft closet to make one. A pantry substitute list gets you a working bottle today.
Water plus a squeeze of dish soap slows the fall slightly. Water plus a spoonful of cornstarch thickens more, though it settles after a few days. A few drops of food coloring and a handful of large pasta shapes make a perfectly good no-glitter bottle, and coarse salt with a drop of blue coloring makes a quick ocean one.
Oil and water also work, and they separate into a lava-lamp effect on their own. Fill the bottle half with water, add a smaller amount of cooking oil or baby oil on top, then drop in dye or glitter. Skip the glitter if your child dislikes glitter, which some neurodivergent kids genuinely do.
How to Make a Sensory Bottle, Step by Step
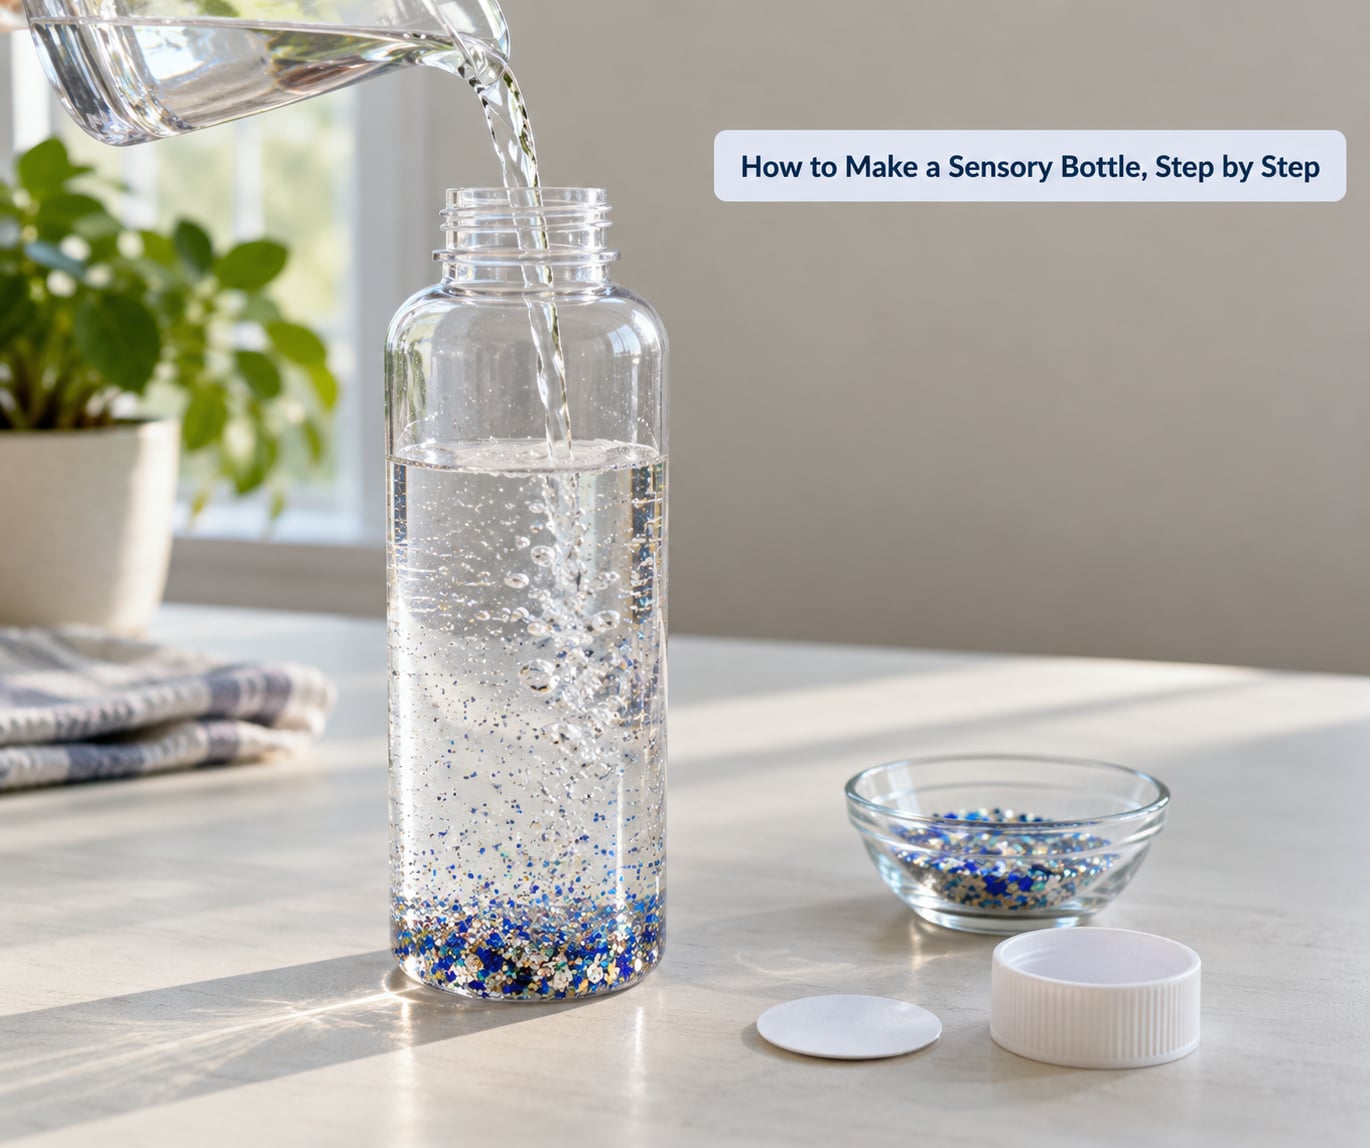
Four steps cover the whole process: choose a safe container and base, add color and fillers, seal and test, then introduce it to your child. The whole thing takes about ten minutes plus curing time before the bottle is safe to hand over.
Step 1: Choose a Safe Bottle and Base
Start by checking the container all the way around. Look for cracks, a loose or stripped thread on the neck, and any sharp edge where the plastic meets the cap. A bottle with a damaged thread can pop its lid mid-shake, which parents on craft and parenting forums describe as the single most common failure.
Then add your liquid. Measure the base rather than pouring by eye, so the fall speed is repeatable. Start with about one-third of the bottle filled and add more base if the contents move too fast once sealed.
If you are thickening plain water, warm it slightly first and stir the glue or soap in slowly. Cold water and fast stirring are the two reasons homemade bases turn lumpy.
Step 2: Add Color and Sensory Materials
Add a few drops of food coloring and swirl before you add anything solid. Liquid color disperses cleanly; coloring applied after the fillers leaves streaks that never wash out of the plastic.
Then add the fillers, and go lighter than you think. One to two teaspoons of glitter per color is plenty in a small bottle, and more will clump into a paste that settles in seconds.
Drop the pieces in one at a time and watch each one reach the bottom. Anything that stops halfway or wedges at the shoulder of the bottle is too big. Pull it back out before you finish, because two wedged pieces can trap everything else above them.
Top the bottle up until only a small finger-width of air space remains at the top. Less air means fewer bubbles and less pressure when the bottle is shaken, and both reduce leaking.
Step 3: Seal and Test the Bottle
Dry the threads and the inside edge of the cap completely before you seal anything. Water sitting under the cap is what makes a glued lid leak later.
For a permanent seal, run a thin ring of super glue around the threads, screw the cap on, and wipe the excess. A low-temperature glue gun works too, and a cool glue ring sets faster but will not hold as long on a bottle that gets handled roughly.
Let it cure fully according to the glue instructions before a child touches it. Then test it yourself over a sink or in the bathtub: shake hard, turn it upside down, and leave it sitting for several hours. Check for weeping at the seam.
If the tape-only method is your choice rather than glue, wrap child-safe tape around the cap and test just as vigorously. Tape alone is a reasonable option for an open craft bottle you will supervise the whole time, and a risky one for a sealed bottle that gets thrown in a car seat.
Step 4: Introduce the Sensory Bottle
Offer the bottle before your child is already overwhelmed. Show them once how to turn it, let the contents settle, and watch them start again, then hand it over.
Keep the first sessions short. Two or three minutes is plenty, and stopping while the child is still enjoying it is what makes them want the bottle again tomorrow.
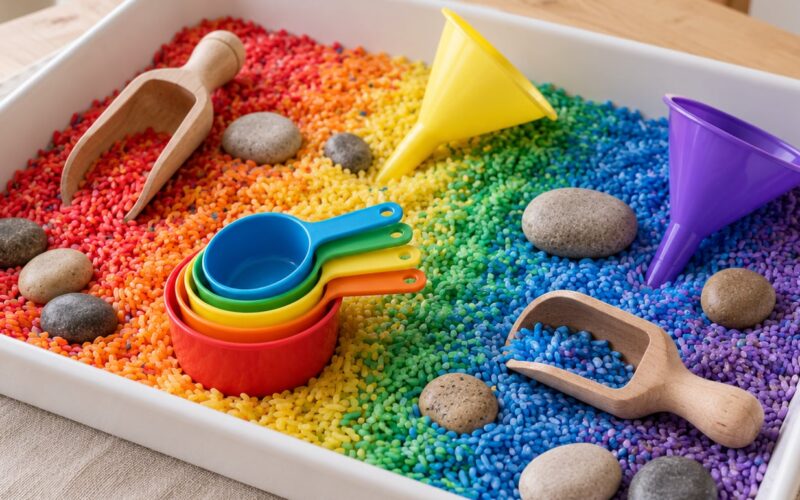
Some children want to watch the fall over and over. Others prefer pouring through a funnel or shaking it hard. Both count. If your child has a broader set of calming strategies at home, a sensory bottle fits neatly alongside a sensory diet rather than replacing it.
A sensory bottle is a sensory-play tool, not a treatment for autism, anxiety, ADHD or any other condition. Introduce it according to your child’s preferences and abilities, and keep pairing it with predictable routines. If moving between activities is the hard part of your day, our guide to making transitions easier covers the other half of the problem.
Common Mistakes
Almost every sensory bottle problem has a simple cause. Here are the six I see most, each with the fix.
The bottle leaks. Almost always a wet thread or an uncured seal. Empty it, let the threads dry completely, reapply the glue, and give it the full cure time. Test over a sink for a day before it goes anywhere near a car seat or a carpet.
The liquid turns cloudy. Oil and water emulsify when you shake hard, and corn syrup mixes permanently with water. Swirl gently instead of shaking, and if cloudiness happens anyway, let the bottle sit undisturbed; most mixtures slowly separate again, though not always completely.
Glitter clumps into a blob. Use warm water, add the glitter a spoonful at a time, and add one drop of dish soap to break up the clumps. Stiff hair gel also clumps, so dilute it before it goes in.
The contents fall in two seconds. Add more thickening agent, a little at a time, and remember the one-third to one-half guideline. If you have already sealed the bottle, you will need to open it, which means re-gluing the cap afterward.
The lid is hard to open, or the fillers are choking-sized. Make the cap harder to open on purpose with a permanent seal, and choose fillers that cannot fit through a toilet paper tube for any child under three. Also watch for a mouthed-on bottle that needs replacing before it becomes a chew toy.
The child becomes overwhelmed. Sensory play can overload as easily as it calms. Put the bottle away without comment, offer a quieter option such as the setup in our calm down corner ideas, and try again another day.
A few habits keep the rest of it easy. Label the lid with the date you made it and with anything that needs rinsing, keep bottles out of direct sun, and expect to wash the outside regularly. If the base is corn syrup or soap, rinse with warm water within a day or two rather than letting it set.
Stop the activity the moment your child shows distress, and never leave a bottle with a child who mouths objects unattended, even a sealed one. If you are unsure about a specific material or a child’s readiness, check with your pediatrician or occupational therapist before handing it over.
Frequently Asked Questions
What liquid do you put in sensory bottles?
Clear school glue or glitter glue gives the classic slow fall, using about one-third to one-half of the bottle. Glycerin or baby oil gives a heavier, smoother swirl. Clear liquid hand soap, dish soap and corn syrup thicken plain water, while oil and water create a separating lava-lamp effect. Skip metal pieces in any base, and expect mold if you leave corn syrup sitting for weeks.
Is glue or baby oil better for sensory bottles?
It depends on the effect you want. Glue keeps fine glitter drifting for minutes and stays suspended even when the bottle is tipped fast. Baby oil makes larger items swirl slowly and looks more like a lava lamp, but fine glitter drops quickly through it. Many parents mix a little of each, using glue for the drift and oil for the movement.
What type of bottle is best for a sensory bottle?
A clear, cylindrical plastic bottle with a screw-on lid works best. Round shapes let the contents move freely instead of wedging into the corners, and plastic will not shatter if dropped. Skip glass, check the threads for cracks or damage before you start, and strip the label so no adhesive is left where a child can mouth it. Wide mouths are easier to fill and clean.
How do I stop my sensory bottle from leaking?
Dry the threads and the inside of the cap before sealing, then apply a thin ring of super glue around the threads and screw the cap on. Let it cure for the full time listed on the glue before a child uses it. Leave only a finger-width of air space so shaking builds less pressure. Test the sealed bottle over a sink or in a bathtub for several hours first.
What age is a sensory bottle appropriate for?
Three and up is the safest starting point, because most bottles contain small items that are choking hazards for younger children. For a baby or toddler under three, use a sealed bottle with only food coloring, large pom-poms and a plain water base, and supervise every second. Never give a sensory bottle to a child who mouths objects without direct adult watching.
Do sensory bottles help with autism and sensory overload?
Many autistic children and other sensory-processing children find watching a slow, predictable fall genuinely calming and regulating, which is why these bottles are a widely used tool in homes, classrooms and therapy settings. It is a sensory-play tool, though, not a treatment, and it works best as one part of a predictable calming routine rather than as a fix on its own.
Conclusion
Start with the container. Choose a clear plastic bottle, strip the label, and check the threads, then fill it about one-third to one-half full with a thickened base and add only large, washable fillers. Seal the cap permanently on dry threads, let it cure fully, and shake-test it over a sink before your child ever holds it.
Then adapt it. A child under three gets color and big pieces only, a child who dislikes glitter gets a dye-and-pasta version, and a child who needs calmer input gets fewer, slower-moving fillers. Build the bottle around your child, not the other way around.