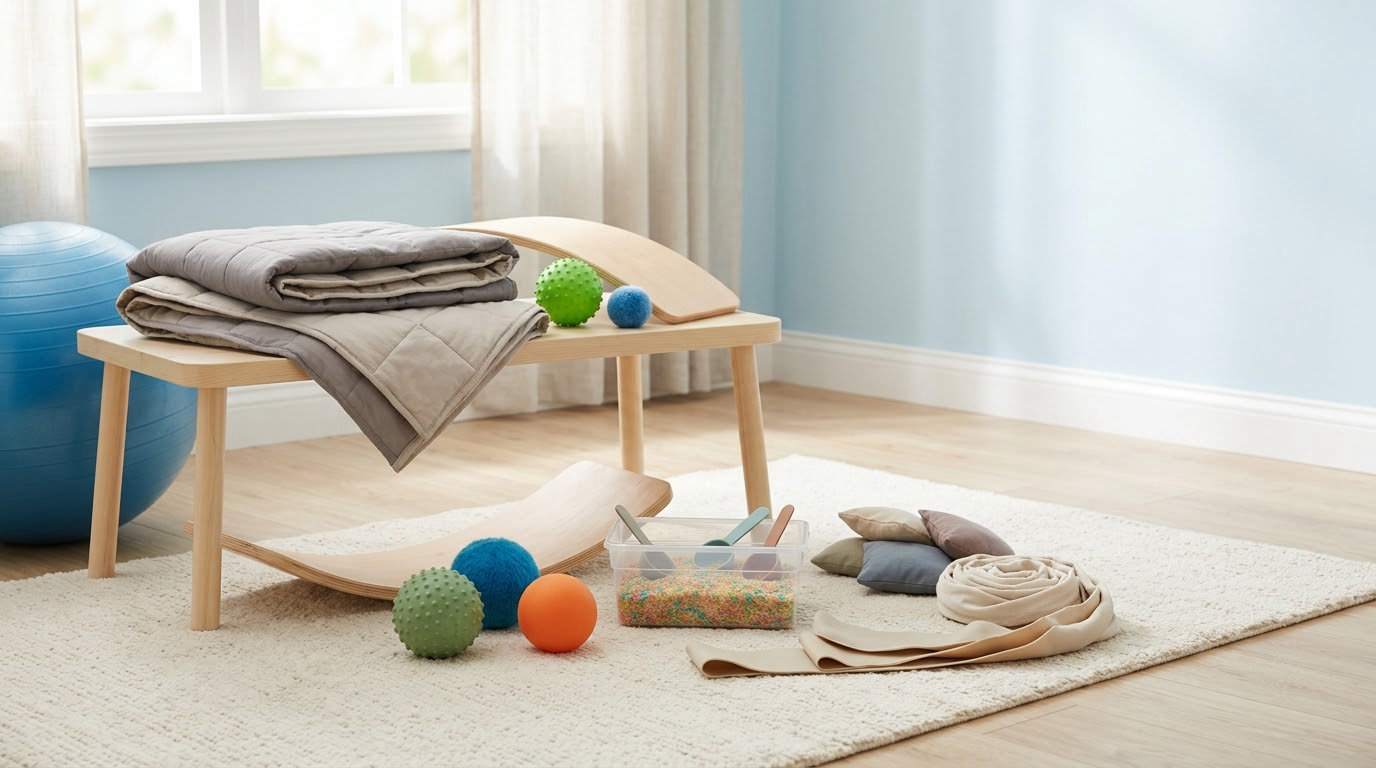
If you have wondered how to build a sensory diet for your child, the short answer is that you watch closely, pick a few safe inputs, and place them around the parts of the day that usually go sideways. A sensory diet is a planned set of sensory activities, not a food plan. Most families can start at home this week.
It takes about two weeks of honest note-taking before the pattern shows itself, and the actual setup is easy. Where it gets complicated is deciding what to offer and when to stop, which is why this guide leans on observation, choices, and stopping early rather than on any fixed list of activities.
Updated for October 2026. General information only, and not a diagnosis or a treatment plan.
Table of Contents
- What You Need
- How to Build a Sensory Diet for Your Child, Step by Step
- How to Build a Sensory Diet for One Child at a Time
- Set Clear Goals for Regulation and Comfort
- Choose Safe, Predictable Sensory Supports
- Introduce One Activity at a Time
- Build a Simple Daily Sensory Routine
- Track Responses and Adjust the Plan
- Revise the Sensory Diet as Your Child Changes
- Common Mistakes
- Tips for Using a Sensory Diet Without Pressure
- When to Ask a Pediatric Professional
- Frequently Asked Questions
- Start With Observation and One Safe Change
What You Need
Think of a sensory diet as a daily schedule of sensory experiences, the way a meal plan is a schedule of food. Movement, touch, sound, sight, smell and taste all count as input, and the goal is to give your child the amount that keeps them comfortable and able to move through a normal day.
It is genuinely not a food plan. A sensory food diet is a separate thing used in feeding therapy, and that confusion comes up constantly. If you are reading because your child will not eat, start with a pediatrician or a feeding-focused clinician rather than with an activity schedule.
Before you build anything, gather five things:
- An observation notebook. A cheap one works. Three lines a day beats a perfect system you abandon in four days.
- A simple trigger log. Note the time, the setting, the activity, and what you saw. Patterns matter more than one-off events.
- A small set of calming sensory items. Start with three or four, not a bin of twenty.
- A consistent routine anchor. One predictable step in the morning and one at night gives the rest of the day a frame.
- Access to your child’s pediatrician or an occupational therapist when the needs turn out to be complex.
That last one matters more than most articles admit. Parents who feel stuck are often waiting for a professional opinion that is weeks away, and the honest middle ground is a gentle home routine plus a booked appointment.
How to Build a Sensory Diet for Your Child, Step by Step
How to Build a Sensory Diet for One Child at a Time
Start with your child’s own patterns, not with a list of activities someone else’s child loved. For one full week, note which environments, movements, sounds, textures, tastes and levels of contact lead to calm, discomfort, overload or distress.
Write the details, not the labels. Instead of “seeking behavior,” write “spun for eleven minutes after snack” or “covered her ears at the hand dryer.” Specific notes are what make the plan useful six days later.
Watch for variability too. A child can be fine on a quiet Tuesday and overloaded on a noisy Saturday, and a plan built from a single bad afternoon will miss that entirely.
Set Clear Goals for Regulation and Comfort
Turn what you observed into three or four small goals you could actually notice. “Settles within ten minutes of starting homework” works. “Calms down faster” does not.
Good goals usually attach to a moment: getting out of the car, transitioning from play to the table, sitting through a haircut, settling before sleep, recovering after a noisy event. Pick the three that drain your family most.
Be careful with what you promise. A sensory diet can support regulation and comfort, but it will not remove every hard day, and it does not explain why your child behaves a certain way. Anyone promising that is overselling it.
Choose Safe, Predictable Sensory Supports
Pick a small mix and match it to what your notes actually showed. Proprioceptive and heavy-work activities (pushing, carrying, crawling, climbing, weighted items) are the most widely useful. Movement and vestibular play, deep pressure, predictable visual input, quiet or noise-reducing options, and oral-motor activities round it out.
Three rules keep it safe. Supervise anything involving weight, climbing, water, or small parts, and keep activities age-appropriate rather than borrowed from an older child. Give a clear signal the child can use to stop, and honour it the first time. If you include food-based textures, only use foods your child already eats safely, and never push a texture you are not sure about.
Home sensory supports are not therapy, and a routine built at home is not a substitute for a professional assessment.
Introduce One Activity at a Time
Test each activity for a few minutes, then invite rather than instruct. Say what is available and let your child choose whether to join in. Stop while the experience is still manageable, because a good first impression is the whole point of a first impression.
Watch for the early signs: a frozen or flat expression, a flinch from contact, breath that gets fast and shallow, hands going to the ears or eyes, or a body that goes rigid.
Here is the part that catches parents out. A neutral reaction does not mean push harder. It means the activity is uninformative, so you change the activity, the timing or the intensity, not the pressure.
Build a Simple Daily Sensory Routine
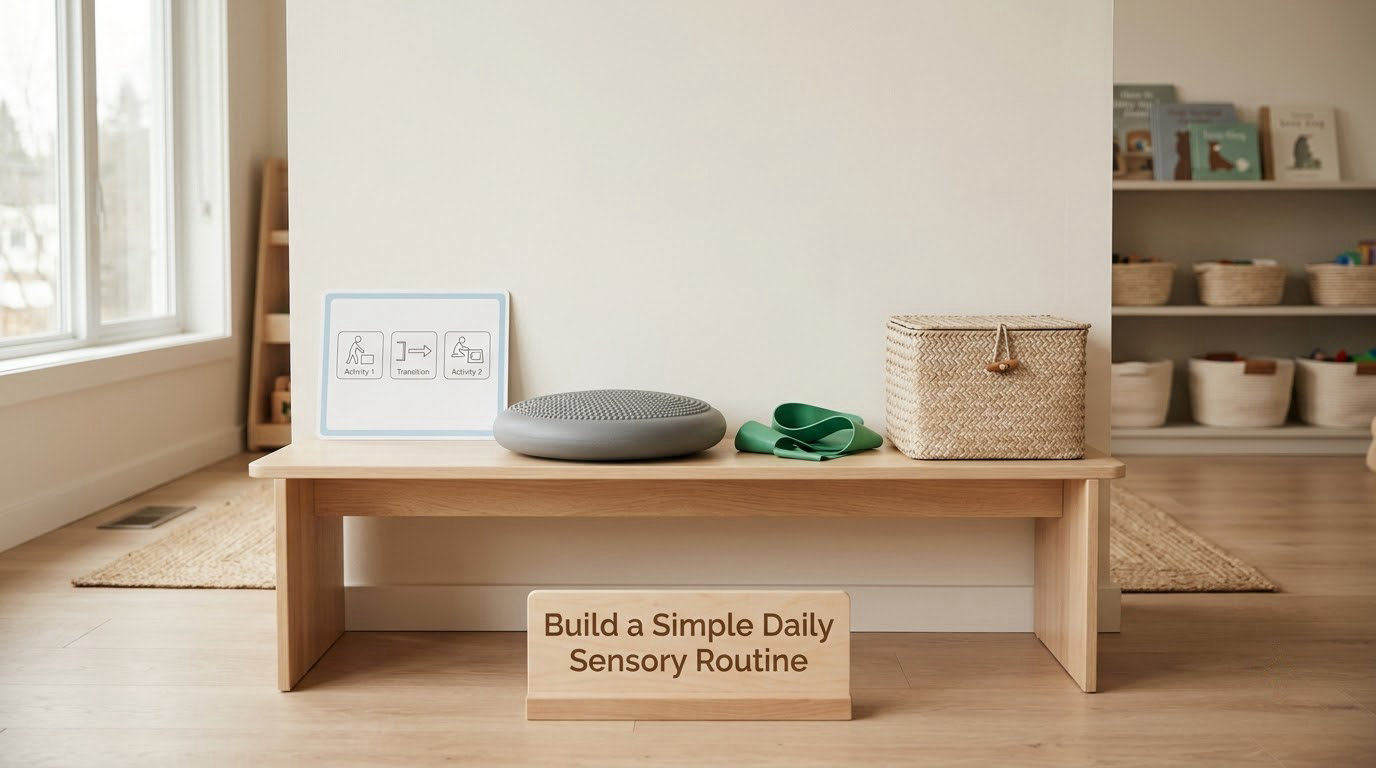
Place the supports your child responds to around predictable daily transitions rather than adding them randomly. Waking, meals, getting ready for school, free play, bathing and bedtime are the natural slots, and they are the same slots most families are already struggling in.
A workable example: a three-minute wall push or floor crawl before school, a heavy-lap item or slow squeeze at the dinner table, a heavy-work household job after snack, and a calmer wind-down before the lights go out. Fifteen minutes spread across the day is a real starting point, not a token.
Keep the routine flexible. The point is a reliable shape, not the same activity in the same order every single day.
Track Responses and Adjust the Plan
Track five things and nothing else: the activity, the setting, how long it lasted, your child’s response, and the one change you will make next time. A five-column table on paper or a note on your phone is enough.
Look for a helpful pattern over repeated trials, not a single good afternoon. Signs an activity is working include a faster start to the next thing, less distress at the same transition, and a child who comes back to it on their own.
Signs to reduce intensity or change timing: escalating distress, shutdown, sleep disruption afterwards, or a child who avoids the activity and everything near it. When something is consistently hard, take it out rather than escalating it.
Revise the Sensory Diet as Your Child Changes
Expect to rewrite this every four to six weeks, because a child’s nervous system changes as they develop. Growth spurts, illness, a new school year, a new sibling or a move can all shift what works within a fortnight.
Update the plan when preferences change, when a new setting appears, or when something that used to help quietly stops working. Keep the version history in your notebook, because you will want to know whether an activity stopped helping or simply wore out.
One firm boundary: a sensory diet is never a reward or a punishment. If your child only wants the scooter because it is earned, it stops being regulation and becomes bargaining.
Common Mistakes
Copying another child’s program. Sensory plans are individual by definition. Two autistic siblings with the same diagnosis can need opposite input, and a plan borrowed from a blog or a sibling usually lands in the wrong place.
Adding too much too fast. Four new activities in one week is a group playdate, not a plan. One at a time is slower and it is the only way to learn what caused what.
Forcing contact. Back hugs, haircuts, hand-holding, crowded swings. Consent from the child is not optional, and forcing contact reliably makes the next attempt harder.
Overwhelming a child on day one. Start below the level that feels useful. You can always add input later; you cannot easily take back a bad first week.
Using food to widen a restricted diet. Adding textures to a routine without a swallowing or feeding assessment can push a child towards gagging, coughing and avoidance. Food is a clinical tool here, not a nudge.
Treating home tools as a replacement for assessment. A routine helps a child manage the day. It does not tell you why the processing difference is happening, and it will not catch feeding, hearing or medical causes.
Tips for Using a Sensory Diet Without Pressure
Keep the first two weeks short, roughly ten to fifteen minutes a day, so the routine is something you keep. Offer two choices rather than one instruction, and let a decline end the moment with no comment. Use visual cues, a picture card or a simple visual schedule, so the next step is predictable without you narrating.
Schedule the most demanding activity when your child is most likely to be regulated, usually mid-morning rather than at the end of a long day. Add one tool at a time and give it a week.
If you are working through the noisy, crowded places, plan for them specifically. Covering ears, choosing a quieter side of the aisle, sitting away from the automatic doors, and rehearsing the route beforehand help more than any single toy.
When to Ask a Pediatric Professional
Everyday sensory experimentation and a clinical concern look different, and knowing which one you are looking at saves months of guessing.
Book an appointment with your pediatrician if distress is persistent rather than situational, sleep is repeatedly disrupted, eating is unsafe or the restricted food list is narrowing, or you see a loss of skills your child previously had. Mention it to an occupational therapist when the difficulty shows up across many settings, at home and school and daycare, not just on the hard days.
Several signals together mean a professional assessment rather than a home routine. These include distress that lasts hours, behaviour that is physically risky for your child or others, a child who cannot settle even in a familiar calm space, and eating that involves coughing, gagging or significant distress around textures.
Ask for a feeding-trained clinician specifically when the main concern is food. Feeding therapy is a different intervention from an activity-based sensory diet, and the two get confused constantly.
Expect an honest answer about evidence and cost. Sensory-based approaches are not uniformly classified as evidence-based, and they are often paid for out of pocket, so it is fair to ask what a plan costs and what it is meant to change before you commit. On parent forums, including r/Autism_Parenting and r/ADHD, the most common frustration is not the activities themselves but finding out late that nobody had explained those limits.
Frequently Asked Questions
What is a sensory diet for a child?
A sensory diet is a planned daily schedule of sensory activities, not a food plan. It uses movement, touch, sound, sight, smell and taste to give your child the amount of input that keeps them comfortable and able to concentrate. A parent-built version is a gentle home routine; a fully designed plan is written by an occupational therapist after an assessment.
How do I know which sensory activities help my child?
Track the activity, the setting, the duration, your child’s response, and one change for next time. Look for patterns across several days, not one good afternoon. Signs it helps include an easier transition afterward and a child who chooses the activity again unprompted. Signs it hurts include distress, shutdown, or disrupted sleep.
Should an occupational therapist create a sensory diet?
An occupational therapist is the right person to design a full plan, because they can assess processing across senses and watch how your child responds in real time. Parents can absolutely build a simple, low-pressure routine at home in the meantime. Book an assessment when distress is persistent, sleep or eating is affected, or the difficulty appears in several settings.
What sensory activities should I stop if my child is overwhelmed?
Stop immediately if you see a flinch from contact, hands going to the ears or eyes, fast shallow breathing, a frozen expression, a rigid body, or a child trying to leave. Do not push through the moment or promise a reward for finishing. Calm first, and try a smaller version of the same activity much later, or replace it with quiet movement.
Can sensory diets include food and drinks?
Yes, oral-motor and taste activities can be part of a plan, but only with foods your child already eats safely and with close attention to swallowing. Adding new textures to expand a restricted diet belongs with a feeding-trained clinician, not a home routine. A sensory food diet is a separate intervention from an activity-based sensory diet.
Start With Observation and One Safe Change
Do five things this week. Write down what you see for seven days, choose one predictable routine to anchor, add one sensory activity to it, and record what happened. Then decide whether to keep, soften or drop that activity.
That is the whole method. To build a sensory diet for your child, you need observation, one safe change, a record, and a decision about what comes next. Nothing more complicated than that.
If distress is persistent, sleep is being disrupted, eating has become unsafe or narrow, or your child is struggling in several settings at once, take the notes to your pediatrician and ask about an occupational therapy assessment. A home routine is a good place to start, not a place to finish.