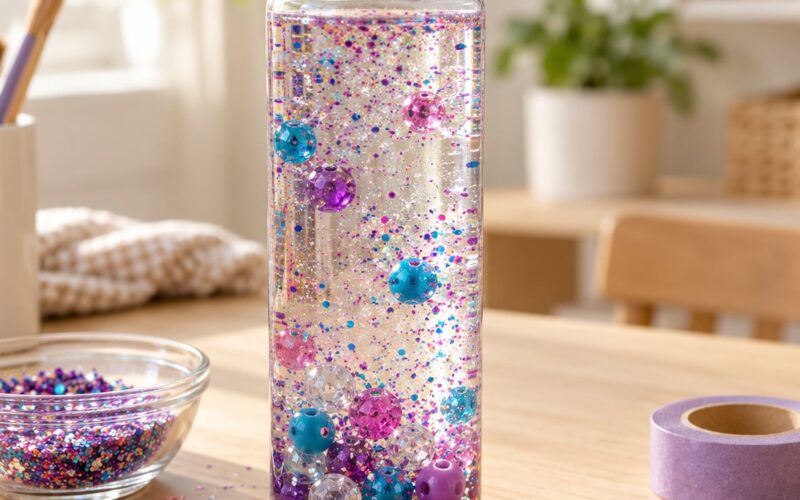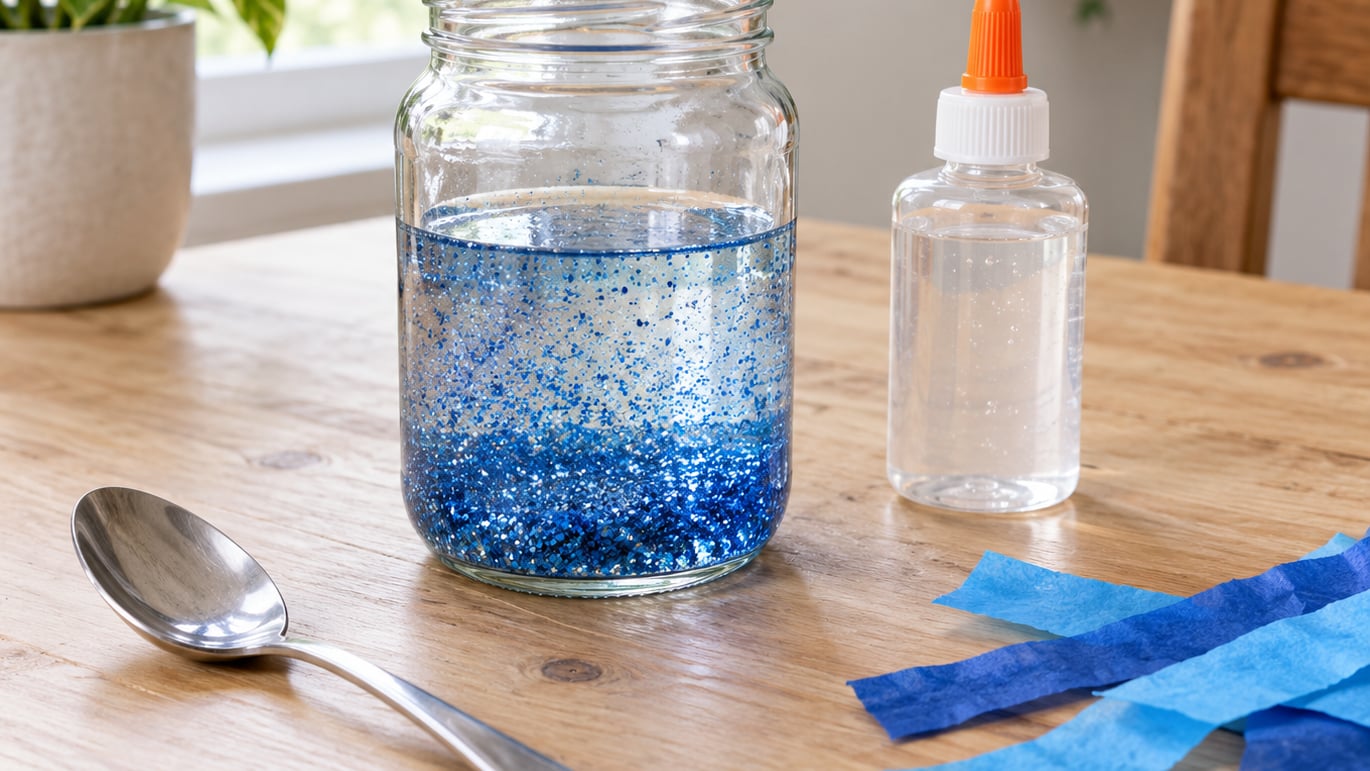
A calm down jar is a clear container filled with warm water, clear school glue and glitter that a child shakes and watches settle. If you want to know how to make a calm down jar, it takes about fifteen minutes and costs less than a cup of coffee in craft supplies. The slow fall of the glitter gives a busy mind something concrete to follow, which is why it works as a regulation tool rather than just a fun craft.
I’ve built these with my own kids, and the part nobody tells you is that the jar is rarely the thing that calms a child. What calms them is having one predictable, repeatable thing they can reach for without asking an adult to step in. The jar just makes that thing visible.
Below is the method I use, the materials that matter, and the mistakes I made the first few times.
Table of Contents
- What You Need
- Optional extras worth having nearby
- Swapping materials for allergies, textures and age
- Step-by-Step: How to Make a Calm Down Jar
- Choose Materials That Match Your Child’s Sensory Needs
- Fill and Layer the Jar
- Add a Prompt or Grounding Reminder
- Introduce and Practice With the Calm Down Jar
- Use It During Emotional Overwhelm
- Common Mistakes
- Frequently Asked Questions
- What materials are safe for a calm down jar?
- How do I make a calm down jar for a child who does not like textures?
- Can I use food or dry beans in a calm down jar?
- When should I offer a calm down jar to my child?
- How do I get my child to use a calm down jar independently?
- What if the calm down jar does not calm my child?
- Conclusion
What You Need
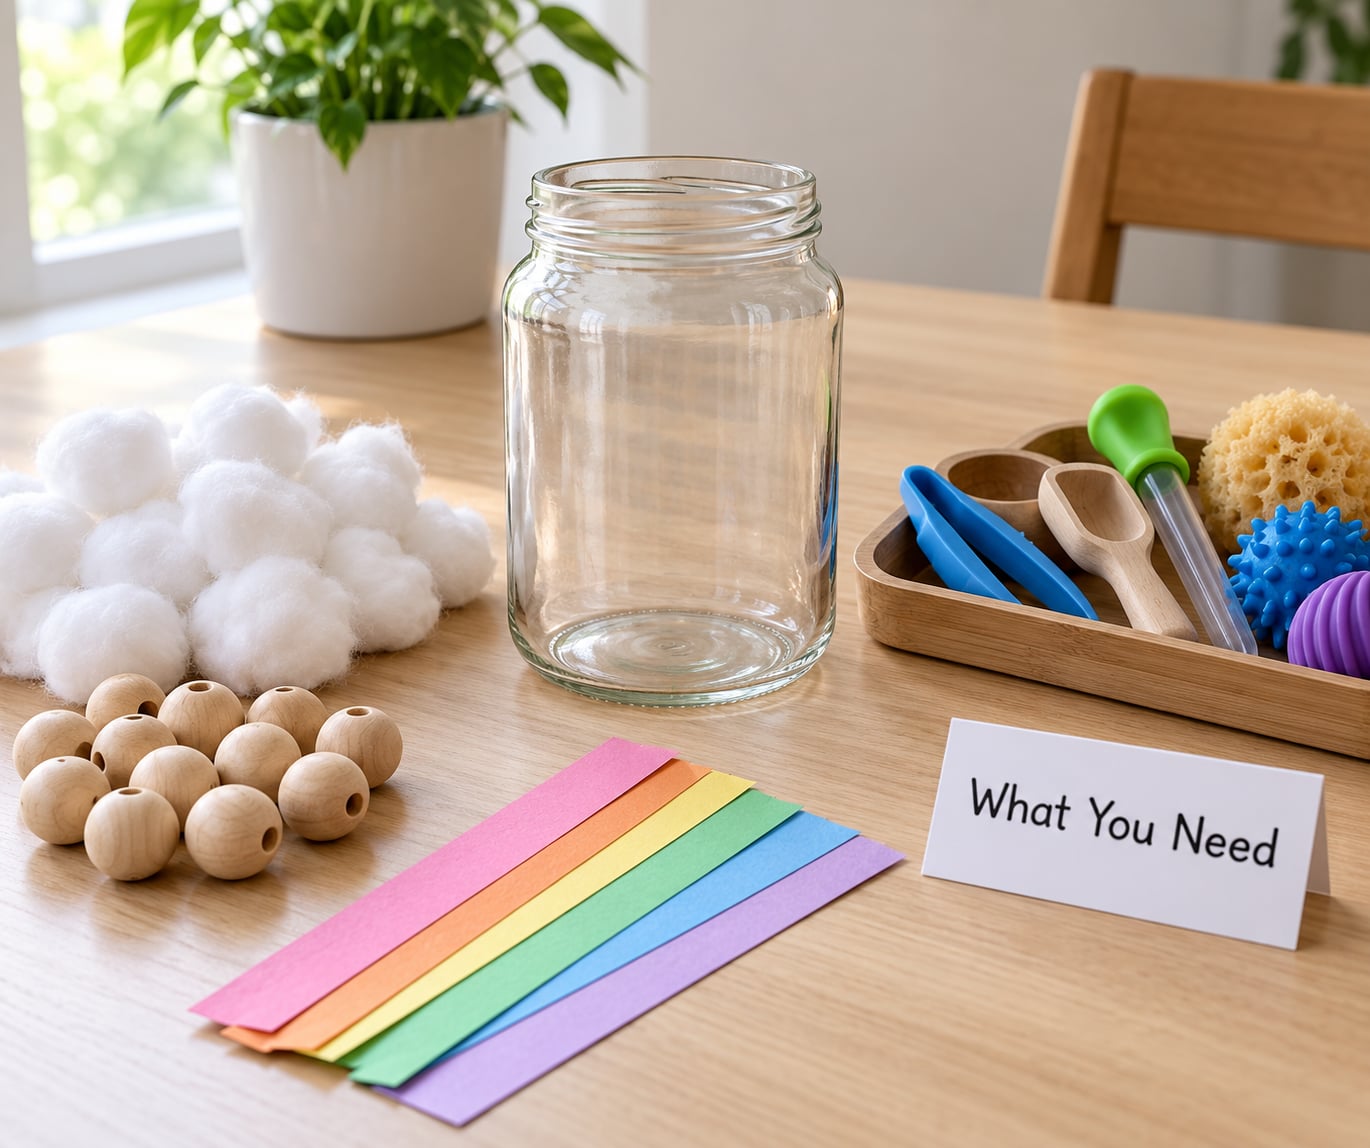
Most calm down jar recipes call for four things and a fifth optional one. Keep the list short, because a jar packed with ten different materials is a jar nobody wants to touch.
- A clear container with a tight screw cap — a smooth-sided plastic bottle, a mason jar, or a plastic spice jar with a shaker lid.
- Warm water, filled to about three-quarters of the container.
- Clear PVA school glue, roughly one to one and a half bottles for a 16 ounce jar.
- Glitter, plus optional water-based food colouring.
- A small tray or sheet under the jar for filling, since a little water always spills.
That is the whole method. The glue-to-water ratio is the only part worth measuring, because it decides how slowly the glitter falls.
Optional extras worth having nearby
- Biodegradable glitter, if your child will handle the open jar or if spills are likely.
- A hot glue gun or superglue to seal the lid shut once the jar is finished.
- Small smooth objects for a layered version — pompoms, wooden beads, coloured tissue paper, smooth pebbles.
- A small card with a picture or two short words on it, taped to the front.
Swapping materials for allergies, textures and age
Nothing in the base recipe is edible, so there are no food allergies to manage unless you build the dry version. For families avoiding microplastics, biodegradable glitter breaks down instead of washing down the drain, and the same jar lasts noticeably longer because the plastic version ends up in the sink.
If your child rejects textures, do not start with glitter and hope. Test a spoonful of the loose material on a plate first and watch what they do with it. A child who picks it up and moves away has already told you something useful.
For children under three, skip loose beads and small parts entirely. A sealed jar of water and coloured paper strips gives you the same visual with no choking risk.
Step-by-Step: How to Make a Calm Down Jar
- Wash and dry the container. Any soap left behind turns the water cloudy and the glitter stops moving cleanly.
- Pour in warm water. Warm, not hot — it mixes better with the glue. Fill to about three-quarters and leave the headroom for shaking.
- Add the glue. One to one and a half bottles of clear PVA glue for a 16 ounce jar. Stir until the water goes uniformly thick and slightly slimy.
- Stir in colour, then glitter. A few drops of water-based food colouring first, then glitter to taste. Too much colour hides the glitter and defeats the point.
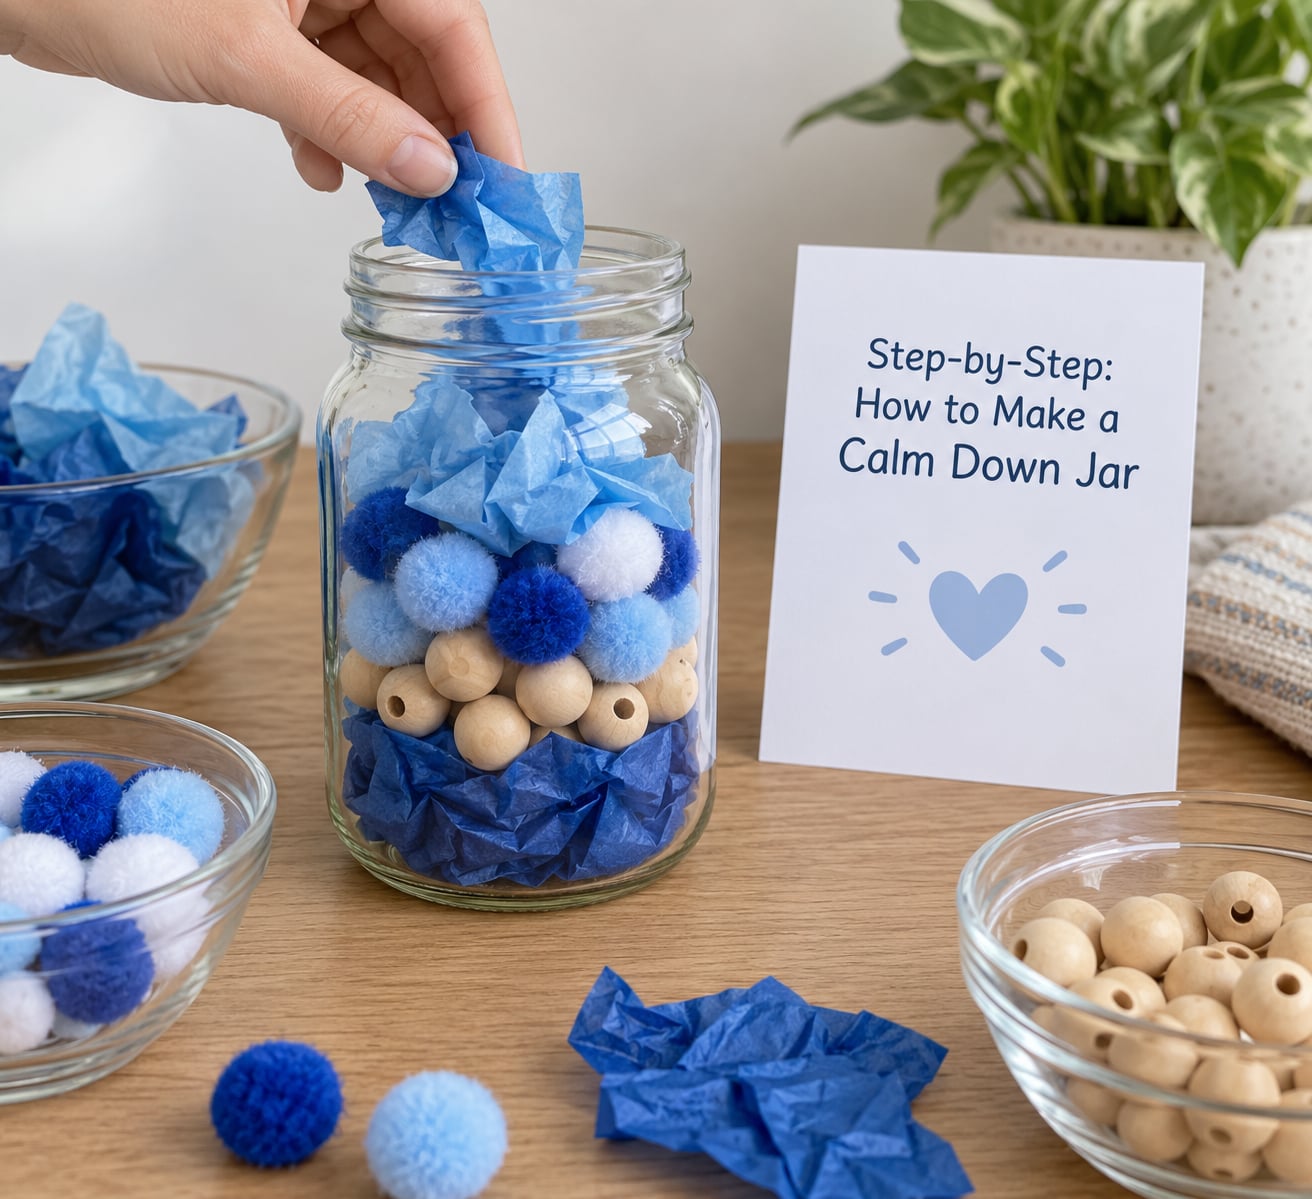
- Build the layered version if you want one. Add dry decorative items in layers, then top the jar back up with the glue mixture.
- Seal the lid. Run a bead of hot glue around the cap threads if your child tends to open things.
- Shake and let it settle. Test it yourself first. If the glitter drops in two seconds, add more glue.
Step three is where most jars go wrong. Too little glue and the glitter falls like rain; too much and it barely moves at all. Add glue a tablespoon at a time and shake between pours.
Choose Materials That Match Your Child’s Sensory Needs
The visual version works best for children who are drawn to watching movement. The dry version — no liquid, just pompoms and beads in a sealed container — works better for children who dislike wet or sticky sensations and for anyone travelling in a car, where a liquid jar is a risk.
Ask which sense the child already seeks out. A child who chews things wants oral input and will not want a jar. A child who rocks or spins wants movement and will want something to turn. Match the tool to the existing preference rather than introducing a brand new one.
Fill and Layer the Jar
Layering is optional, and it is the part that turns a calming tool into a thing the child owns. A layered example: a base of blue tissue paper cut into strips, a middle band of small pompoms, a layer of smooth wooden beads, then enough glue mixture to fill the gaps and seal everything in place.
Leave roughly a third of the jar empty so the contents have room to move. Overcrowded jars turn into a solid block that never settles, which defeats the whole mechanism.
Add a Prompt or Grounding Reminder
Tape a small card to the front of the jar. For a younger child, a single picture of the jar itself. For an older child, one short line — “my mind is like the glitter, it settles” is the version that gets the most mileage.
Keep the wording describing what happens rather than what the child should do. A description gives them language for their own state; an instruction turns the jar into a demand.
Introduce and Practice With the Calm Down Jar
Practise while things are already calm. Sit down, shake the jar together, watch it fall, and say out loud what you both see. Do it three or four times in a row over a few days before you ever need it in a hard moment.
This is the step people skip, and it is the step that decides whether the jar gets used at all. A tool a child has never touched during a good moment is a stranger when the bad moment arrives. If transitions are a flashpoint in your house, our guide to making transitions between activities easier covers the same idea at a bigger scale.
Use It During Emotional Overwhelm
Offer it low and early. Handing over the jar at the peak of a meltdown asks a flooded nervous system to make a decision, which is the one thing it cannot do.
Say less than you think you need to. Something like “jar’s here” or “watch it fall” is enough. Reduce your own demands at the same time — no eye contact, no questions about what happened, no lesson about feelings. If your child melts down regularly, the calm steps in how to handle autism meltdowns at home go into more detail on the caregiver side.
Make it available rather than supervised. A jar on a low shelf the child can reach alone is a regulation tool. A jar handed out by an adult only on request is a reward.
Common Mistakes
Every one of these came up in our house or in conversations with other parents, and every one is quick to fix.
Using too many materials. A jar with six kinds of filler takes longer to settle and gives a child more to reject. Pick two and stop there.
Choosing materials the child avoids. If they flinch at the sound of beads rattling, use larger soft pompoms that barely make noise. Sensory planning means starting from what already works, not from what looks best in the jar.
Making it a reward or a punishment. The moment the jar is conditional, children learn to perform calm rather than feel it, and it becomes another thing to earn. Keep it unconditional and always available.
Putting it somewhere inaccessible. A jar on a high shelf is decoration. Place it at the child’s height in the room where the hard moments actually happen, and pair it with a calm down corner at home rather than leaving it to stand alone.
Leaving small parts loose. Beads, dried beans and glitter are choking hazards in an open jar. Use the layered version, seal the lid, and keep any loose materials out of reach of children under three.
Letting the glitter settle too fast. Most complaints trace back to not enough glue. Add it gradually and shake after each pour until the fall lasts a slow count of ten.
Expecting it to fix everything. A jar is one input. It does not replace a calmer environment, predictable transitions, or professional support when things are consistently hard.
Frequently Asked Questions
What materials are safe for a calm down jar?
Warm water, clear PVA school glue and glitter are the standard base, and none of them are edible. Choose biodegradable glitter if spills or open handling are likely, and seal the lid with hot glue for children under three. Skip loose beads and dried beans in any jar a young child can open, and treat the contents as a sensory material rather than anything to be tasted.
How do I make a calm down jar for a child who does not like textures?
Test each loose material on a plate first and watch whether your child reaches for it or pulls away. Build the dry version instead: pompoms, tissue paper and smooth wooden beads layered in a sealed container with no liquid. Larger soft items that make almost no sound work better than beads, which rattle and can register as unpleasant.
Can I use food or dry beans in a calm down jar?
You can, but only in a dry version with no water and no glue, and the lid must be sealed. Dry beans or rice in a sealed dry jar give a satisfying shake-and-settle effect and carry no allergy concerns. Food in a liquid jar stays for weeks, so keep that version for older children and check the jar before each use.
When should I offer a calm down jar to my child?
Offer it early and quietly, at the first sign of rising distress rather than at the peak. A child who is already flooded cannot make the decision to use a tool, which is why it needs to sit within reach before things get hard. Practise with it during calm moments first so it is a familiar object rather than a new one.
How do I get my child to use a calm down jar independently?
Put it where they can reach it without asking, leave it out permanently, and never take it away as a consequence. Practise with it together while things are calm so the action is already familiar. A small picture card on the front works as a cue for younger children, and keeping the jar out rather than stored away is what makes independence possible.
What if the calm down jar does not calm my child?
That is common, and it usually means the jar is being introduced too late or the contents are not visually interesting enough. Try more colour, more glitter, or a layered version, and offer it earlier next time. If a child never finds it calming, treat it as a preference rather than a problem, and pair it with movement, breathing or quiet time instead.
Conclusion
Start with two materials your child already enjoys, build the jar together in about fifteen minutes, and practise it during a calm moment this week. That is the whole first step, and it is worth more than any themed or decorated version bought ready-made.