To teach a child to swim, work through four stages in order: build trust and water comfort, teach breath control, establish floating and body position, then add kicking and arm movement. Keep sessions short and repeat them often, and keep an adult within arm’s reach the whole time. Most children need a full season of regular practice before any independent swimming appears.
Parents searching for how to teach a child to swim usually want the same thing: an order of operations they can actually follow on a Saturday afternoon, not a pep talk. The order matters more than anything else in this guide, because swimming is a stacked skill. A child who cannot hold a comfortable back float will not learn to kick well, and a child who cannot breathe on the side will simply panic.
A few key takeaways before we get into the water:
- Comfort comes first. Water familiarity and trust have to exist before breath control makes any sense.
- Breath control comes second. Bubbles, submersion, and rolling to breathe all sit before any kicking.
- Floating and body position come third. A flat, relaxed body on the water is the platform for everything after it.
- Kicking and arm scoops come last, and only on a body that already floats.
- Touch supervision never switches off. An adult within arm’s reach is the whole safety system, in the pool and out.
Most caregivers get through this in a few months of short, frequent sessions rather than one long summer push. That is good news, because ten calm minutes three times a week beats a stressful hour once.
Table of Contents
- What You Need
- Step-by-Step: How to Teach a Child to Swim
- 1. Build comfort around the pool
- 2. Practice entering and leaving the water safely
- 3. Teach staying safe in shallow water
- 4. Introduce submerging and breathing
- 5. Build floating and balance
- 6. Add kicking, arm movement, and combinations
- 7. Practice independence and real water safety
- Common Mistakes
- Frequently Asked Questions
- What is the best age to teach a kid to swim?
- What are the 5 basic skills for swimming?
- How long does it usually take for a child to learn to swim?
- What is the best age to start swim lessons?
- Are floaties and water wings enough to keep my child safe?
- How do I help a child who is scared of the water?
- Can I teach my child to swim myself instead of paying for lessons?
What You Need
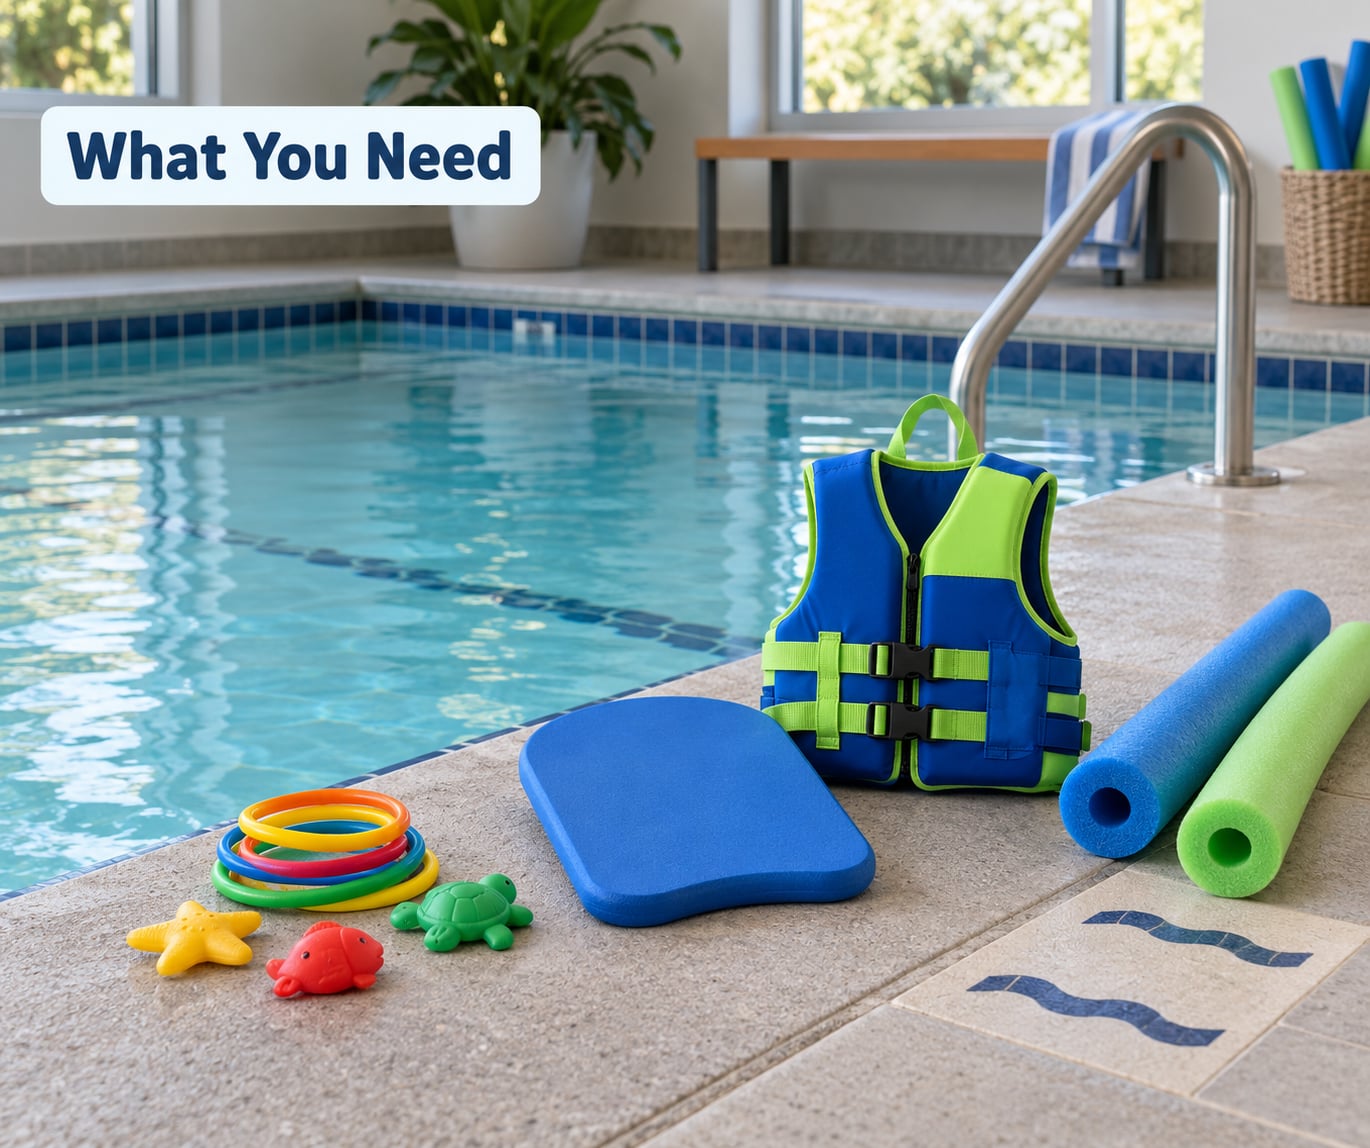
The best setting is a warm, indoor, shallow pool where you can hold your child’s hand while standing. Water held near body temperature, which many programs keep in the high eighties to mid nineties Fahrenheit, reduces the shivering that makes children tense, and a tense child cannot learn.
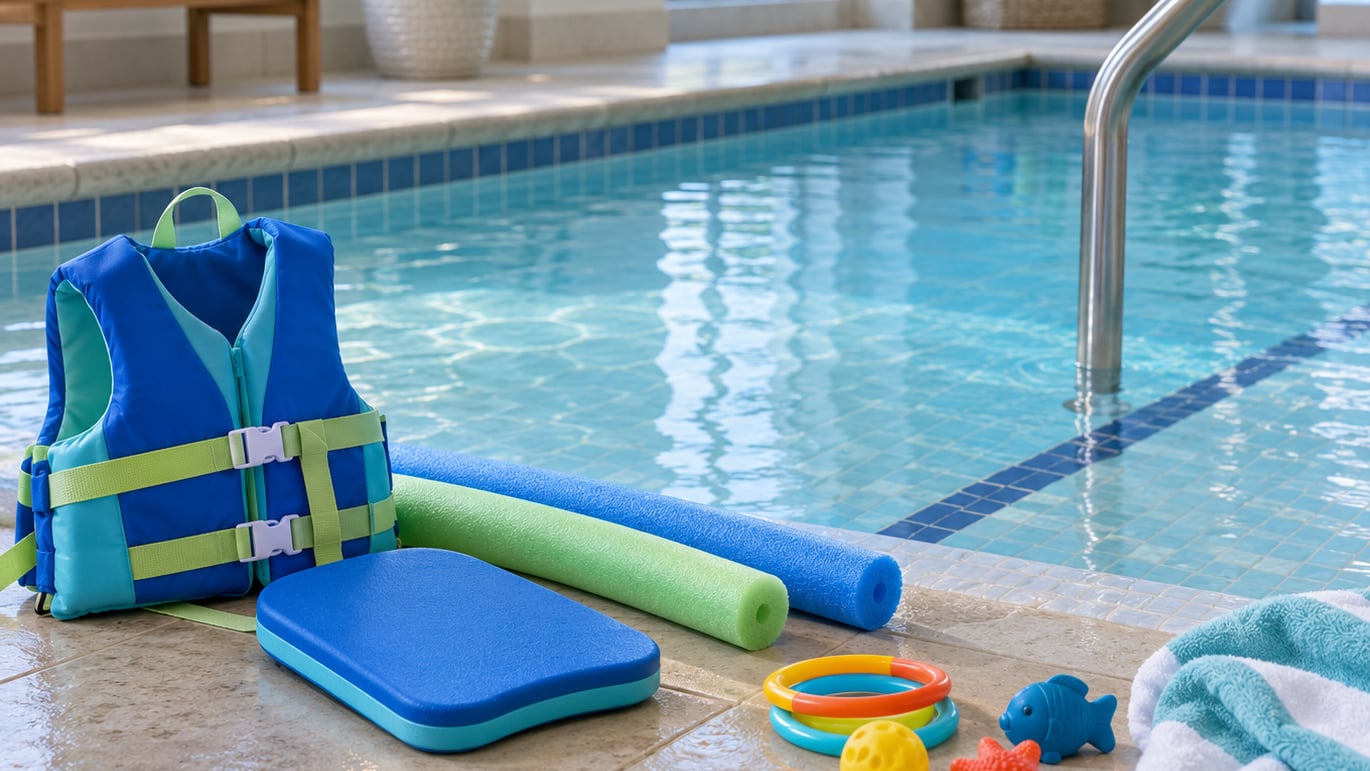
Essential gear is short. A properly fitted life jacket for open water and boating, never as a substitute for an adult, a kickboard and a pool noodle for support work, a towel within easy reach, and a slip-resistant mat or a pair of pool shoes for the deck. Beyond that, colored teaching toys, cups, and small targets turn drills into play.
Adaptive tools are worth knowing about if your child has sensory, motor, or attention differences. A nose plug or a snug swim cap reduces the startling feeling of water on the head. A seat or ring that sits at water level lets a child practice breath control without holding an adult’s hands. Weighted or buoyant aids can support a weak core while the child learns a horizontal position.
Before the first session, ask the pediatrician about any medical conditions that change water work, including seizure history, heart conditions, or significant joint and muscle weakness. Also ask about ear infections and about vaccines. Then ask the instructor how they handle a child who freezes at the edge, what their adult-to-child ratio is, and whether a caregiver goes in the water with you.
Many family programs teach a predictable sequence of cues. If your child learns one routine at home, you can reinforce it with visual tools, the same way video modeling helps you teach other life skills at home.
If your child has sensory sensitivities or autism, the pool itself is often the problem, not the water. Noise, tile texture, echoing voices, and unpredictable touch all compete with the task. Our guide to teaching water safety to a child with autism covers predictable routines and desensitization work that makes the rest of this plan go faster.
Step-by-Step: How to Teach a Child to Swim
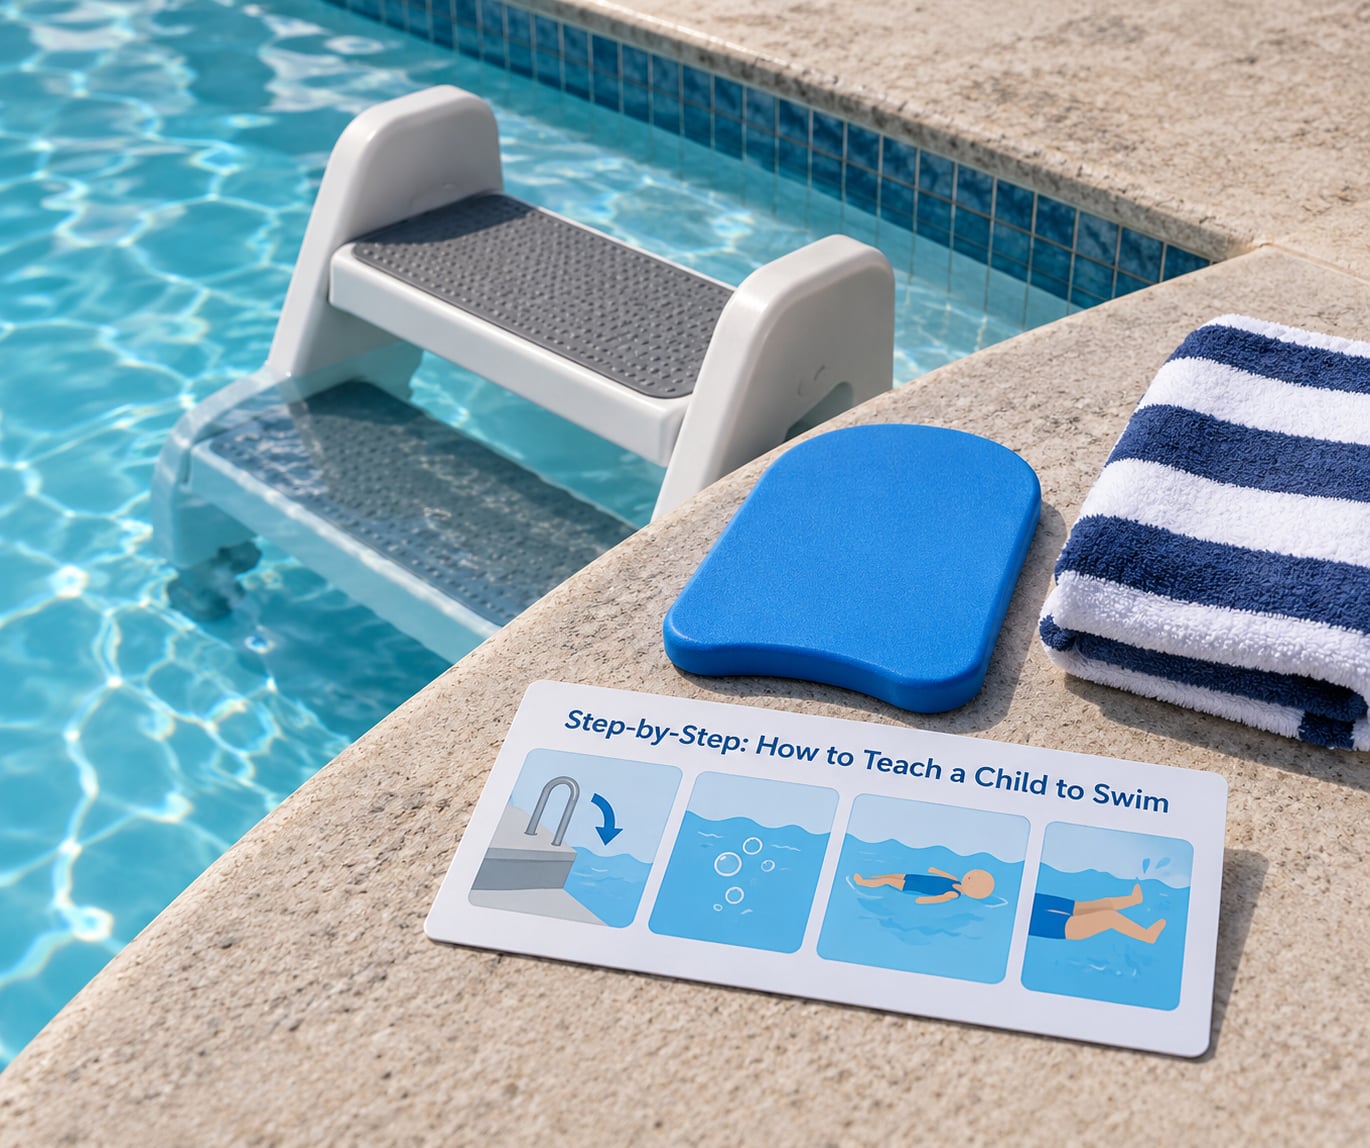
Below is the order I would follow. Each stage has its own readiness sign, and the sign matters more than the calendar. Push ahead before the sign appears and you get fear instead of skill, which is the single most common reason a child stops wanting to swim.
1. Build comfort around the pool
Start on the deck. Sit with your feet in the water while your child watches, or let them pour water over your hands. Narrate what you see: the water is warm, it moves, it goes over your toes.
Then try brief, predictable entries. You go in, get your own hair wet so the child sees you enjoying it, and you come back out on a fixed count. Instructors on Reddit’s r/SwimInstructors repeat this advice constantly: big smiles, clapping, praise, high fives, and a visible sign that the water is fun for you too.
Readiness sign: your child approaches the edge without being prompted and will let you hold both hands while stepping in.
2. Practice entering and leaving the water safely
Pick one entry and use it every single time. A step, a ramp, or sitting down on the edge and scooting in all work. Then fix the exit as firmly as the entry: hands on the edge, knees up, chin over, push to the deck.
Add the pool rule that keeps them alive later: wait for an adult’s permission before entering, and never enter from furniture or from inside the pool.
Readiness sign: your child completes the entry and exit unprompted after a few repetitions, and can do it after a short break. That last part tells you it stuck.
3. Teach staying safe in shallow water
Move to a defined shallow area and make it small. Supported sitting, then supported standing, then standing alone. Practice stopping: an adult says stop, your child stops.
Keep the geometry simple. Stay within arm’s reach, position yourself between your child and the deeper water, and keep the session short enough that they stay warm.
Readiness sign: your child sits and stands in the shallow area on their own, and turns toward you when you call their name.
4. Introduce submerging and breathing
Begin at the surface with the chin in the water. Blow bubbles and count them. That is step one and it is genuinely the hardest one for a lot of toddlers.
Then move to a full mouth submersion: cup the water, dip, come back up. From there, work on holding a breath briefly and releasing it through the nose. Some instructors at the very first lesson count to three and gently blow on a baby’s face to trigger the natural breath-hold reflex, which is a teaching trick and not something to repeat at home without knowing what you are doing.
Rolling to breathe comes next, usually against the pool wall with an adult’s hands at the shoulders and hips.
Readiness sign: your child puts their face in willingly, blows bubbles on cue, and does not grab at the adult when submerged.
5. Build floating and balance
Floating is the foundation that kicking sits on, and skipping it is the most cited mistake among swim instructors. Parents on parenting.stackexchange say it plainly: in swimming they need a proper float position before they can kick.
Start with a back float. Hold the child at the shoulders with their head back and ears in the water, and count the seconds out loud so the goal is a number, not a feeling. Then do a front float with your hands under the chest, head up, arms wide. Add a kickboard under the chest so the child discovers that a flat body stays up on its own.
A noodle across the child’s chest is a good next step. It gives real support while the child relaxes, and relaxation is what makes a float work.
Readiness sign: your child holds a relaxed back float for 5 to 10 seconds with one small touch at the shoulders, then a front float for a few seconds.
6. Add kicking, arm movement, and combinations
Keep each action tiny and separate. Kick on the back while holding a board, kick on the belly, then breathe, then kick. Do not chain three new things in one session.
Use a consistent cue phrase every time, such as ready, set, go, or blow bubbles, kick. Predictable cues beat new instructions every visit. Add arm scoops as a pretend motion, like scooping ice cream or pushing a wheelbarrow, then add them to the body.
Readiness sign: your child kicks on their belly for 5 to 10 seconds with a board, and reaches forward with both arms on cue.
7. Practice independence and real water safety
Swimming on a floaty is a party, but swimming to an adult is survival. Now teach the skills that matter around a lake, a river, or a pool party: moving toward an adult in the water, reaching for a floating object, and staying at the edge of a pool after a fall instead of trying to climb out.
Then the practical habits. Lessons reduce drowning risk, and research reported in medical literature associated formal lessons with an 88% reduction in drowning risk for children ages 1 to 4. That is meaningful and it is also not drown-proof. Supervise the same way you did on day one.
Readiness sign: your child swims or glides toward you across a short stretch of water, and returns to the wall on cue.
Common Mistakes
1. Progressing faster than the child is ready. The correction is simple and hard: only move on when the readiness sign appears. A child who is not ready remembers the water as a place where something bad happened, and that memory is hard to undo.
2. Teaching kicking before floating. Kicking on a body that cannot float teaches a panicked child to kick harder. Float first, always, then add propulsion.
3. Using fear as motivation. Counting on the edge, dunking, or making a child prove something teaches survival panic, not swimming. Slow the pace instead and let the child set the speed while you hold the boundary.
4. Treating a floatie, water wings, or an inflatable ring as supervision. These are toys. They keep a head above water in a pool, and they do nothing in moving water. The safety system is an adult within arm’s reach.
5. Using one teaching method for every child. An anxious child, a sensory-sensitive child, and a confident four-year-old need three different lessons. Adapt the plan instead of blaming the child.
6. Skipping practice between lessons. A weekly lesson with no home practice loses ground. Ten minutes of the same four things, repeated during the week, is where the learning consolidates. Building a short repeatable routine at home is the same discipline as teaching chores to an autistic child: fewer tasks, done the same way, every time.
7. Panicking when a child regresses. A child who loved lessons and then becomes suddenly afraid is common, especially around 16 months and after an illness or a scare. Do not quit. Reduce the session length, return to the entry and exit routine they already know, and reintroduce play before skills. If fear continues for weeks, tell the instructor and ask about a break and a restart.
Frequently Asked Questions
What is the best age to teach a kid to swim?
Start water familiarity in the first year and formal lessons once a child can sit comfortably and follow a simple instruction, usually around age 1. The American Academy of Pediatrics notes that infant programs do not reduce drowning risk, but early positive water experiences still matter. Readiness beats age. A child who is calm in the bathtub and can hold a seated posture is further along than a hesitant four-year-old.
What are the 5 basic skills for swimming?
The five core skills are: comfort in the water, breath control including bubbles and rolling to breathe, a back float, a front float, and kicking with arm scoops on a flat body. Everything else, including strokes, treading water, and diving, sits on top of those. Teach them in that order and each one supports the next. Skip floating and the rest gets shaky fast.
How long does it usually take for a child to learn to swim?
Most children need several months of regular practice before they swim independently, and plenty of two-year-olds need a full year of short, frequent sessions. A child who attends weekly lessons and practices the same four things at home will outpace one who swims in the lake every weekend. Expect a first back float within a few weeks of starting breath work, and independent swimming well after that.
What is the best age to start swim lessons?
Most programs accept children around their first birthday, when they can sit independently and follow one instruction. Classes for children under one year build comfort rather than survival skills, and research has not shown that infant programs lower drowning risk. Waiting until a child is 3 or 4 is fine too, and back-filling quickly once a year of comfort work is done.
Are floaties and water wings enough to keep my child safe?
No. Arm bands, floaties, and inflatable rings are pool toys and offer no protection in a lake, a river, or an unexpected fall. The recognized safety standard is touch supervision, meaning a capable adult stays within arm’s reach of the child in the water. For boating and open water, use a properly fitted Coast Guard approved life jacket instead of anything inflatable.
How do I help a child who is scared of the water?
Go back one stage, not five. Return to sitting on the edge and pouring water, then rebuild to entry and exit before touching breath work. Keep sessions under ten minutes, end while the child is still enjoying it, and let them lead the play. For sensory-sensitive children, visit the empty pool first, use a nose plug or swim cap, and predict every step out loud.
Can I teach my child to swim myself instead of paying for lessons?
You can teach comfort, entry and exit, and floating in shallow water at home. Breath holds, back floats in deeper water, and anything that depends on your arms being the only thing keeping the child up are for a qualified instructor to teach. Many parents combine a weekly class with home practice, which gives the child an instructor for new skills and repetition at home.
Tomorrow, do one thing: pick your entry method and practice it five times in a row, no skills attached. Everything in how to teach a child to swim grows out of a child who finds the water boring and predictable rather than scary. Add breath work when that feels ordinary, floats when bubbles feel easy, and kicking when the back float holds. Keep an adult within arm’s reach, and keep going back to the pool the week after your child decides they are done, because that second month is where most of the real progress happens.