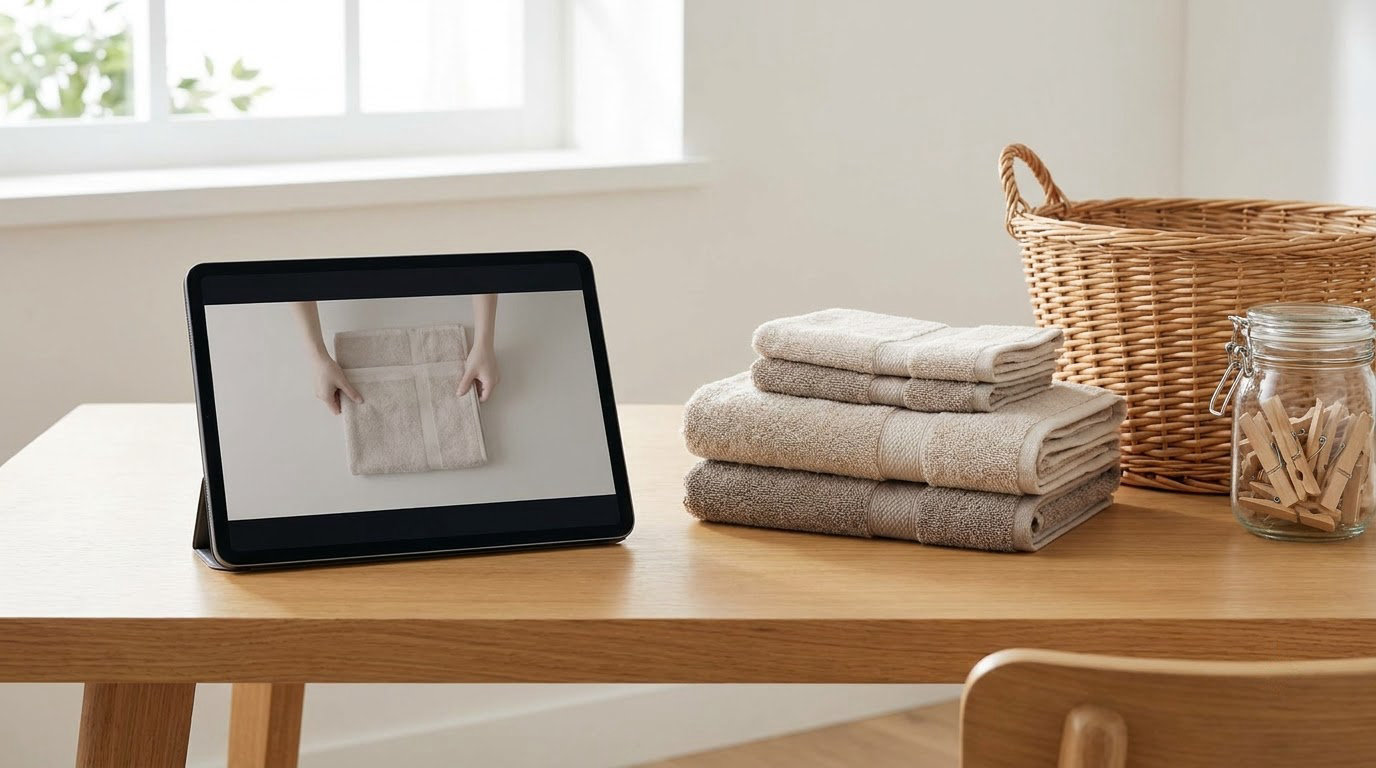
Video modeling means recording a short clip of someone performing a skill, watching it together, and then practicing the same steps in real life. Learning how to use video modeling to teach life skills at home takes 10 to 20 minutes to set up and works on one small routine at a time, so you can start this afternoon with a phone, a toothbrush, and a calm ten-minute window.
The method has been used in applied behavior analysis (ABA) for decades and is now common in homes, classrooms, and clinics. What makes it useful for autistic learners is that the picture never changes: the same clip, the same order, the same words, every single time, with no pressure to figure out the steps while a parent is talking over them.
Below is the process I would follow: pick one skill with a visible beginning and end, write out the steps, film one calm demonstration, practice together, then slowly pull the support away.
Table of Contents
- What You Need
- Step-by-Step
- 1. Choose One Clear, Observable Life Skill
- 2. Map Each Step in the Order It Happens
- 3. Record a Short, Calm Demonstration
- 4. Watch the Video and Practice Together
- 5. Let the Child Try Without an Immediate Hand-Over-Hand Prompt
- 6. Practice the Skill in Real Places
- 7. Gradually Reduce Support and Review Progress
- Common Mistakes
- Frequently Asked Questions
- How do I use video modeling to teach life skills to my autistic child?
- What age can video modeling work for?
- How often should my child watch a modeling video?
- What device should I use to record the video?
- What if my child will not watch the video or refuses to imitate?
- Conclusion
What You Need
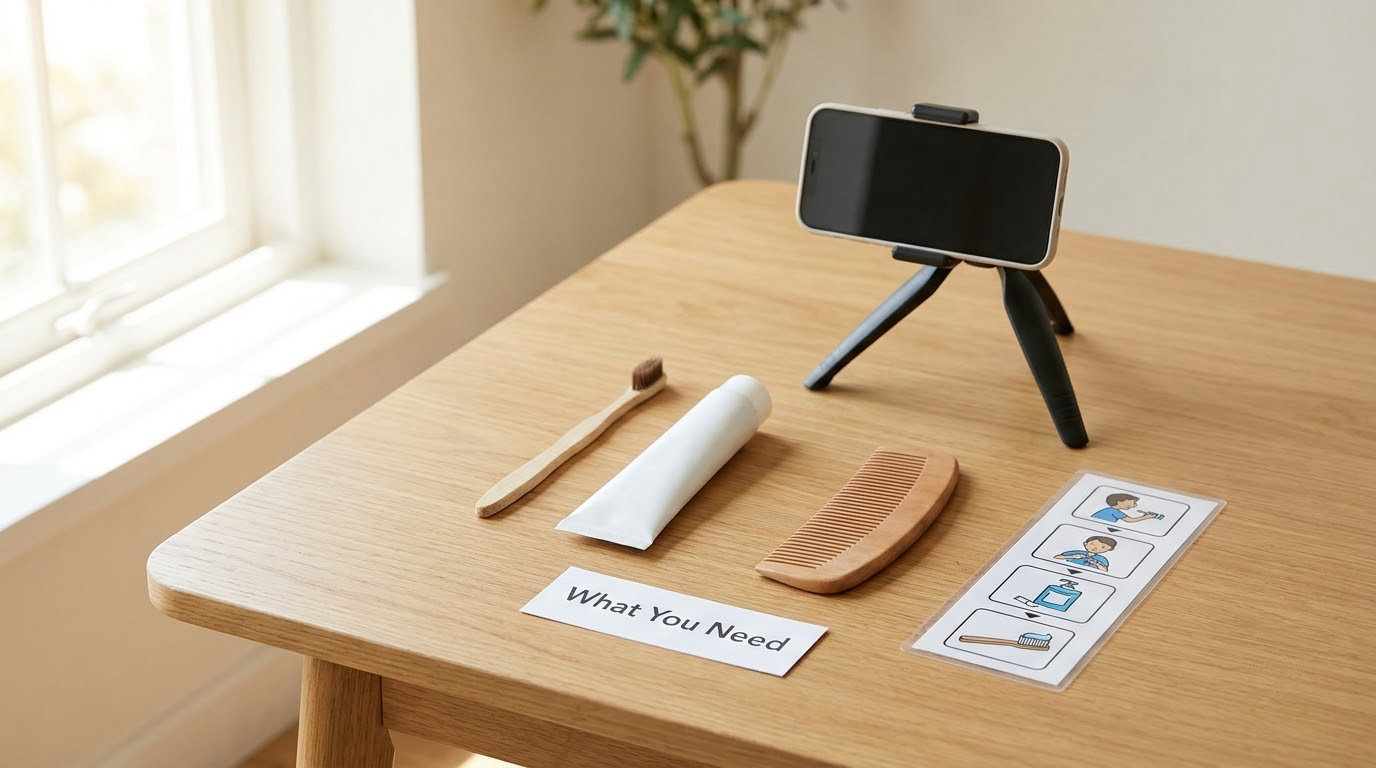
You need one observable skill, the real objects that skill involves, a phone or tablet, and a familiar room. That is the whole supply list. Nothing special has to be bought, and no app is required.
Choose a skill that has a visible start and a visible finish. Brushing teeth, washing hands, pulling on socks, and setting one place at the table all work because you can point at the moment the skill is done. “Being more independent” does not qualify, because there is no moment to check.
Gather the actual materials the child will use, not a demonstration substitute. A real toothbrush teaches brushing; holding a pen while you film teaches nothing.
Pick a spot the child already knows. A familiar bathroom counter with normal light and no television on is better than a tidy corner you set up once and never use again. Keep the frame simple so nothing competes for attention.
Decide in advance how much help you will give. Some children need your hands on theirs for the first few tries. Others do better with a single spoken cue and a few seconds of waiting. Starting lighter than feels necessary and adding help only if it is missing keeps you from building a habit you will have to undo later.
One safety note before you film anything involving water, heat, or a sharp object: stay within arm’s reach during the real practice, even if the video shows the same thing being done calmly. Clear the surface, put non-slip things where they belong, and treat the clip as instruction, not supervision.
If your child has little interest in screens, that is workable. Film the steps yourself while narrating, and use the phone only as a record you can replay later together, or for you to check the sequence before you teach.
Step-by-Step
1. Choose One Clear, Observable Life Skill
Start smaller than feels impressive. One skill, one routine, a couple of weeks of practice before you add another.
Write the goal as an action a person can film. “Wash hands for 20 seconds” works. “Improve hygiene” cannot be filmed, so you cannot model it.
Match the skill to what your child can already do. If they can hold a cloth but cannot squeeze a sponge, start with wiping the table. A skill that is slightly beyond them produces a session of failure, and failure is a poor teacher here.
2. Map Each Step in the Order It Happens
A task analysis is simply the skill written out as short steps in sequence. It is the part parents skip, and it is the part that makes the video work.
Brush teeth, for example, breaks into: pick up the toothbrush, put toothpaste on, put the brush in your mouth, brush the outside of the top teeth, brush the bottom teeth, brush the tongue, spit, put the brush in the cup.
Decide which steps to teach together. Front-loading the whole routine in one go works for some children; teaching the first two steps and adding more later works better for others. Either way, write the steps down before you film so the video matches the plan.
Mark the points where your child is most likely to stall. The cap coming off the toothpaste, the zipper at the back of a jacket, the rinse step at the sink. Those are the spots that deserve a visual prompt or a hand-over-hand assist.
3. Record a Short, Calm Demonstration
Prop the phone up so both hands and the objects are visible from the same angle your child will see. A stand or a stack of books works. Handheld footage is usually unusable.
Keep the clip between 30 and 90 seconds. Long enough to show the whole routine, short enough to replay without losing anyone’s attention.
Narrate each action in plain language as you do it. “Now pick up the brush” is enough. Long explanations compete with the picture and give nothing to imitate.
Move at the speed you would actually move. Rushed footage is hard to follow and creates a model nobody would choose to copy.
Leave out music, quick cuts, and funny titles. The plainest recording in the house usually teaches the most. Reuse the same framing, the same clothes, and the same words for every session so the clip stays familiar.
4. Watch the Video and Practice Together
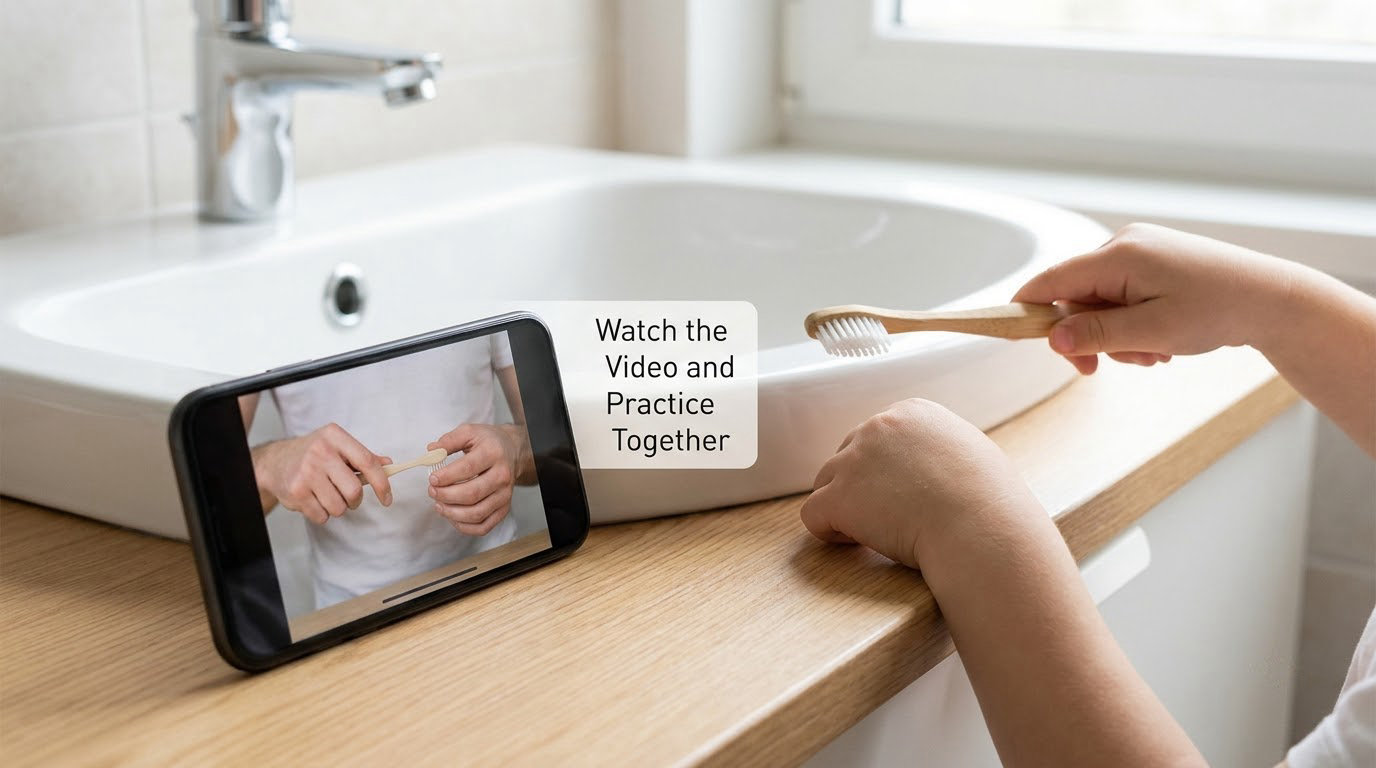
Play only the part you are working on, then pause and let your child try. Watching the whole clip and then practicing everything usually ends with the last two steps being rushed or skipped.
Give the least help that gets the step started. A nod, a gesture, or one short sentence often does it. Hand-over-hand guidance is worth using when a physical action is genuinely unclear, and it is worth dropping as soon as the step starts on its own.
Follow the child’s cues. If they stall, wait a few seconds longer than feels comfortable. Many children are already moving and simply need room to finish the thought.
Notice what happened, in one short note, rather than turning the practice into a test. You are collecting information about the routine, not grading your child.
5. Let the Child Try Without an Immediate Hand-Over-Hand Prompt
Repeat the same step in the same spot without touching first. Try a verbal cue, a gesture, a visual prompt card, or a deliberate pause of a few seconds before you add anything physical.
Waiting feels wrong at first. Give it longer than you think is reasonable, because most attempts are closer to starting than they look.
Reinforce the part that went well in plain language, right after it happens. Specific praise teaches more than a general “good job,” and it costs nothing extra.
Keep the session short. Ten to fifteen minutes is plenty, and stopping while things are still going well makes the next session easier to start.
6. Practice the Skill in Real Places
A skill shown on a screen has not been learned until it happens away from the screen. Move the practice into the actual bathroom, bedroom, kitchen, or classroom where the routine occurs.
Keep the sequence identical and change everything else. A different sink, a different toothbrush, a slightly different phrasing is healthy, because it proves the child learned the sequence rather than one particular video.
Refilming for a second location is worthwhile when the environment genuinely differs, such as a classroom sink that is smaller and busier than the one at home.
7. Gradually Reduce Support and Review Progress
As the steps stick, watch the video less. Every other session for a while, then only when a step slips, then not at all in that routine.
Check accuracy rather than frequency of watching. Ask whether the child completes the steps in the real place, and whether they can do it after a few days without the video.
Note the one or two steps that still wobble and make a short clip for those, instead of re-teaching the whole routine.
If frustration keeps rising, or the skill has not budged after several honest weeks of short daily practice, that is a good moment to talk with a clinician or your child’s team. They can tell you whether the difficulty is the video, the sequence, or something sensory or motor that needs a different approach.
Common Mistakes
Almost every failed attempt comes down to one of the same handful of problems. Each has a straightforward fix.
- Picking a goal you cannot film. Independence, calm, or good behavior have no visible finish line. Switch to a routine with a clear beginning and end, such as hanging a coat or rinsing a plate.
- Filming a 15-minute video. Long clips lose the viewer by the middle. Cut it to the 30 to 90 seconds that cover the routine, and make a second clip for the next routine.
- Moving too fast. If you would not narrate at that speed while standing next to your child, the footage is too quick. Slow down and repeat.
- Relying on repetition alone. Watching twenty times does not build a routine on its own. Every viewing needs a practice attempt afterwards, in the real room.
- Practicing only in front of the screen. Skills learned on a phone and used only on a phone have not transferred. Move to the real sink, the real door, the real kitchen counter.
- Using the video forever. The clip is a teaching tool, not a support to depend on. Fade it out once the steps hold in the real place.
- Treating a mistake as failure. Expect a rough run for the first few sessions. Restart that single step, finish the routine, and let it go for the day.
Progress here looks different for every child. Some master a routine in a week; others work on one step for a month. Both are ordinary, and neither says anything about what your child is capable of later.
A few smaller habits help. Film during the same time of day you will practice, keep a simple note of what happened, and be willing to remake a clip that your child will not watch. A boring clip that gets used beats a clever one that sits on a shelf.
Frequently Asked Questions
How do I use video modeling to teach life skills to my autistic child?
Start with one routine that has a clear start and finish, such as hand washing. Write each step in order, film yourself doing it in 30 to 90 seconds with your hands and the objects visible, then watch the clip with your child and pause for practice. Repeat the same steps in the real room every day for a couple of weeks before adding a new skill.
What age can video modeling work for?
There is no single starting age. Video modeling is used with toddlers who are learning to wash hands and with teens or adults learning a work routine, because the skill matters more than the age. Keep the clip short, the steps concrete, and the material familiar to the person learning. A speech-language pathologist or occupational therapist can suggest which routine fits a specific learner.
How often should my child watch a modeling video?
Most families get the best results watching the clip before a few practice attempts, two or three times a week at first. Some children need the video every day for a short routine; others lose interest after a few views and do better with a live demonstration. Track whether the steps are happening in real life, and reduce the viewing as soon as they do.
What device should I use to record the video?
A phone is enough for almost everything. Prop it up on a stand or a stack of books at the angle your child sees, use natural light, turn off notifications, and hold each shot steady. Landscape framing usually shows hand movements better than portrait. No app is required, though a free editor is useful for trimming a clip down to the essential seconds.
What if my child will not watch the video or refuses to imitate?
Screen aversion is common and does not mean the method has failed. Try a shorter clip, show only the step you are teaching, or narrate the actions yourself live while recording for later. If your child imitates on screen but not in real life, practice immediately after watching and in the actual room. Persistent refusal or frustration is worth raising with your child’s clinician or therapy team.
This guide is general education information, not medical or diagnostic advice. Questions about a diagnosis, a therapy plan, or whether a specific routine suits your child belong with a qualified clinician or your child’s early intervention team.
Conclusion
The whole method comes down to four moves: choose one routine you can film, write the steps, record one calm demonstration, and practice the same steps in the real place the routine happens. Then watch less and more as the skill takes hold.
Start with something your child nearly does already. Pick a toothbrush, a pair of socks, or the kitchen tap, spend 20 minutes filming a short clip today, and run the first session tonight. Add a second skill only after the first one holds without the video.