Learning how to make dairy free frosting takes about ten minutes and about five ingredients, and the whole thing comes together in one bowl: a plant-based fat, confectioners’ sugar, a splash of dairy-free milk, vanilla, and a pinch of salt. Beat it until it looks like frosting. That is genuinely the entire method.
Most people who need dairy-free frosting are not trying to recreate a specific bakery recipe. They want a frosting that spreads cleanly on a birthday cake, holds a swirl, and does not turn into a puddle while the candles are being lit. This one does all three if you get the fat right.
A few notes before you start. A stick of plant-based butter softens like real butter and creams properly; a tub spread mostly does not. Sifting the sugar is not optional if you care about texture. And if you are baking for someone with a genuine milk allergy rather than a preference, check every label, including the vanilla extract.
Table of Contents
- What You Need
- The fat
- The sugar
- The liquid
- The flavorings
- Step-by-Step: How to Make Dairy Free Frosting
- What the base recipe needs
- Beat
- Add
- Whip
- Adjust
- How to Make Chocolate Dairy Free Frosting
- How to Make Dairy Free Cream Cheese Frosting
- How to Choose the Best Dairy Free Frosting Base
- Common Mistakes
- Frosting that is too soft and slumps off the spatula
- Frosting that is stiff and tears the cake
- Grainy, gritty texture
- Frosting that tastes sour or split
- A yellow tint on white frosting
- Frosting that melts in warm weather
- Storage, flavor, and allergy safety
- Frequently Asked Questions
- What is the best substitute for butter in dairy free frosting?
- Can I make dairy free frosting without coconut oil?
- How do I keep dairy free frosting from melting?
- How long can dairy free frosting stay in the refrigerator?
- Can dairy free frosting be frozen for later use?
- Is homemade dairy free frosting safe for children with a milk allergy?
- Conclusion
What You Need
You need one piece of gear more than the rest: a stand mixer or a hand mixer with beaters. Frosting takes two to four minutes of beating, which is more effort than anyone wants to do with a wooden spoon. A heatproof bowl, a rubber spatula, a sieve, and an offset spatula for spreading round out the list.
Beyond that, the ingredient list is short.
The fat
This is the ingredient that decides everything else. Stick-form plant-based butter behaves like dairy butter in a mixer, so it is the safest starting point. Vegetable shortening works and produces the most stable frosting of any option, but it tastes faintly of nothing and can leave a waxy finish. Coconut oil is soft and fragrant at room temperature, so it needs refrigeration to firm up. Whippable oat cream needs no sugar creaming at all, since you whip it with powdered sugar straight into a light cloud.
The sugar
Confectioners’ sugar, sifted. Standard powdered sugar works for most people, and the gluten-free and allergy-aware versions I keep in the pantry behave identically once sifted. If your frosting is unpleasantly sweet, which is the number one complaint I hear, add one or two tablespoons of tapioca or cornstarch and beat it in. It dilutes the sweetness without loosening the texture the way extra milk does.
The liquid
A teaspoon or two of dairy-free milk loosens a stiff frosting. Oat and almond milk are the quietest options and do not shift the flavor. Soy works fine nutritionally but is worth skipping if soy is on the avoid list. Coconut milk is thick but carries coconut flavor into the finished frosting, so use a tablespoon, not a quarter cup. Plain water is fine in a pinch. My longer notes on dairy-free substitutes for milk in baking cover the differences in more detail.
The flavorings
Vanilla extract, a pinch of salt, and whatever the cake needs. Salt sounds optional and is not; it sharpens the sugar and cuts the cloying edge that makes people assume they did something wrong. Clear vanilla extract keeps white frosting genuinely white, which is the trick if you are decorating something that should look like it came from a professional bakery.
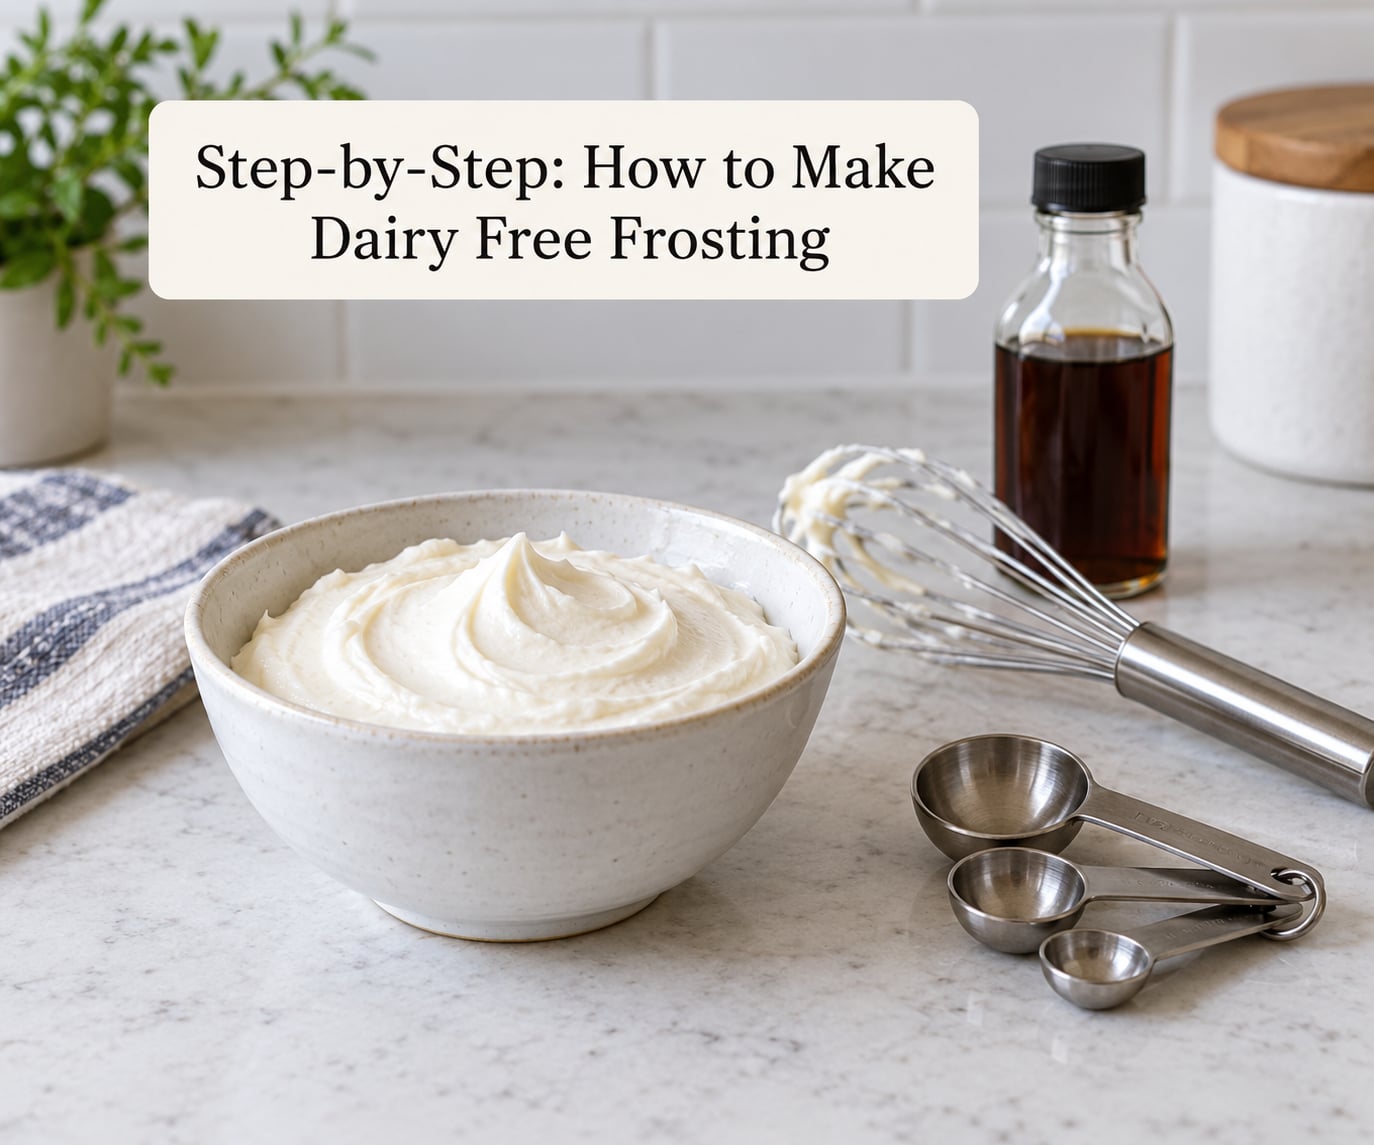
Step-by-Step: How to Make Dairy Free Frosting
What the base recipe needs
For a two-layer 8-inch cake or about a dozen cupcakes, you want 1 cup (226g) of softened plant-based butter, 3.5 to 4 cups (440 to 500g) of sifted confectioners’ sugar, 1 to 2 teaspoons of vanilla, 1 to 2 tablespoons of dairy-free milk, and a quarter teaspoon of salt.
Beat
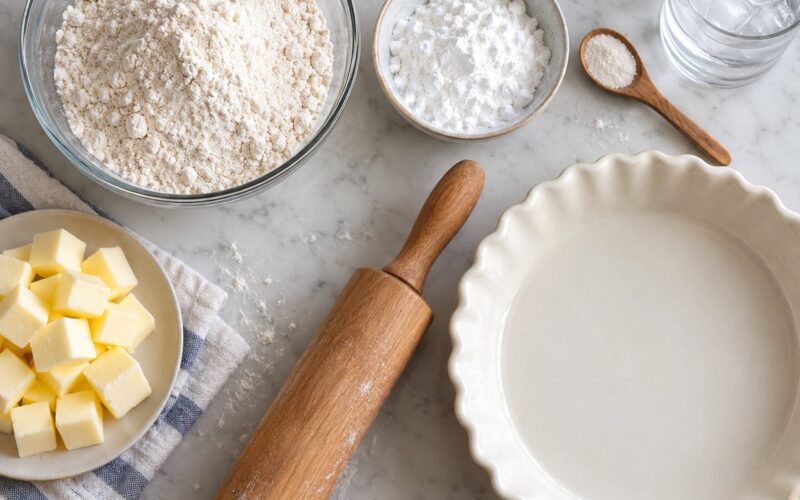
Cut the butter into cubes and leave it out until it dents under a finger but stays cool, roughly 65 to 70°F. Rock-hard butter will not cream and warm butter will not hold air. Beat on medium for two full minutes, scraping the bowl twice, until the color lightens and the texture goes from lumpy to fluffy.
Add
Turn the mixer down to low and add the sugar a cup at a time. Every cup takes about fifteen seconds of beating before the next one goes in. Pouring it all at once is what produces the grainy frosting people complain about online.
Whip
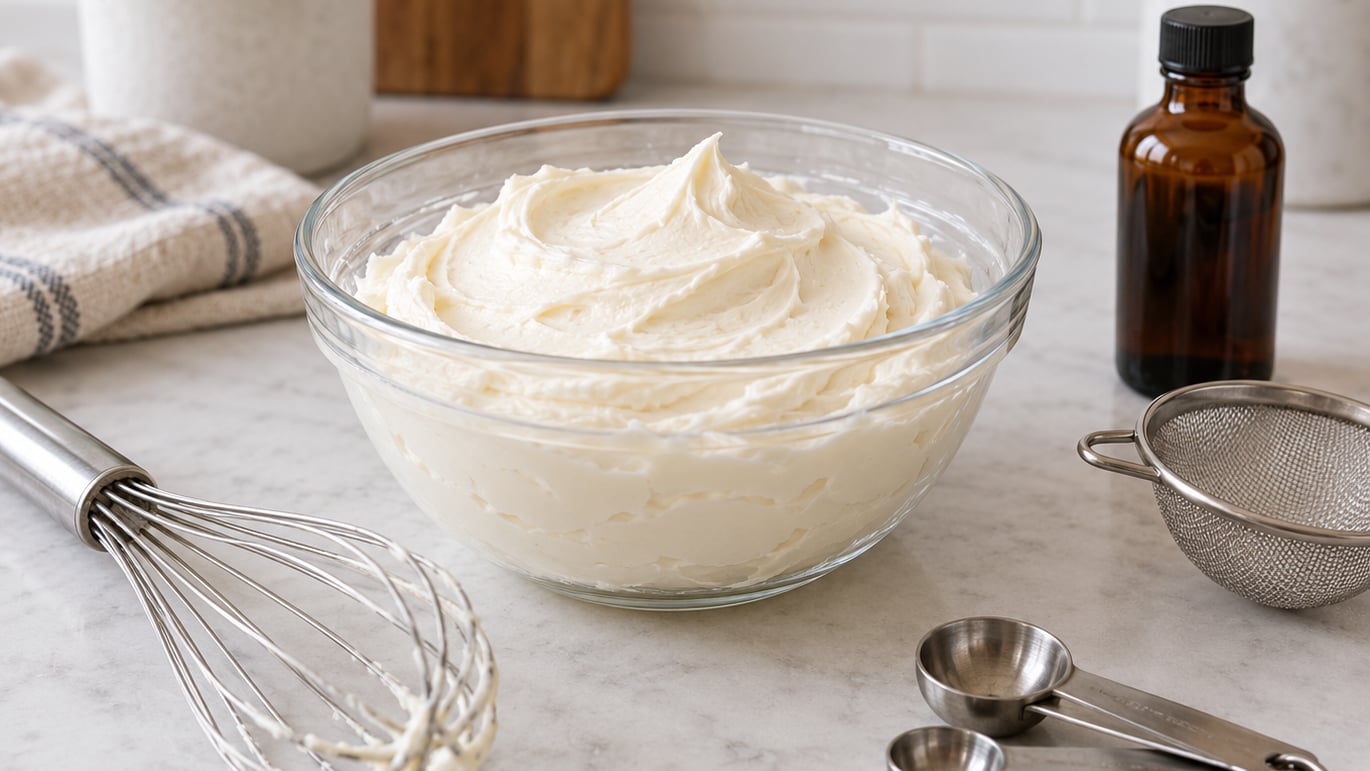
Add the vanilla and salt, then beat on medium for another minute. Switch to high for the last 30 seconds to kill any lumps. The frosting is ready when it holds a soft peak and the paddle leaves a clean swirl in the bowl.
Adjust
Test it before you touch the cake. Draw a line with the spatula and lift: a soft peak that barely bends means you are done. A peak that flops over means you need powdered sugar, a tablespoon at a time. A peak that bends into a hard hook means you need dairy-free milk, a teaspoon at a time. Do both adjustments outside the bowl if the frosting starts to break.
How to Make Chocolate Dairy Free Frosting
Add half a cup of cocoa powder along with the last cup of sugar and reduce the milk to one teaspoon, since cocoa drinks liquid. Sift the cocoa, or push it through the sieve with the sugar. A grainy chocolate frosting is almost always unsifted cocoa sitting in the butter.
If you prefer melted chocolate, stir 4 ounces of dairy-free chocolate into the finished vanilla frosting while it is still warm enough to melt. For a dark, less sugar-heavy version, replace 3.5 cups of sugar with 2 cups powdered sugar and 1 cup unsweetened cocoa.
How to Make Dairy Free Cream Cheese Frosting
Traditional cream cheese frosting relies on dairy cream cheese, so a straight swap needs a plant-based alternative. Blend 8 ounces of dairy-free cream cheese alternative with 4 ounces of softened plant-based butter until completely smooth, then add 4 to 5 cups of sifted sugar, a teaspoon of vanilla, and a tablespoon of dairy-free milk.
Blend in small batches at the lowest speed. Overmixing breaks the structure and leaves a grainy, weepy frosting that will not hold a swirl. This frosting is perishable and belongs in the refrigerator, no question; if it sits out more than two hours, discard it.
How to Choose the Best Dairy Free Frosting Base
Match the fat to the job instead of picking one for everything. Each base has a clear strength and one honest weakness.
- Plant-based butter sticks taste the most like a classic buttercream and pipe beautifully. They soften fast in a warm kitchen, so chill the bowl if your house runs warm.
- Vegetable shortening is the most heat-stable option and the best choice for a cake sitting outdoors at a summer party. The trade-off is a flat flavor and a slightly waxy finish, so a half teaspoon more vanilla helps.
- Refined coconut oil is neutral in taste, unlike virgin coconut oil, and it holds shape well when cold. It melts at about 76°F, so it is a poor pick for a hot garage or a car trunk.
- Unrefined coconut oil is soft and fragrant and will smell like coconut in the finished frosting. Nice for a deliberate coconut cake, wrong for a vanilla sheet cake.
- Whippable oat cream skips the creaming step entirely: whip the cold cream, fold in sugar, done. It is the lightest texture and the least stable, so use it for cupcakes and quick serves.
- Tub margarine is usually too high in water to hold shape and turns greasy within hours. Stick margarine works better, but a plant-based butter stick works best.
Common Mistakes
Frosting that is too soft and slumps off the spatula
The butter was too warm, or you added too much milk. Chill the bowl for fifteen minutes and beat again, or dust in sugar a tablespoon at a time. For a long decorating session, pipe directly from a bowl set inside a larger bowl of ice water.
Frosting that is stiff and tears the cake
Too little liquid. Beat in dairy-free milk one teaspoon at a time and stop the moment the peak bends instead of flopping. You can also add a tablespoon of the cake’s crumb as a stabilizer, which is what many professional bakers do.
Grainy, gritty texture
Unsifted sugar, or a base that never fully softened. Sift everything through a fine mesh sieve before it goes near the bowl. If the graininess shows up after adding liquid, the frosting broke: add a tablespoon of softened fat, beat hard for two minutes, then add sugar to bring it back.
Frosting that tastes sour or split
Curdled. This happens when liquid hits a broken mixture too fast. Bring it back by adding softened fat a tablespoon at a time on low speed until it comes together, then chill before using. Prevention is simply slower pouring.
A yellow tint on white frosting
That is the natural color of the plant butter or a darker vanilla. Clear vanilla extract and a tiny drop of violet gel color will offset it. More than a drop, though, and you get lavender frosting.
Frosting that melts in warm weather
Switch to a higher-melting base. Shortening or extra sugar are the practical fixes. If a fully plant-based option is fixed, decorate as late as possible and keep the cake in the shade.
Storage, flavor, and allergy safety
Avoid water. Measure carefully, sift, and stir extracts in with a clean spatula rather than pouring. Most homemade dairy-free frostings keep about four days in the refrigerator; freeze in an airtight container for up to three months and thaw in the fridge overnight, then beat again before piping. For allergy safety, read every label including the sugar and the extract, and if you are avoiding nuts, keep the mixing bowl and spatula dedicated to nut-free baking.
Frequently Asked Questions
What is the best substitute for butter in dairy free frosting?
A stick-form plant-based butter is the closest match because it softens and creams the way dairy butter does. Vegetable shortening holds heat best and gives the most stable frosting, with a flatter taste. Whippable oat cream is the lightest option and needs no creaming step at all. Whichever you choose, buy sticks rather than tub spreads, which carry too much water to hold a peak.
Can I make dairy free frosting without coconut oil?
Yes, and most people should. Coconut oil is soft and melts near 76°F, so it is a poor choice for a cake sitting outdoors or in a warm room. Plant-based butter sticks, vegetable shortening, and whippable oat cream all work without it. Refined coconut oil is neutral in flavor if you do want it, but it still softens quickly in summer heat.
How do I keep dairy free frosting from melting?
Use a high-melting base. Vegetable shortening is the most heat-stable option, and adding extra powdered sugar firms frosting up further. Keep the finished cake cool and out of direct sun, and if you can, decorate close to serving time. Chilling the bowl during mixing also helps, since a cold frosting holds its shape far longer than a warm one.
How long can dairy free frosting stay in the refrigerator?
About four days in an airtight container for a standard buttercream, though high-sugar American-style frostings often keep closer to a week. Any frosting made with plant-based cream cheese is perishable and should not sit out for more than two hours. Freeze it for longer storage and thaw overnight in the refrigerator, then beat briefly before piping.
Can dairy free frosting be frozen for later use?
Yes, and freezing actually improves it. Freeze it in an airtight container or in a piping bag for up to three months. Thaw it overnight in the refrigerator rather than on the counter, then beat or stir until smooth again, since the butter will have separated slightly. Whipped oat cream frostings freeze well; meringue-based ones do not.
Is homemade dairy free frosting safe for children with a milk allergy?
It can be, as long as every ingredient is checked. Milk hides in confectioners’ sugar, some vanilla extracts, and many emulsifiers, so read those labels carefully for milk, whey, casein, or lactose. Keep mixing equipment free of dairy cross-contact, and for a child with a diagnosed allergy or FPIES, talk with their doctor before serving homemade treats.
Conclusion
Start with softened plant-based butter sticks, sifted confectioners’ sugar, a splash of dairy-free milk, and a pinch of salt. Beat the fat for two full minutes, add the sugar a cup at a time, and adjust consistency with milk or sugar outside the bowl until a lifted peak bends without flopping.
Once that base is yours, the variations are just ingredient swaps: cocoa for chocolate, a plant-based cream cheese alternative for tang, lemon zest for citrus. Keep a dedicated nut-free or soy-free setup for allergy households, and it helps to build the habit of storing the base recipe with the pantry notes from my allergen-free pantry guide.
If you also bake bread, my guide to gluten-free bread that stays moist uses the same balance of starch and fat logic.