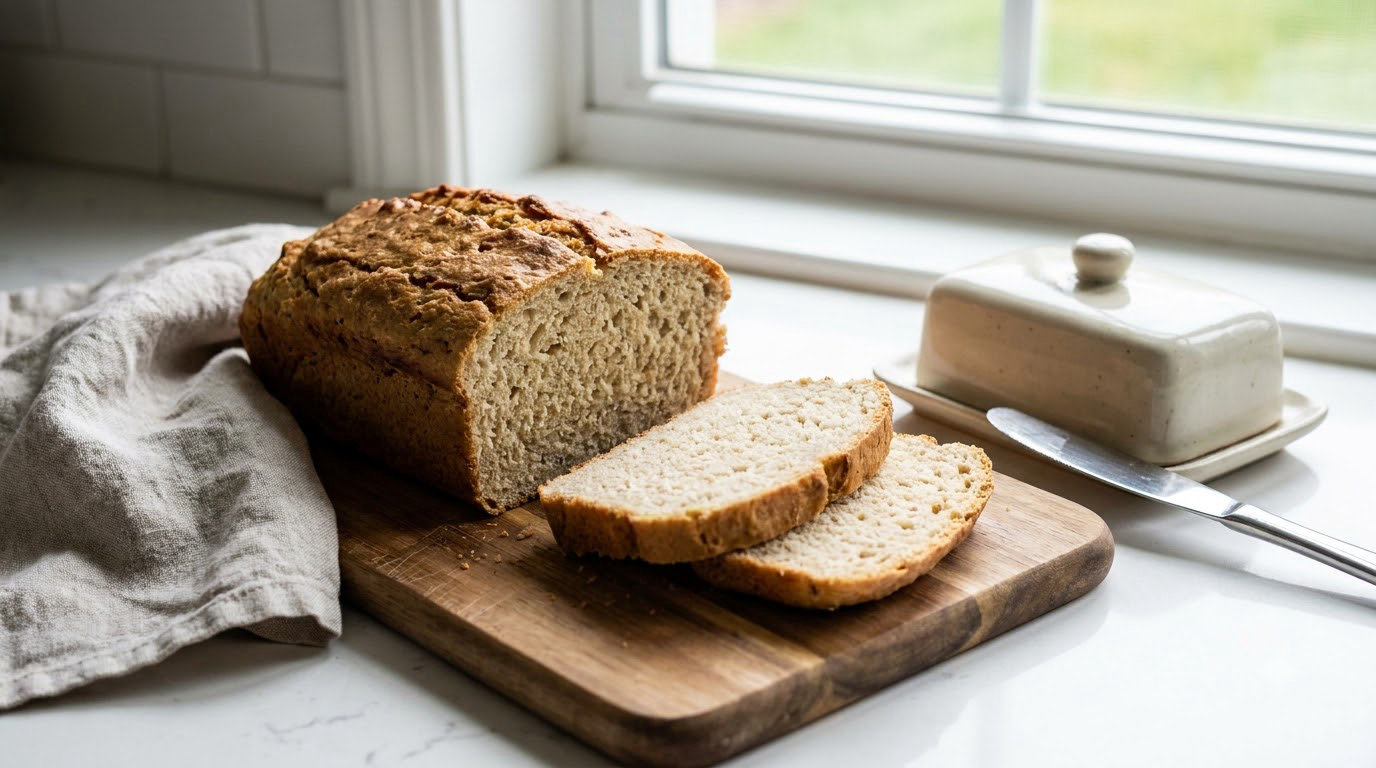
To learn how to make gluten free bread that is not dry, stop adding flour and start fixing three things: the liquid level, the binder, and how long the loaf bakes. Gluten free bread dries out because there is no gluten network to hold water and structure, so starch-heavy flour needs more liquid, a binder, and slower cooling than a wheat loaf. The method below takes about 30 minutes of hands-on time plus a few hours of rising and cooling, and it is forgiving once you stop measuring by volume.
I bake this in a 9×5 inch pan on most weeks. When I first started, I treated gluten free dough like wheat dough and it came out like a dense brick that shattered under the knife. Three changes fixed almost all of it: weighing the flour, adding psyllium husk, and letting the loaf cool for two full hours before cutting.
Table of Contents
- What You Need
- Step-by-Step
- Frequently Asked Questions
- Why is my gluten-free bread so dry?
- How much water should I use in gluten free bread dough?
- Do I need xanthan gum if my gluten free flour already has it?
- How do I keep gluten-free bread soft for more than a day?
- Can I use gluten free flour 1:1 in my old bread recipe?
- How do I fix a gluten free loaf that is dry and crumbly?
- Conclusion
What You Need
You need less than a wheat bread recipe implies, and every item does a specific job. The one thing you should not skip is a binder, because it replaces the job gluten would otherwise do.
- A gluten free flour blend containing starches and fiber. Most commercial blends are a mix of a protein flour (brown rice, sorghum, buckwheat, or millet) with lighter starches like tapioca, potato starch, cornstarch, or arrowroot. That blend is what gives you lift and crumb. A bag of pure cornstarch will not make bread.
- A binder: psyllium husk, xanthan gum, or guar gum. Check the flour bag first. Plenty of blends already contain xanthan, and doubling up is the fastest way to a dense, dry loaf.
- Warm water or milk, 350 to 400 ml for a standard loaf. Warm means blood-warm, around 105 to 115 F. This wakes the yeast without killing it.
- Eggs or a substitute, plus oil or melted butter. Both add moisture that water alone cannot, and fat keeps the crumb tender for days.
- A 9×5 inch loaf pan with parchment overhang. The parchment collar is what lets the dough rise instead of hitting a hot metal wall.
- A scale, a whisk, and a spoon or spatula. Cups are the number one cause of failed gluten free loaves. Gluten free flour is light and fluffy, and a cup of it weighs far less than a cup of wheat flour, so volume measures quietly starve your dough.
- An oven thermometer. Home ovens run hot or cold by 25 degrees or more, and a ten-degree error is the difference between a moist crumb and a dried-out one.
- A wire cooling rack. Bread set on a board steams itself wet in the middle.
Swaps are easy. Olive oil replaces butter for a dairy-free loaf and keeps the crumb just as tender. Plain yogurt can replace up to a third of the liquid for a more cakery crumb, and unsweetened applesauce replaces a quarter of the oil without thinning the dough. Honey works in place of sugar; it also pulls a little more moisture into the loaf.
Step-by-Step
Learning how to make gluten free bread that is not dry comes down to weighing everything, mixing gently, and finishing the bake correctly rather than trusting your eyes on the crust color. Six steps, roughly 30 minutes of work, and one long, boring wait at the end.
Step 1: Combine the Dry Ingredients
Whisk the gluten free flour, starches, salt, sugar, and yeast together in a large bowl until no streaks of one powder sit next to another. Stir in the binder separately so it is evenly dispersed rather than clumped in one corner.
This matters because undissolved gum hydrates unevenly. Where you get a pocket of xanthan, you get a tough spot that eats moisture and refuses to soften; where you get none, you get a hole that crumbs away when you slice. Whisking the flour with the yeast and salt first also spreads the salt evenly, which matters more than it sounds because salt draws water out of the dough if it sits in one place.
If you mix your own blend, a useful starting ratio is 300 g of a protein flour like brown rice or sorghum with 100 g of tapioca or potato starch. That gives you a light, sliceable crumb rather than a brick.
Step 2: Add the Wet Ingredients and Mix Gently
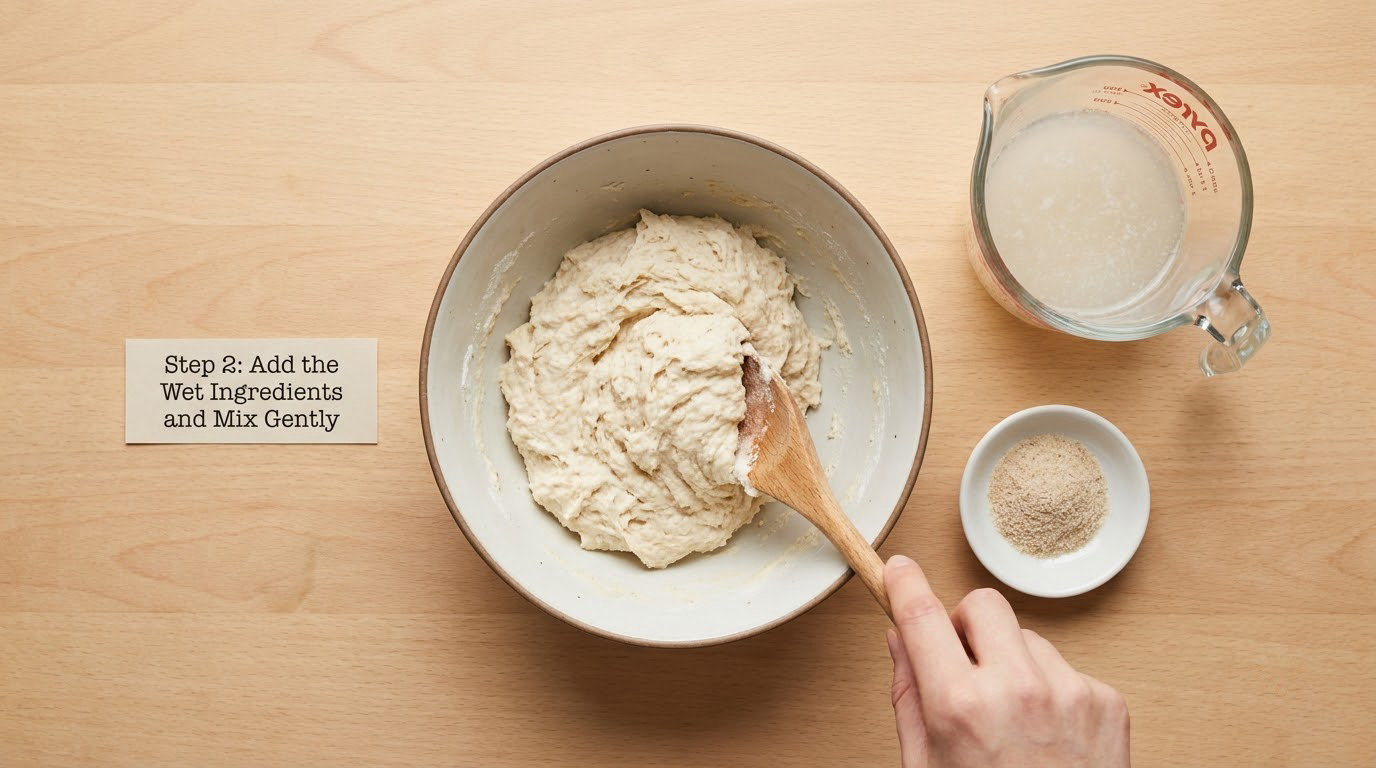
Pour in about 350 ml of warm water, two eggs, 60 ml of oil, and a tablespoon of apple cider vinegar if you have one. Mix with a spoon until everything is combined, then let it sit.
Do not knead. There is nothing to develop, so extra working only makes the dough tighter and drier. Switch to a stand mixer with a paddle for 3 to 4 minutes on medium-high only if your blend has no gum already in it, since that beating is what fully hydrates the xanthan. Stop the moment the dough looks uniform and drag a line through it with a finger. If it looks pasty, add flour by the tablespoon; if it tears at the edges, add water by the tablespoon.
That last check is the whole game. One brand of gluten free flour can need 30 ml less water than another, which is why a recipe that worked last week can fail this week with the same bag in the cupboard.
Step 3: Rest and Shape the Dough
Cover the bowl and rest it for 15 to 20 minutes so the flour finishes absorbing liquid. The dough will firm up and lose its wet edges.
Then scrape it into a parchment-lined pan and smooth the top with wet hands. Press gently from the top down and toward the edges. Pumping the dough, folding it over itself, or degassing it removes the air you spent the last hour building, and you will bake a heavy loaf that falls apart in the hand.
Cover and let it rise a second time before baking. This is optional for flavor but it does give a more even crumb.
Step 4: Proof Until Puffy
Set the pan somewhere warm and wait 75 to 120 minutes. Yeast speed depends on your kitchen, the day, and how cold the dough started, so watch the dough rather than the clock.
You are looking for a puffy, domed top that has risen roughly to the top of the pan, plus a dent that springs back very slowly when you press a finger into the edge. Over-proofed dough flattens, feels fragile, and bakes into a dense slab with a cracked crust. If your kitchen runs cold, put the pan inside the oven with just the light on; if it is warm and humid, expect the short end of the range.
Step 5: Bake Until the Center Is Fully Cooked
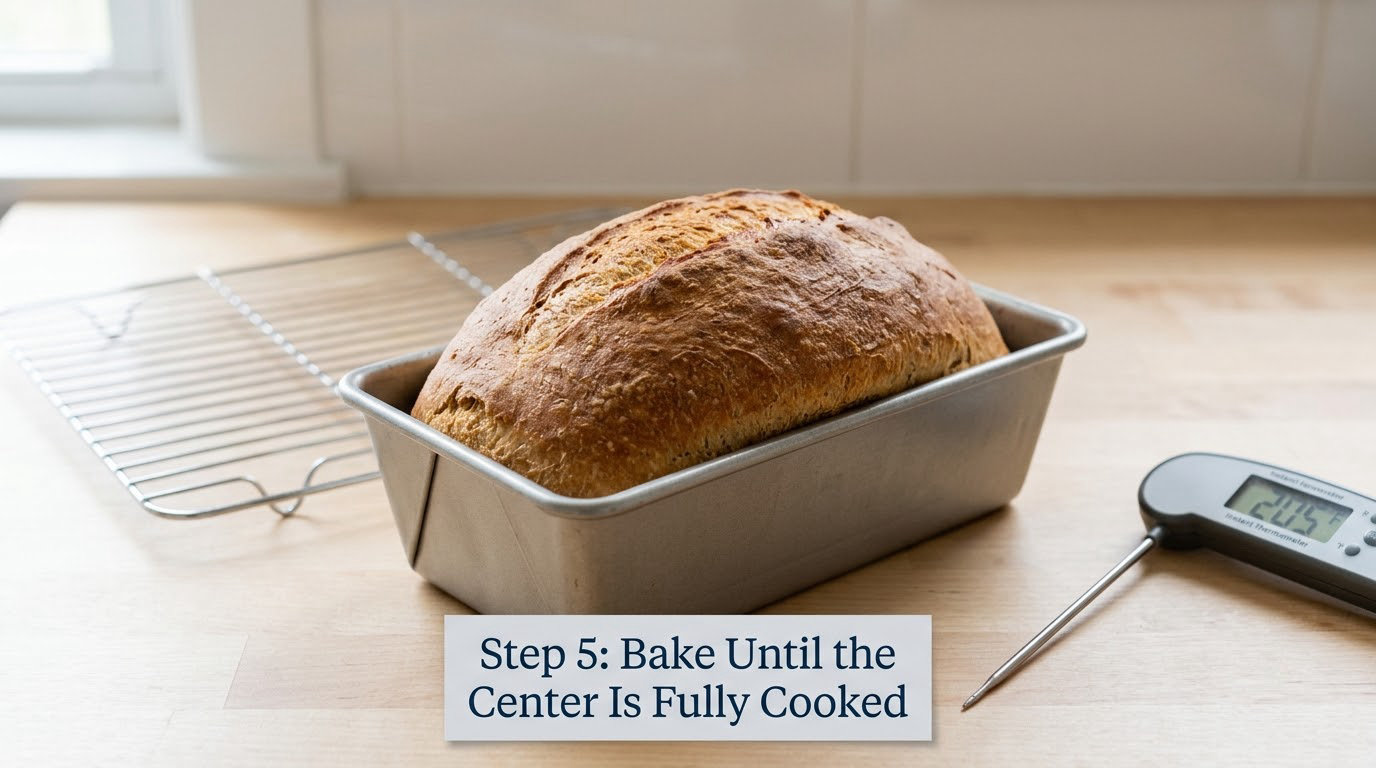
Preheat the oven to 350 F and bake 45 to 55 minutes. Brush or score the top so the crust sets rather than splits.
Color is a bad doneness test here. A pale-looking loaf can still be wet in the middle, and that is the gummy texture people complain about on bread blogs. Check with an instant-read thermometer in the center of the loaf and aim for 205 to 210 F. If your batter has raw egg in it, that temperature is well past the 160 F that USDA guidance asks for raw egg dishes, so eggs are fully cooked too.
Pull it the moment the thermometer says so, because the crumb keeps cooking from residual heat. Five extra minutes in the oven is the single most common reason a gluten free loaf tastes like cardboard.
Step 6: Cool Completely Before Slicing
Turn the loaf out onto a wire rack and wait 2 to 3 hours. This is the step nearly everyone skips and the one I skipped most.
Cutting early releases steam that was still turning starch into a set crumb, so you get a wet, sticky, gummy middle that then dries out within a day. While the loaf cools, starches finish gelatinizing and firming, which is what makes the slices hold together instead of shattering. Readers on gluten free baking blogs describe slicing a hot loaf and finding exactly this, then blaming the recipe.
Once cooled, wrap it airtight at room temperature and it stays soft for two to three days. See the Well-Trained Mind community for a related expectation shift: gluten free dough is never as thick or stretchy as wheat dough, and fighting that is what pushes bakers into overmixing.
Common Mistakes
- Too little liquid. Gluten free flour absorbs more water than wheat flour. Add water 15 ml at a time until the dough holds a finger line.
- No binder, or too much of one. Missing gum means crumbly slices. Doubling up gum means a dense loaf that stays dry. Many blends already contain xanthan, so read the bag.
- Overmixing. Stir until combined, then stop. Gluten free dough needs beating only long enough to hydrate gum.
- Underproofing or overproofing. Underproofed dough bakes heavy. Overproofed dough collapses and bakes dense.
- Overbaking. Bake to 205 to 210 F internally, not to a dark crust. That is what turns the crumb dry and cardboard-flavored.
- Slicing while warm. Wait the full 2 to 3 hours. Steam escapes and the crumb never sets.
- Storing bread uncovered, or on a plate. Cut side down on a board dries out within hours. Use an airtight container, a resealable bag, or a cake dome.
- Refrigerating. Refrigerator temperatures speed starch retrogradation, the same process that stales bread, so gluten free bread stales faster in the fridge than on the counter.
- Forgetting psyllium flavor. Psyllium husk binds beautifully but carries a noticeable herbal taste. Start with 1 teaspoon and work up from there.
Gluten Free Bread That Stays Soft
The adjustments with the biggest impact, in order: get your hydration right by weight, include one reliable binder at the correct dose, stop mixing the moment the dough looks even, bake only to 205 to 210 F, cool the loaf completely, and store it airtight.
For longer storage, slice the cooled loaf, lay the slices between sheets of parchment, and freeze them flat in a bag. Frozen bread holds its texture for two to three months, and you can pull out two slices at a time instead of thawing a whole loaf.
Frequently Asked Questions
Why is my gluten-free bread so dry?
Gluten is the protein net that traps gas from yeast and holds water in the crumb. Gluten free dough has no such net, and most blends are mostly starch, so structure and moisture retention have to be supplied artificially. Add more liquid than a wheat recipe calls for, include a binder such as psyllium husk or xanthan gum, add fat, and bake only to 205 to 210 F instead of until the crust looks done.
How much water should I use in gluten free bread dough?
For a 400 g flour blend, most recipes land between 340 and 400 ml of liquid, eggs included. The right amount depends on which flour is in the blend, which is why weight matters. Mix until combined, then decide: if a finger drawn across the dough leaves a clean line that holds its shape, your hydration is right. Too few drops and the dough tears at the edges.
Do I need xanthan gum if my gluten free flour already has it?
No, and adding more is a common mistake. If your blend lists xanthan gum on the label, it already contains enough for a loaf, often around 1 to 2 teaspoons per 400 g of flour. Adding extra pushes the crumb dense, chewy, and dry. If your blend has no binder at all, add about 1.5 teaspoons of xanthan, 1.5 teaspoons of guar gum, or 3 teaspoons of whole psyllium husk.
How do I keep gluten-free bread soft for more than a day?
Store the fully cooled loaf in an airtight container, a resealable bag, or under a cake dome at room temperature. A dry crust exposed to air is what hardens within hours, so the loaf stays soft only as long as its surface stays sealed. For longer, slice it, separate the slices with parchment, and freeze them flat. Refrigerating actually dries it out faster because cold temperatures speed starch staling.
Can I use gluten free flour 1:1 in my old bread recipe?
Only for the dry ingredients, and only if your old recipe had fat, sugar, and liquid in it already. The flour, salt, sugar, and yeast measure directly across. Liquids usually need increasing by 60 to 100 ml because gluten free flour absorbs more, and most recipes need a binder added. Swap flour one to one but recheck the liquid, and expect the first loaf to be an experiment.
How do I fix a gluten free loaf that is dry and crumbly?
You cannot return moisture to baked starch, but you can improve the next loaf and revive this one. For the loaf in hand, dampen the crust lightly, wrap it in a damp towel, and warm it at 350 F for 8 to 10 minutes. Toasting in a little olive oil or butter also softens the surface. For the next bake, add 30 to 50 ml more liquid, use a binder if your blend lacks one, and pull the loaf at 205 to 210 F.
Conclusion
Change one thing before you change the recipe: start with a properly hydrated dough measured by weight and a reliable binder such as psyllium husk or xanthan gum. From there, bake to 205 to 210 F in the center, cool for the full 2 to 3 hours, and store the loaf airtight. Write down what the crumb felt like, then adjust the liquid by 30 ml at your next bake. That is how you get a soft, sliceable loaf instead of a dry one.