These gluten free baking tips for beginners exist because gluten is a structural protein, not just a filler. When you take it out of a recipe, the thing that used to hold everything together is gone, and loose powders need help standing up on their own.
The trick to gluten free baking is structure you add yourself: a dependable flour blend measured by weight, the right amount of binder, and enough rest time for the starches to hydrate. Get those three right and the list of problems gets shorter. Cookies that spread to the edges of the sheet, cakes that stay gummy in the middle, crumbs that turn sandy when you cut them.
If you are brand new to this, start with brownies or a one-bowl cookie recipe. Gluten is not what holds those together, so they are forgiving, cheap to retry, and teach you how a gluten free dough should feel between mixing and baking.
Table of Contents
- Gluten Free Baking Tips for Beginners at a Glance
- 1. Choose a Reliable Gluten-Free Flour Blend
- 2. Weigh Ingredients Instead of Scooping Them
- 3. Add the Right Binder for the Recipe
- 4. Give Batters Extra Time to Hydrate
- 5. Prevent Batter From Overmixing
- 6. Adjust Liquid for the Flour Blend
- 7. Use Parchment Paper and the Right Pan
- 8. Keep Gluten-Free Ingredients Separate
- 9. Test One Variable at a Time
- 10. Make a Small Practice Batch First
- Frequently Asked Questions
- Can beginners use a gluten-free 1-to-1 flour blend in any recipe?
- Why is my gluten free baked goods dry or crumbly?
- How much xanthan gum or psyllium husk should I add?
- Can I make gluten-free cookies without a binder?
- What is the best baking surface for gluten-free cookies and cakes?
- How do I know whether a baked good is done?
- Conclusion
Gluten Free Baking Tips for Beginners at a Glance
Each tip below fixes one specific failure. Use this table as a quick-reference while you are learning the basics, then read the section behind whichever problem you hit first.
| Tip | Problem it solves | Main action |
|---|---|---|
| Pick one blend and stick with it | Inconsistent results between bakes | Use the exact blend a tested recipe was written for |
| Weigh everything | Dry, crumbly or overly wet bakes | Use grams, not cups |
| Add a binder | Crumbly cookies, flat cake | Start at 1/4 tsp xanthan gum per 200g flour |
| Rest the batter | Gritty texture, doughy centres | Wait 15 to 30 minutes before baking |
| Stop mixing early | Tough, cakelike cookies | Mix until just combined |
| Tune the liquid | Dry or gummy crumb | Adjust one ingredient by a spoonful at a time |
| Line the pan | Stuck edges, uneven browning | Parchment or a light grease and flour |
| Keep things separate | Cross-contact for celiacs | Separate scoop, surfaces, storage |
| Change one thing | Endless failed batches | Test a single variable per attempt |
| Bake small first | Wasted ingredients | Halve the recipe for a practice run |
1. Choose a Reliable Gluten-Free Flour Blend
For a beginner, the single best decision is to use a blend that already contains its binders rather than assembling your own. Comparing by brand reputation gets you nowhere; compare by weight, texture, intended use, and whether a binder is already included.
A 1-to-1 blend swaps cup for cup into most recipes and usually ships with xanthan gum or psyllium husk already in the bag. That makes it the right first purchase for cookies, brownies, and muffins, where you want the dough to hold its shape without fuss.
For cakes and cupcakes, a lighter blend built around rice flour, tapioca starch, and potato starch gives you a finer, less gritty crumb. Cakes also benefit from a blend without added gum, because you want the egg and sugar to do the lifting and too much binder makes the crumb tight and heavy.
One warning from the community: use the blend a tested recipe was written for. Swapping your own flour into a recipe someone else tested is the fastest route to a result you cannot explain or repeat. Once you know a recipe works, note the brand and blend on the card before you change anything.
2. Weigh Ingredients Instead of Scooping Them
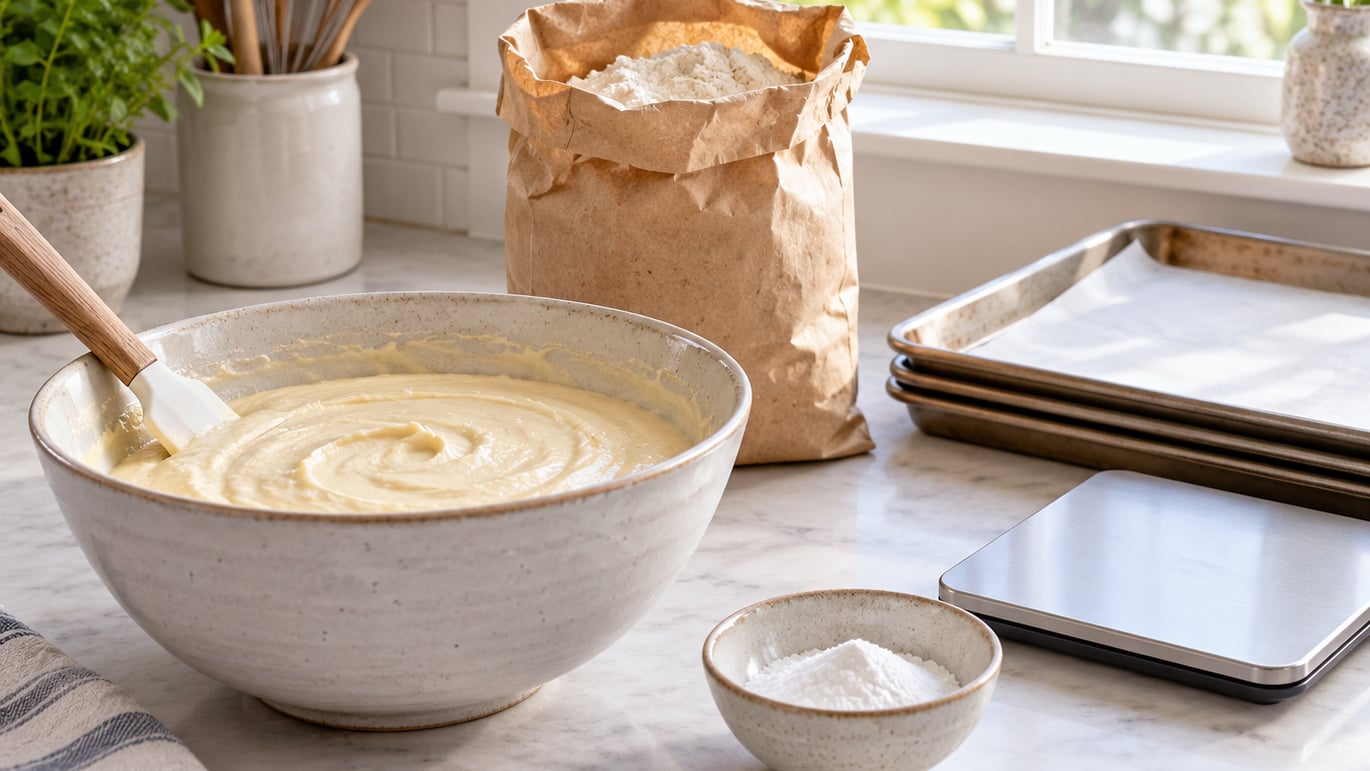
A kitchen scale is the cheapest improvement you can make to gluten free baking, because gluten free flours vary enormously in density and volume measures cannot capture that. Sorghum packs differently from rice flour, and the same scoop of two different blends can differ by 30 grams.
That difference is moisture. Too little liquid and the starches never fully hydrate, so you get a dry, sandy crumb. Too much and the batter spreads thin, bakes pale, and dries out in the middle once it cools.
No scale yet? Use the conversion route instead. One cup of most gluten free flour blends lands around 100 to 120 grams, so weigh out your recipe’s cup measure once, note the real number on the recipe, and use grams from then on. Dry ingredients get weighed directly; liquids can stay in cups because volume measures liquids accurately enough.
Pack flour into the cup rather than spooning it in and levelling off. The spoon-and-level method gives a light, aerated scoop that under-weighs, which is exactly the kind of drift that makes a recipe fail twice in a row.
3. Add the Right Binder for the Recipe
A binder is the closest thing gluten free baking has to the elastic network wheat provides. Xanthan gum is the most widely used and the easiest to dose, at roughly 1/4 teaspoon for every 200 grams of gluten free flour.
The right amount depends on two things: how much binder your blend already contains, and how wet the recipe is. Muffins are forgiving. Cookies and shortbread are not, because the same flour and gum that gives a sturdy cookie can turn a cake into a brick.
| Binder | What it does | Amount per 200g gluten free flour | Notes |
|---|---|---|---|
| Xanthan gum | Strong binding, slight moisture retention | 1/4 tsp | The reliable default; hard to overdose by a fraction |
| Psyllium husk | Binding plus visible fibre | 1/2 tsp | Softer crumb; adds a faint speckle |
| Guar gum | Smoother, silkier binding | 1/3 tsp | Good in cakes where you want a fine crumb |
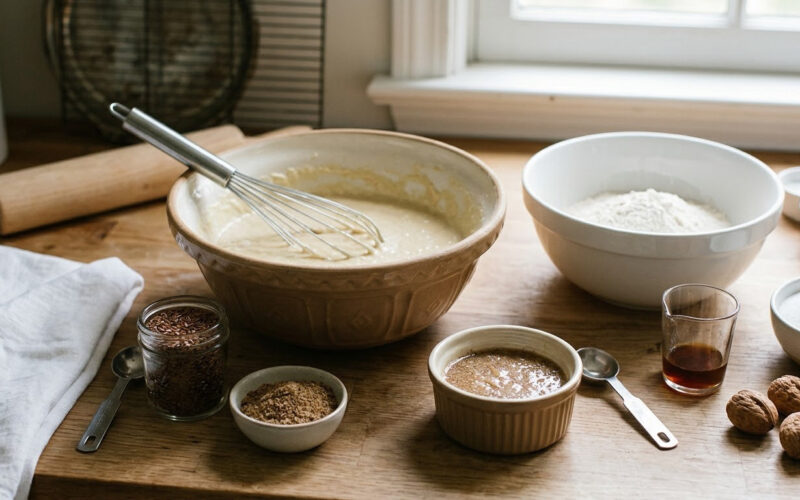
| Ground flaxseed or linseed | Binding, plus omega fats | 1 tbsp plus 2 tbsp water | Falls as the bake cools; needs resting time |
| Eggs | Structure and lift | About 1 egg per cup of flour | The gum-free route; works best in cakes and brownies |
Check the flour bag before you add anything. If the blend already lists xanthan gum in the ingredients, skip your own dose or you will get a dense, tight crumb that crumbles when you cut it.
Eggs are a genuine binder rather than a compromise. A widely repeated community rule of thumb is one egg per cup of flour to supply the missing structure, which works well for brownies and cakes. If eggs are not part of your baking at all, our guide on how to replace eggs in baking covers the gluten free swaps that behave best.
4. Give Batters Extra Time to Hydrate
Gluten free batters need rest time because the starches and gums in the blend absorb water slowly. Ten minutes of standing time measurably changes how the dough spreads and how fine the crumb turns out.
For cookie dough, mixing and then chilling while you preheat the oven is enough to get most of the benefit. For cake batter, let it stand 15 to 30 minutes at room temperature so the flour blend fully wets out. If you skip this, the batter bakes with pockets of dry powder still sealed inside it, which is one cause of a gritty or speckled crumb.
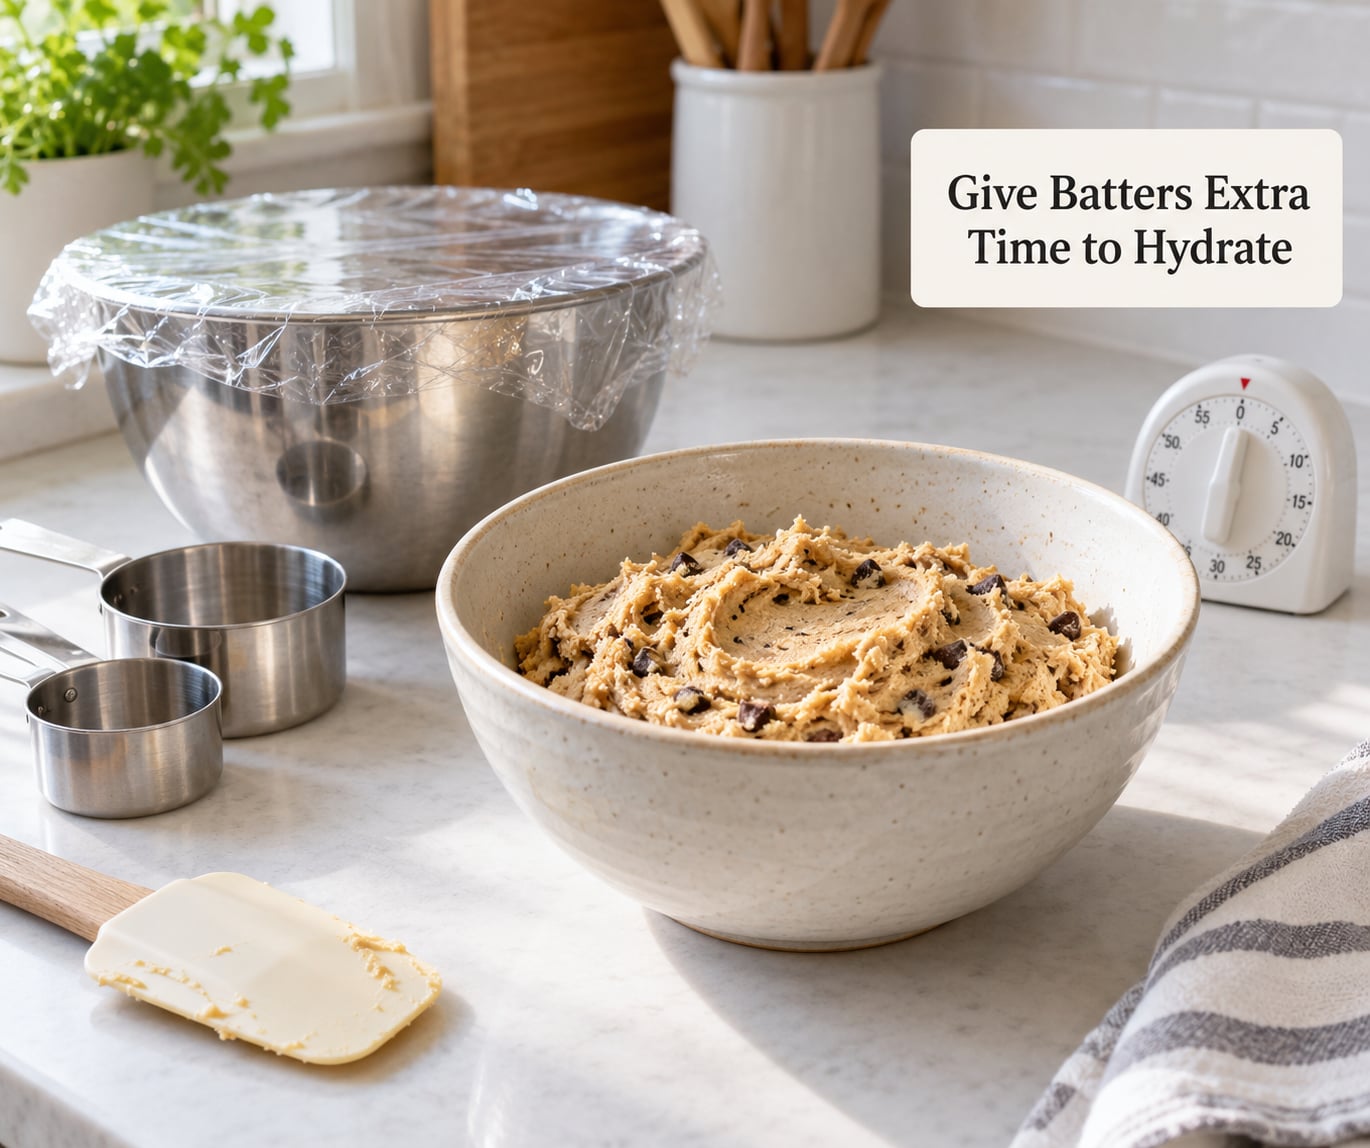
Longer rests matter even more for yeast breads, where the dough hydrates over an entire proof. Those are a later-week project, not a first bake.
5. Prevent Batter From Overmixing
In wheat baking, mixing develops gluten and that is a good thing. In gluten free baking it is not: there is no gluten to develop, so extra beating just makes a tight, tough, cakelike texture that fights what the recipe wanted.
The signs are simple. The batter goes from streaky to smooth and slightly glossy, and that is your cue to stop. If you are beating an electric mixer for a full two minutes on a recipe that says one minute, you have gone too far.
Cookie dough should feel firm and hold its shape when you press it. Cake batter should be smooth and pourable but never stringy. Fold in any last dry ingredients with a spatula until you cannot see flour, then stop, even if a trace or two remains.
6. Adjust Liquid for the Flour Blend
Different gluten free blends drink different amounts of liquid, which is why the same recipe can be perfect with one bag and dry with the next. Learn to read the dough and correct it in small steps rather than rewriting the recipe in one go.
Too dry looks like dough that cracks at the edges of the bowl, or cookies that come out pale and sandy straight from the oven. Add liquid one teaspoon at a time, resting a minute between additions so the blend can drink it up.
Too wet looks like batter that pours like pancake mix, spreads to the edge of the sheet in a thin puddle, or a cake that rises fast and then sinks. You cannot add flour back once the batter is loose, so the fix is more baking time, a lighter pan, or a liner. Reduce liquid going forward rather than salvaging the batch.
Eggs count as liquid here, and so do milk, yoghurt, and coffee. If you are swapping in a different egg size or a thicker yoghurt, expect to adjust by a spoonful or two.
7. Use Parchment Paper and the Right Pan
Gluten free bakes are stickier than wheat bakes because there is no gluten to keep the starches from bonding to metal. The baking surface decides whether your loaf comes out in one piece or in fragments.
Parchment paper is the safest choice for cookies and bars. It releases cleanly, keeps the base pale rather than scorched, and means you can lift cookies off the sheet without scraping. Buy it in rolls and keep a roll in the oven box.
For cakes, grease lightly and dust with a little of the flour blend, or line the base with a parchment circle. Avoid dark nonstick coating on your main pans, because these bakes brown faster than wheat versions and a dark surface will take the edges from golden to burnt.
Light-coloured metal is a better default than dark or glass if you are buying pans for gluten free use. If you already own a silicone mold, it works well for cakes, though it insulates, so check earlier and often.
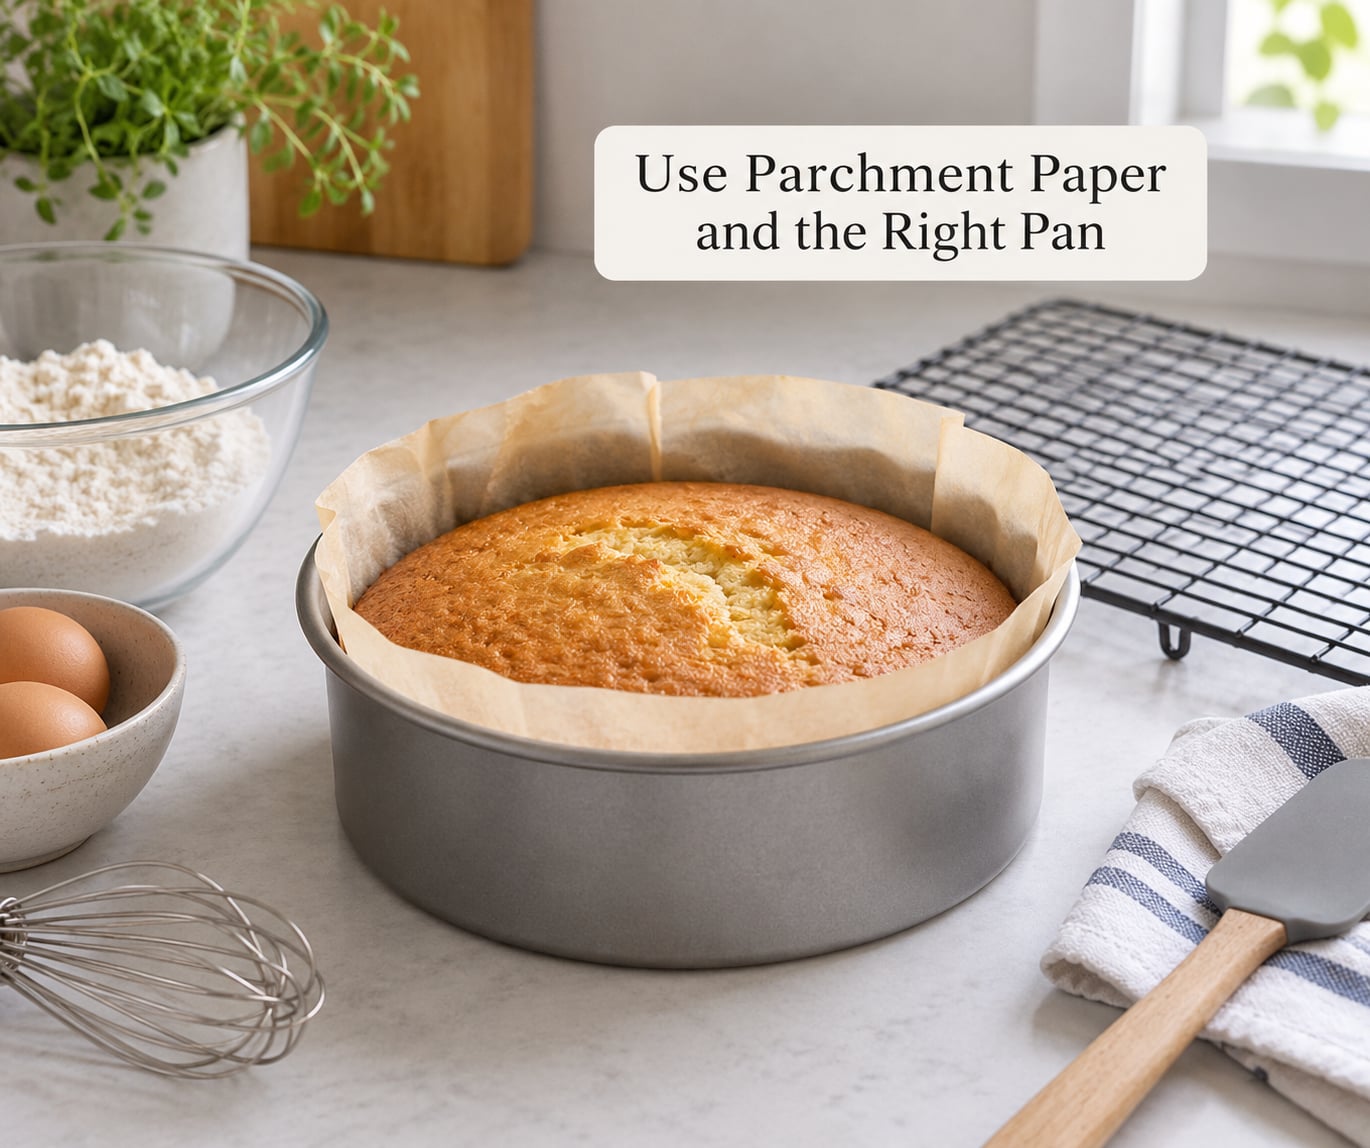
Let pans cool on a wire rack for 10 minutes before turning out. Steam trapped against the base is what turns a cake gummy underneath.
8. Keep Gluten-Free Ingredients Separate
If you are baking gluten free because of preference, a tidy labelled scoop and a wipe-down of the counter is plenty. If someone in the house has celiac disease or another medically necessary restriction, the rules are stricter and this section matters most.
Anyone with celiac disease should talk to their doctor or dietitian before setting up a shared kitchen, and our guide on how to read a label for hidden gluten covers the ingredient names worth knowing. Wheat starch in ordinary baking powder, some chocolate, some sprinkles, and barley malt are the usual culprits in products that do not advertise gluten.
Practical habits that reduce cross-contact risk: store gluten free flour above and separate from wheat flour, use a dedicated scoop that never goes into a wheat bag, use clean surfaces and utensils, and wash tools thoroughly between bakes. Keep the gluten free flour scoop in its own container rather than returning it to the bag, because that contact is what transfers flour dust.
Cooking sprays and floured pans are shared surfaces too. A light mist of canola oil on the pan is a clean alternative to dusting with wheat-containing flour.
9. Test One Variable at a Time
When a batch fails, the instinct is to change four things at once and hope. That teaches you nothing, because you never know which change worked.
Keep a simple notebook. For each bake, write the recipe, the blend and brand, the oven temperature, the rest time, the liquid you added, and one line about how it turned out. Two bakes of the same cookie recipe with a different rest time tells you far more than ten random attempts.
Change one variable per attempt, and change the one your troubleshooting points at. Add five minutes of baking time. Add a quarter teaspoon of xanthan. Rest the dough thirty minutes. Not all three.
Change anything else between two bakes and you are no longer comparing like with like, so treat any single change as a test rather than an upgrade. Even a small detail like the colour of the pan can swing the result.
10. Make a Small Practice Batch First
Beginner gluten free baking involves specialty ingredients you paid real money for, so waste hurts more than it does in ordinary baking. Halve the recipe for your first attempt and learn the dough’s behaviour before committing to a full batch.
A halved cookie recipe still gives you eight to twelve cookies, which is plenty to judge spread, texture, and doneness. If you are nervous about a cake, make one small loaf rather than a celebration-sized layer cake.
Small batches also dry out faster once baked, so store them properly. Cool everything completely on a rack first, then wrap. Trapped steam softens the crust and makes cookies lose their chew overnight.
Cookies are worth leaving on the baking sheet for a full 5 to 10 minutes after they come out of the oven, longer than a wheat recipe suggests, because gluten free cookies finish setting as they cool. Moving them while warm is why so many snap in half.
Frequently Asked Questions
Can beginners use a gluten-free 1-to-1 flour blend in any recipe?
A 1-to-1 blend swaps cup for cup into most recipes, which makes it the easiest starting point. It rarely works in yeast breads or pastry, where the blend’s starches behave differently from wheat. Check the bag for included binders before adding your own, and bake a half batch first if you are converting a wheat recipe you already know.
Why is my gluten free baked goods dry or crumbly?
Usually one of three causes: too little liquid for the blend, too much binder, or not enough rest time for the starches to hydrate. Try adding liquid a teaspoon at a time, halve the gum, and let the batter stand 20 minutes before baking. A crumb that crumbles when you cut the slice but tastes fine usually means over-binder rather than under-baking.
How much xanthan gum or psyllium husk should I add?
Start at 1/4 teaspoon of xanthan gum for every 200 grams of gluten free flour, then adjust by fractions of a teaspoon. Psyllium husk is used at roughly half that amount and gives a softer crumb with visible speckle. If your flour blend already contains gum, add nothing at all, because doubling up is the fastest route to a dense, tight texture.
Can I make gluten-free cookies without a binder?
You can, but expect a more crumbly result and less spread. Eggs and aquafaba do real structural work, and a rested dough behaves better without gum. The usual fix is chilling the dough thoroughly before baking and leaving the cookies on the sheet for 8 to 10 minutes to set before moving them. No binder at all is much easier on cakes than cookies.
What is the best baking surface for gluten-free cookies and cakes?
Parchment paper is the safest default for cookies and bars because it releases cleanly and keeps the base from over-browning. Light-coloured metal pans suit cakes, greased lightly and dusted with a little of your own flour blend. Skip dark nonstick coating for these bakes, which colour faster than wheat versions and burn on the edges before the centre sets.
How do I know whether a baked good is done?
For cakes and cookies, use the skewer test plus colour: a skewer comes out clean or with a few moist crumbs, and the top is golden rather than pale. Under-baked gluten free bakes look done on top while gummy in the middle, so the skewer matters more than appearance. For yeast breads, an instant-read thermometer in the centre reads 190 to 200F.
Conclusion
Start here: buy one 1-to-1 gluten free flour blend, get a kitchen scale, and make a half batch of something forgiving. Weigh the flour, check whether the blend already contains gum, rest the batter, and write down what happened.
Once brownies and cookies behave, move to a simple sponge cake. Yeast bread and laminated pastry can wait until you understand how your blend drinks liquid, and our guide on making gluten free bread that is not dry will be there when you are ready for it.