Baby led weaning first foods are soft, graspable pieces your baby picks up and brings to their own mouth, usually starting around 6 months. The short version: wait for readiness signs, offer one or two easy-to-hold foods at a time, let your baby set the pace, and keep breast milk or formula as the main nutrition source while solids are still a small part of the picture. It takes about ten minutes a meal, costs very little, and most babies eat almost nothing from it for the first couple of weeks.
I have to say upfront that most of the anxiety around starting solids comes from advice written for a different baby than yours. Toddler portions and week-by-week milestones do not transfer. What follows is a plain safety-first walkthrough you can use at your own pace.
Table of Contents
- What You Need
- Step-by-Step: Baby Led Weaning First Foods
- 1. Confirm Readiness Before Offering Food
- 2. Set Up a Safe Feeding Routine
- 3. Offer Easy-to-Hold First Foods
- 4. Build a Balanced Variety
- 5. Introduce Common Allergens Responsively
- 6. Adjust as Skills Develop
- Common Mistakes and Quick Fixes
- Tips for a Lower-Stress First Week
- Frequently Asked Questions
- When should I start baby led weaning first foods?
- What are the best first foods for baby led weaning?
- What are the safest first foods for a baby starting solids?
- How do I tell gagging from choking?
- Does baby led weaning replace breast milk or formula?
- A Simple First Step
What You Need
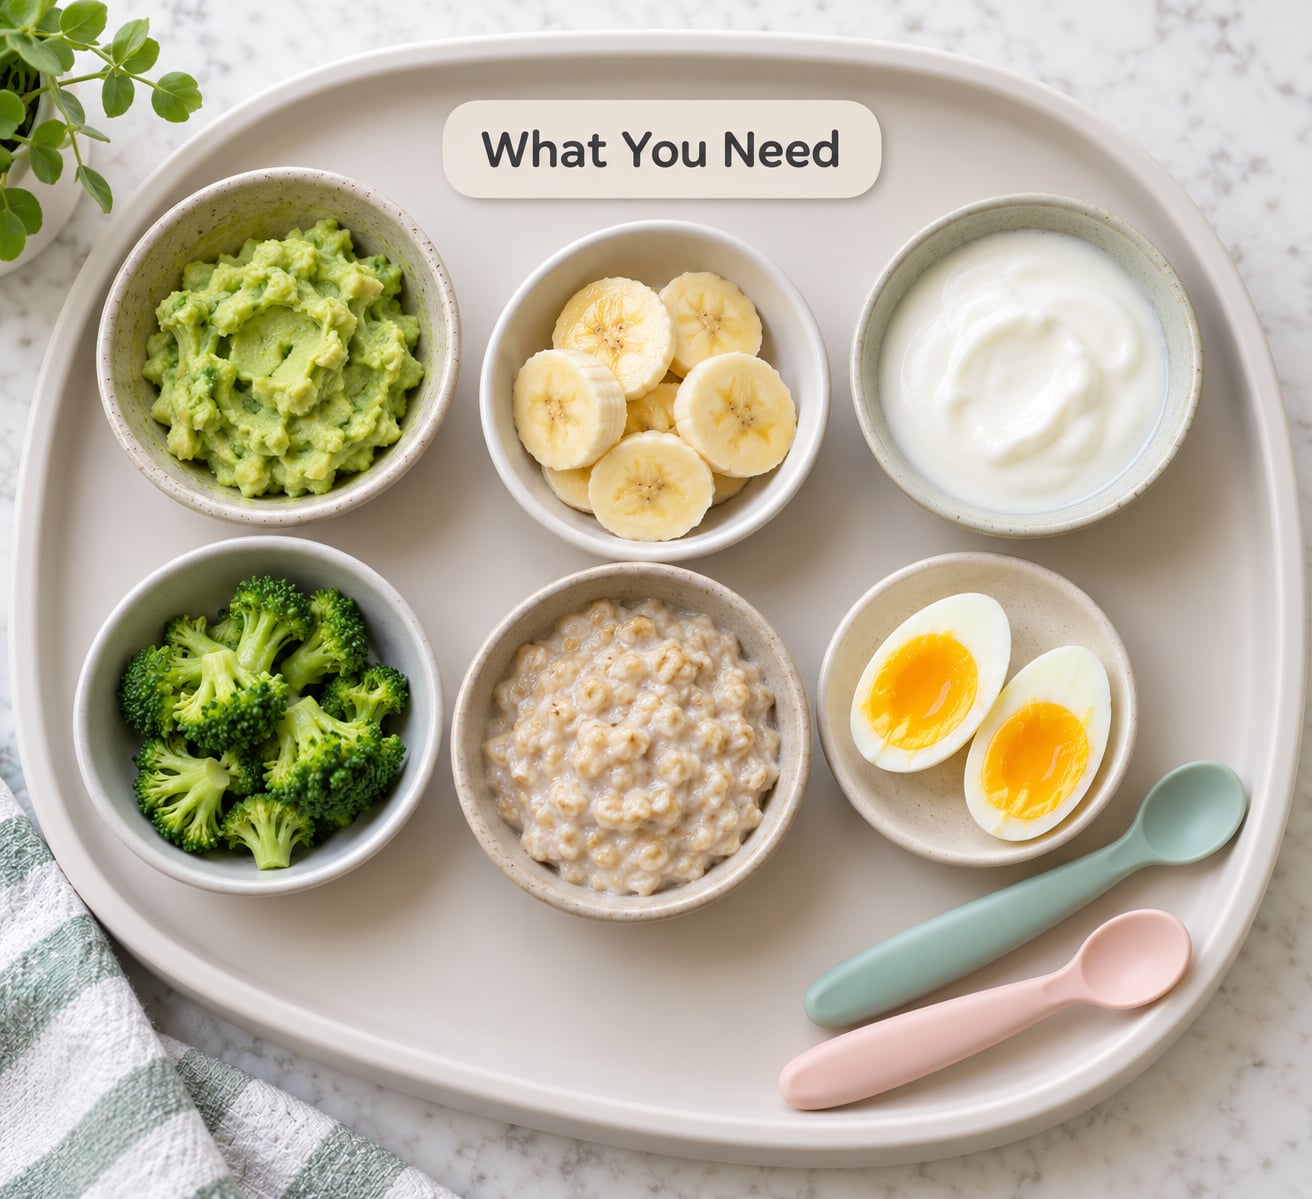
You genuinely need very little. A floor high chair with a tray, a few soft foods, and an adult with time to sit there is the whole setup.
Readiness signs to check first. Most babies are ready around 6 months, and the specific timing varies a lot. Look for all four of these together:
- Good head and neck control, and the ability to sit upright with support.
- Bringing objects to the mouth reliably, including toys and your hair.
- Showing clear interest in what you are eating.
- A disappearing tongue-thrust reflex, so food pushed forward tends to go back rather than shoot straight out.
Talk with your pediatrician before you start, especially if your baby was born early, is underweight, has any swallowing concern, or was already started on solids somewhere else. For a premature baby, families often work from corrected age, and that conversation belongs with your doctor rather than a general article.
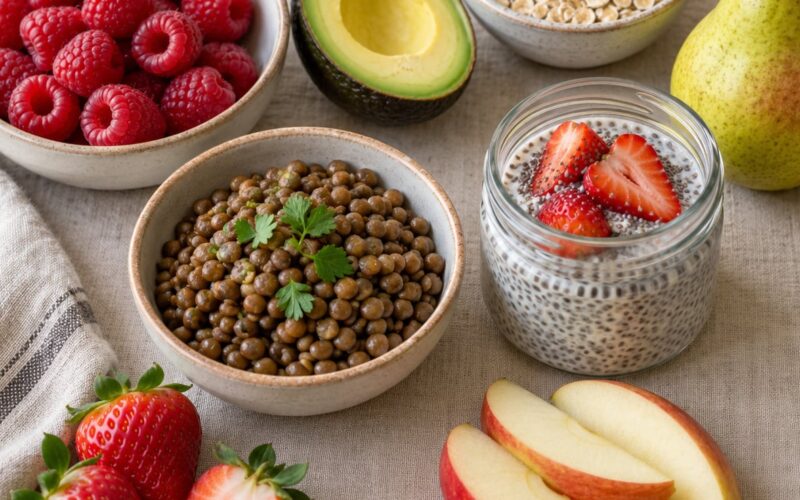
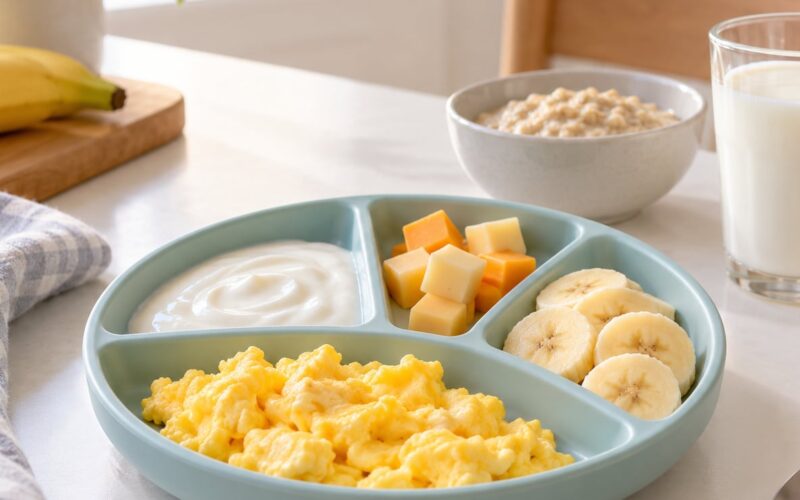
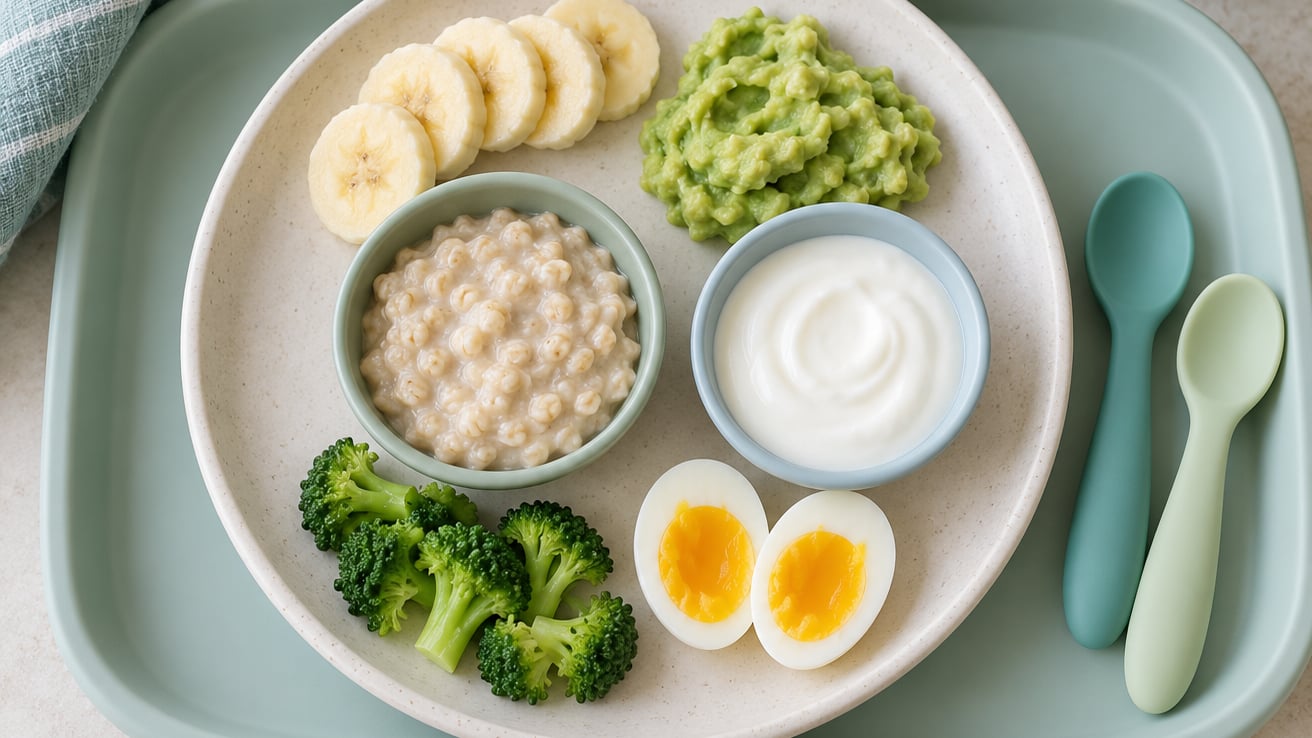
Foods for the opening weeks. Start with foods that are soft, thick and low in salt and sugar: avocado, banana, steamed broccoli or cauliflower, oatmeal, plain full-fat yogurt, soft-cooked egg, ripe pear, soft-cooked fish such as salmon, and mashed beans. Iron matters more than almost anything else in this stage, so make sure meat, egg or iron-fortified cereal shows up early rather than week three.
Tools and supplies. A high chair with a washable tray, a soft silicone spoon for loading yogurt or egg, a few suction bowls, a floor mat or a bib you can wipe down, and a bottle of water for sips alongside meals. Optional extras like mesh feeders, food-catching bibs and special placemats help with mess, but nothing is required to begin.
Preparation supplies. A steamer basket, a fork for mashing, a peeler and a small pair of kitchen scissors make cutting adult finger foods much faster than trying to slice a carrot neatly. Keep a damp tea towel nearby to roll slippery foods in, which keeps them from sliding out of a small fist.
Step-by-Step: Baby Led Weaning First Foods
1. Confirm Readiness Before Offering Food
Do not start on a birthday. Start on a week when your baby is alert, roughly an hour after a milk feed rather than straight after one, and clearly showing you the readiness signs above.
Sit them upright in the high chair with feet supported. That positioning matters more than any single food. If your baby cannot hold their head steady and sit up with support, they are not ready yet, no matter how interested they seem in your dinner plate.
2. Set Up a Safe Feeding Routine
Choose one predictable time of day, and keep it short. Ten minutes is plenty at the start. If your baby is squirming, crying or turning away, the meal is over, and that is a complete meal rather than a failure.
Stay at the chair the entire time with your hands available. Sit at their eye level, keep your own food nearby so they can see and smell it, and talk about what they are touching.
Never prop a bottle or a spoon in the mouth of a baby lying down. Propping creates aspiration risk and it is not a shortcut around fussiness.
Place two or three pieces on the tray at most. If everything is out at once, the tray becomes a sensory overload and your baby will bat it aside rather than explore it. Let your baby pick the pieces up, turn them, suck on them and drop them. That is a successful meal even if almost nothing is swallowed, especially in the first fortnight.
3. Offer Easy-to-Hold First Foods
The rule I use is the squish test: press the food between your thumb and forefinger. If it crushes easily with light pressure, it is soft enough for a new eater. Whole raw carrot, apple chunks, firm raw vegetables and anything brittle fails that test even with no teeth involved, so leave them off the tray for now.
Shapes that work well at the start:
- Strips and wedges. Cooked carrot, sweet potato, squash, banana and avocado cut into strips about the length and thickness of your little finger. This is the classic first-food shape.
- Florets. A small broccoli or cauliflower floret is easy to grip and gnaw on, but skip the huge ones. Big florets break into chunks that are harder to manage.
- Mashed but thick. Beans, lentils, avocado and oatmeal mashed with a fork, thick enough to stay on a spoon and fall off slowly when you tilt it.
- Loaded spoon hands-on. A spoonful of plain yogurt, cottage cheese or mashed egg that your baby can hold and bring up themselves, which bridges finger foods and purées without being a purée.
- Soft protein strips. Shredded chicken, flaked salmon or thin strips of tender beef, gnawed rather than chewed. Cook poultry to 165°F / 74°C, ground meat to 160°F / 71°C, and whole cuts of meat and fish to 145°F / 63°C.
Watch out for foods that slip: raw cucumber, grapes and cherry tomatoes are the ones parents most often see tumble out of a small fist in chunks. Grapes and cherry tomatoes need quartering lengthwise. If you serve cucumber or similar, lay a damp piece of toast underneath, or roll the pieces in ground flaxseed or hemp hearts so there is something for little fingers to grip.
Peel everything, deseed everything, and remove every stone and pit. A mango pit is a great teether and a completely choking hazard, so it stays well out of reach and gets cut away before the flesh is served.
4. Build a Balanced Variety
Over the first months, aim for variety rather than volume. Three or four different food groups across a day matters more than any single meal, and no baby needs a fixed number of pieces or ounces at this stage.
Pairing matters more than most guides admit. Iron is absorbed far better when it arrives with vitamin C, so a strip of beef next to a wedge of orange, or iron-fortified oatmeal with mashed strawberries, does more for your baby than either food alone. Fat helps too: a little avocado or olive oil in a cooked vegetable or grain dish improves absorption of the nutrients that are hard to get.
A workable pattern looks like this: an iron-rich food at one meal, a vegetable at another, a fruit at another, and a fat-rich or dairy option across the day. If your family eats gluten-free or avoids certain allergens, adapting those same family meals for your baby is the simplest route, and what to expect the first month of a GFCF diet covers the early weeks of that adjustment in detail.
Milk still does most of the work. Until roughly 12 months, breast milk or formula remains the main source of nutrition, with solids as a supplement rather than a replacement. Keep offering feeds as usual and let your baby decide how much solid food to take.
Iron deserves a bit of attention because it is the nutrient most often missing at this stage. Red meat, liver, egg, fish, beans, lentils and iron-fortified infant cereal all count. Liver once a week is a cheap and efficient option if your family eats it, and tofu, chickpeas and lentils cover vegetarian households without any special planning.
5. Introduce Common Allergens Responsively
Current pediatric guidance generally encourages introducing common allergens such as peanut and egg once a baby is developmentally ready for solids, rather than delaying them for months on the assumption that delay prevents allergies. Peanut in particular is the one most families delay, and the guidance has moved considerably over the last decade.
A calm, sensible approach:
- Pick a morning when your baby is well, rested and likely to stay at the table.
- Offer a single allergen in a small amount, thinned with breast milk, formula or a little water if needed. Smooth thinned peanut butter stirred into oatmeal is a common starting point.
- Keep the rest of the meal simple so you can tell what caused a reaction.
- Stay nearby for the rest of the day and know what to watch for: a rash, hives, swelling, vomiting, or breathing difficulty.
- Once accepted, keep offering it regularly rather than once and moving on.
If your child has severe eczema, an existing food allergy, or a family history that concerns you, get specific advice before introducing allergens. The same goes for any child who has already had a reaction to something. Seek urgent medical help for trouble breathing, facial swelling or widespread hives.
The old practice of waiting three to five days between every new food made sense when the aim was identifying a reaction in a baby eating very little. With early allergen introduction it is not required for common allergens. You can still keep the meal simple for your own peace of mind.
6. Adjust as Skills Develop
Progress by watching your baby, not by calendar. Most babies move from flat mash to soft lumps and small pieces between about 7 and 9 months, and get better at pincer grasp and chewing somewhere in that stretch.
Signs they are ready for more texture: reaching for food with a thumb and forefinger instead of a whole fist, chewing rather than simply sucking, and bringing food to the mouth more often. Move on when the softer textures feel too easy, not before.
Keep watching hydration and digestion. Babies can become constipated when they start solids, especially with lots of white bread, rice and banana, so offer water with meals and keep some iron-rich, fibre-containing and fatty foods in rotation. Some vitamin D and iron supplementation is standard in many regions; ask your pediatrician what applies to your baby.
If you are not sure whether a gag is a gag or something more serious, treat the difference as the key safety skill below, and know your local infant choking first aid steps before you need them.
Common Mistakes and Quick Fixes
Starting on a birthday instead of on readiness. Six months is a guide, not a gate. A baby who cannot sit upright with support will struggle with the mechanics of eating regardless of the food you offer. Fix: check the four readiness signs each week rather than watching the calendar.
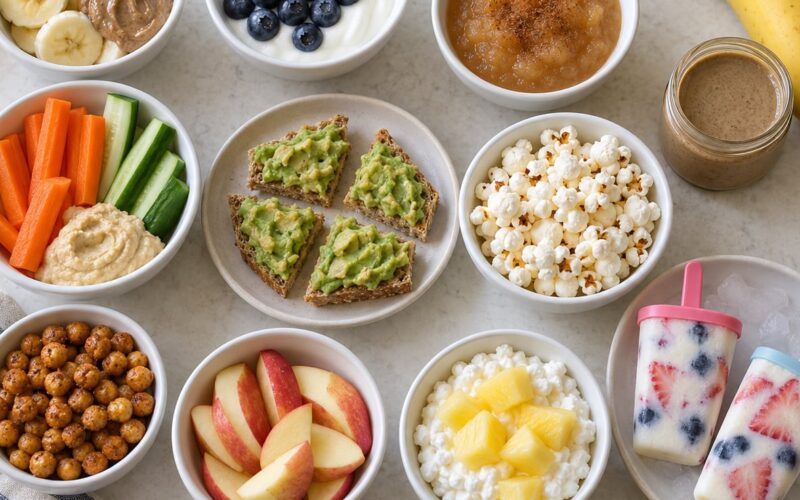
Serving hard or round raw food. Raw carrot rounds, whole grapes, apple chunks, nuts and popcorn are the classic choking hazards at this age. Fix: steam until a fork goes through with no resistance, then cut into finger-length strips, and quarter grapes and cherry tomatoes lengthwise.
Saving the baby from every mouthful. Correcting a gag reflex teaches a baby to distrust food, and can end with a refusal. Fix: let them manage the food at their pace, and only step in when there is an actual choking sign.
Expecting a fixed amount to be eaten. A first-week baby eating one or two pieces has done nothing wrong. Fix: judge the meal by your baby exploring, sitting and tasting, not by what reaches the stomach.
Putting six foods on the tray at once. It looks generous and ends in a flailing arm and no eating. Fix: two or three pieces of one or two foods per meal, adding new foods over days rather than hours.
Delaying allergens for months. Long waits are no longer the recommended approach for most babies. Fix: talk with your pediatrician about when to introduce peanut and egg, and start with a small morning offering.
Mixing up gagging and choking. Gagging is loud and brief, with breathing and crying continuing. Choking is silent or noisy with effort, and the baby cannot breathe or cry. Fix: learn the difference before the first meal, not during it, and take a first aid course if you can find one locally.
One more that gets missed: cutting food into pieces far too small. Tiny cubes are hard to pick up, frustrating to chew and no safer. Finger-length strips and soft florets are easier for a developing hand and mouth to manage.
Tips for a Lower-Stress First Week
Keep the first meals to about ten minutes and expect to do it once a day. Most families run one solid meal at first, then add a second once the first feels routine.
Time it away from a milk feed. A baby who has just finished a bottle will not engage, and the meal turns into a fight over something they were never hungry for.
Eat your own meal next to them. Babies learn by watching. Modelling reaching for food, chewing slowly and putting the rest down does more than any encouragement you could offer.
Let the tray be wrong sometimes. A dropped piece is not a failed meal. It is a baby learning that food falls, and that the floor is a fine place for it to land.
Wash hands and wipe the tray and the high chair straps before and after meals. It is the fastest way to keep the whole thing manageable, because you will be cleaning up more than you expected.
Have water within reach. A small open cup or a sippy cup alongside the meal lets them practise drinking without you pouring anything into a mouth that is busy eating.
Keep milk feeds coming. If you are breastfeeding on demand or offering formula as usual, solids are an addition right now, not a replacement. Skipping feeds to encourage eating tends to end in an exhausted, hungry baby and an unhappy you.
Write down what you offered and how it went. Two weeks of notes is plenty, and it answers the “is this working?” question far better than memory does at 6pm after a day of naps and no sleep.
Frequently Asked Questions
When should I start baby led weaning first foods?
Most babies are ready around 6 months, guided by readiness rather than the calendar. Look for good head and trunk control, sitting upright with support, bringing objects to the mouth, and a fading tongue-thrust reflex. If your baby was born early, discuss corrected age with your pediatrician before starting.
What are the best first foods for baby led weaning?
Soft, thick, easy-to-hold foods work best: avocado and banana cut into finger-length strips, steamed broccoli or cauliflower florets, oatmeal, plain full-fat yogurt, soft-cooked egg, mashed beans, and tender fish or meat strips. Iron-rich foods matter most in this early stage, so include egg, meat, fish or iron-fortified cereal from the beginning.
What are the safest first foods for a baby starting solids?
The safest foods are the ones that pass the squish test, meaning they crush easily between your thumb and forefinger. Avoid anything hard and raw, round, small and firm, or slippery enough to escape a small fist. Grapes and cherry tomatoes are quartered lengthwise, everything is peeled and deseeded, and stones and pits are always removed.
How do I tell gagging from choking?
Gagging is a protective reflex: it is loud, brief, and your baby keeps breathing and crying afterwards. Choking is silent or makes a high-pitched noise, the mouth stays open, and there is no sound or cry because no air is moving. If you see no noise and no breathing, act immediately using infant first aid steps from a certified course.
Does baby led weaning replace breast milk or formula?
No. Until about 12 months, breast milk or infant formula stays the main source of nutrition, with solids as a supplement. A first-week baby may swallow only a few pieces across the whole meal and that is normal. Keep offering milk feeds as usual and let your baby decide how much solid food they take.
A Simple First Step
Pick one readiness sign you can check this week, and one or two soft foods for your first meal. Nothing more than that is needed to get baby led weaning first foods going.
Set up the high chair, sit down with your own lunch, and put two pieces of food on the tray. Let your baby grab them, taste them and drop them on the floor. Ten minutes later, clear the tray and carry on with your day.
That is a complete first meal. Repeat it, keep milk feeds coming, and add one new food every few days. If you are unsure about readiness, swallowing, or how to handle an allergen, your pediatrician is the right person to ask, and a registered dietitian can help you build a varied plan once solids are established.