
The fastest way to organize medical records for your child is one file per child, sorted into the same handful of categories every time: health history, primary care, specialists, therapies, medications, labs and imaging, immunizations, care plans, insurance, and consent forms. Add each new document as it arrives and keep one secure backup.
Most families I talk to already know this in theory. They also know the moment it falls apart: the school nurse asks for a vaccine date and nobody can find the paper. The pediatrician asks when the last dose of a medication was given and you blank. The emergency department at 11pm needs an allergy list and a current medication list and a growth chart you have never looked at since the second birthday.
That is not a paperwork failure. It is a system failure. The fix takes one weekend to set up and about five minutes to maintain, and it does not require you to become a professional at anything.
This guide covers the practical side: what to keep, where to keep it, how to get records you never received, and what to hand a doctor in the first thirty seconds of an appointment. It is organizational guidance, not medical or legal advice. For anything about your child’s diagnosis, treatment, or medication, ask your child’s care team.
Table of Contents
- What You Need
- Step-by-Step: How to Organize Medical Records for Your Child
- How to gather every medical document
- How to sort medical records by category and date
- How to label and file the paper records
- How to scan and name digital copies
- How to create a secure backup and access plan
- How to update medical records for your child after each appointment
- How to prepare a medical-records packet for an appointment
- Common Mistakes
- Frequently Asked Questions
- Who legally owns my child’s medical records?
- How do I get access to my child’s medical records?
- Can I share my child’s records with a co-parent or grandparent?
- Should I keep paper copies or is digital enough?
- What records should I bring to a new pediatrician?
- What happens to my access when my child turns 18?
- Conclusion
What You Need
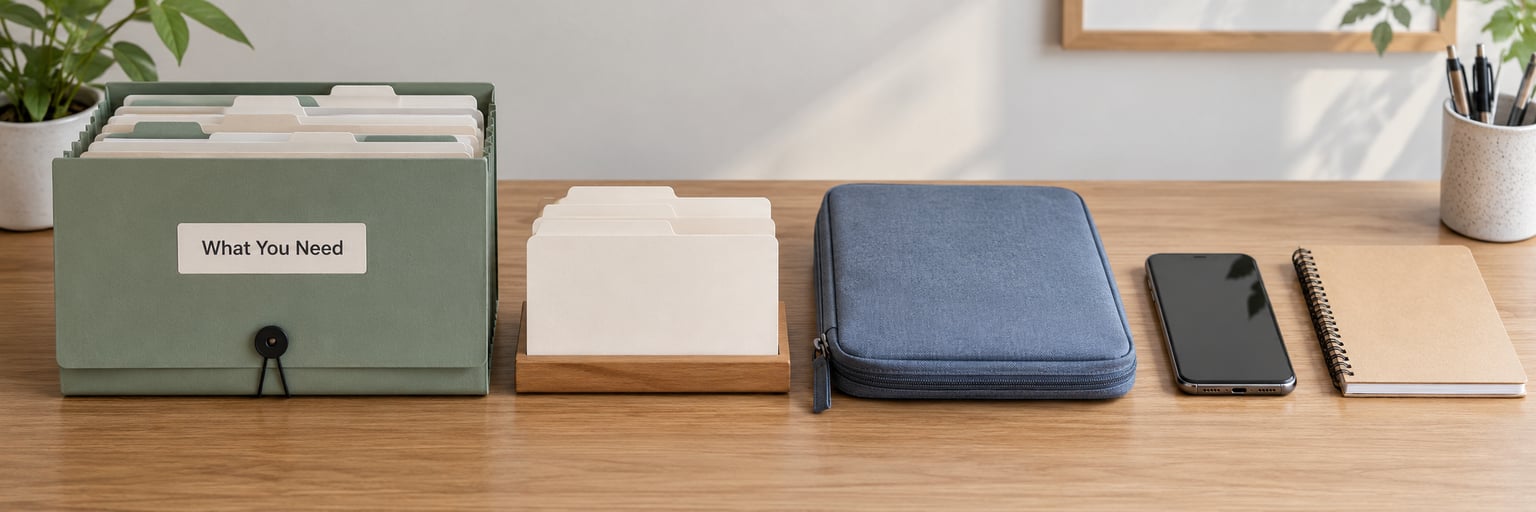
You do not need special software or a filing cabinet. You need a place, a set of categories, and a backup that is not the same physical object as the original.
- One file box or binder per child. A standard three-inch ring binder with tabbed dividers works well. A labeled accordion file box sorted by year works too, and takes up less shelf space if you have several kids.
- Tabbed dividers or accordion sections. Ten tabs, matching the categories in the next section. Label them once and never rename them.
- A label maker or clear sheet protectors. Clear protectors let you write the date range on the front of each sleeve without retyping anything.
- A portable document pouch. This is the bag that travels to appointments. See our guide on making a go bag for a child with medical needs for the rest of what belongs in it.
- A smartphone with a document-scanning app and a secure cloud folder. The camera on the phone you already carry is the tool. What matters is where the files go afterward.
- A password manager. Portal logins for your child accumulate faster than you expect, and a spreadsheet of passwords is worse than no spreadsheet.
- A one-page health summary. One sheet with allergies, current medications, conditions, emergency contacts, and pediatrician. This is the document you actually hand over at an appointment.
Step-by-Step: How to Organize Medical Records for Your Child
Work through these in order the first time. After the setup, the only step that repeats is the one after appointments.
How to gather every medical document
Start by listing every place your child receives care, then request records from each one. Most families discover they are missing something from at least one provider.
- Pediatrician and primary care
- Every specialist, including dental, vision, hearing, behavioral health, and therapy providers
- Any hospital, emergency department, urgent care, or surgery center
- Pharmacy, including compound or specialty pharmacies
- Lab and imaging services
- School nurse, district health office, daycare, camp, and the sports physical provider
- Health insurer, including explanations of benefits and any prior-authorization letters
- Home health or nursing agencies, if any have been involved
Ask each provider for the full set: visit summaries, lab and blood work results, imaging reports, immunization records, medication lists, and any care plan or educational document written for your child. Request them in writing, whether that is a portal message, a release of information form, or a call to the medical records department. Then follow up in about two weeks if nothing arrives.
Two records are worth chasing specifically because they are the hardest to replace. The state immunization registry often has dates that your child’s paper file does not, and the school health office often holds a vaccination record the pediatrician never received.
How to sort medical records by category and date
Ten categories, no more. Families who build twelve categories end up abandoning the system in four months.
- Health history and demographics — birth records, adoption paperwork, early childhood records, growth charts, family health history.
- Primary care — well-child visits, sick visits, sick notes for school.
- Specialists — one sub-section per specialty, each with its own contact details and next-appointment note.
- Therapies — speech, occupational, physical, behavioral, plus school-based services and any individualized education plan.
- Medications — current list on top, everything ever prescribed below with start and stop dates.
- Labs and imaging — blood work, cultures, X-rays, ultrasounds, MRIs, with the date and the ordering provider.
- Immunizations — the official record, not a parent’s memory of it.
- Care plans — any written plan from a clinician, including emergency action plans.
- Insurance — card copies, explanation of benefits, appeals, authorizations.
- Legal and consent — release of information forms, consent to treat, guardianship documents, individualized education plan, letters about educational accommodations.
Inside each category, order documents newest first. When you are looking for something in a hurry, the top of the stack is what you need.
How to label and file the paper records
Punch three holes and put each document in a clear sleeve. Write the date range on the sleeve tab in one format you never vary, such as month and day on both ends, and put the child’s name on any sleeve that could leave the house.
Keep a single master index page as the first sheet in the binder. It lists each category, the date range inside it, and where the digital copies live. One parent in a caregiving group described the same idea: a file box per kid, sorted by year, filled as immunization records and school paperwork arrive rather than sorted in one heroic weekend.
Before you file anything, run one check: is it dated, is it identifiable, and does it belong in exactly one place? Documents that fail the third test usually end up filed twice and then never found at all.
How to scan and name digital copies
Scan on the day you receive the document, not in a batch six months later. Use your phone’s built-in scan tool or a dedicated scanning app, and correct the file name before you put it away.
A naming pattern that survives contact with a busy household: category, provider, child, date. For example: Labs_MercyChild_14Mar, Immunizations_CountyRegistry_08Jan. Search by medication name, provider, or year and you will find what you need in seconds instead of scrolling through a folder called New Folder.
Mirror the paper categories exactly in your digital folder structure. If the binder has ten tabs, the cloud drive has ten folders with the same names. Also delete the duplicate scan photos that accumulate; most families end up with three copies of the same lab result.
How to create a secure backup and access plan
Digital copies belong in two separate places. One is your practice’s patient portal, where they stay available to your child’s care team. The second is an encrypted storage account you control, with automatic backup from your phone.
Avoid two common mistakes. Do not send records as plain email attachments, since in transit they are readable by anyone on the route. And do not share a public link to a folder containing your child’s health information.
Then write down the emergency plan. One trusted caregiver should know how to get into the file and where the paper binder lives, and a second parent or co-parent should have the same information. If your child sees multiple specialists or you manage several children with overlapping providers, write the log-in list down somewhere physical, not just in an app.
The test is simple: could you produce the allergy list within two minutes at 9pm on a Sunday? If not, the system is not finished.
How to update medical records for your child after each appointment
The whole system depends on a fifteen-minute routine after every visit. This is the step that decides whether the file is worth anything next year.
- Ask the front desk to print the visit summary, or download it before you leave the building.
- Download any lab or imaging results the same week they post to the portal.
- Scan the summary and file it in the right category.
- Update the medication list and the care plan if either changed. Write the date next to every change, including the date the previous medication stopped.
- Note the follow-up appointment and any question you did not get answered.
A dated medication log answers the question that ruins appointments, which is when a medication was last given or changed. Even a line in a phone notes app works, as long as it has dates.
Review the file for fifteen minutes twice a year, in January and July. Update the one-page health summary at those reviews, and again whenever a medication, allergy, or diagnosis changes.
How to prepare a medical-records packet for an appointment
Keep a slim version of the file in the portable pouch: the one-page health summary, the current medication and allergy list, the most recent immunization record, relevant history for the visit reason, insurance information, and insurance and referral letters. Add recent results relevant to what you are about to discuss.
Write your three to five questions down before you walk in. The list is short on purpose, because a longer list guarantees the last two go unanswered.
Hand the summary over early rather than waiting to be asked. Many families report that giving the doctor the medication and allergy list upfront changes the pace of the entire visit, and it removes the guessing about dates that wastes the first ten minutes of every appointment.
Afterwards, return any papers you brought to the binder the same evening. A packet that lives in a purse becomes a packet that lives nowhere.
Common Mistakes
Almost every disorganized family is making the same six mistakes, and each one has a fix.
Keeping everything in one pile. A single stack works until the day you need one immunization record and there are two hundred pages. The fix is ten categories, applied without exception from today forward.
Mixing medical and school paperwork together. Individualized education plans, accommodations letters, and sports physicals belong with legal and consent documents, not buried in the primary care section. They are also the documents you will need most often during school years.
Using vague file names. A folder called Documents with photos named IMG_2941 costs you twenty minutes every time you need it. Category, provider, child, date is faster to write and faster to find.
Relying on a single digital copy. Portals change, practices get bought, and passwords get lost. A second encrypted copy you control is not duplication; it is the backup.
Not recording medication changes. The gap is almost always between the appointment and the pharmacy pickup. Write the change down the day it happens, with the date.
Storing records somewhere insecure. A binder on top of the fridge is fine as a working copy if the room is yours. Not fine if it is a shared apartment, a car, or a school locker. Use a locked drawer for anything you would not print and leave on the table.
A few maintenance habits keep it running: add new documents the day they arrive rather than in a weekend catch-up, keep one child per file, review twice a year, and shred duplicates once the digital copy is verified readable.
Frequently Asked Questions
Who legally owns my child’s medical records?
The medical practice or facility that created the records is the legal owner. Parents hold the right to access and obtain copies for a minor, but the original document stays with the provider. Once your child is 18, control passes to them unless they agree in writing to let you continue as their personal representative.
How do I get access to my child’s medical records?
Use the practice’s patient portal and request proxy or family access for your child. If records need to come from a different provider, ask their medical records department for a release of information form, submit it, and follow up in about two weeks. Keep copies of everything you request, because portal access only shows records from that one system.
Can I share my child’s records with a co-parent or grandparent?
Yes, as long as the child is a minor, though the simplest route is usually to give that person the one-page health summary and a copy of the paper file rather than portal logins. For anything involving consent to treat or ongoing care, ask each practice what written authorization they require. Ask the child’s care team before sharing with anyone outside the household.
Should I keep paper copies or is digital enough?
Keep both, because they fail differently. Paper is readable with no battery or signal, which matters in an emergency room or out of state. Digital is searchable and easy to share with another specialist or caregiver. The paper copy is the master record, and the digital set is your searchable backup and your shareable copy.
What records should I bring to a new pediatrician?
Bring the one-page health summary, the current medication and allergy list, the official immunization record, recent lab and imaging results, any current care plan, insurance information, and a copy of relevant records from your previous practices. Request those records from the old practice before the first appointment so they arrive in time to be read.
What happens to my access when my child turns 18?
At 18, in most states, your child is legally an adult and you no longer have automatic access to their medical records. Access only continues if your child signs a written authorization or names you as their personal representative, and many practices use a specific form for that. Start the conversation around 16 or 17 so the transition is paperwork, not a surprise. More on that in our post about what happens to benefits when your child turns eighteen.
Conclusion
Start with three things this weekend: gather the records you can get without paperwork, make the ten folders in whatever container you already own, and make one encrypted backup. That is the whole setup. Everything else in this guide is maintenance on top of it.
Keep it simple enough to use when your child is sick and you are tired. If the system only works on a calm Sunday afternoon with a label maker and a clear desk, it will fail at 7pm on a Tuesday, and that is the moment it was built for.
If you want the categories in front of you while you sort, our guide on building a sensory diet follows a similar principle for daily routines: a short written plan beats a good memory. For questions about your child’s own care, medication, or development, talk with their pediatrician first.