Gluten free meal prep for the week works the same way any weekly prep works: you spend one focused session cooking a few versatile base components, then reassemble them into different meals instead of cooking something new every night. One grain, two proteins, a tray of roasted vegetables, a sauce, and one breakfast anchor will carry you from Monday to Friday with minimal decision fatigue and a very short grocery list.
The part that trips most families up isn’t the cooking. It’s Thursday, when the same bowl has appeared three times and nobody wants it again. This guide is built to solve that: components get stored separately, sauces get made fresh or kept in their own cups, and the week has a plan before Sunday starts.
Budget-wise it’s worth a few extra dollars at the store to skip seven drive-through runs. For families with celiac disease, the cross-contact habits below matter more than any recipe.
Table of Contents
- What You Need
- Planning tools
- Storage containers
- Labeling supplies
- Kitchen equipment
- Step-by-Step
- Step 1: Choose a Simple Weekly Menu for Your Gluten Free Meal Prep
- Step 2: Check Every Ingredient for Hidden Gluten
- Step 3: Make a Short Shopping List
- Step 4: Cook One Big Batch on the Prep Day
- Step 5: Portion Meals and Snacks
- Step 6: Label, Cool, and Store Everything Safely
- Step 7: Reheat and Finish Meals Throughout the Week
- Common Mistakes
- Planning too many unfamiliar meals
- Storing everything the same way
- Reheating on full power with the lid sealed
- Treating gluten-free as automatically healthy
- Sharing equipment in a mixed-diet kitchen
- Running out on Sunday afternoon
- Frequently Asked Questions
- How many gluten-free meals should I prep for the week?
- How long do gluten-free meals last in the refrigerator?
- Can I freeze gluten-free rice, pasta, and cooked vegetables?
- How can I prevent gluten cross-contact when meal prepping?
- What are the easiest gluten-free meals to prep for children?
- Do I need to prepare separate food if my child has celiac disease?
- Conclusion
What You Need
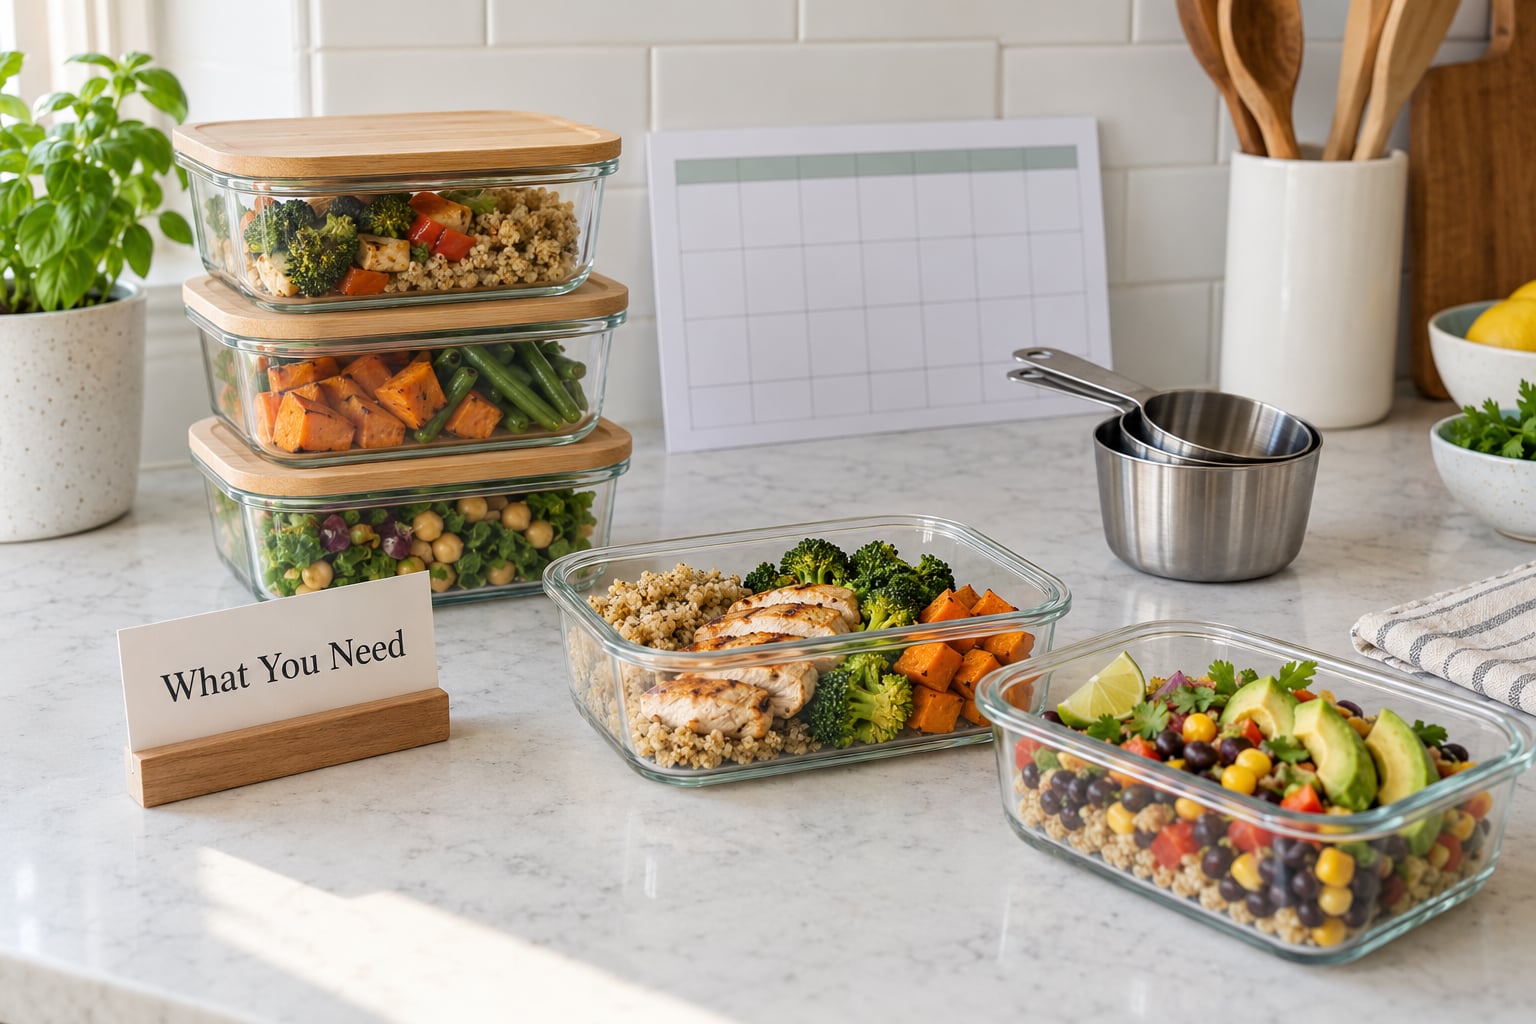
You don’t need a specialty kitchen. You need a plan, storage that works, and a few habits that keep wheat out of the food.
Planning tools
A paper calendar or a note on your phone with seven columns and four rows. One breakfast repeats, one dinner repeats, and the rest rotates. Repeatable meals are the whole trick, because a recipe you already know by heart costs you almost nothing to cook twice.
Storage containers
- Glass containers if you have them, since they go from fridge to microwave to table without lids that warp. Airtight is the point.
- A mix of sizes. A shallow rectangular container reheats rice and chicken far more evenly than a deep round bowl.
- Small containers for one-person households, or for portioning one large batch into two servings instead of four.
- Freezer bags or a flat-sided container for grains you want to freeze flat and later scoop out.
Labeling supplies
Masking tape and a marker, or a roll of freezer-safe labels. Write the dish, the date, and who it’s for. If two people in the house eat gluten free, their names on the lid save a lot of guesswork on a chaotic Wednesday.
Kitchen equipment
- A rimmed baking sheet for vegetables, plus a second pan if two things roast at once.
- A rice cooker if you have one. If you don’t, a pot and a lid work; quinoa and rice both hold well for a few hours on low.
- A slow cooker for shredded chicken or chili that starts in the morning.
- A food thermometer. Storage decisions are guesswork without one.
- A dedicated toaster and one colander you only ever use for gluten-free food, if a celiac diagnosis is in the house.
Cross-contact prevention isn’t optional detail for a child with celiac disease. Shared toasters, a dusty communal colander, and a well-used cutting board are all realistic sources of the tiny amounts of flour that cause damage even in people who feel fine.
Step-by-Step
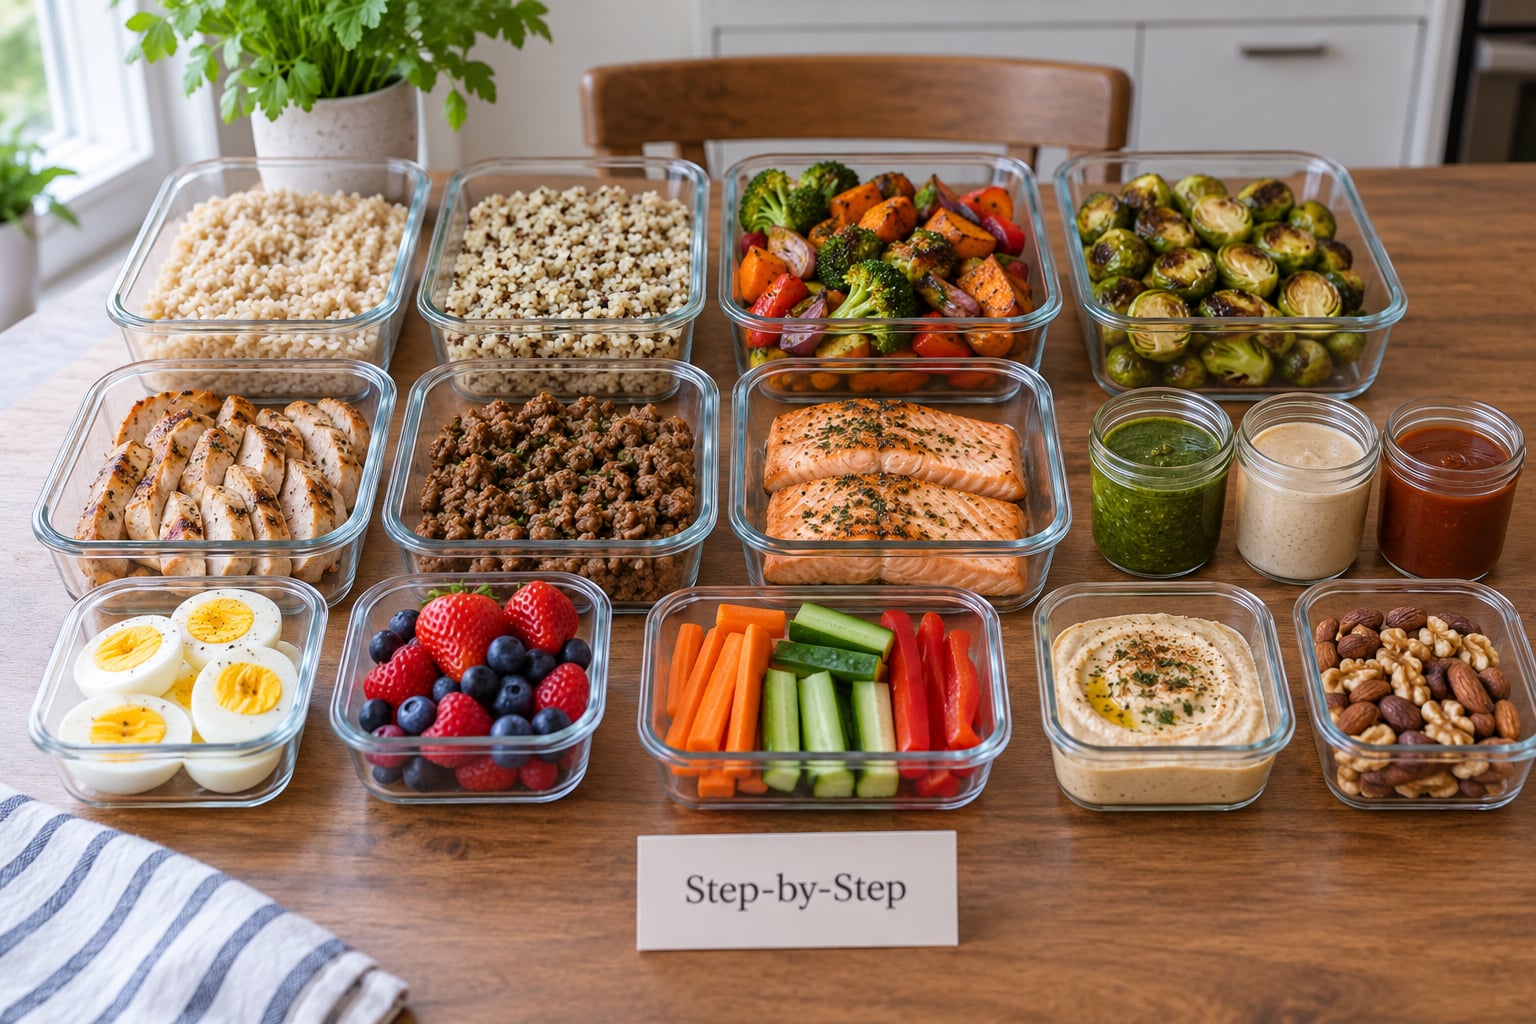
Seven steps, in order. The whole session takes roughly two to three hours, and most of that time is the oven doing work while you do something else.
Step 1: Choose a Simple Weekly Menu for Your Gluten Free Meal Prep
Pick two repeatable dinners and one repeatable breakfast, then fill the remaining slots with lunch assembly and leftovers. If you want a broader starting point, how to meal plan for a gluten free family covers the planning side in more detail.
What makes a good base meal is that its parts travel separately. Chicken and rice works. A layered taco bar works. A soup works, because one pot covers a whole week. A baked casserole does not, because it’s a sealed single meal that has to be eaten twice.
You don’t have to prep every meal. A realistic week is breakfast made Sunday, lunches assembled from components, dinner cooked Monday or assembled from leftovers, and a no-cook fallback for the nights that don’t happen.
Step 2: Check Every Ingredient for Hidden Gluten
Wheat, barley, and rye are obvious. The ones that catch people are malt and malt syrup, brewer’s yeast, malt vinegar, ordinary soy sauce, and oats that aren’t certified gluten-free.
- Soy sauce is brewed with wheat. Use tamari or coconut aminos instead.
- Oats are cross-contaminated at harvest unless the label says certified gluten-free.
- Sauces, marinades, salad dressings, and spice blends hide it more often than whole foods do.
- Baked goods and processed meats (hot dogs, deli slices, sausage) need a closer read than a bag of frozen vegetables.
- Crumbs used for breading are a common trap. Rice flour or almond flour breadcrumbs work.
If a label-reading routine would help, this guide to how to read a label for hidden gluten walks through the full checklist.
Step 3: Make a Short Shopping List
Organize the list by supermarket section so you walk once. Fresh produce, then proteins, then grains and canned goods, then the freezer aisle, then the label-check aisle last because that’s where the careful reading happens.
Buying fewer specialty items is what makes this affordable. Naturally gluten-free foods — rice, quinoa, corn tortillas, canned beans, eggs, meat, frozen vegetables, fresh fruit — cost the same as their wheat-based counterparts. Specialty bread and pasta is where the money goes, and you need very little of it with this system.
If someone at the table also avoids dairy or eggs, resolve that before the shop. Buy the replacement items on the same trip rather than improvising with what’s already in the pantry.
Step 4: Cook One Big Batch on the Prep Day
Sequence by oven time. Vegetables go in first since they roast longest. Then grain on the stovetop. Then protein, either roasted on a second pan or simmered in a pot.
Safe preparation order matters more than most recipes admit: wash and cut produce first, before you handle breaded or floured foods. Cook the gluten-free proteins before anything wheat-based, and wipe down the cutting board and counters with a damp cloth when the flour stage is done.
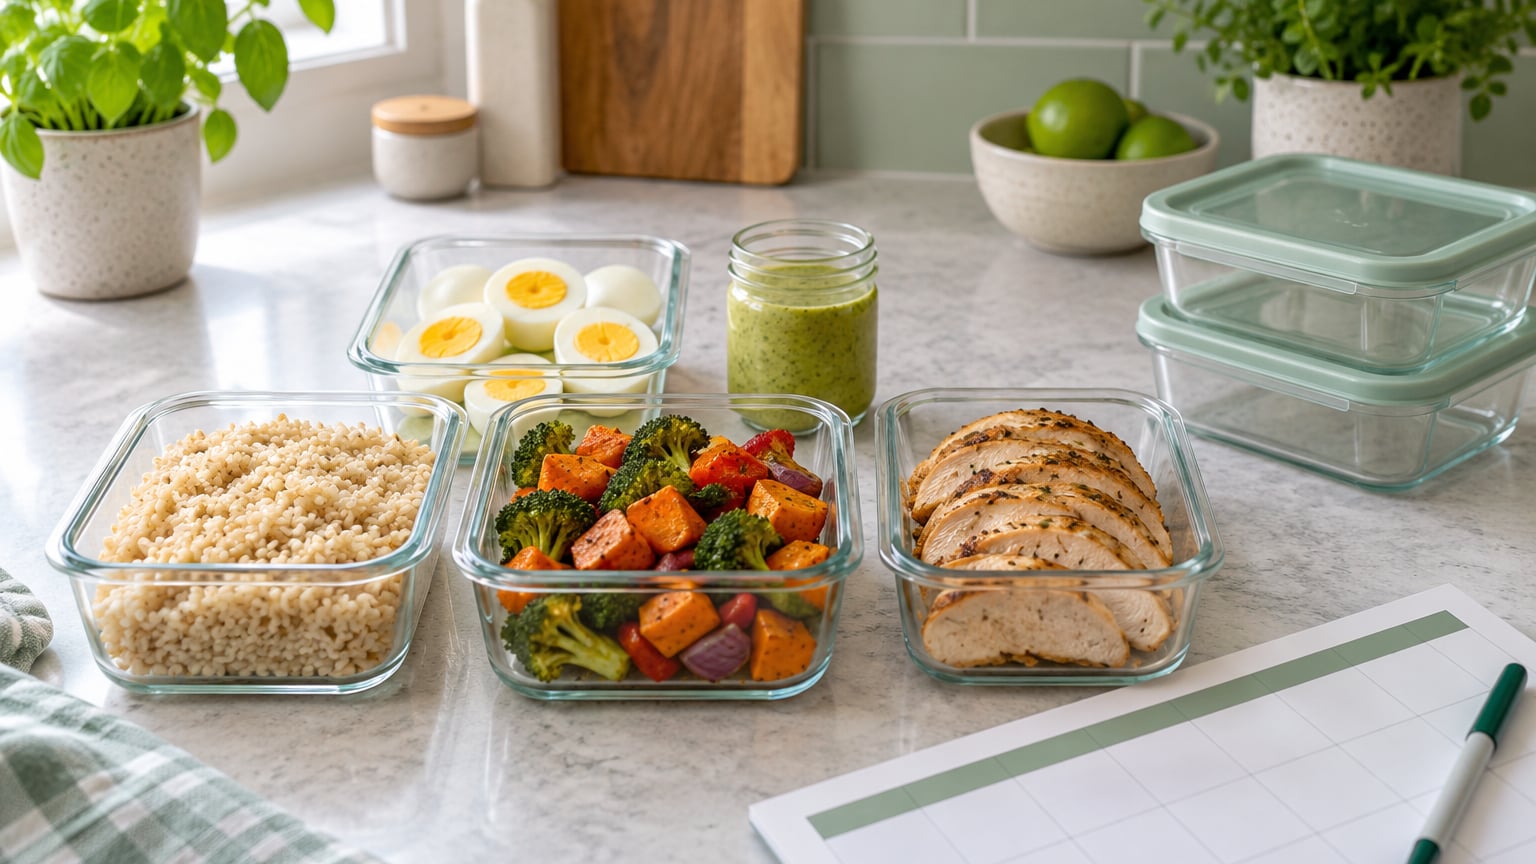
A good Sunday output looks like one large pot of rice or quinoa, a sheet pan of roasted vegetables, two proteins, a batch of eggs, and two sauces.
Step 5: Portion Meals and Snacks
For adults, aim for a palm-sized protein portion plus about a cup of cooked grain and a cup of vegetables. For kids, roughly a third of an adult portion is often right, and you can always add more later than you can take it away.
Portion grains and proteins into their own small containers rather than plating them together. That’s what keeps Wednesday from tasting like Monday. It’s also the difference between one container meaning one meal and one container meaning two lunches.
Keep sauces, dressings, and crumbly toppings in separate lidded cups. A vinaigrette poured on Sunday is soggy by Thursday; the same vinaigrette in its own container is fine.
Step 6: Label, Cool, and Store Everything Safely
Let food cool uncovered in shallow containers before you close the lid. Trapping steam is what makes cooked rice and roasted vegetables go slimy, and it’s also what encourages bacterial growth.
Refrigerate at or below 40°F (4°C) and get food into the fridge within two hours of cooking. Plan on eating refrigerated prepped meals within three to four days. Anything beyond that goes in the freezer, which is where most families do their real meal prep stock.
When reheating, bring food to a steaming hot all the way through. Poultry and reheated leftovers should reach 165°F (74°C).
For weeks when you want to build a bigger bank, how to stock a gluten free freezer for busy weeks covers portion sizes and what holds up over a month.
Step 7: Reheat and Finish Meals Throughout the Week
Reheat rice and chicken with care or they turn dry and rubbery by day four. The technique that works best: 90 seconds in the microwave, stir, another 30 to 90 seconds, with a damp paper towel or a tablespoon of water on top. Loosely covered, not sealed.
Add fresh, crunchy, or raw ingredients on the day you serve. A spinach salad, sliced avocado, a handful of herbs, or a drizzle of a sauce made that morning takes a container of prepared food and makes it taste like it was made that day.
Keep a backup meal list for the night that falls through: canned soup, a microwaved potato with butter, a fried egg on top, or a frozen gluten-free entrée. No-cook food that takes five minutes is what keeps a prep week from collapsing.
Common Mistakes
Planning too many unfamiliar meals
The cure is boring and it works. Two dinners you’ve cooked before plus one new one is a better week than six new recipes you abandon halfway.
Storing everything the same way
A container of fully assembled rice, chicken, and vegetables has a shelf life and a texture ceiling. Components stored separately last longer and stay interesting. Freeze the part that will be eaten after day four, portioned into single servings.
Reheating on full power with the lid sealed
That’s the drying-out mistake. Stagger the reheating, add a little moisture, and cover loosely.
Treating gluten-free as automatically healthy
Gluten-free is a safety rule, not a nutrition claim. Most naturally gluten-free staples are genuinely nutritious, but many gluten-free packaged breads, crackers, and snack bars are built from refined starches with added sugar and fat and less fiber than the wheat version had. Read the label like anyone else would.
Sharing equipment in a mixed-diet kitchen
Cooking one meal for everyone is possible. A separate toaster, one gluten-free colander, distinct cutting boards, and a separate shelf for gluten-free flours are the four changes that make it practical.
Running out on Sunday afternoon
Never plan all seven days. Realistically three to four days come from the fridge and the rest come from the freezer or the backup list. Any plan that assumes seven fresh cooked meals will fail by Wednesday.
Frequently Asked Questions
How many gluten-free meals should I prep for the week?
For a family of four, cook three to four days of dinners and the same number of lunches, then freeze the remainder in single-serving containers. Breakfast usually needs the least attention, since eggs, overnight oats, and chia pudding hold for several days or freeze well. Most preppers I know cook five distinct meals and fill the remaining slots from components and leftovers rather than cooking seven separate dishes.
How long do gluten-free meals last in the refrigerator?
Plan on three to four days in the fridge at or below 40°F (4°C). Get food refrigerated within two hours of cooking and cool it uncovered in shallow containers first, so heat and steam don’t get trapped. That window applies whether or not the food is gluten free, since nothing about being wheat-free slows spoilage. Freeze anything beyond day four.
Can I freeze gluten-free rice, pasta, and cooked vegetables?
Yes, and it works well. Cook rice and quinoa slightly underdone before freezing so they don’t turn mushy, and let them cool fully on a sheet pan before transferring to a container or bag so they freeze loose rather than in one solid block. Pasta freezes fine in a sauce. Roasted vegetables freeze best when slightly undercooked and reheated from frozen in a hot oven.
How can I prevent gluten cross-contact when meal prepping?
Use a dedicated toaster, keep one colander for gluten-free food only, and prepare gluten-free items before anything wheat-based in the same session. Wash your hands and wipe down cutting boards and counters between stages. Buy tamari instead of regular soy sauce, use certified gluten-free oats, and store gluten-free flours and snacks on a separate shelf above or away from wheat products.
What are the easiest gluten-free meals to prep for children?
Egg cups and muffin-pan frittatas, overnight oats made with certified gluten-free oats, rice cakes with nut butter, fruit with yogurt, and pasta with a simple sauce all hold up well and travel in a lunch box. Cutting vegetables the night before saves morning time. Kids also eat what they see you eating, so keeping a visible snack shelf at eye level does more than any recipe trick.
Do I need to prepare separate food if my child has celiac disease?
For celiac disease, yes, the food itself needs to be prepared free from wheat contamination, though it can be the same meals the family eats. Use separate toasters and colanders, separate utensils and cutting boards, and clean surfaces before and after. Some families find it simpler to cook the family’s shared meal gluten free for everyone during the week, which removes the shared-equipment problem entirely.
Conclusion
The seven steps above work because they reduce cooking to a handful of components rather than seven separate meals. Start smaller than feels reasonable: pick two dinners you already know, check every label including the soy sauce and the oats, and cook one big batch this Sunday.
Label it, refrigerate what you’ll eat in the next three or four days, and freeze the rest. Once that loop runs for two or three weeks, the week stops being a project and starts being something you already know how to do.