Building gross motor skills indoors is mostly about repeated large-muscle practice in a small space: crawling, climbing, balancing, jumping and throwing, done daily for short stretches rather than once in a big session. You need no equipment beyond painter’s tape, some pillows and roughly ten feet of clear floor. Choose the activity that matches what your child can already do, offer it as an option instead of a command, and let repetition do the work.
Gross motor skills are the movements that use the big muscle groups: walking, running, hopping, climbing, throwing, catching and holding a balance position. They matter because they are the base for everything that happens at a desk or a table later on. A child who cannot hold a steady posture or plan a sequence of movements has a much harder time sitting still, writing, and self-regulating.
Children with autism, ADHD, Down syndrome, cerebral palsy or sensory processing differences often reach these skills on a different timeline, and indoor movement is sometimes the first place a caregiver notices. If you are looking for ways to build gross motor skills at home alongside play-based learning, start with the setup below and work through the seven activities in order.
Table of Contents
- What You Need
- Step-by-Step: 7 Indoor Gross Motor Activities
- 1. Create a Floor Obstacle Course
- 2. Practice Balance on a Tape Line
- 3. Build a Pillow Mountain to Climb
- 4. Add a Balloon or Soft Ball Target
- 5. Play Animal Walks Across the Room
- 6. Set Up a Tunnel, Blanket or Couch Fort
- 7. Strengthen Balance with a Movement Dance
- Common Mistakes
- Frequently Asked Questions
- What are some indoor gross motor activities?
- What are the 7 gross motor skills?
- Do kids with ADHD or autism struggle with gross motor skills?
- How long should an indoor gross motor session be for a toddler?
- What are good gross motor toys to use inside?
- What if my child refuses to join in?
What You Need
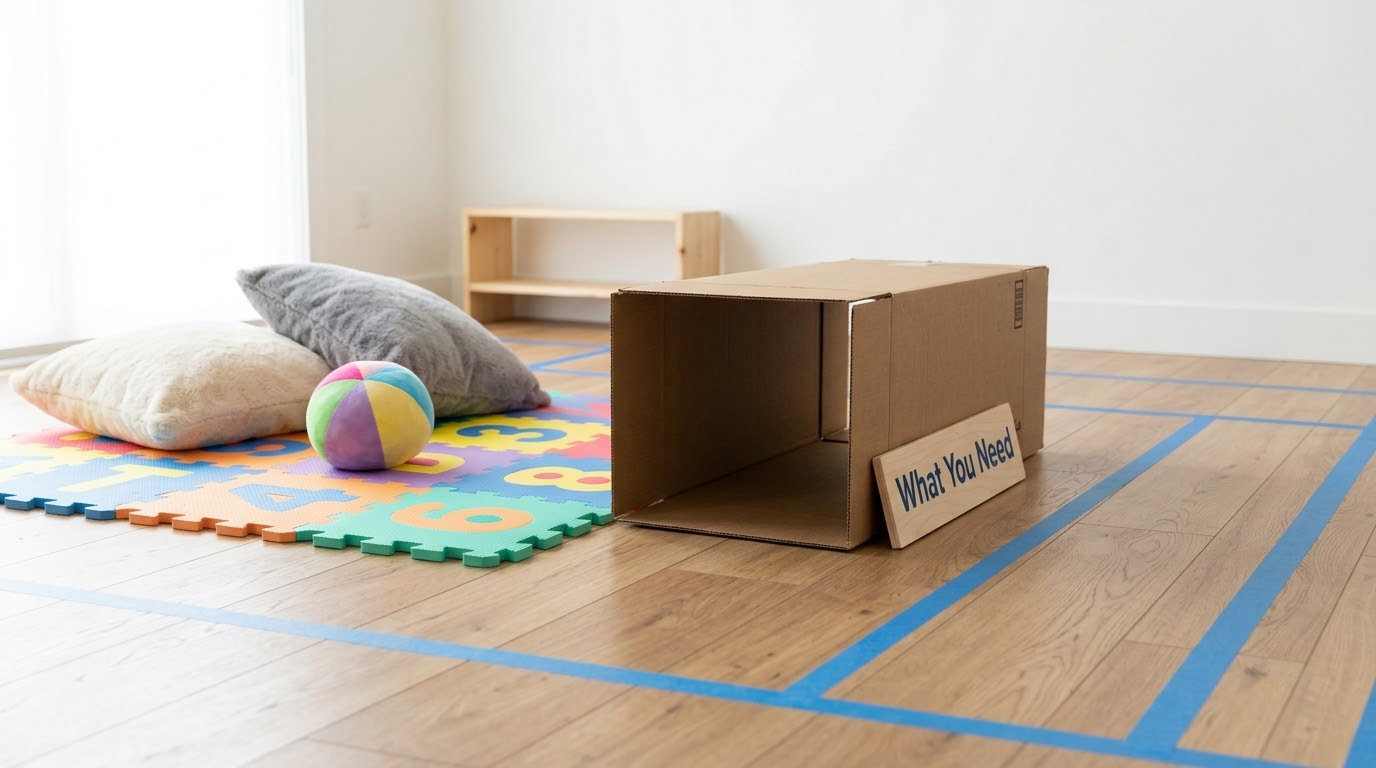
Nothing in this guide requires a purchase. Every activity runs on items you almost certainly already own, and most of them reset in under five minutes.
- Painter’s tape. Strips on the floor become a balance beam, a hopscotch grid, a shape to jump in and out of, or a route to follow. It peels up cleanly and costs almost nothing to replace.
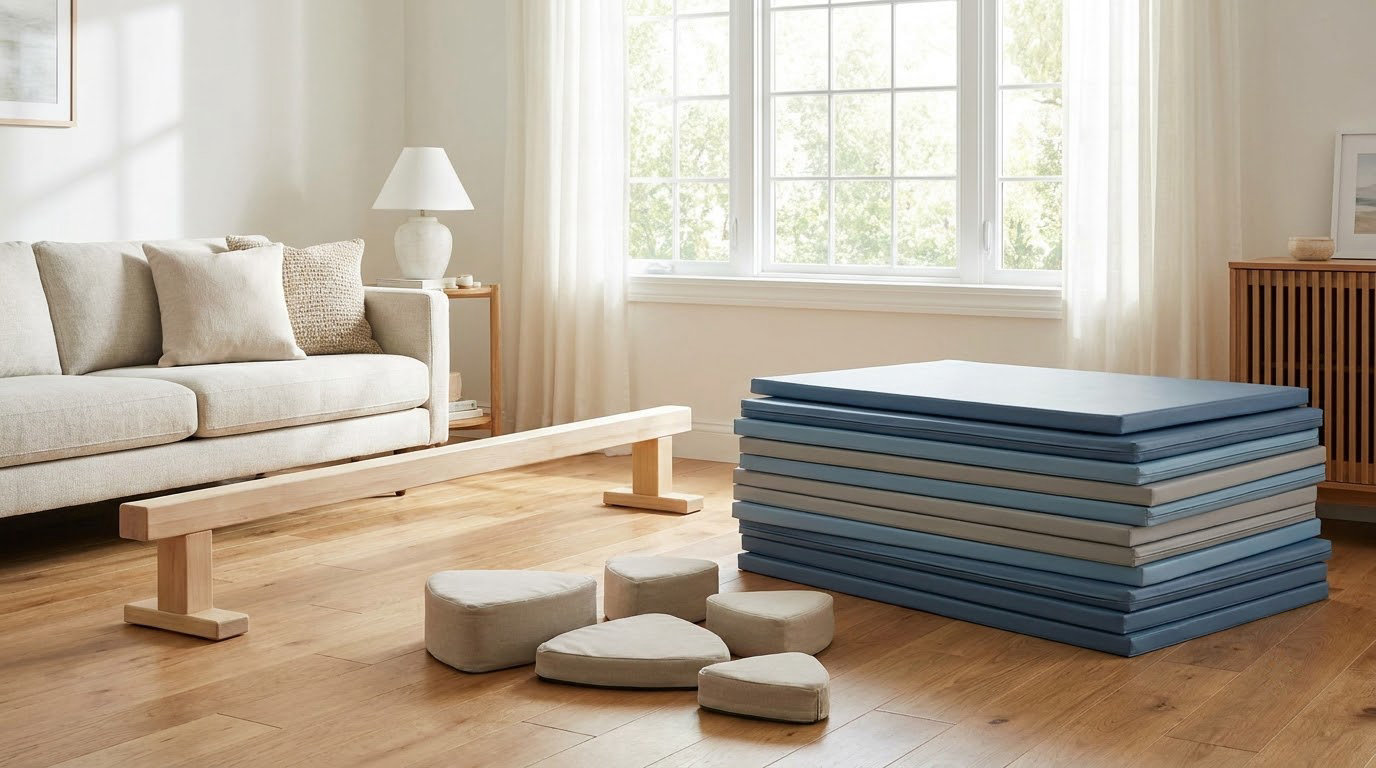
- Pillows and firm cushions. These make climbing slopes, soft landing spots and balance-height steps. Stacking is the whole activity, so let your child do the stacking.
- Soft balls, balloons or rolled socks. A balloon gives slow-moving targets for reaching, batting and catching. Rolled socks in a laundry basket turn into an instant hoop game.
- Cardboard delivery boxes. Cut off the ends to make a crawl tunnel, or cut the flaps to make stepping platforms.
- Two chairs and a broomstick. Lay the stick across the chair backs to make a low balance beam you can raise or lower to change difficulty.
- A rug or foam mat. A defined non-slip surface gives you a clear boundary for the play area and cushions knees during floor work.
Clear breakables, lamps and cords out of the area first, and vacuum the floor if you are using anything that involves going down. Good lighting matters more than you would think: shadows make taped lines much harder to read for children with low vision or visual processing differences.
A broom or a rolled towel marks the edge of the play space for children who need a visible boundary. Children who wander or bolt mid-activity do better with a defined arena than with an open room.
Step-by-Step: 7 Indoor Gross Motor Activities
Read these as a progression rather than a checklist. The first activities give heavy support and predictable movement, and the later ones ask for balance, planning and coordination under changing conditions. Most children benefit more from one activity done daily for two weeks than from all seven done once.
Four rules apply to everything below. Offer choices rather than instructions, so the request sounds like an invitation. Let your child repeat a movement as many times as they want, because repetition is where motor learning happens. Watch for fatigue signs such as heavy sighing, dropped equipment, or a sudden loss of coordination, and stop before that point rather than after it. And keep difficulty adjustable in both directions at all times: if your child falls or gets frustrated, make it easier today and try the harder version next week.
1. Create a Floor Obstacle Course
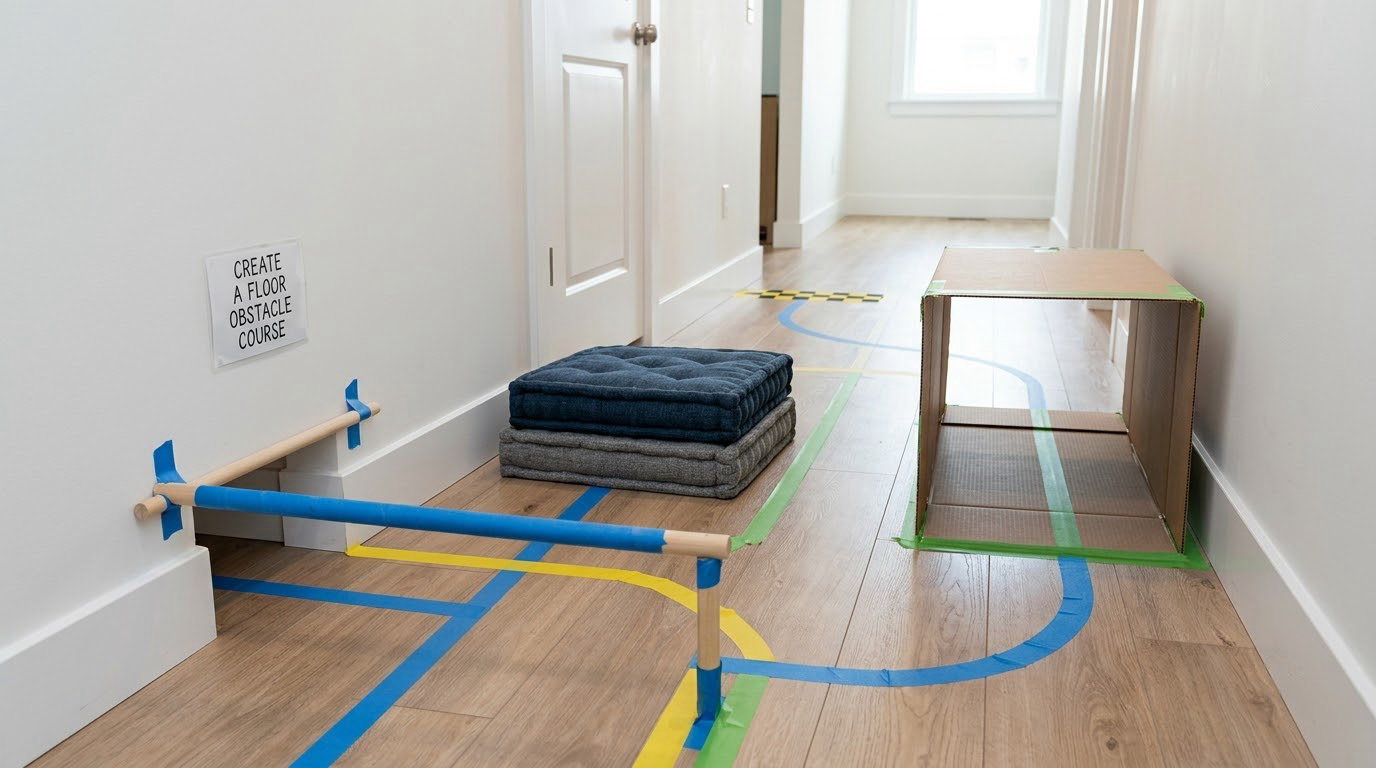
A floor obstacle course is the best all-in-one indoor gross motor activity because it chains motor planning, balance, bilateral coordination and spatial awareness into a single route. Build it in one straight line rather than a loop so you can watch from one spot.
Run two long strips of tape down the floor as a walkway. Add a crawl-under gap by resting a broomstick across two chairs, set two stacked cushions nearby as stepping stones, and finish with a cardboard box tunnel. Keep the total route under fifteen feet.
Demonstrate the whole route once, slowly, then step back and let your child attempt it. Visual cues matter here: number the stations on index cards, or place a sticker on the floor at each one, so the sequence stays predictable between tries.
To make it easier, shorten the route to two stations, widen the taped lines, and hold a hand at the crawl gap. To make it harder, shrink the walkway to a single tape line and add a direction change, or ask your child to carry a soft ball from one end to the other. You know it worked when your child can finish each movement without hands-on help and can run the course again from memory.
2. Practice Balance on a Tape Line
Tape lines are the cheapest balance trainer you will ever use, and they give you instant control over difficulty. Lay two strips about twelve inches apart to start.
Begin with your child standing between the lines, then walking them slowly. Once that feels steady, add heel-to-toe walking along one line, then a slow turn at the end of the strip. Brief one-leg stands come later, with a wall or your hand within reach.
You can see whether your child is using their core by watching the shoulders and hips. When they tip or sway noticeably, they are recruiting the arms and leaning instead of stabilizing through the trunk. Widening the gap or moving back to two-foot walking fixes that quickly.
Progress by narrowing the lines to one tape line, adding a turn at the midpoint, or handing over an object to carry without dropping it. Balance develops through postural control, and postural control builds fastest when the challenge stays just inside what your child can manage today.
3. Build a Pillow Mountain to Climb
Climbing is the single best indoor activity for core and leg strength, and the equipment is a stack of cushions. Arrange firm cushions in a gradual slope, two or three layers high at one end and one layer at the other.
Work on the skills in order: crawling up on hands and knees, scooting on the belly, stepping up and down, and finally climbing with hands and feet together. Decide in advance where the descent lands and put a folded blanket or rug there so the landing is soft and the route is predictable.
Easier means lowering the first step, widening the base, or letting your child push on a handhold such as the sofa arm. Harder means flattening the base so the stack shifts under load, or removing the top pillow so the reach gets longer.
Watch for two things: whether your child shifts weight forward before stepping up, and whether they can control the way down instead of dropping. Both are signs the activity matches their current level, and both are worth naming out loud when they happen.
4. Add a Balloon or Soft Ball Target
A balloon taped to the wall turns standing, reaching and throwing into a controlled upper-body exercise. Because the balloon moves so slowly, children get the reaction time they need to track it, which is why this works well for children who struggle with hand-eye timing.
Start standing close to the wall. Ask your child to pop the balloon with one hand, then with two, then to bat it back and forth with a partner. Count five attempts instead of keeping score, so the activity never becomes a win or a loss.
For a harder version, move further back, lower the balloon to knee height so your child has to reach down, or tape a target ring and add a soft ball to throw through it. Catching is the natural next step once throwing looks controlled.
You will see progress in the feet, not the arms. When your child steps toward the ball on the throw and steps away on the catch, the weight shift that supports whole-body coordination is clicking into place.
5. Play Animal Walks Across the Room
Animal walks need zero equipment and hit core strength, shoulder stability and coordination all at once. Bear walk means hips up and knees off the floor. Crab position means on hands and feet with the belly lifted. Flamingo standing means balancing tall on one leg. Frog jumps and crocodile crawl round out the set.
Model one movement, then use a picture, a hand signal or one clear sentence as the cue. Let your child imitate you for a few turns, then switch it around and let them lead the pattern. Children who learn best by watching gain a lot when the leadership flips.
Progress from floor-based patterns to supported standing versions, such as bear walking along a wall with one hand in contact, once the floor version holds for a few seconds. For children with low tone or limited shoulder strength, a wheelbarrow walk with an adult holding the ankles is a good stand-in for the crab position.
The sign of learning is duration. A child who holds a position for three seconds without collapsing, and who shifts weight through the arms rather than flopping forward, is building the postural strength that sitting requires later.
6. Set Up a Tunnel, Blanket or Couch Fort
A tunnel or a fort gives you spatial awareness practice in a space that feels like play rather than therapy. A cardboard box with both ends cut out works as a tunnel; two chairs with a blanket draped over them make a fort you can crawl into.
Check the structure before your child uses it. Push on it yourself, confirm the chairs will not tip, and remove any loose blanket corners, staples or small parts. Then let your child choose which direction to go in, because a child who can pick the entry is usually far more willing to commit.
Stop immediately if the setup causes distress. Some children hate enclosed space, and that is worth respecting rather than pushing through. Offer the outside of the tunnel as the play space instead, where crawling around obstacles still works the same spatial skills.
For a progression, add a task: move a small object from one end of the tunnel to the other without using your hands, or build the fort yourself by carrying cushions in, which adds heavy work and planning to the session.
7. Strengthen Balance with a Movement Dance
A short movement routine turns gross motor practice into something children ask for. Build a fixed sequence of five or six movements: reach to the ceiling, turn in place, squat to touch the floor, step side to side, and a few gentle jumps with a soft landing.
Keep the order the same every time and use the same song, so the routine becomes predictable enough that your child can anticipate what comes next. Predictability is doing a lot of the work here for children who find transitions difficult.
Offer a seated version for anyone who needs one, using the same sequence with arm reaches and torso movement instead of standing. Two minutes of a routine you finish together beats a five-minute routine that ends in resistance.
You will know the routine has landed when your child sustains attention through the whole sequence and can lead it from a picture strip on the floor. Add a freeze move, a mirror move, or simply slow the tempo to make it harder.
Common Mistakes
Starting too hard. A course that impresses adults can be genuinely hard for a toddler. Begin two levels below what you think is achievable, and treat boredom as the signal to raise difficulty rather than frustration.
Expecting age-typical performance. A four-year-old may still walk with a wide stance, and that is fine. Developmental skills develop at different rates, and if you have concerns about a specific skill, talk to your pediatrician or ask about a referral to a qualified occupational or physical therapist.
Praising only completion. Saying good job after the route is over teaches very little. Name the movement instead, such as noticing how your child’s knees stayed off the floor during the bear walk, so the effort is what gets repeated.
Switching activities every two minutes. Novelty feels exciting and actually slows motor learning, because the skill never gets practiced past the first attempt. Stay with one activity for a week or two before adding another.
Using unstable furniture or hard thrown objects. Skip stacking dining chairs, throwing anything harder than a soft ball indoors, and leaving boxes near heaters or stairs. Test any structure with your own weight first.
Skipping rest. Sensory seekers in particular can look fine right up until they melt down. Plan a calm finish, like a slow song or a quiet corner, so the session ends before the child is overwhelmed.
Forgetting the transition. A sudden jump between activities can undo the regulation the movement provided. Give a two-minute warning, show what comes next, and let your child finish the repetition they are on before moving on.
One more note on resistance. When a child declines an activity, lower the difficulty first and offer a choice of two. If they still refuse, back off without comment and try again later; repeated refusal usually means the setup is too demanding, not that the child is being difficult.
Frequently Asked Questions
What are some indoor gross motor activities?
The most useful indoor gross motor activities are a floor obstacle course, balance walking on painter’s tape, climbing a stack of cushions, balloon or soft ball throwing, animal walks, crawling through a cardboard tunnel or blanket fort, and a short movement dance. Each one works a different group of large muscles and needs only household items.
What are the 7 gross motor skills?
The seven foundational gross motor skills are balance, coordination, muscle strength, core strength, endurance, agility and body awareness. Physical therapists often break them down further into dynamic and static balance, bilateral coordination, postural control and motor planning. Activities like tape walking, animal walks and climbing each train several of them at once.
Do kids with ADHD or autism struggle with gross motor skills?
Some do, though not all. Children with ADHD often have difficulty with balance, coordination and the sustained attention a movement task requires, and children on the autism spectrum may show differences in postural control, bilateral coordination and motor planning. These are widely reported patterns rather than diagnoses, so raise specific concerns with a pediatrician or a qualified occupational or physical therapist.
How long should an indoor gross motor session be for a toddler?
Ten to fifteen minutes of focused movement is plenty for most toddlers, and it can be split into two shorter rounds spread through the day. Preschoolers often manage twenty to thirty minutes. Watch for heavy sighing, dropped equipment or clumsy movements and stop there, since fatigue shows up before a meltdown does.
What are good gross motor toys to use inside?
The best indoor gross motor items are already in your house: painter’s tape, pillows, cardboard boxes, cushions, a broomstick, balloons, rolled socks and a laundry basket. A foam mat, a small balance beam, or a scooter board add range if you want to spend money, but they are additions rather than prerequisites.
What if my child refuses to join in?
Lower the difficulty first, since a refusal usually means the task feels too hard or too unpredictable. Offer two choices rather than a command, let your child watch without participating, and try the same activity on a different day. If refusal continues across activities and settings, mention it to your pediatrician or occupational therapist.
Learning how to build gross motor skills indoors is not about assembling a perfect gym. Pick the one activity your child can already do most of the way through, set it up in under five minutes, and run it daily for two weeks before adding anything new. Tape lines and cushions will get you further than any piece of indoor play equipment, and if something is not working after a couple of weeks, lower the difficulty rather than pushing harder.