To teach handwriting to a child who hates it, lower the demand rather than the standard: trade the pencil for sand, keep sessions near five minutes, and stop while your child is still winning. Most resistance is overload or fear of failure, not defiance.
Last reviewed: October 2026
I have watched a bright, curious kid dissolve over a worksheet that had four letters on it. Nothing was wrong with the letters. The four letters were simply the hardest four things he had to do all day, and someone had handed them to him at the end of a long afternoon.
What parents rarely hear from a teacher: for a lot of kids, handwriting refusal is not a character flaw. It is a motor or sensory load, an old memory of getting corrected, or both. The fix depends entirely on which of those is driving it, so the first move is to work out the cause before you buy a single workbook.
Two questions do most of the work. Can your child hold a tool and move it on purpose, and has something gone wrong while writing in front of you before? If the answer to the first is no, you are not behind on teaching, you are working on pre-writing skills. If the answer to the second is yes, you are dealing with a memory, and memory can be softened.
Table of Contents
- What You Need
- Step-by-Step: How to Teach Handwriting to a Child Who Hates It
- Step 1: Check readiness before you teach handwriting
- Step 2: Make handwriting feel manageable
- Step 3: Teach one movement at a time
- Step 4: Build accuracy before speed
- Step 5: Transfer skills into real writing
- Common Mistakes
- Frequently Asked Questions
- How young should a child be before learning handwriting?
- What can I do if my child refuses to write anything?
- How do I teach handwriting to a child with autism or sensory sensitivities?
- When should I ask about occupational therapy for handwriting difficulties?
- Is handwriting practice necessary if a child can use a keyboard?
- How long should handwriting practice take each day?
- Where to Start Today
What You Need
None of this needs a budget. Gather a few things once, park them in a basket, and practice in the same spot every time so the routine carries the load instead of your mood.
- Three writing tools in three diameters: a chunky crayon, a thick marker or closed-grip pen, and a regular pencil with a triangle grip or gripper if needed. Let your child choose the tool each session.
- Both kinds of paper: plain for free drawing and single strokes, lined for real writing. Lined paper should have generous spacing so letters are not squeezed into a thin band.
- Untraditional media: kinetic sand, a shallow tray of dry rice or sand, shaving cream on a table, play dough, Wikki Sticks, sidewalk chalk, a whiteboard, and an easel or a tape line on the wall.
- A visual timer you can both see, plus a small first-then board showing what comes after practice.
- A wall or door for vertical surfaces. Writing while standing takes weight off the hand and off the posture.
- A stable seat and table at child height with feet that reach the floor, even if that means a stack of books.
- Optional support: your child’s teacher, a classroom handwriting program, or an occupational therapist who has seen your child actually write, not just talk about it.
Before you start, set realistic expectations for the age. Occupational-therapy guidance treats these strokes as the foundation that handwriting is built on.
| Age | Typical pre-writing skills | What to practice |
|---|---|---|
| 12-15 months | Controlled release; marks with a crayon held in a fist | Scribbling freely on large paper, any mark at all |
| 18-24 months | Vertical line, then horizontal line; dot imitation | Lines in sand or shaving cream before pencil and paper |
| 3-4 years (pre-K) | Circle, cross, diagonal, square | Single strokes on paper, then tracing one letter at a time |
| Kindergarten | Letter formation and baseline placement, all three stroke groups | Name writing, copying a short word, tracing a familiar phrase |
If your child is well past a row and still not managing the strokes, that is useful information, not a reason to push harder. It is also the point at which a screening makes sense.
Step-by-Step: How to Teach Handwriting to a Child Who Hates It
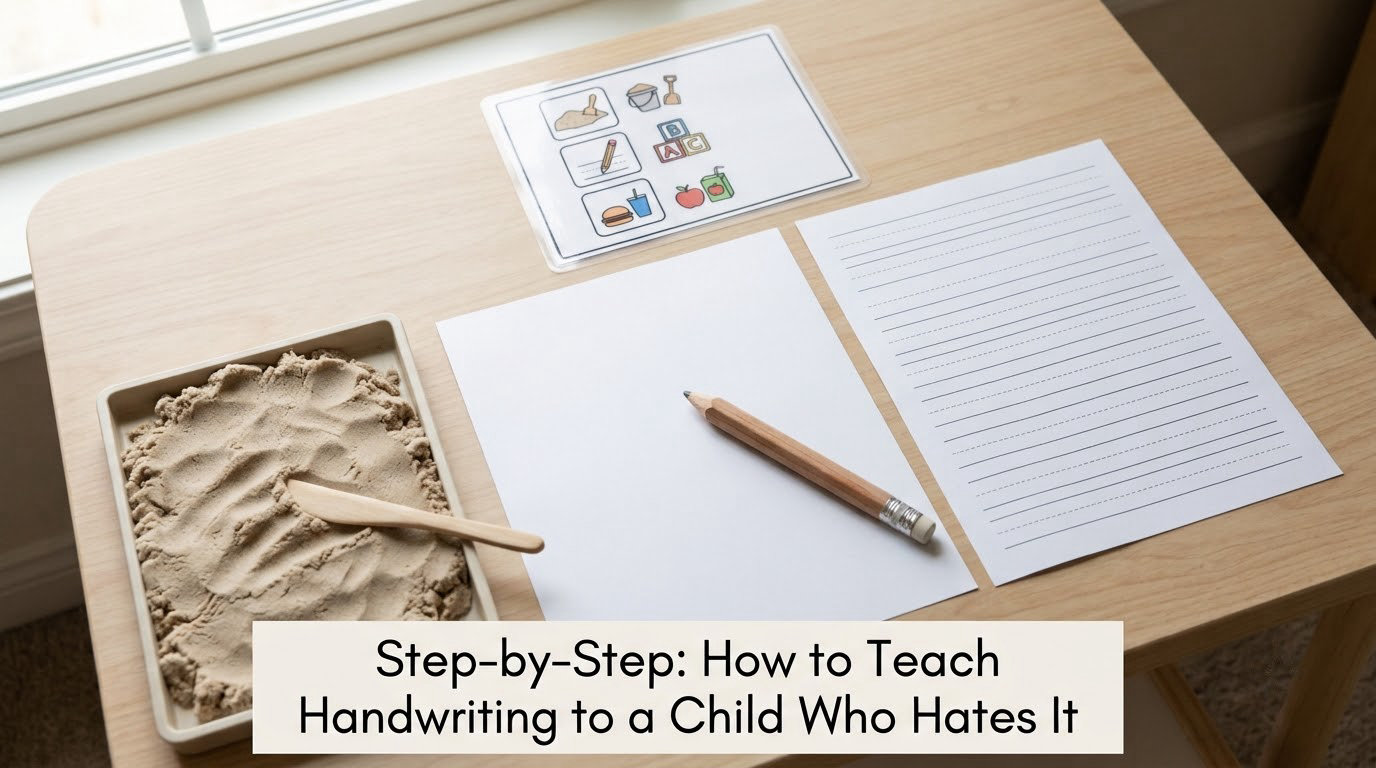
Work through these in order. Moving ahead too fast is the single most common reason practice keeps failing, because the child is being asked to do a whole letter when the parts are still shaky.
Step 1: Check readiness before you teach handwriting
Sit with your child for five minutes and watch, without helping. Note how they hold a crayon, whether they can trace a line you draw, how long they can stay with a task, and what happens to their face when the tool touches paper.
Watch for a tight fisted grip, an arm locked at the elbow, or a shoulder lifted toward the ear. Those are signs of a grip that costs more effort than the task deserves, and a chunkier tool usually fixes it faster than more practice will. A child with sensory differences may also flinch at the sound of a dry pen on paper, or at the sticky feeling of a pencil worn down too far.
You are looking for one honest answer: did your child enjoy any part of it? If the answer is no, do not begin teaching letters yet. Build the movement first and revisit writing in a few weeks.
How you know the step is working: your child can produce lines, circles and crosses in sand or on a whiteboard without distress, and asks to go back to it another day. Track that in a notebook with a date and one sentence about the session.
Step 2: Make handwriting feel manageable
Shrink the job. One letter, three times, is a complete lesson on a bad day, and it counts.
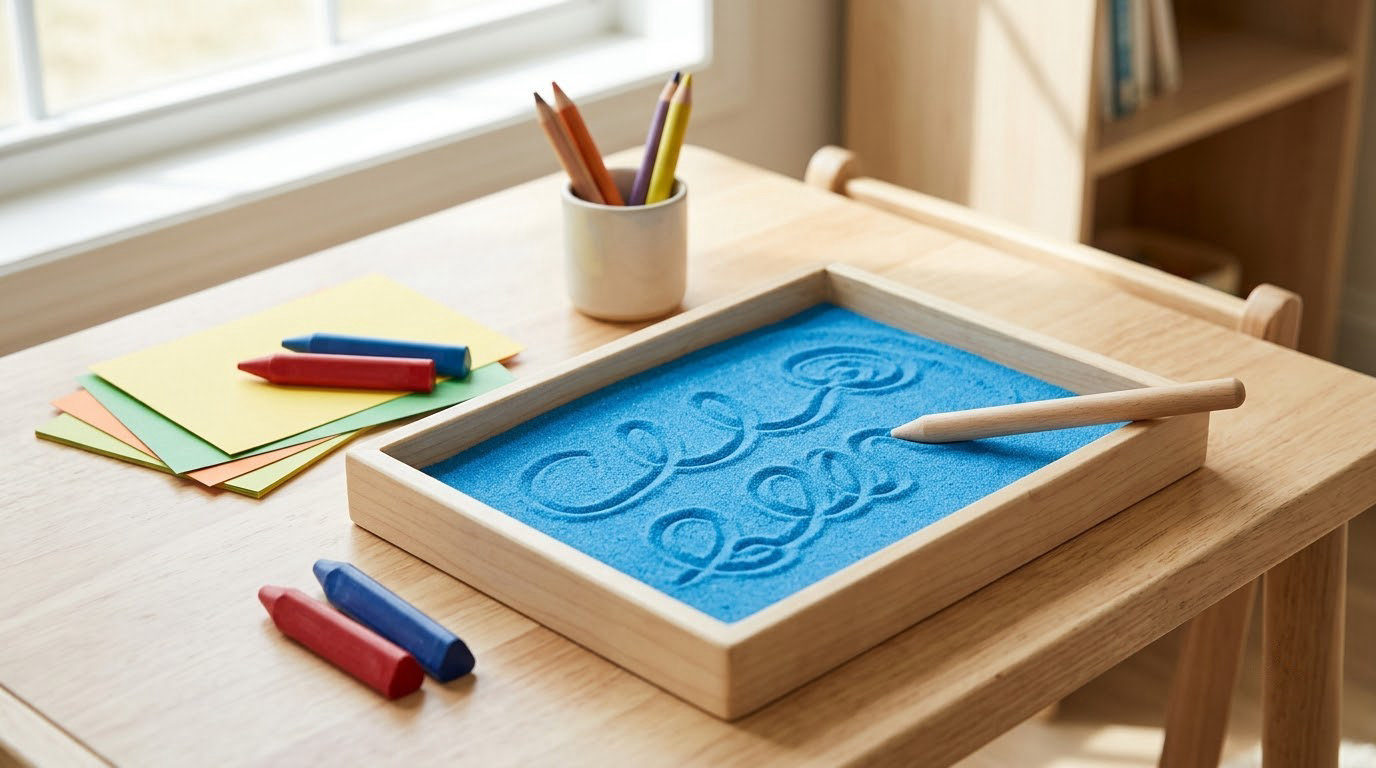
Swap the medium, not just the tool. Sandpaper letters you trace with a finger, kinetic sand you push with a fingertip, shaving cream on the table, play dough rolled flat, water drawn on pavement with a stick in summer. Parents in r/Teachers and r/homeschool describe these as the most-recommended low-pressure practice, because the material forgives mistakes and nothing gets graded.
Reduce the physical cost. Put paper on a wall with tape, a door, or an easel. Try a closed-grip pen for a marker-heavy child. For a left-handed writer who smears, shift the paper a few degrees to the right and to the left of where the child sits, and let the hand rest on the page rather than hooking under it.
Change what the writing is for. Let your child dictate the paragraph to you, or type it and hand it over to copy. Parents on r/Parenting call this the biggest relief: the thinking is done, so the only job left is the pen. Several families on r/homeschool split these two skills completely for six months to a year, building copywork strength first with composition off the table.
How you know the step is working: your child starts the activity without an argument. That is the metric here, not the number of letters produced.
Step 3: Teach one movement at a time
Letters are built from a small set of strokes, and motor planning works best when each stroke is learned on its own. Show one movement, say where it starts and where it stops, then let your child copy it once. Air-write it first, then trace it in sand, then trace it on paper, then make it without the guide.
Keep the language short and consistent. Something like “down, back up, around” travels better than a long explanation, and using the same words every time builds the plan inside your child’s head.
Stop after a handful of successful repetitions even if things are going well. A child who ends practice wanting more will argue with you tomorrow about when to do it again, which is the arrangement you actually want.
How you know the step is working: your child can produce the stroke from memory, on any surface, without a model in front of them.
Step 4: Build accuracy before speed
Move up in small jumps: one letter, then a two-letter word, then a short phrase, then a full sentence. Do not skip the middle because your child is reading well. Decoding and letter formation are separate skills, and a child can read fluently and still find writing physically miserable.
Praise the specific thing you saw. Shape, size on the line, and a finished attempt are worth naming out loud, while corrections wait for later in the session, never mid-sentence. Correcting a child while they are writing replaces the motor memory of the letter with the memory of being interrupted.
Compare progress across months, not across children. A first-grade child’s handwriting is not supposed to look like a third grader’s, and parents on r/Preschoolers make the point that adult handwriting is not the model either. Imperfect letter formation is normal at this age.
How you know the step is working: your child writes a short phrase unprompted and then, on their own initiative, points out one letter they are not happy with. That is self-monitoring, and it is worth more than a clean page.
Step 5: Transfer skills into real writing
Now attach the skill to something that matters. Write a name on a card, label the pantry shelves, sign a birthday card, fill in a simple form, jot a shopping list that you actually use. A real purpose outlasts any worksheet.
Offer choices about the order and the medium, not about whether to do it. Choosing between two tools keeps some control in your child’s hands while the routine itself stays predictable, which matters for kids who are already overwhelmed.
Make sure handwriting never becomes the thing that produces the schoolwork. A child can dictate the answer, write it, or type it and hand it in, and still get the same feedback on the ideas. For longer assignments, a plain page typed up can be copied by hand as handwriting practice, separate from the assignment deadline.
How you know the step is working: your child uses a writing tool for a reason that was not schoolwork, unprompted.
Common Mistakes
Almost every daily handwriting tear traces back to one of these. The fix is usually smaller than the change parents expect.
Forcing long sessions. Twenty minutes of writing drills on a five-year-old’s attention span does not build muscle memory, it builds resentment. Cut to five minutes, use a visual timer your child can see, and end while the writing still feels possible.
Correcting every letter as it happens. Fixing letters mid-sentence hands your child a message about their worth rather than their handwriting. Mark it once, after the session, and pick one thing to change next time.
Endless tracing worksheets. Tracing has a place in early stroke work, but a full page of repeated identical letters teaches copying, not recall, and parents describe it as the fastest route to tears. Two traced strokes and a fresh attempt beats a completed page.
Practicing only on paper. Paper is the hardest surface and the least forgiving. Rotate through sand, play dough, shaving cream and vertical surfaces so the pencil feels like one tool among many instead of a daily confrontation.
Holding the child to a pencil they dislike. A short, chewed, dry pencil that squeaks is a real sensory problem. Keep spare pencils sharpened, hand back any tool the child rejects, and let the choice stay theirs.
Comparing handwriting with peers or with your own neat printing. Nothing on this list fuels a power struggle faster. Your adult handwriting is not the target and neither is the kid next door’s.
Treating an occupational-therapy referral as an admission of failure. A motor assessment is a measurement, not a verdict. Parents on r/Parenting describe it as the thing that finally explained years of unexplained tears over homework.
Ignoring pain, fatigue or headaches. If your child complains that writing hurts, or grips so hard their hand cramps, or avoids the activity entirely with no obvious reason, stop the practice and talk to their pediatrician. Persistent pain is not something to practice through.
To keep practice playful: let your child choose the medium, follow their lead for the first minute, keep a sticker chart for showing up rather than for perfect output, and end with something physical. Wall push-ups, a pillow fort, a snack they chose. Regulation comes before letters on a bad day, and the letters usually follow.
Frequently Asked Questions
How young should a child be before learning handwriting?
Most children are ready for letter formation between ages four and five, once they can hold a crayon with a relaxed grip and draw a straight line. Before that, the real work is pre-writing: lines, circles, crosses and diagonals, practiced in sand or play dough. Forcing letters onto paper before the strokes are ready tends to produce grip problems and frustration that take longer to undo than to prevent.
What can I do if my child refuses to write anything?
Do not start with paper. Offer a single stroke in kinetic sand, shaving cream or water, and let that be the whole session. When your child enjoys a surface, move the same stroke onto a whiteboard, then to paper. Keeping the demand at one movement keeps the experience successful, and success is what changes a reluctant writer into a willing one.
How do I teach handwriting to a child with autism or sensory sensitivities?
Change the sensory input before you change the lesson. Choose a quieter surface, use a low-tolerance pencil or a closed-grip pen, try a vertical wall so the hand carries less weight, and add heavy work such as a burrito wrap or wall pushes before practice. Predictability helps too: same seat, same basket of tools, same short routine every day.
When should I ask about occupational therapy for handwriting difficulties?
Ask when the difficulty is not closing on its own, when writing is physically painful or causes visible fatigue, when your child avoids writing tasks entirely despite being able to read and speak well, or when you see a consistently tight grip or letters that cannot stay on a line. An occupational therapist can assess grip, motor planning and visual motor skills. Your pediatrician or school can usually point you to a referral.
Is handwriting practice necessary if a child can use a keyboard?
Keyboarding is a legitimate and often better accommodation when writing is painful or exhausting, and no school should punish a child for using it. Handwriting still matters for automaticity and confidence, so many families keep short, playful strokes and name-writing practice while allowing longer assignments to be typed. The goal is communication, not penmanship for its own sake.
How long should handwriting practice take each day?
Five to ten minutes most days, more useful than one long weekly session, because handwriting is built on repetition and short sessions keep frustration low. End while your child is still succeeding, because finishing on a high note is what brings them back to it. For a child who is genuinely struggling, even two minutes a day of strokes in sand counts as progress.
None of this is medical advice, and I am not an occupational therapist. Research on handwriting difficulty in autistic children, including work by Fuentes and colleagues published in 2009, is a useful starting point, but your child’s own OT or pediatrician can tell you what applies to your child.
Where to Start Today
Pick one tool your child will actually pick up, choose one letter or one meaningful word, and practice it for five minutes with a timer. End on a success, write one sentence about how it went, and do the same thing tomorrow.
Repeat that for two weeks and note what changed, not how perfect it looks. If writing still hurts, still ends in tears, or is avoided no matter what you change, talk to your child’s teacher, pediatrician or occupational therapist. Something is making the task expensive for your child, and a professional can find it faster than you can guess.