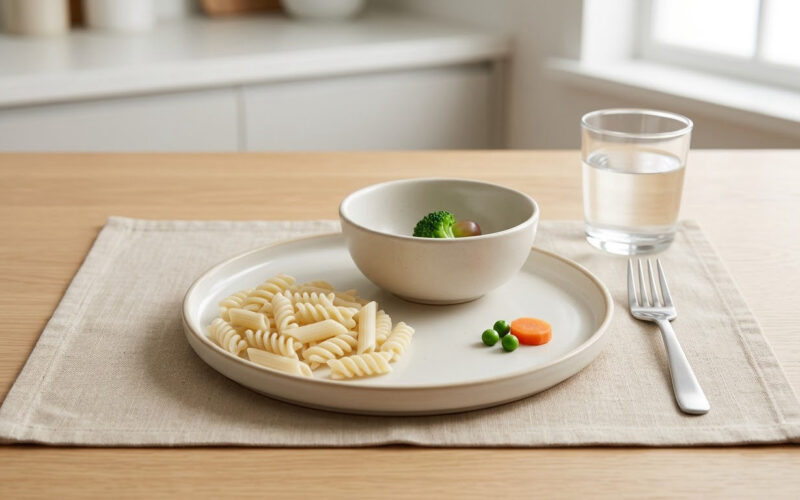
To expand a limited food list step by step, you start from the foods your child already reliably eats and add one new food at a time in a smaller, less threatening form than the real thing. That usually means a tiny portion on a separate plate, the same setting and utensils every time, and no pressure to finish it. Most families see the first change in a few weeks and meaningful variety over several months.
Worth saying up front: this is general information for caregivers, not medical or feeding-therapy advice. If your child’s list is very narrow, is shrinking, or comes with weight or growth changes, talk to their pediatrician or a registered dietitian before changing anything.
Table of Contents
- What You Need
- Step-by-Step
- Step 1: Record the Current Food List
- Step 2: Identify One Safe New Food
- Step 3: Start With Exposure, Not a Full Meal
- Step 4: Use a Gradual Repetition Schedule
- Step 5: Adjust Texture and Preparation
- Step 6: Build a Reliable Routine
- Step 7: Track Progress and Keep What Works
- A Simple Tracking Sheet You Can Copy
- Common Mistakes
- Frequently Asked Questions
- How long does it take to expand a child’s food list?
- Does my child have to eat the new food right away?
- How should I handle gagging or distress during exposure?
- When does a reaction need medical advice rather than a new food?
- How do I expand foods when a child has severe sensory sensitivities?
- How do I keep my child’s nutrition safe while expanding?
- A Calm Start Comes Before Variety
What You Need
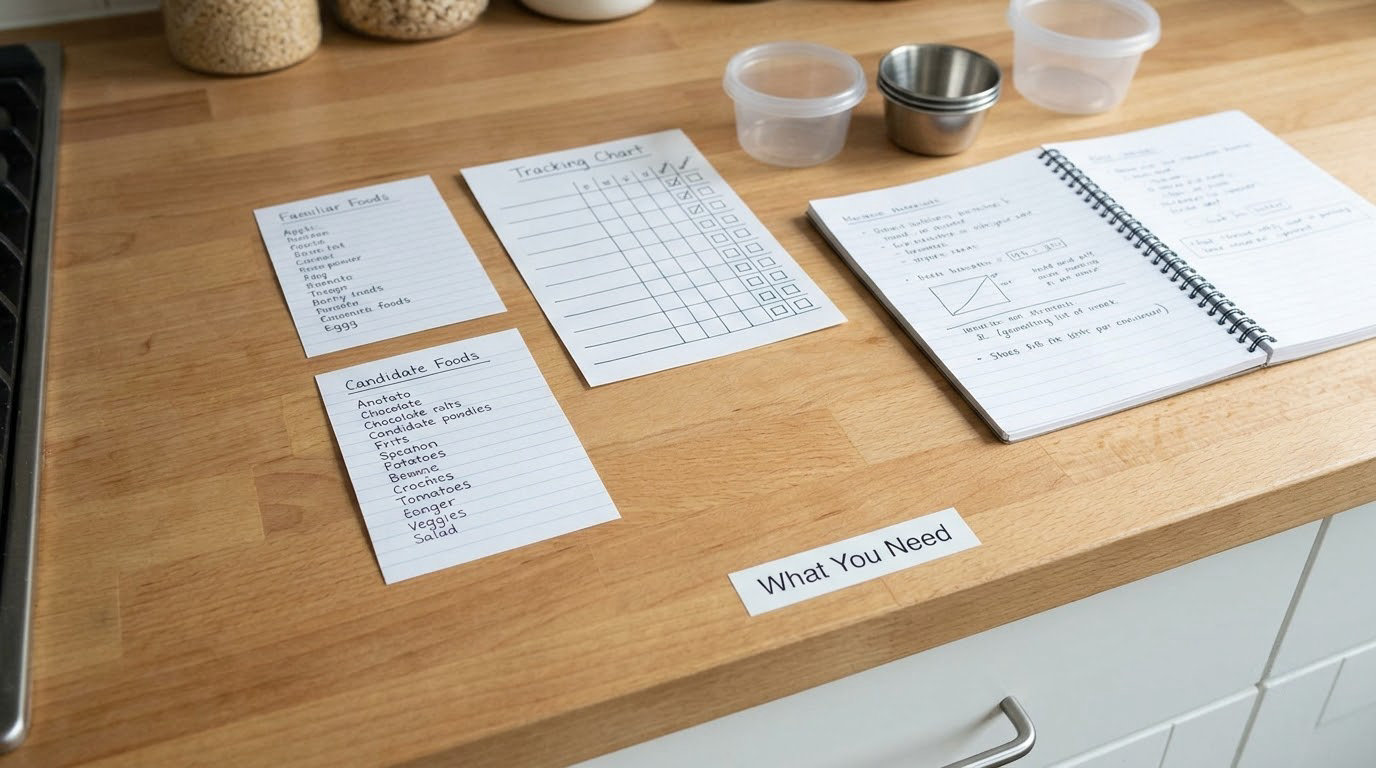
You need less than it sounds like, and most of it you already have.
- A current food list. Every food your child reliably eats, written down. Not what they ate once, but what they eat without a fight.
- A simple tracking system. A notebook, a spreadsheet, or a photo of a paper chart on the fridge. It only needs five columns.
- Known allergens and restrictions. Anything medically restricted, plus anything your child reacts to badly.
- Familiar foods for familiar meals. The rotation you already cook, so nothing important gets disrupted while you experiment.
- Small portions of candidate foods. A teaspoon, a single cracker, one grape cut in half. Small is the point.
- Access to your child’s pediatrician or dietitian for anything nutritional, and an occupational therapist or speech-language pathologist if you’re working with a feeding team.
Skip the specialty equipment. No divided plates, no sensory utensils, no supplements bought on impulse. Consistency of setting matters far more than any gadget.
Step-by-Step
Step 1: Record the Current Food List
Write down everything your child reliably eats, then sort it into three groups: strong preferences, acceptable foods, and currently refused foods. That sorted list is the map you’ll work from for the whole process.
For each food, note the details that make it acceptable: how it’s prepared, the texture, the temperature, the shape, the brand, and where it’s served. A five-food list with those details attached is far more useful than a bare list of names.
Flag anything medically restricted or required separately. If a food has to stay on the list for a health reason, don’t treat it as a rung to climb past.
Step 2: Identify One Safe New Food
Choose exactly one candidate food with a low chance of allergy or conflict with an existing restriction. Simple texture, familiar flavor, and a preparation method close to something already accepted are all good signs.
The most reliable candidates sit next to a food your child already eats. A child who reliably eats plain pasta might start with a different pasta shape before facing anything new in flavor. Read the ingredient label, and check with your child’s care team if the food is restricted, unfamiliar, or a common allergen.
Step 3: Start With Exposure, Not a Full Meal
Offer a tiny amount on a separate plate or beside a familiar food. Don’t replace a trusted meal, and don’t ask for a bite.
Let your child look at it, smell it, touch it, or bring it to their lips. Any of those counts as the work for that meal. The goal this week is that the food sits on the table without distress, nothing more.
Step 4: Use a Gradual Repetition Schedule
Repeat the same small exposure across several meals or days instead of introducing several foods at once. One new food at a time gives you a real answer; three at once gives you noise.
Keep the amount small and the presentation identical, and pause the whole thing if your child shows distress. Increase the portion or move to the next step only when the current step still feels manageable a few meals in a row.
A common rhythm is the same food at the same small portion at three meals in one week, then slightly more at the next. What matters is that it’s boringly consistent, not that it hits a schedule.
Step 5: Adjust Texture and Preparation
If taste isn’t the main barrier, change one variable at a time. Try it raw, cooked, soft, mashed, chilled, or warm, and see which version lands.
Working one variable at a time is what makes this diagnosable. If you change the texture and the temperature and the brand, and your child refuses it, you’ll have learned nothing about why.
For many children, mixing a small amount into a preferred food works better than serving it beside one. Very finely diced vegetables blended into a sauce they’re already used to is a common starting point.
Step 6: Build a Reliable Routine
Serve the new food in a predictable setting, the same way each time. Same seat, same plate, same utensils, same position on the table. Keep commentary to a minimum.
Phrases like “just try a little” or “it will be good for you” tend to backfire. Neutral language and a predictable place do more work than encouragement. If your child leaves it untouched, that’s a normal outcome, not a battle worth having at the table.
Structure helps too. Regular mealtimes at roughly the same times, a visual schedule your child can check, and a short predictable duration keep the whole day calmer than one dramatic dinner.
Step 7: Track Progress and Keep What Works
Record the date, the food, the step level you reached, the response, and any notes. What counts as progress is up to two rungs, not two bites.
Tolerating a food on the table is progress. Touching it is progress. Sitting near it is progress. Keep the foods that are accepted without distress, and revisit refused ones later, often weeks later, because preferences shift.
Refusal is information, not failure. A food rejected at eight may be accepted at eighteen, and there’s no prize for rushing it.
A Simple Tracking Sheet You Can Copy
Five columns is enough: date, food, what happened, how far the child got, and one note. If you want it visual, photograph the plate and add the photo; pictures are often more honest than memory three weeks later.
Review the sheet once a week rather than daily. Weekly is often the only interval at which progress is visible, and daily review tends to make everything look like a plateau.
Common Mistakes
Introducing too many foods at once. The fix is one food, one chain, one variable at a time. If two things change in the same week, you won’t know which one caused the reaction, and you’ll likely conclude the whole approach failed.
Forcing a taste. Requiring a bite turns the new food into a threat, and the refusal usually hardens. Offer without conditions and let contact happen on its own schedule.
Changing the entire meal at once. Removing a food your child depends on removes their safety net in the same week you add something unfamiliar. Add first, remove later, and only after the new item is routine.
Starting on a hard day. Not the day of a therapy appointment, a travel day, or an argument about sleep. Pick a week where nothing else is shifting.
Treating every refusal as an allergy. Most refusals are sensory, which is a different problem with a different solution. Any reaction involving swelling, hives, vomiting, or breathing needs a clinician, not a food chaining plan.
Quitting too early. This is the most common reason a plan doesn’t work. Progress measured in weeks and months is normal; a couple of flat weeks means the step is too hard or needs a smaller dose, not that the approach is wrong.
One more worth naming: the relatives problem. Well-meaning family members often bring “just make them eat it” advice, and a child who hears a new food described as a battle will treat it like one. A short, calm, repeated line works better than a longer explanation: we’re trying new foods slowly, and pressure makes it worse.
Frequently Asked Questions
How long does it take to expand a child’s food list?
For most children, expect weeks before anything changes and several months before the list feels meaningfully wider. A child who tolerates a new food at one small portion across repeated meals may take a month before they touch it, and longer before they eat it. Track by weeks, not days, and judge progress by tolerated rungs rather than bites. If nothing at all changes after several months of consistent effort, that is a good moment to raise with a feeding team.
Does my child have to eat the new food right away?
No. Eating is the last step of a long sequence that starts with the food simply being on the table, then touched, smelled, brought to the lips, tasted, and chewed. Many children sit at one of the earlier steps for weeks and that is genuine progress. The goal in the first weeks is calm, repeated contact with no distress, not a swallowed bite. Eating usually follows later, if it is going to at all.
How should I handle gagging or distress during exposure?
Stop the exposure for that meal and return to the last step that felt comfortable. Gagging is an automatic protective reflex, not a choice, and telling a child to push past it adds fear rather than tolerance. Keep portions tiny, keep the same setting, and try again when things are calm. If gagging comes with vomiting, pain, or weight loss, stop the plan and talk to your child’s pediatrician or feeding team before continuing.
When does a reaction need medical advice rather than a new food?
Treat any immediate physical reaction as a medical question, not a sensory one. Swelling of the face or throat, hives, difficulty breathing, widespread vomiting, or a reaction that follows a specific food every time should be reported to a clinician before that food is offered again. Separately, tell your pediatrician if the accepted food list is shrinking, if your child is losing weight or falling off their growth curve, or if you are using supplements to cover gaps.
How do I expand foods when a child has severe sensory sensitivities?
Go smaller and slower, and change one thing at a time. Start with the food present but untouched, in a portion barely bigger than a fingertip, on a separate plate in the usual seat. Many children do better with a modified version of a food they already eat than with a genuinely new one. Keep the setting identical between attempts, and expect weeks at each level. Sensory-driven refusal is common and gradual work is the approach that tends to hold.
How do I keep my child’s nutrition safe while expanding?
Keep the foods that work in the rotation while you work on adding new ones, and do not remove anything until the new food is a settled part of the week. Nutrient gaps are best discussed with a pediatrician or registered dietitian, who can look at what the current list actually provides and whether a supplement makes sense short term. This matters most for children with very few accepted foods, and it is a reasonable reason to start the conversation with a feeding team early.
A Calm Start Comes Before Variety
Pick one candidate food today, put a fingertip-sized amount on a separate plate at the next meal, and write down what happened. That’s the whole first step.
Keep the setting, the seat, and the portion the same next time. Repeat it across several meals, and judge progress by whether your child stays calm near the food, not by what ends up in their mouth. Weeks at that level is normal and it’s real progress.
And if a plan this size feels like one more thing you have to get right, that’s a fair reason to bring in a feeding team. A short conversation with a professional can save a lot of guessing, especially when the accepted list is small or nutrition is already a concern.