Freezer cooking for a special needs family means assembling a batch of meals during one calm window, freezing them, and cooking from frozen on the evenings when you have nothing left. For a household with allergies, prescribed diets, sensory limits, therapy appointments and a child who may eat five foods and no others, the freezer is less about meal prep and more about removing decisions from a depleted evening.
One session of two or three hours can produce eight to twelve dinners plus a few backup portions, and the real payoff shows up on the bad days: the meltdown evening, the appointment day that runs long, the week when nobody slept. You are not promising a calmer child. You are promising yourself fewer 5pm choices.
This guide walks through how to freezer cook for a special needs family end to end, including what freezes well, how to cool food safely, and how to portion for more than one set of eaters. For any prescribed diet or restricted intake, check the specifics with your child’s doctor or registered dietitian first.
Table of Contents
- What You Need Before You Start
- Storage that fits your freezer
- Food-safety tools
- Planning tools
- Labeling supplies
- Step-by-Step: How to Freezer Cook for a Special Needs Family
- Choose a Freezer-Friendly Meal
- How to Freezer Cook Around Your Child’s Actual Routine
- Cook and Cool Food Safely
- Portion, Label, and Freeze
- Thaw and Serve Safely
- Common Mistakes
- Tips
- Frequently Asked Questions
- How long do freezer meals last?
- Can you freeze milk or cream dishes?
- How do I thaw a frozen dinner safely?
- How do you reheat a freezer meal in an Instant Pot?
- Can a picky or selective eater eat freezer meals?
- What size containers should I use for freezer meals?
- Conclusion
What You Need Before You Start
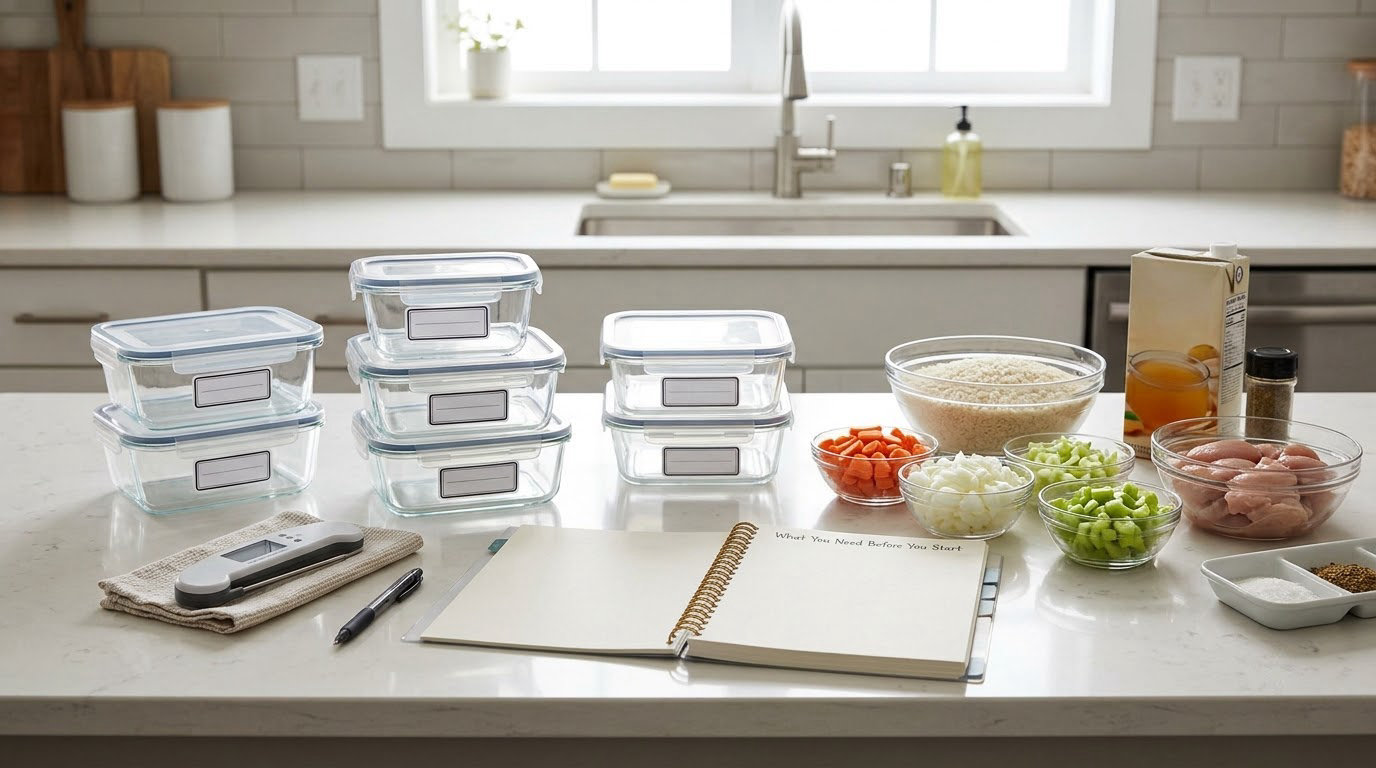
The difference between a good batch session and an abandoned one is preparation. Everything you need should be in the kitchen before you start chopping.
Storage that fits your freezer
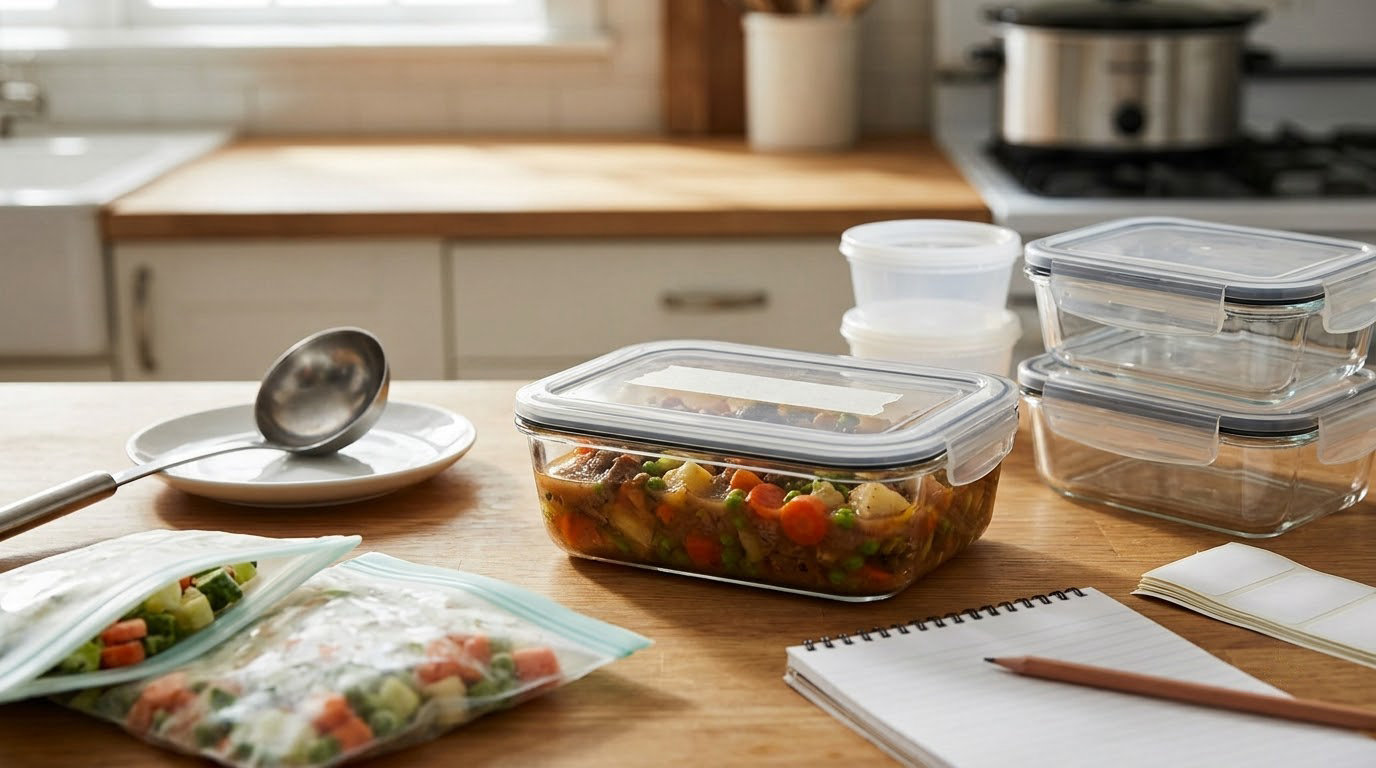
Silicone freezer bags or gallon ziplock bags stack flat and hold more than rigid containers. Rigid containers work well for single portions and for meals that need to stay separated. Foil pans are useful for family-size casseroles you want to slide onto a baking sheet without scrubbing a dish.
Whatever you use, buy more than you think you need. Caregivers who run out of containers mid-session usually stop early.
Food-safety tools
An instant-read thermometer is the one tool that changes how confident you feel. It tells you when chicken is actually done rather than when the timer says it should be. Shallow glass or plastic containers let you cool food fast enough to get it into the freezer safely.
Planning tools
You need one master shopping list, a menu of six to eight meals, and something to track what is already in the freezer. A notebook page or a note on your phone works fine. Write down every container you fill as you fill it, not after, because you will not remember by the end.
Labeling supplies
Masking tape and a permanent marker are enough. Whatever you use has to hold up after months of freezer condensation, so a piece of tape on a bag beats a pen on plastic.
Step-by-Step: How to Freezer Cook for a Special Needs Family
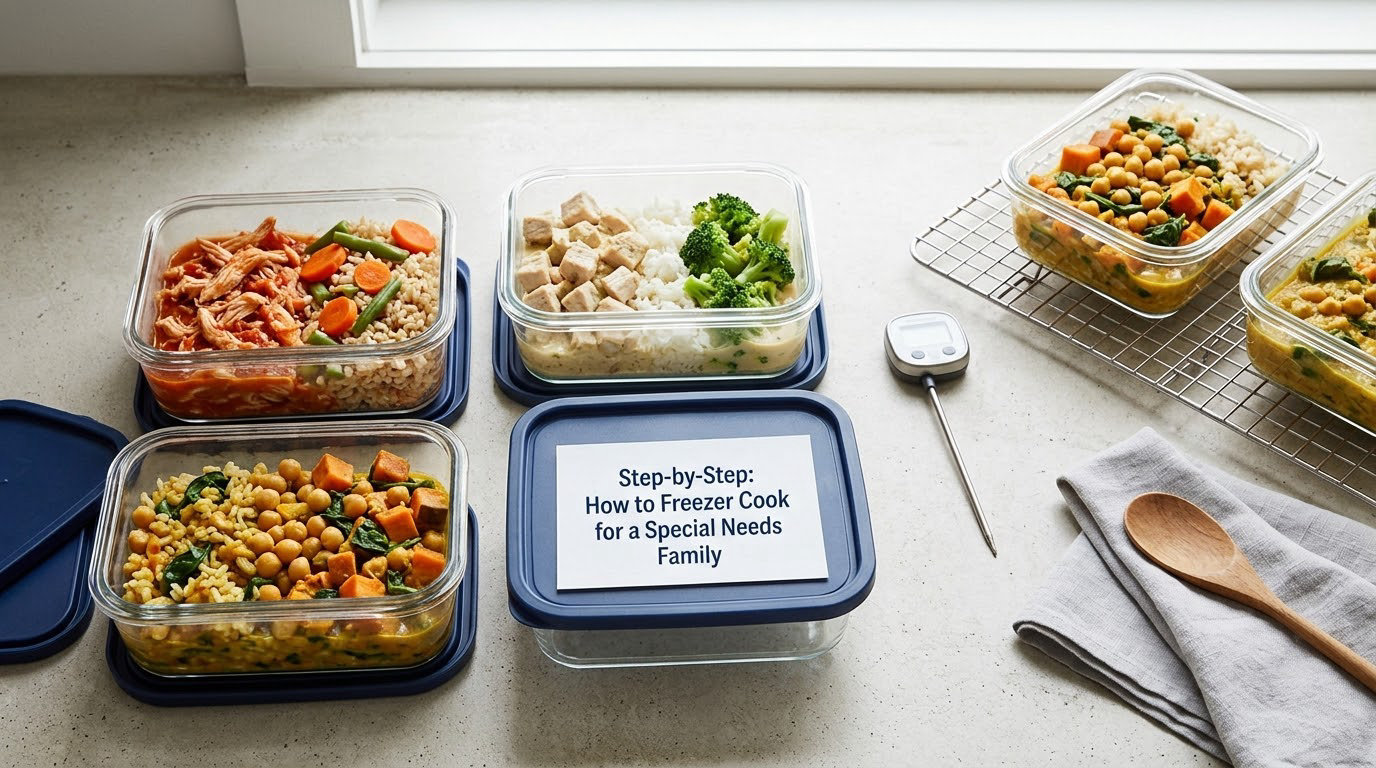
Five stages, in this order. Most first attempts go wrong by starting with recipes instead of with the child’s actual intake on this particular month.
Choose a Freezer-Friendly Meal
Filter every candidate recipe through four questions: does it contain an allergen or an ingredient your child cannot have, does it fit a prescribed diet, will the texture survive freezing and reheating, and is your child eating it right now.
That last question matters more than it sounds. Freezing changes texture, appearance and smell, and those three things drive most food refusal. A dish that gets eaten happily fresh may get refused after a month in the freezer.
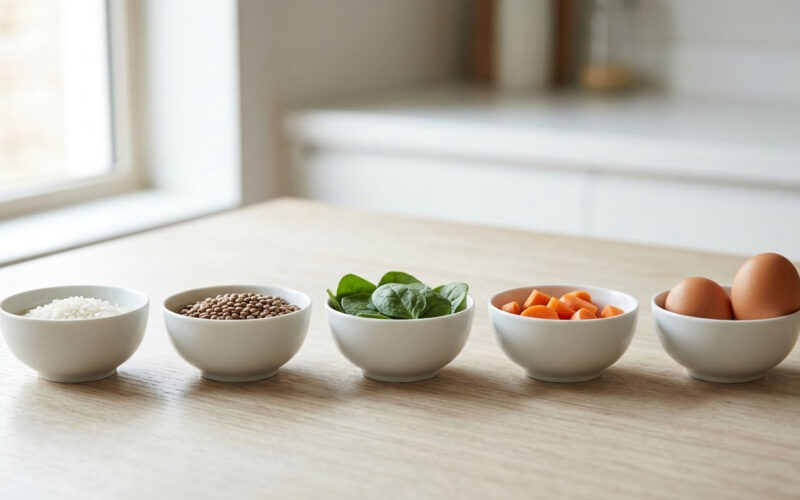
Build your first batch from the boring stuff. Plain rice, plain pasta with a familiar sauce, mild chicken, cooked carrots and potatoes, oatmeal, pancakes, plain yogurt-based items if dairy is allowed. Soups, curries and tomato-based casseroles freeze well and reheat without changing character much.
Note the safe foods your child reliably accepts. Food chaining is the practice of introducing an unfamiliar food inside a familiar one, and it works far better when you control the base.
How to Freezer Cook Around Your Child’s Actual Routine
Pick a menu of six to eight meals and write each one to a specific night, not to a category. “Monday is chicken and rice” beats “sometime this week chicken and rice,” because the second one never gets cooked.
Anchor the batch to your real schedule, not an imaginary calm week. If Tuesday morning is therapy and Thursday is a school run that ends late, schedule those nights for freezer meals. Put the easy dinners on the hardest days, not the quiet ones.
Then separate the menu into tracks. One track is your child’s safe foods. One is a mixed family meal. One is for you and any siblings who eat differently. A single batch that assumes everyone eats the same thing wastes food and guarantees arguments.
Build one extra portion of the safest dish you make. That portion is not dinner. It is the meal for the night nothing else works.
Cook and Cool Food Safely
Freezer cooking has a safe version and an unsafe version, and the difference is temperature. Use an instant-read thermometer and hit these minimum internal temperatures:
- Poultry, ground meat and casseroles with meat: 165°F (74°C)
- Ground beef, pork and lamb: 160°F (71°C)
- Whole cuts of beef, pork, lamb and fish: 145°F (63°C) with a three-minute rest
- Eggs in casseroles and quiches: 160°F (71°C)
If you are cooking raw meat from frozen in a slow cooker, do not reduce the time. Cooking from frozen takes longer, not less, and an undercooked dinner is not worth the saved hour.
Cooling is where most home freezer stock goes wrong. Food goes into the freezer too warm, spends hours in the danger zone inside a deep container, and gets tossed later. Divide it into shallow containers no more than two inches deep, or spread it across a baking sheet, and refrigerate it uncovered until it stops steaming.
Do not put a large hot stockpot straight into the freezer. Divide it first.
Portion, Label, and Freeze
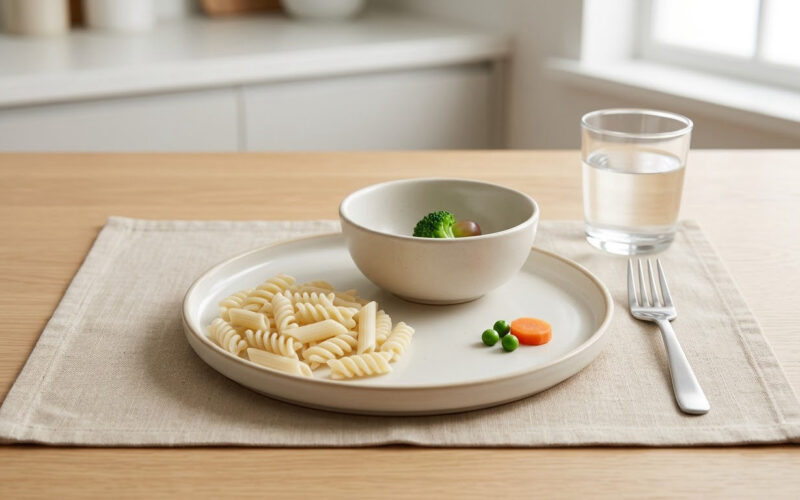
Portion for the people eating it, not the recipe. A twelve-year-old and a five-year-old eating the same casserole do not need the same container, and a selective eater may eat a quarter of what a sibling eats.
Freeze single portions in rigid containers for the child, and family-size pans for everyone else. Leave about an inch of headspace, since soups and sauces expand as they freeze. If you are using bags, press the air out before sealing and lay them flat so they stack.
Label everything with four things: the dish name, the date, the track it belongs to, and any dietary detail that matters. A label reading “chicken, Tues, GF/DF, safe track” prevents you from serving the wrong meal to the wrong person on a distracted evening.
Get it into the freezer promptly. Food that has been sitting warm and uncovered in a cool kitchen loses quality and picks up smells your child may refuse later.
Thaw and Serve Safely
Refrigerator thawing overnight is the safest option and the one that keeps texture most intact. Cold-water thawing in a sealed bag, changing the water every 30 minutes, works when you forgot to move anything to the fridge. Microwaving is the fastest, but heat it from the center outward and move the food around, because the edges get hot before the middle does.
You can also cook from frozen in a slow cooker or pressure cooker without thawing at all, which is what makes freezer cooking work on the worst nights. Most slow cookers need about four hours on low or two to three hours on high from frozen. Pressure cookers are faster still, typically 25 to 35 minutes on high pressure from frozen, but check your appliance manual and always add a cup of liquid so nothing scorches.
Before serving, stir the food and check the temperature. Then look at it the way your child looks at it. If the color or texture changed from the version they accept, tell them what happened before you serve it rather than after they refuse it.
Common Mistakes
These come up repeatedly, and every one of them is fixable.
Freezing foods that do not freeze well. Cream sauces, custards, plain cooked pasta, mayonnaise-based salads, raw lettuce and cucumber, and foods with a lot of milk tend to separate or go watery. Freeze them less often, or freeze the components separately and combine them after reheating.
Cooling deep containers too slowly. A thick stew in a tall container can sit warm for hours. Shallow containers or a sheet pan in the refrigerator cut that time dramatically.
Labels without dietary detail. “Soup” tells you nothing at 5pm. Include the track and any restriction.
Portions that are too large. A leftover portion your child will not finish goes in the bin. Individual sizes let one person eat and one person not, without wasting either.
Assuming preferences never change. They do, sometimes without warning. Keep trying the same safe foods in small, low-pressure portions, and stop pushing when refusal is consistent.
Thawing on the counter. The outside of the food warms into the danger zone long before the center thaws. Refrigerator, cold water or microwave only.
Tips
Freeze building blocks, not finished meals. Cooked chicken, rice and sauce stored separately can become three different dinners for a selective eater, and the chicken stays a safe food in all three. This is the single most useful trick for kids with a short safe-food list.
Cover breakfast, lunch and snacks. Most freezer content only addresses dinner. Freezing pancakes, oatmeal cups, sandwiches and snack portions covers the parts of the day nobody plans for.
Use color-coded bins. One bin per eater track, or one bin for safe foods, so a grab at 4:50pm does not require reading six labels.
Start the slow cooker early. Caregivers who set a timer to finish at pickup time lose the decision entirely. A bag in the freezer at breakfast and dinner on the table at pickup is the whole point.
Keep a backup meal list. Write three meals your child will eat without negotiation. When you are too tired to think, you are not going to invent dinner.
Ask someone to run a session with you. A friend, a sibling, a partner’s parent. Batch cooking during the only free window is the reason many freezers stay empty.
Ask for individual portions, not family-size. Many places will portion a batch into single servings, which saves you the assembly step on a hard day.
Frequently Asked Questions
How long do freezer meals last?
Most cooked freezer meals stay good at 0°F for two to three months when sealed well, and some hold quality for six. Airtight bags and rigid containers slow freezer burn, which affects texture and flavor long before food becomes unsafe. Label everything with the date, eat the oldest first, and keep a written list so you rotate instead of forgetting bags in the back.
Can you freeze milk or cream dishes?
You can, but expect changes. Cream and milk-based sauces often thicken or split when thawed, and reheating usually needs a splash of liquid to loosen it back. Freeze milk you plan to cook with rather than freezing finished cream dishes. Custards, puddings and gelatin-style desserts freeze poorly and are rarely worth the freezer space.
How do I thaw a frozen dinner safely?
Move it to the refrigerator the night before and let it thaw there, which preserves texture best. For a same-day thaw, seal the container in a plastic bag and submerge it in cold water, changing the water every 30 minutes. A microwave works fastest, so move the food to the center and stir halfway through. Never leave food to thaw on the counter.
How do you reheat a freezer meal in an Instant Pot?
Add a cup of liquid to the frozen meal, set the lid to sealing, and pressure cook on high for roughly 25 to 35 minutes depending on the dish. Let the pressure release naturally for 10 minutes before opening, then stir well and check that the center is hot. Your appliance manual will have exact times, and dense frozen casseroles often need the longer end of that range.
Can a picky or selective eater eat freezer meals?
Sometimes. Freezing changes texture, smell and appearance, and those are usually what drive refusal, so a loved fresh dish can be rejected after freezing. The safer route is freezing familiar components separately, such as plain chicken, rice and sauce, and combining them after reheating so each part keeps the texture your child accepts. If intake is very limited, discuss variety and nutrition with a registered dietitian.
What size containers should I use for freezer meals?
Use rigid containers sized to one eater for your child’s portions, and bags or larger pans for family meals. Shallow containers cool food faster before freezing and stack better afterward. Leave an inch of headspace for anything with liquid, since soups and sauces expand as they freeze. Clear containers help too, because you can spot an old bag without pulling it out.
Conclusion
Freezer cooking for a special needs family is less a cooking project than a planning one. Pick meals your child eats now, cook them in one calm window to safe temperatures, cool them fast, portion for each eater, label with the date and the dietary detail, and then let the freezer hand you a decision you no longer have to make.
Start small. Freeze two familiar meals this week, plus one extra portion of the safest dish you make. Write down how they held up after freezing and reheating, and build the next batch from what your child actually finished. Talk to your child’s doctor or registered dietitian before starting any prescribed or restricted diet.