To make a gluten free pie crust, pulse a 1-to-1 gluten-free flour blend with salt and about 1/2 teaspoon of xanthan gum, cut in very cold butter until it looks like wet sand, add ice water one tablespoon at a time, then press it into a disc and chill at least two hours. Roll it between parchment to 1/8 inch, fit it into a buttered 9-inch pie plate, dock the bottom, and blind bake before adding a wet filling.
That method takes about 30 minutes of active work plus chilling and baking time, and it works for pumpkin, apple, pecan, and savory fillings alike. Most gluten-free crust problems trace back to three things: the wrong flour, too much water, or skipping the chill.
Gluten is what makes a wheat crust stretch without tearing and hold its shape in the oven. Xanthan gum is a thickener added to gluten-free flour to mimic the elasticity gluten normally provides, and without it a gluten-free dough has nothing to bind it. Cold butter creates the flaky layers, and ice water keeps that fat solid long enough to stay distinct.
Table of Contents
- What You Need
- Ingredients for one 9-inch pie crust
- Equipment
- Xanthan gum: how much is right
- Which flour actually works
- Fat options
- Step-by-Step: How to Make Gluten Free Pie Crust
- 1. Choose and Measure the Gluten-Free Flour Blend
- 2. Cut in the Fat and Bring the Dough Together
- 3. Chill the Dough Before Rolling
- 4. Roll the Dough Without Cracking
- 5. Fit the Crust Into the Pie Dish
- 6. Blind Bake or Fill the Crust
- Common Mistakes
- Storing the Dough and Baking for Celiacs
- Frequently Asked Questions
- Can I make gluten free pie crust ahead of time?
- Why is my gluten free pie crust cracking when I roll it?
- Do I need to pre-bake a gluten free pie crust?
- What is the best gluten free flour for pie crust?
- How long should gluten free pie dough chill before rolling?
- Can I freeze gluten free pie crust dough?
- Conclusion
What You Need
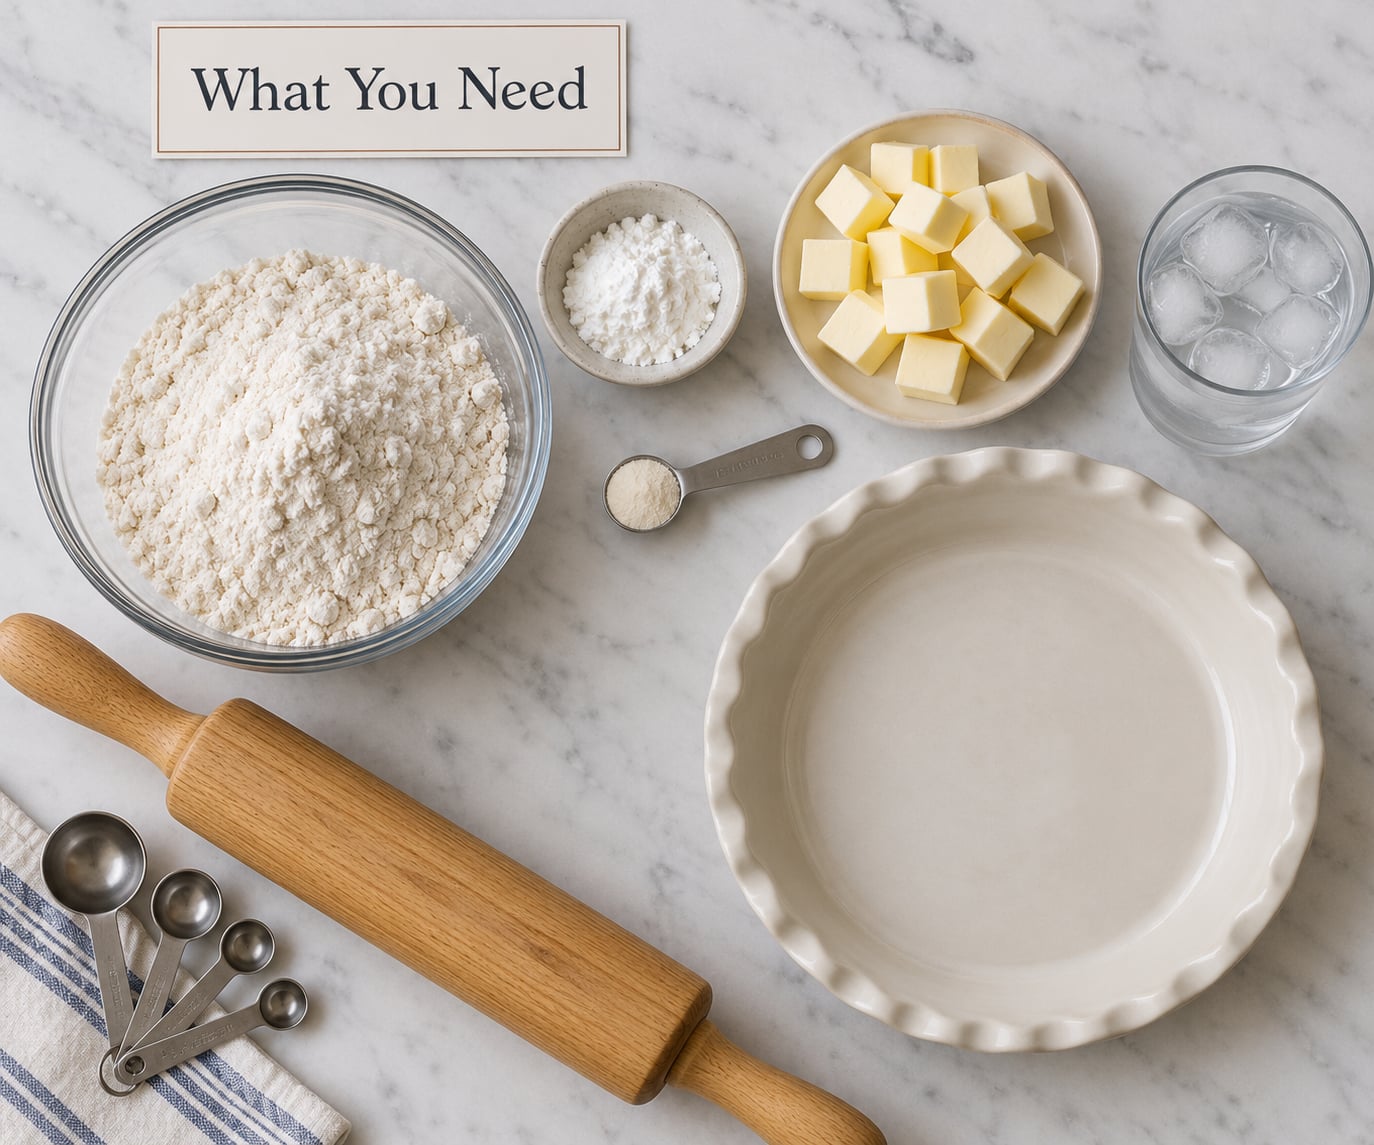
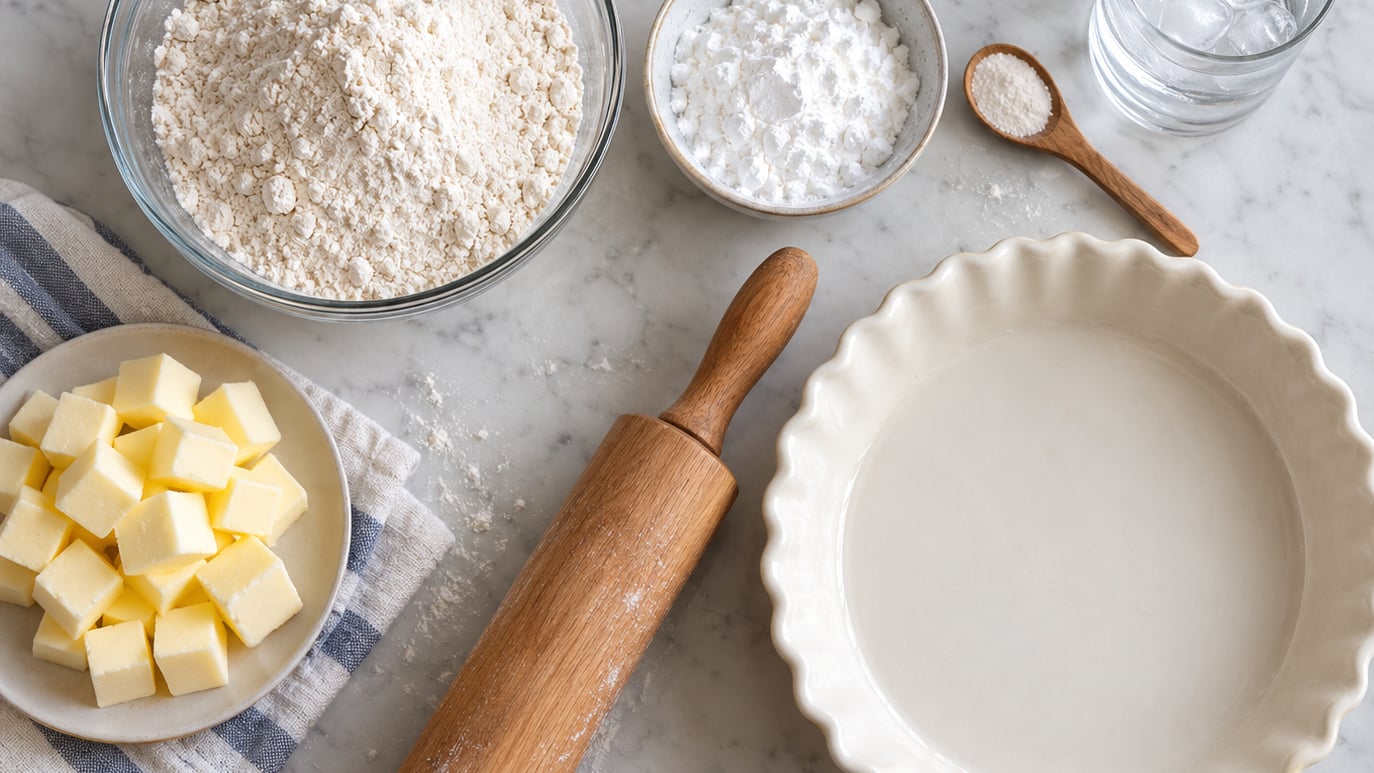
A basic gluten-free pie crust uses five things: flour blend, fat, water, salt, and xanthan gum. Everything else is optional. The flour does the structural work, the gum supplies the binding that gluten would normally handle, and the fat-to-flour ratio decides whether you get flaky layers or a cracker.
Ingredients for one 9-inch pie crust
- 1 1/2 cups (180 g) 1-to-1 gluten-free flour blend, such as Cup4Cup or King Arthur Baking Measure for Measure
- 1/2 teaspoon (2 g) xanthan gum
- 1/2 cup (113 g) cold unsalted butter, cut into 1/2-inch cubes
- 1 tablespoon (14 g) ice water, plus more as needed
- 1/2 teaspoon (3 g) fine sea salt
- 1 tablespoon (13 g) granulated or coconut sugar, optional and omitted for savory pies
- 1 teaspoon (5 ml) apple cider vinegar, optional, for extra tenderness
Scoop-and-sweep flour measures land about 20 percent heavier than spoon-and-sweep, and a crust is far less forgiving than a loaf. Weigh the flour if you own a scale, or measure it the same way every time so you can trust your own results on the next pie.
Equipment
- A food processor for pulsing, or a large bowl and your fingertips for hand mixing
- A rolling pin and two sheets of parchment paper
- A 9-inch pie plate, glass if you can, so you can watch the bottom brown
- Dry beans, ceramic pie weights, or a second pie plate for blind baking
- A fork for docking
Xanthan gum: how much is right
Use roughly 1/4 to 1/2 teaspoon per cup of flour, so 1/2 teaspoon for this 1 1/2-cup recipe. Too much gum makes the dough tough and rubbery, closer to chewing gum than pastry, and too little leaves you with a crumbly disc that never coheres. If your blend already includes xanthan gum on the label, skip adding more and use the blend as written.
Readers who prefer not to use gum at all can look at a psyllium-husk substitute, which does comparable binding in some applications, though the dough will be less forgiving and the measurement matters more.
Which flour actually works
Only a measure-for-measure blend behaves like a wheat flour in pastry. Single-ingredient flours absorb water differently and change the hydration of the dough, which is why they are not simple swaps.
| Flour | Substitutes 1:1 for a blend? | How it behaves in pie crust |
|---|---|---|
| 1-to-1 blend (Cup4Cup, King Arthur Measure for Measure) | Yes | The reliable default. Tender, forgiving, holds an edge. |
| Sorghum flour | Only as part of a blend | Smooth texture, mild flavor, and one of the least gritty nut-free options. |
| Rice flour | Part of a blend | Neutral but can go slightly gritty and pale if used alone. |
| Almond flour | No | Very moist, browns fast, and needs a different liquid amount. Expect a denser, nut-flavored crust. |
| Coconut flour | No | Absorbs roughly twice the liquid. Cakes and cookies only, never a drop-in pie crust. |
| Oat flour | No | Soft and cakey. Good for a pressed crust, unreliable when rolled. |
Blends differ inside the same category, because manufacturers tune the ratios for the applications they expect. Before you commit to a bag, turn it over and check whether it prints its own pastry recipe on the back. That ratio is a more reliable starting point than the flour weight in a wheat recipe you already know.
Fat options
Butter gives the best flavor and flakiest layers. Shortening is less flavorful but more forgiving, and vegan butter sticks work for a dairy-free version. Cold cream cheese cubes added alongside the butter make the layers extra tender, and a tablespoon of buttermilk instead of ice water adds a little tang.
Step-by-Step: How to Make Gluten Free Pie Crust
1. Choose and Measure the Gluten-Free Flour Blend
Measure 1 1/2 cups of a 1-to-1 blend, then add the salt, sugar if you are making a sweet pie, and xanthan gum. Whisk or pulse for 20 seconds to distribute the gum evenly, because clumps of gum hydrate unevenly and leave weak spots that crack later.
If you are skipping a food processor entirely, whisk the dry ingredients with a fork, then use your fingertips to flatten the butter into the flour until you have pea-sized crumbs. It takes longer and it warms the butter faster, so work in a bowl that has been in the fridge, or add a second bowl of ice water nearby.
2. Cut in the Fat and Bring the Dough Together
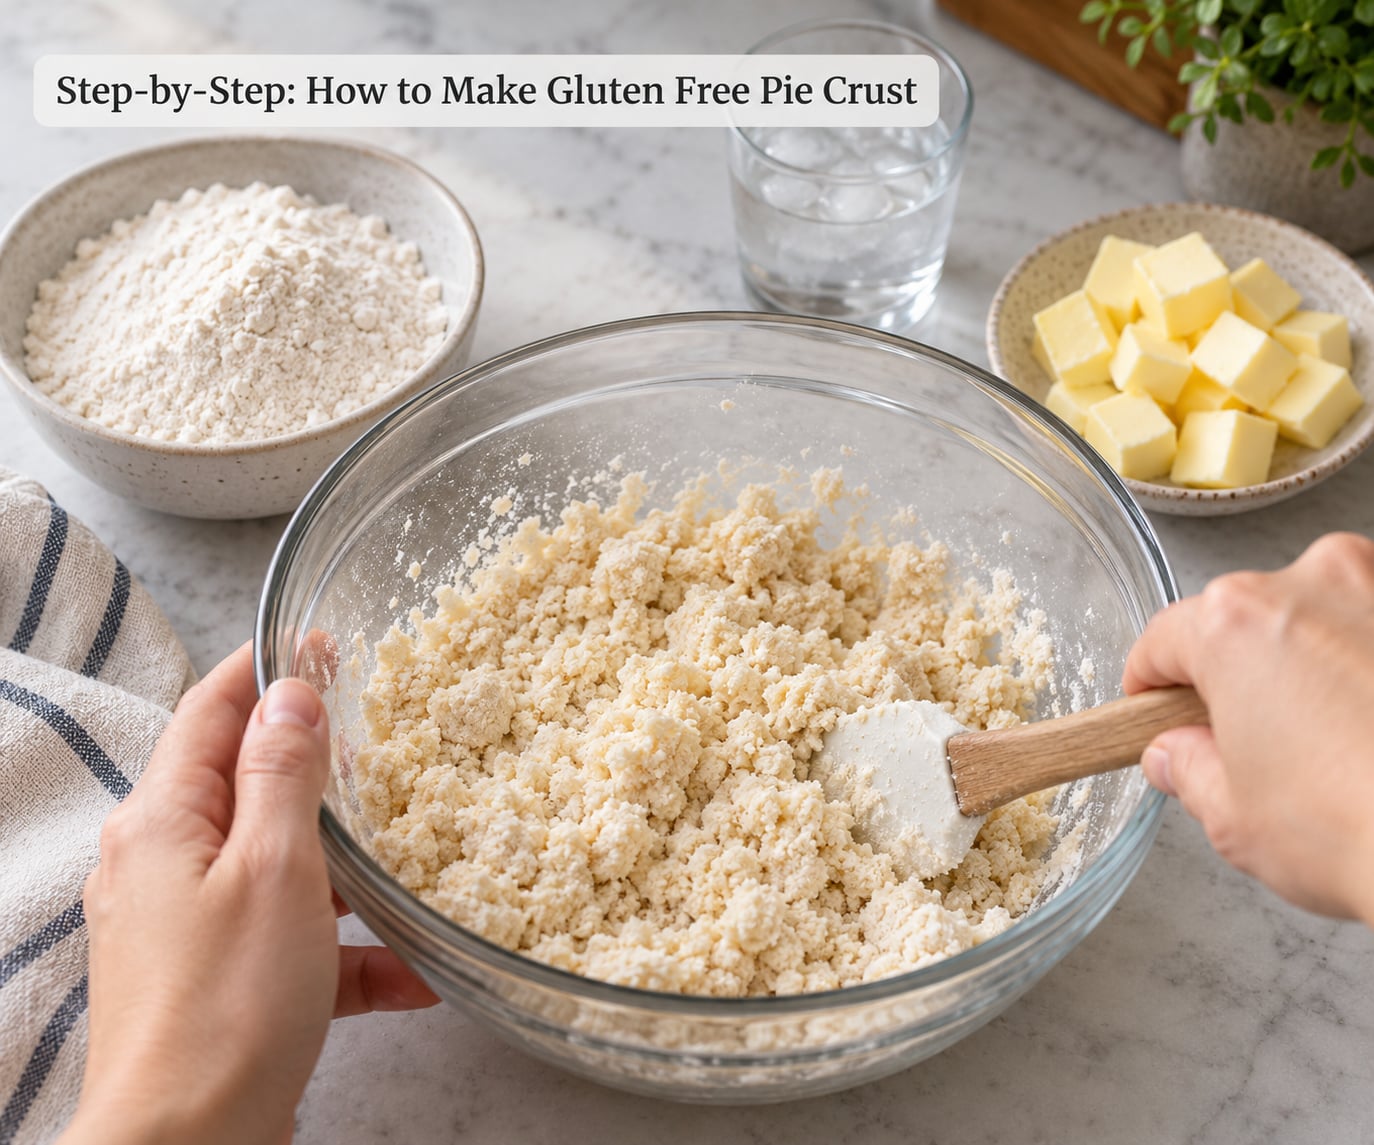
Add the cold butter and pulse in five- or six-second bursts until the mixture looks like wet sand, meaning it clumps when you squeeze a pinch but still breaks apart with a tap. Stop there. Gluten-free dough has no gluten network to develop, so extra processing does not improve it, it just warms the butter and turns the dough gummy.
Then add the ice water one tablespoon at a time, pulsing briefly after each. You want the dough to hold together when pinched but still break at the edges. If it leaves a smear on the bowl, dust a teaspoon of flour back in. If it crumbles, add another teaspoon of water.
Turn the dough out and press it into a flat disc roughly 1 inch thick. Do not knead it, and do not add enough water to make it look like a wheat dough. Those are the two habits that ruin a gluten-free crust.
3. Chill the Dough Before Rolling
Wrap the disc tightly and refrigerate for at least 2 hours, and 8 hours or overnight when you can. This rest is not optional. It lets the gum hydrate fully and lets the flour absorb water evenly, and both of those are what stop the dough from cracking under a rolling pin.
Chilling also firms the butter back up, which is where the flaky layers come from. If you are in a rush you can freeze the disc for 20 minutes, and if you froze it earlier, move it to the fridge about 30 minutes ahead of rolling so it softens without going limp.
4. Roll the Dough Without Cracking
Here is the contradiction you will find online resolved: let the dough sit at room temperature for 15 to 20 minutes after its long chill, then roll it. Straight from a fridge-cold disc the fat is too hard and the dough shatters, while a fully room-temp disc sticks and slumps.
Set the dough between two sheets of parchment and roll from the center outward with short, gentle strokes. You want about 1/8 inch thick, roughly the thickness of a nickel. Turn the dough a quarter turn every few passes so it does not grow wider in one direction.
When a crack opens, do not dust on more flour and do not add water. Pinch a pea-sized piece from the edge, press it into the gap, roll the seam closed, and keep going. Dough patched this way holds together fine in the oven.
5. Fit the Crust Into the Pie Dish
Peel off the top parchment, invert the dough onto the center of your pie plate, and peel away the second sheet. The dough should drop straight in. If it fights you, flip the dough onto the plate instead of lifting it.
Sit the disc in the center so the overhang is even all the way around, then gently ease the dough up the sides, working in small sections rather than pulling one side all the way down. Press out any large air pockets along the base. Leave about 1 inch of overhang, then fold it under and crimp or flute the rim.
An even 1-inch overhang is your defense against shrinkage. Dough that sits tight against the rim has nowhere to pull back to, and it shrinks down the wall of the pan in the oven.
6. Blind Bake or Fill the Crust
Preheat the oven to 400°F (205°C). Dock the bottom of the crust all over with a fork, then line the base with parchment and fill with dry beans or pie weights, right up into the corners.
Bake 15 minutes, pull the pan out, lift off the weights and the parchment, and return it to the oven for another 20 to 25 minutes at 375°F (190°C), until the bottom is dry and golden. Cool the crust on a rack for 10 to 15 minutes before adding filling. A hot shell plus a wet filling plus a glass dish is a recipe for a cracked plate.
Fillings that hold their own, like a pecan or a thick custard, can sometimes go into an undocked shell if you bake from cold to hot and the filling is not watery. Fruit pies and anything with fresh berries want the full blind bake.
Common Mistakes
Almost every gluten-free crust complaint is in this table. Find your symptom, work out the cause, and fix it on the next pie rather than trying to rescue a cracked one mid-roll.
| Symptom | Likely cause | Fix |
|---|---|---|
| Cracks and splits while rolling | Dough too cold, not enough water, or too much xanthan gum | Temper 15 to 20 minutes, add ice water a teaspoon at a time, and measure the gum carefully. |
| Crumbles and will not hold together | Under-hydrated dough or skipping the long chill | Add ice water until a pinch holds, then rest the disc for at least 2 hours. |
| Sticks to the counter, pin, or parchment | Too much water or too warm a disc | Chill again for 20 minutes and dust lightly with flour between parchment sheets. |
| Shrinks away from the rim in the oven | Overhang under 1 inch, or dough stretched while fitting | Measure a 1-inch overhang before crimping and ease the dough in without pulling. |
| Soggy bottom | Fruit or custard added to an unbaked shell | Blind bake the full time, cool the shell first, and add thickener to the filling. |
| Gritty or sandy texture | Rice-heavy blend overmixed, or rolled too thin | Stop pulsing as soon as crumbs form and keep the roll at 1/8 inch. |
| Crust bakes rock hard | Double-baked past the second stage | Pull it during the second stage at 20 minutes, not 40. |
Two more worth knowing. Dough that is soft and stretchy rather than crumbly is usually the sign of enough hydration, so trust the pinch test over appearance. And on baker forums, the most repeated piece of advice about xanthan is simply that a small amount is enough, because more of it consistently produces a hard, gum-like crust.
For the same reason people swap ingredients in baked goods, our gluten-free egg replacement guide covers which binders do the work of an egg in doughs and custards.
If your kitchen runs gluten-free meals most days, the same flour blend handles a lot more than pie. Our guide to gluten-free bread that is not dry covers the hydration mistakes that turn a loaf into a brick, and it uses the same 1-to-1 blends you just measured out.
Storing the Dough and Baking for Celiacs
Wrapped dough keeps in the fridge for about 3 days and in the freezer for up to 3 months. Freeze it as a flat disc rather than a ball, and thaw it in the fridge overnight so it relaxes evenly instead of cracking at the edges.
A baked, filled pie keeps about 4 days in the fridge and up to 3 months frozen, though the crust softens a little in texture after thawing. A blind-baked shell freezes just as well and can go straight into a hot oven from frozen, which saves a real amount of time on a holiday morning.
For celiac readers, cross-contamination matters more than any technique on this page. Use a flour labeled certified gluten-free, wash your hands and wipe down the counter and rolling pin before you start, and lay parchment over a shared surface as a barrier. If the same rolling pin that lives in a flour box is going back into a pie, use a dedicated one.
Baking for a mixed household works fine with this dough. A small batch of this crust rolled thinner and baked on a sheet gives you cookies, and a galette is just the same dough rolled to 1/4 inch, filled, and folded. It also presses into a quiche pan or the top of a pot pie without any changes to the recipe. If you need the rest of the week planned, our gluten-free dinner ideas for picky eaters covers the sort of weeknight meals a pie crust fits into.
Frequently Asked Questions
Can I make gluten free pie crust ahead of time?
Yes, and it is actually the better way to bake it. Make the dough, press it into a disc, wrap it, and refrigerate for up to 3 days or freeze for up to 3 months. A long overnight rest gives the xanthan gum time to hydrate and the flour time to absorb water evenly, which is what keeps the dough from cracking when you roll it. Thaw frozen dough in the fridge overnight and temper it at room temperature for 15 to 20 minutes before rolling.
Why is my gluten free pie crust cracking when I roll it?
Usually the dough is too cold, too dry, or dosed with too much xanthan gum. Roll straight from a fridge-cold disc and the fat shatters, so let the dough temper 15 to 20 minutes first. If it still cracks, add ice water one teaspoon at a time until a pinch holds together. For a small tear, pinch off a pea-sized piece from the edge, press it into the gap, and roll the seam closed rather than adding more flour.
Do I need to pre-bake a gluten free pie crust?
For fruit pies, custards, and anything with a lot of liquid, yes. Gluten-free crusts have no starch structure to resist moisture the way wheat does, so an unbaked shell goes soft under a wet filling. Dock the base with a fork, line it with parchment, fill with dry beans, bake at 400F for 15 minutes, then remove the weights and bake at 375F for another 20 to 25 minutes. Cool 10 to 15 minutes before filling.
What is the best gluten free flour for pie crust?
A 1-to-1 or measure-for-measure blend such as Cup4Cup or King Arthur Baking Measure for Measure. It is formulated to replace wheat flour cup for cup, which means the hydration in a standard pie recipe still applies. Almond, coconut, and oat flours are not drop-in substitutes: coconut flour absorbs roughly double the liquid and almond flour brings its own oil, so both change the dough completely. Sorghum and rice flour work best as part of a blend.
How long should gluten free pie dough chill before rolling?
At least 2 hours, and 8 hours or overnight is better. The rest is not just about firming the butter. It gives the xanthan gum time to hydrate and the flour time to absorb water evenly, and both of those prevent cracks under the rolling pin. After the long chill, let the disc sit at room temperature for 15 to 20 minutes before you roll, because a fully cold disc shatters and a fully warm one sticks.
Can I freeze gluten free pie crust dough?
Yes, freeze it as a flat disc rather than a ball, wrapped tightly in plastic and set on a flat tray so it keeps its shape. It holds for up to 3 months. Thaw it in the fridge overnight rather than on the counter, then let it temper at room temperature for 15 to 20 minutes before rolling. A blind-baked shell can also be frozen and baked straight from frozen once your oven reaches temperature.
Conclusion
Start with a measured 1-to-1 flour blend, about 1/2 teaspoon of xanthan gum, and ice water added a spoonful at a time. Then give the dough a real rest, a full 2 hours minimum and overnight when you can, because that rest is what turns a crumbly mixture into something you can roll.
After that, adjust for the pie in front of you. A wet fruit filling needs the full blind bake and a cool shell before filling, a custard can go in unbaked, a savory pot pie or quiche wants the sugar left out, and a double crust is just two batches of dough. Once the chill and the flour are right, this is the same method every time.