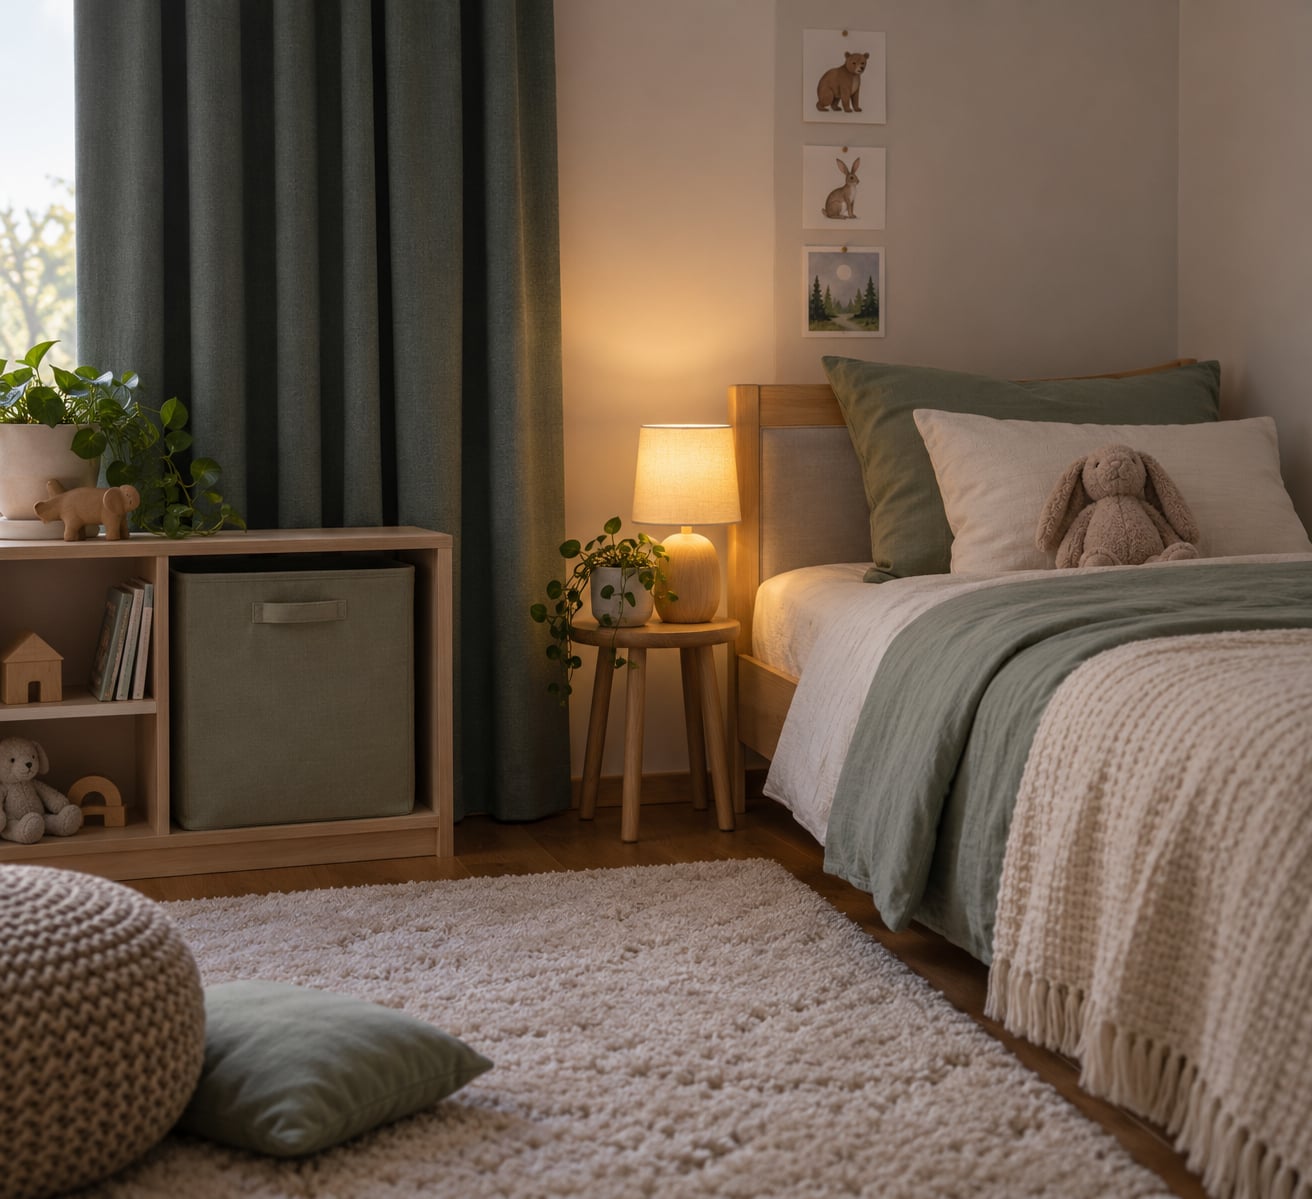
To make a sensory friendly bedroom, start with the one thing that bothers your child most and change only that. Most rooms need four things: control over light, control over noise, fewer things competing for attention, and a bed they actually want to get into. Most families can do the biggest parts in one weekend.
Here is the part that gets skipped. Sensory-friendly does not mean beige and boring, and it does not mean the same thing for every child. A child who seeks input wants things to do, climb on and crash into. A child who avoids input wants less happening. Those two rooms look nothing alike.
So the plan below moves in order, from watching your child to testing whether a change helped. Take notes as you go. If you want ideas for the daytime version of this, our guide to building a calm down corner at home uses the same logic in a much smaller space.
Table of Contents
- What You Need
- How to Make a Sensory Friendly Bedroom, Step by Step
- Identify the child’s main sensory triggers
- Adjust lighting before adding decor
- Reduce unpredictable noise
- Choose bedding and furniture that feel comfortable
- Simplify colors, patterns, and visual clutter
- Create predictable places and routines
- Choose low-tox and easy-to-clean materials
- Test changes gradually and ask for feedback
- Common Mistakes
- Frequently Asked Questions
- What makes a bedroom sensory friendly for a child with autism?
- How can I make a shared bedroom work for two sensory profiles?
- What is the best way to reduce visual clutter in a child’s room?
- Can I make a sensory friendly bedroom on a budget or as a renter?
- Should a sensory friendly bedroom contain no toys or decorations?
- When should I seek help if my child’s sleep problems continue?
- Conclusion
What You Need
You need less than you think, and you do not need it all at once. Gather what you already have and add things only when a specific problem calls for one.
- A trigger log. A notes app works. Three evenings of writing down what happened before a meltdown tells you more than a month of guessing.
- A flashlight. Cheap, and it tells you whether blackout curtains actually block light or just tint it.
- Blackout curtains or a blind. Check the top edge. Most failures are a light gap above the curtain rather than fabric quality.
- Bedding samples. Two or three sets you can wash, plus a fitted sheet over the mattress protector so you can swap the surface without replacing anything.
- A sound machine with a steady loop. White noise or brown noise. Continuous rain or static recordings stop and start, which wakes some light sleepers.
- Labelled storage bins. Clear-sided, with picture labels taped on the front rather than word labels.
- Unscented cleaning products and plain soap. Check the ingredient list, not the marketing on the front of the bottle.
- A tape measure and a pencil. For working out where light lands and whether the walk from door to bed is clear.
The order matters here. The free and nearly free changes come first: moving furniture, clearing surfaces, closing doors, dimming lights. Everything you buy later should earn its place by fixing a trigger you have written down.
How to Make a Sensory Friendly Bedroom, Step by Step
Identify the child’s main sensory triggers
Spend a few days watching before you change anything, because you are looking for the trigger that repeats. Note what happens around light, sound, touch, movement, temperature and scent, and in what order a bad evening builds.
Watch the whole routine rather than a single moment. Does the meltdown start at bath time, at the stairs, or when the bedroom light comes on? Which one matters. A room can look perfect and still fail if the loud part is the hallway.
Ask your child when you can. Even a yes-or-no question helps, and nonverbal children often point or pull you toward the thing that is wrong. For the daytime side of building awareness, our piece on how to build a sensory diet for your child explains how the same observations carry into play and school.
You will know you have this step right when you can name one specific thing rather than a general feeling. “Lights are too bright” is testable. “The room is stressful” is not.
Adjust lighting before adding decor
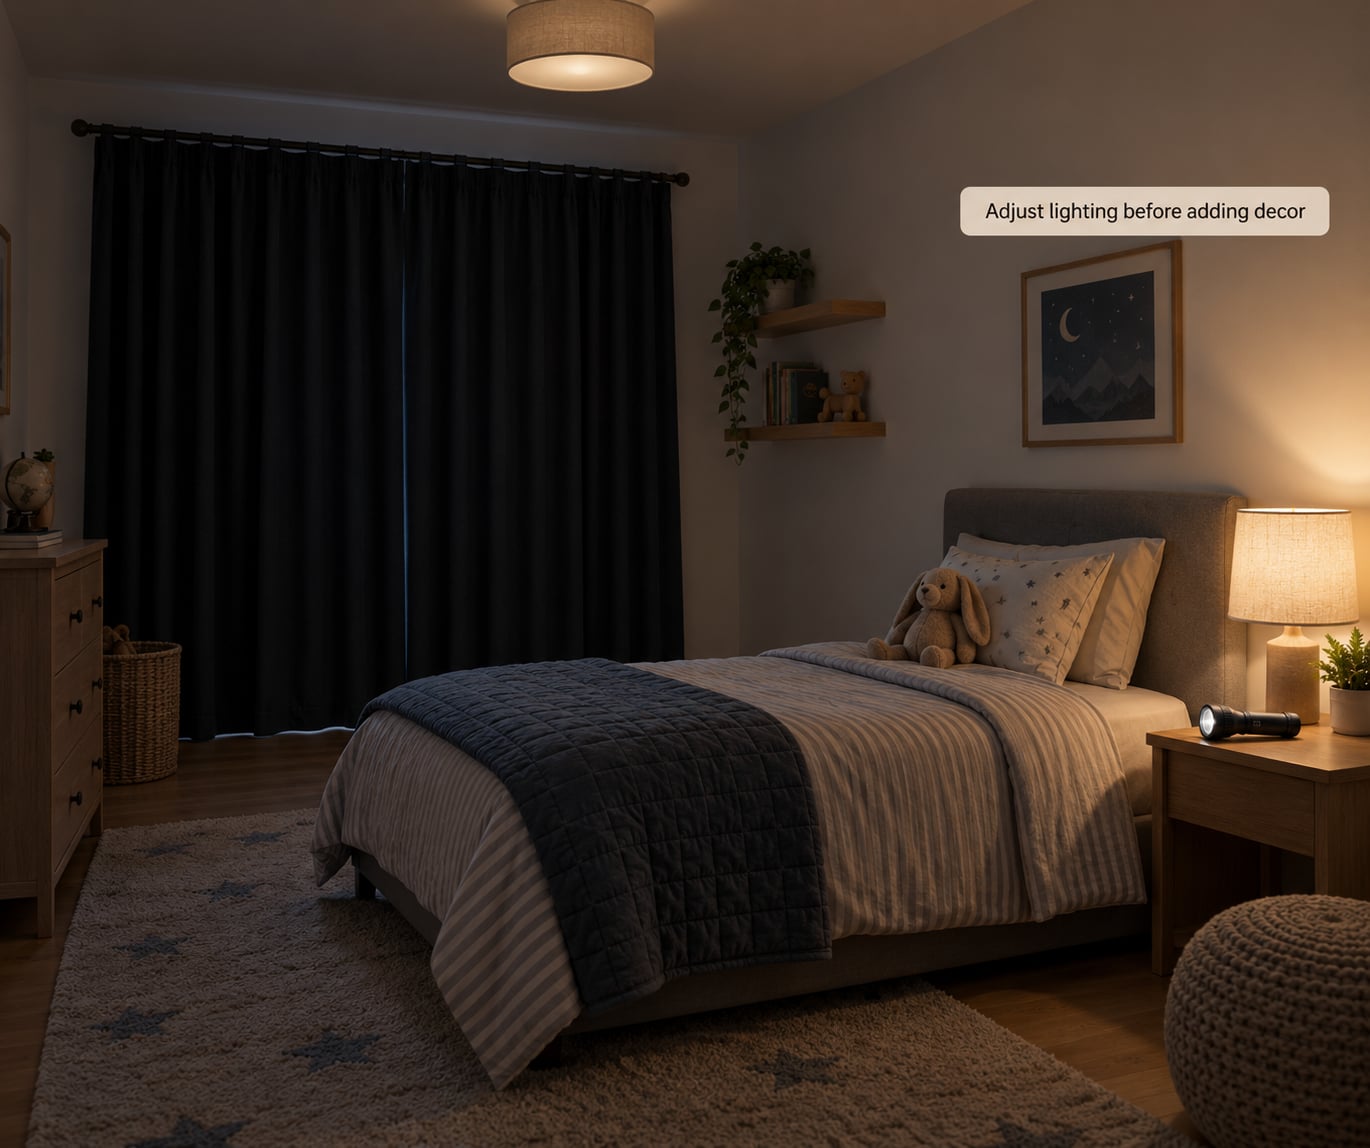
Change the lighting first, because it is the fastest fix and the cheapest. Harsh overhead light is the most common complaint, and dimmable bulbs or a dimmer switch solve most of it in an afternoon.
Build in layers instead of one ceiling fixture. A dimmable ceiling light for general use, a lamp with a shade pointed at the wall for bedtime, and a warm amber night light for the route to the bathroom all do different jobs. Replace any bulb that flickers or buzzes, because flicker is genuinely hard on light-sensitive people and cheap to fix.
Test the blackout honestly. Close the curtains, wait a minute for your eyes to adjust, then look. If you can see the window shape, add a blackout blind behind the curtain or a light-blocking strip along the top rail.
Keep a flashlight on the bedside table. A dark room is only calming if the child is not frightened of it or cannot find what they need. You are tuning the room to their nervous system, not running a blackout contest.
Reduce unpredictable noise
Unpredictable noise is worse than loud noise. A steady appliance hum can be ignored; a door slam from the hallway at the wrong moment cannot, so attack the unpredictable sources first.
Close the door and check the gap under it. Under-door seals and draught excluders do two jobs, cutting hallway conversations and stopping drafts. If you rent, a roll of self-adhesive weather stripping is removable and does the same job.
Run a sound machine on a steady loop at bedtime. Keep it low enough that a voice in the room is still louder than it. Thick rugs, curtains and soft bedding absorb echo, and echo is the piece people forget, because a hard-walled room can feel loud even when nobody is speaking.
Ear defenders or noise-reducing earmuffs help in short bursts, such as a supermarket or a family gathering. At bedtime they block out the alarm your child needs, so use them for travel and busy rooms rather than the bed. If noise is the main problem, keep a phone on the pillow with a timer app running white noise so it stops after an hour and does not play all night.
You will hear it working when nights are steadier without the child bolting upright at a sound you never heard.
Choose bedding and furniture that feel comfortable
Let your child trial the surfaces. Buy or borrow two or three sheet sets and a couple of blankets and let them sleep with each one for a few nights before you commit, because taste in texture is individual and can change with the season.
When you compare, look at five things: how the fabric feels, how heavy it is, how warm it holds, whether the pressure of layers is comforting or startling, and how easy it is to get in and out of bed. A fitted sheet over the mattress protector is the quickest texture swap and lets you change the surface without buying a mattress.
Weighted products supply deep pressure, the firm hug-like input some people find settling before sleep. The usual guidance is roughly ten percent of body weight, and it is a starting point rather than a rule. Start lighter than you think, use it over a comforter rather than instead of one, and stop if the child cannot move under it or seems uncomfortable. A heavy blanket a child dislikes is worse than no blanket.
For furniture, check the route to the bed. Rounded edges, a clear path, and a chair or bean bag the child can actually leave unaided all matter more than the style of any of it. Watch for climbing furniture in the room and anchor it to the wall if a child uses it to get up there, which covers shelves, dressers and loft beds.
Simplify colors, patterns, and visual clutter
Reduce competing visual input, not all personality. Choose one calmer wall color, cut the number of patterns, keep a clear surface or two, and close the rest away in labelled bins. Muted, low-contrast shades are usually easier than bright high-contrast ones.
Do not strip the room bare. A bedroom with nothing personal on the walls can feel institutional rather than calm, and the child loses ownership of a space that is supposed to be theirs. Keep a photo, a poster, or one shelf of meaningful objects and remove the visual noise around it.
Storage works better when the child can do it without reading. Clear bins with picture labels taped to the front, a shelf at their height, and one category per bin beat a labelled dresser drawer every time. We have more layout ideas in the calm down corner guide, which handles the same problem in a corner.
Leave choice in place. Two bins instead of six, and let the child pick which one opens first.
Create predictable places and routines
Give the room distinct but flexible areas. A bed for sleep, a chair or corner for quiet regulation, a spot for dressing, and a table for homework mean each activity has a home, which removes a lot of arguing.
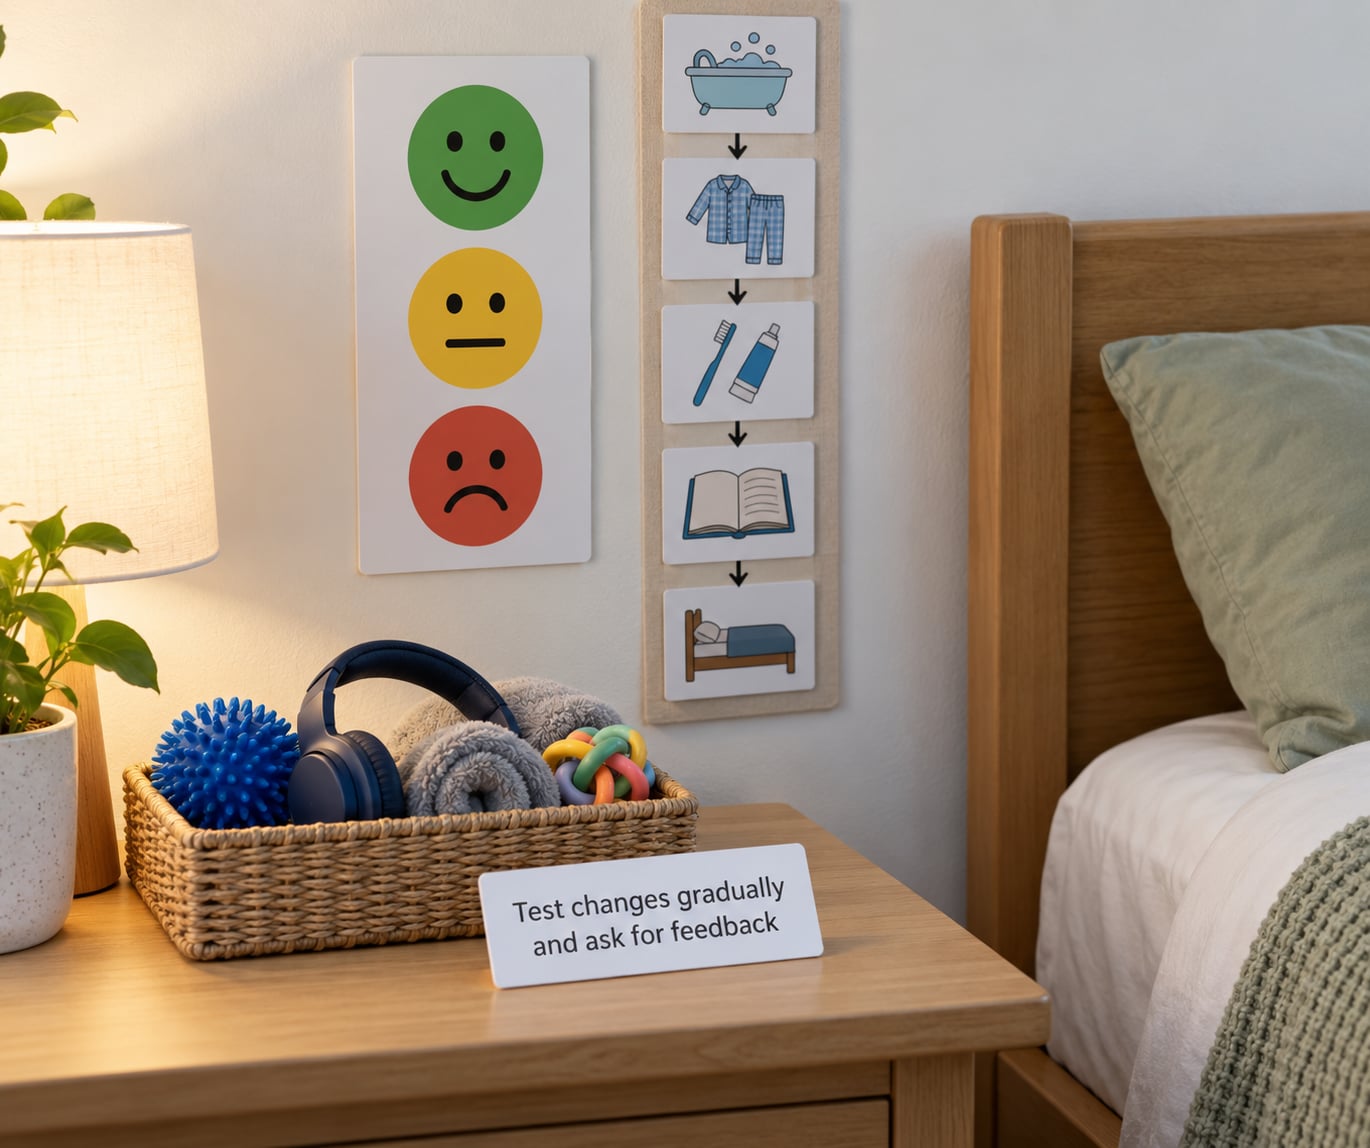
A visual schedule makes the room predictable. A simple strip of pictures for wake, dress, breakfast, school, play, dinner, bath, bed lets a nonverbal child see the order of an evening. A countdown timer helps with the hardest transition of the day, which for most families is stopping play and starting the bedtime routine.
Dim lights one to two hours before bed rather than five minutes before, because the body notices the change well before the child is asked to sleep. Our guide to easier transitions between activities goes further on the routine side.
If your child needs to move constantly, keep one acceptable movement option in the room, such as a resistance band, a soft climbing cushion, or a floor spot for jumping. That gives seeking behaviour a place to land and keeps it out of the rest of the house.
Choose low-tox and easy-to-clean materials
Pick materials that wipe clean and do not add scent to the room. Washable rugs, durable bedding that survives the wash, and unscented, fragrance-free cleaning products cover most of it.
Fragrance is a real trigger and it hides in products that claim to be gentle. Laundry detergent, fabric softener, scented candles, plug-in air fresheners, and scented wall paints all add scent to a room that may already be hard to be in. Read ingredient lists and choose the versions with nothing added, and ventilate after painting or cleaning.
New furniture, mattresses, and carpets off-gas for a while after they arrive. Air the room for a few days before the child sleeps in it, or take the item out of the bedroom until it has aired. Low-VOC paint is worth the small extra cost when you are repainting a room a sensitive child sleeps in.
Follow the labels on whatever you buy, and talk to your pediatrician or another qualified clinician about individual health concerns. A room can only do so much when something is going on physically.
Test changes gradually and ask for feedback
Change one or two things at a time and give each change two to three weeks. Changing the whole room in a weekend leaves you with no idea which change worked, and often the child cannot tell you, so keep your notes going.
Watch for concrete signals: how long getting into bed takes, how many times they get up, whether mornings start calmer, whether the after-school crash happens or does not. A tally in your log beats memory, because you will remember the good week and forget the bad one.
For feedback, use something simple and repeatable. A three-face chart with happy, okay and upset faces, a thumbs-up or thumbs-down, or pointing all work. Nonverbal and minimally verbal children often give the clearest answer through what they do the next morning, so ask the question at bedtime and check the sleep, not the next morning’s words.
Drop anything that made things worse. Sensory equipment can overload as easily as it helps, and blinking lights, noisy toys and heavy products are common culprits. Keeping them out is progress, not failure.
Common Mistakes
Almost every problem I see comes from one of six mistakes, and each has a simple correction.
- Changing everything at once. You fix the room and cannot tell which part helped, so the change gets blamed when a bad week happens. Fix one thing, wait two to three weeks, then move on.
- Picking decor from trends. A beautiful room that the child finds loud is still loud. Ignore what looks good and check whether the child relaxes in it.
- Removing all choice. A stripped room with no decisions in it can feel like something was taken away. Keep two options, keep a few personal items, keep the child in the loop.
- Overlooking sleep safety. Heavy products, cords, climbing furniture, and loose items matter. Follow the guidance on weight limits, anchor tall furniture to the wall, and keep the sleep surface clear.
- Filling the room with sensory products. Flashing lights, noisy toys, and scented diffusers add the very input you are trying to reduce. Add input deliberately, for one child, on a trial basis.
- Skipping the durability check. Fabric that frays, bedding the child cannot get into, and storage that collapses fail within weeks. Wash it and use it hard before you commit.
Frequently Asked Questions
What makes a bedroom sensory friendly for a child with autism?
A sensory friendly bedroom reduces or controls sensory input so the child can rest and recover. That usually means layered dimmable lighting with blackout curtains, steady background noise to mask unpredictable sounds, muted colours, fewer patterns, clear surfaces and labelled storage, bedding the child actually likes, and separate areas for sleep and for active input. What works is individual, so a child who seeks input needs more to do in the room, not less.
How can I make a shared bedroom work for two sensory profiles?
Split the room rather than splitting the style. One child gets the bed and sleeping setup, the other gets a defined corner with their own light control, seat and storage, and use a visual divider, curtain or even a bookshelf between the two zones. Agree on shared rules for noise and keep each child one item that is only theirs, such as a specific lamp or blanket.
What is the best way to reduce visual clutter in a child’s room?
Clear the highest surface first, then contain the rest. Use closed, labelled bins with picture labels at the child’s height, cap each category to one or two containers, and set a rule of two on open shelves. Clearing surfaces changes the look of a room immediately, while closed storage keeps the change from undoing itself by the next week.
Can I make a sensory friendly bedroom on a budget or as a renter?
Yes, and most of the best changes are free. Start with what costs nothing: clear surfaces, close the door, move furniture to open up the path to the bed, swap a bright overhead bulb for a dimmable one, and pull the bedding around to soften echo. Then spend on the three things that usually matter most: blackout curtains, a sound machine with a steady loop, and bedding textures the child will actually use.
Should a sensory friendly bedroom contain no toys or decorations?
No. Blanket empty rooms tend to feel flat and lose the child their sense of ownership, which can make settling harder rather than easier. Keep a small amount of what matters, such as a photo, one shelf, or a comfortable chair, and remove the visual noise around it. The goal is less competing input, not nothing at all.
When should I seek help if my child’s sleep problems continue?
Talk to your pediatrician if sleep stays difficult after a few weeks of consistent, low-stakes changes, especially if there is snoring, breathing trouble, pain, night-time distress, or a marked change from how your child used to sleep. Ask about occupational therapy if the difficulty is sensory rather than behavioural, since an OT can build a sensory profile and a plan. Sleep changes alongside mood, eating or daytime regulation are also worth raising.
Conclusion
To make a sensory friendly bedroom, you are not doing a makeover. You are removing one avoidable input at a time until the room stops working against your child at bedtime.
So start tonight with observation. Watch one full run of the current bedtime routine and write down the point where it starts to go wrong. Name that one trigger, make one small change you can test, and leave everything else alone for two to three weeks. Once that settles, move to the next item on the list and repeat.