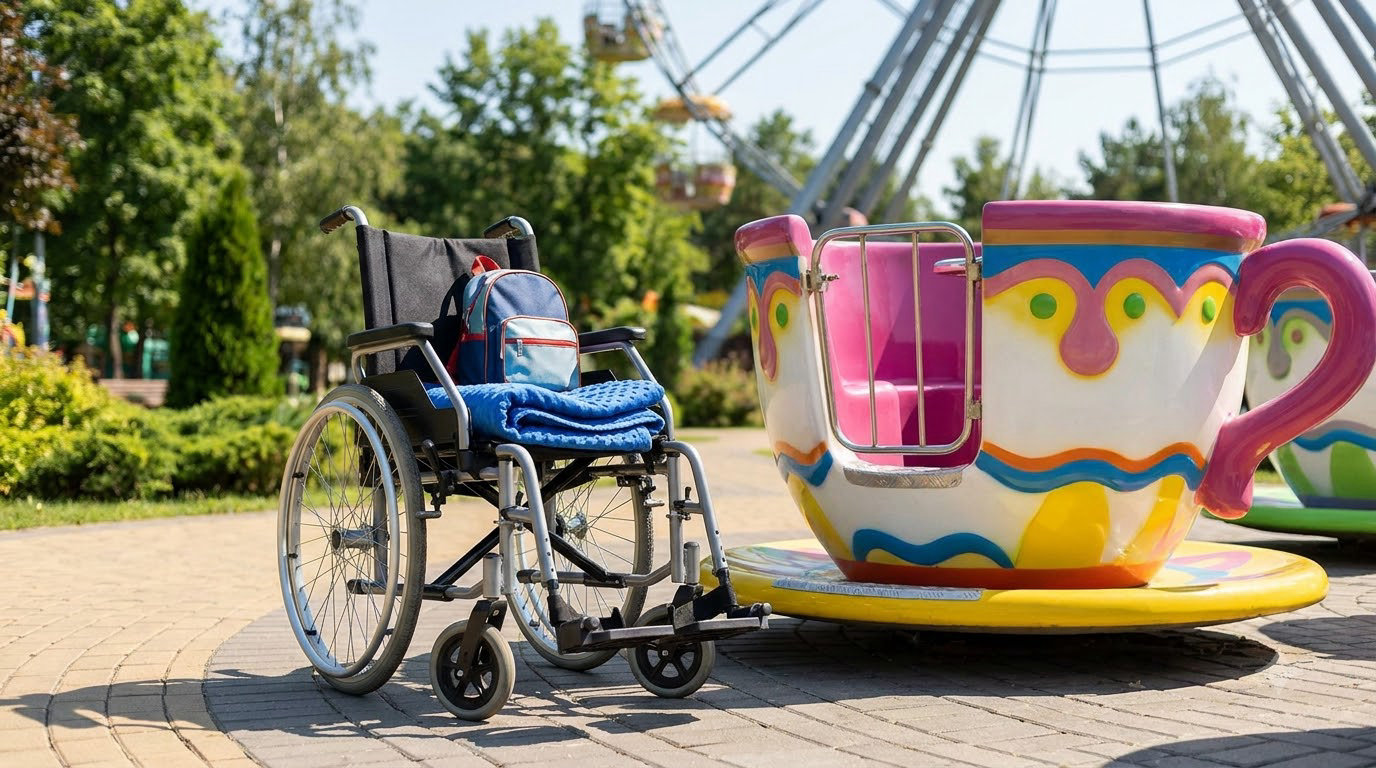
Learning how to visit a theme park with a disabled child comes down to three things: request the park’s disability pass when you arrive, pick the quietest time to go, and keep the plan short enough that an early exit still counts as a good day. A structured day beats an ambitious one nearly every time.
Theme parks are the highest-sensory environments most families ever walk into. Bright screens, queue music, smells from six food stands at once, strangers touching a child who does not want to be touched. Unstructured visits are the number one reason trips end early in tears, and the question of whether to go at all comes up constantly in autism parenting groups, usually with parents arguing it both ways.
That debate is worth sitting with, because skipping the park entirely is a legitimate choice. But the pattern parents describe after a rough first trip is usually the same: the visit was not the problem, the lack of a plan was. This guide walks through the plan, stage by stage.
Updated for October 2026.
Table of Contents
- What You Need
- Information to gather first
- Documents and identification
- Support items, sorted by need
- How to Visit a Theme Park With a Disabled Child: Seven Steps
- 1. Choose a Park That Fits Your Child’s Needs
- 2. Check Accessibility and Accommodation Details
- 3. Build a Low-Stress Schedule
- 4. Prepare the Sensory and Communication Kit
- 5. Learn How to Visit a Theme Park With a Disabled Child Safely
- 6. Use a Flexible Park Plan
- 7. End the Day on the Child’s Terms
- Common Mistakes
- Planning around every attraction
- Skipping the accessibility questions
- Overlooking transfer and mobility needs
- Packing too much
- Ignoring exit routes
- Treating a meltdown as misbehaviour
- Refusing to leave when it is clearly time
- Frequently Asked Questions
- Can a child with a disability enjoy a theme park without riding every attraction?
- What should I do if my child has sensory overload at a theme park?
- Are theme parks wheelchair accessible for children with mobility disabilities?
- How can I find a theme park that accommodates food allergies or a special diet?
- Where should my family take a break when my child becomes overwhelmed?
- Can another adult help my disabled child at a theme park?
- Conclusion
What You Need
Gathering these before you pick a park is what separates a smooth day from a day spent arguing in a queue. Different disabilities need different things here, so treat the list as a menu rather than a mandate.
Information to gather first
- The park’s official accessibility guide, read end to end, including the height chart and the ride closure list.
- The specific questions you need Guest Services to answer in writing, so you are not repeating yourself at a crowded counter.
- Your child’s typical triggers, in their words: noise, dark interiors, strobe lighting, spinning, unpredictable ride length, crowds.
- Current pass rules for any park you are considering, since eligibility and documentation change often.
- An honest read on energy. A child who manages a full school day usually cannot manage eight hours of stimulation.
Documents and identification
Bring whatever documentation your park asks for. Most major parks require valid proof of disability and a short conversation with a park representative, and some accept an accessibility card or equivalent documentation instead of park-specific paperwork. Keep the original in your bag rather than your phone case, and avoid photographing anything sensitive onto a phone if you can.
Write your child’s name, your phone number, and one secondary contact on a piece of tape or a temporary ID sticker, and put it inside their wristband or on the back of their shirt. Non-verbal children who wander are found faster when a stranger can read a number instead of guessing at a name.
Support items, sorted by need
- Auditory: noise-reducing headphones, spare batteries, a backup pair in a second bag.
- Visual: sunglasses or a brimmed hat for glare, a visual schedule or social story for the day’s order.
- Oral and tactile: chews, a fidget, a weighted vest if one is already part of your child’s routine.
- Mobility: the child’s own chair or device, transfer belt, a portable changing mat, a small footrest.
- Medical: medications as prescribed by your child’s clinician, in their original labelled packaging, plus the dosing instructions.
- Comfort: one familiar item from home, a change of clothes, and a photo of the family for a hard moment.
Pack less than you think. Every extra bag is a bag somebody has to hold when both hands are busy holding a child through a crowded exit.
How to Visit a Theme Park With a Disabled Child: Seven Steps
Seven stages, in this order. Work through them on a laptop over a week or two, not the morning of the trip.
1. Choose a Park That Fits Your Child’s Needs
Start with the rides your child can actually ride, not the park’s reputation. A spectacular park full of coasters your child cannot board is a bad fit, however accessible the paths are. Pull the height and health restrictions from the official site and cross them against your child’s needs before you look at anything else.
Then look at the park’s physical footprint. How far is it from the entrance to the first ride? Are there long unshaded stretches? Are there quiet indoor spaces, and are toilets genuinely accessible or just technically present? Parks that market sensory-friendly hours usually publish them, and that schedule matters more than any single attraction.
How to tell it worked: you can name at least three rides your child would enjoy and one or two quiet places to retreat to, without guessing.
2. Check Accessibility and Accommodation Details
Read the official accessibility guide rather than relying on review sites or word of mouth. Then contact Guest Services before you travel with specific, written questions. Ask what documentation they accept, whether the pass is issued at no charge or as a ticketed add-on, whether a companion ticket is discounted, and whether the pass covers every ride or only some.
Save the reply. When you arrive, you will be tired and your child will be tired, and a printed or screenshotted answer turns a twenty-minute conversation into a two-minute one.
Named programs differ more than most parents expect. Disney uses a Disability Access Service card with a return-time system. Universal Orlando uses a Hero Access Pass. Six Flags and other groups run their own accessibility pass programs, and Sesame Place runs a separate ride access program. Eligibility rules differ between them and change, so confirm the current version directly with the park rather than trusting a blog post from a few years back.
How to tell it worked: you have a written answer on paper, a clear idea of which pass you are asking for, and no plan that depends on the request being approved on the spot.
3. Build a Low-Stress Schedule
Pick the quietest day and hour the park offers, and treat that as non-negotiable. Weekday mornings within an hour of opening beat any Saturday afternoon, and low-crowd events listed on the park’s calendar are worth planning a trip around.
Then decide in advance what a good day looks like. Pick two or three things your child is likely to love and treat everything else as optional. Realistic arrival, one meal with a proper rest either side of it, and a departure time set by the adults rather than by the closing fireworks.
Families who use the return-time pass systems often name them as their biggest logistical headache: the pass means leaving the ride, waiting, and coming back, and a child who cannot process “later” will not tolerate that gap. Ask for the return time in writing, then build something to fill it honestly, such as a nearby snack or a short show.
How to tell it worked: nobody on the trip is watching the clock and wishing for the end.
4. Prepare the Sensory and Communication Kit
Build the kit the night before and keep it in one bag that stays with one adult. Headphones, sunglasses, chews, a fidget, a familiar snack, water, a change of clothes, and the visual schedule go in together.
If your child is non-verbal or uses AAC, write a short card that names their diagnosis in plain language, what helps, and what does not. Hand it to a guest service representative or another adult at the first rough moment. Naming the need saves you from explaining it while your child is mid-meltdown.
Water rides, dark indoor rides and anything with strobe or flashing lighting deserve their own category in your research, because many families discover them as the surprise trigger of the trip. Rides of unpredictable duration are harder than loud ones, because there is no warning before the end.
Medications go exactly as your child’s clinician prescribed them, in the original packaging, with dosing instructions. Ask your clinician about timing before you travel rather than improvising on park day. Nothing here replaces their advice.
How to tell it worked: you can find any item in the bag without unpacking the whole thing.
5. Learn How to Visit a Theme Park With a Disabled Child Safely
Agree on a meeting point before you enter, and pick a specific landmark rather than saying “by the entrance”. Agree on a second plan if you get separated: which staff member to ask, and how you will all handle phones that are flat, lost or switched off.
Walk the transfer plan in advance for any child who uses a wheelchair or transfer device. Where does the transfer happen, who does it, and is there a private space for it? Some attractions have a transfer device available at the ride entrance; others require you to bring your own. Assume nothing and check.
Set hydration and sun protection as scheduled items rather than responses to problems. Non-verbal children cannot always tell an adult they are overheating. Carry water, a portable fan or misting bottle, and a hat, and offer a drink on a timer rather than waiting to be asked.
Tell your child, in whatever way they understand, what happens if they get separated and what an adult will do. Then write down the missing-child procedure for the park so you are not reading a long sign under stress.
How to tell it worked: every adult on the trip can name the meeting point and the backup plan without checking their notes.
6. Use a Flexible Park Plan
Write the plan by energy level rather than by clock. High-effort items go near the start, when everyone is fresh. Rest and food go in the middle. Anything optional goes at the end, where you can drop it without losing the day.
On the paper plan, mark the accessible route between stops, the toilets you will actually use, first aid, and at least two exit routes from each area you plan to visit. Exit routes matter more than families expect, because a shortcut through a crowd can be the difference between a quiet walk out and a full meltdown.
Set a wait-time limit your family believes rather than one you hope to survive. Abandoning a queue before the breakdown is not failure. It is the single most useful decision you will make all day.
How to tell it worked: when you hand the plan to another adult, they could follow it without asking you a question.
7. End the Day on the Child’s Terms
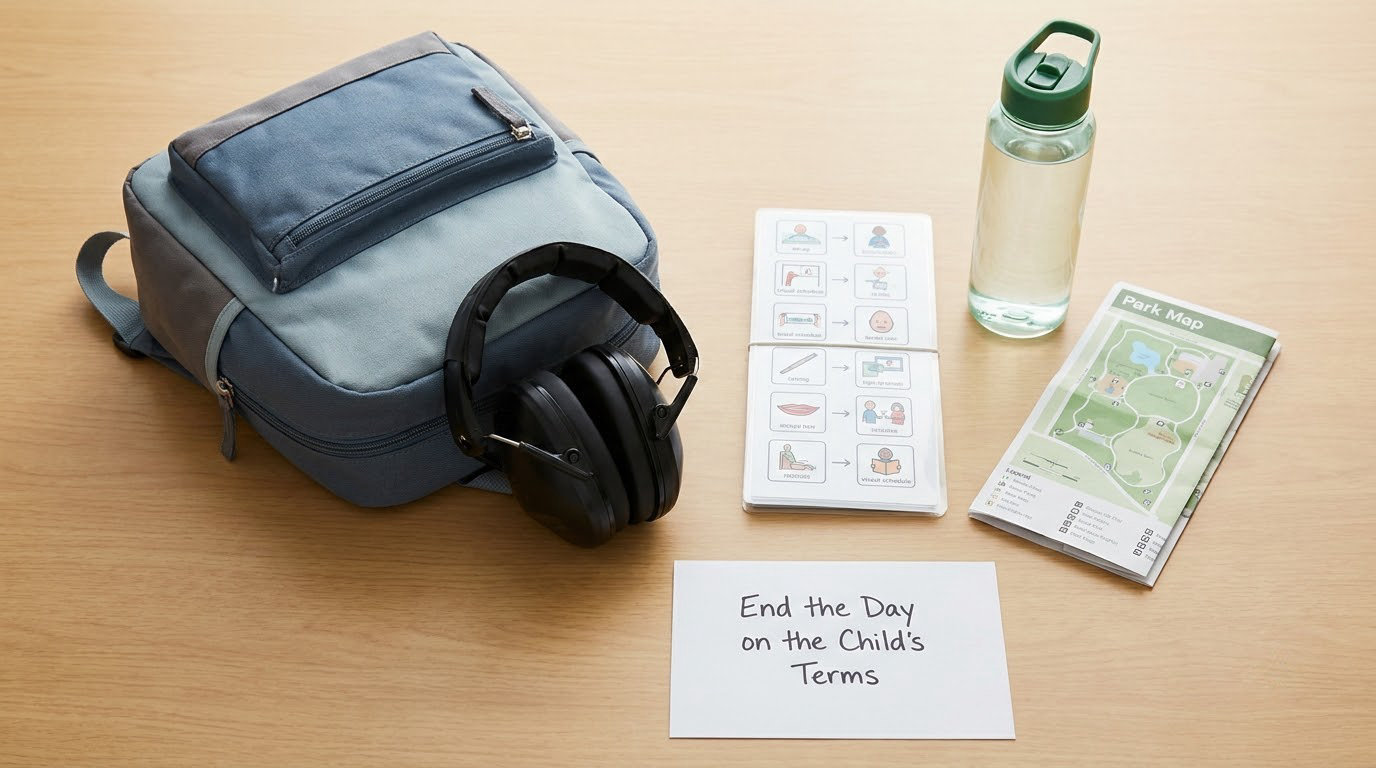
Recognise the early signs of overload while you still have choices: increased stimming, hands over ears, going quiet, repeated questions, refusal of food, or a sudden need for the toilet. Each child’s signs are different, and yours are usually visible earlier than you think.
Make leaving early normal out loud. Say it before you go, not as a threat and not as an apology, so your child hears it as information rather than failure. A day that ends with two good rides and a contented sleep beats one that ends with the fireworks and a ruined evening.
Before you leave, note what actually worked, which ride was the hit, and how long the queues really were. That note is your plan for next year, and it will be more accurate than anything you could guess now.
Then plan the recovery. Sensory hangover is real: the days after a big day can bring disrupted sleep, irritability or a crash that has nothing to do with the fun. Build in a quiet evening at home with no expectations, and expect the recovery to take about as long as the trip.
How to tell it worked: your child fell asleep that night without a long settling period.
Common Mistakes
Most disappointing park days come down to a handful of predictable errors. Each one has a simple fix.
Planning around every attraction
The classic mistake is buying the ticket and then trying to see everything. It fails for every family and it fails hardest for the child with limited capacity. Fix: choose two must-dos before you arrive and let the rest go.
Skipping the accessibility questions
Assuming the park is accessible because it has a wheelchair ramp misses the details that decide your day: pass eligibility, transfer procedures, quiet rooms, companion policies. Fix: email or call Guest Services with a written question list two weeks ahead.
Overlooking transfer and mobility needs
Riding a roller coaster matters far less than the transfer at the ride entrance, and that is where families get caught out. Fix: ask specifically about transfer devices, private transfer spaces and accessible restrooms before booking.
Packing too much
Four bags for a day out means someone is carrying a bag while managing a child. Fix: one adult carries one kit bag, and everything fits in it with room to spare.
Ignoring exit routes
Working out how to get out of an area quietly matters more than working out how to get to it. Fix: identify two exit routes per area and walk them once.
Treating a meltdown as misbehaviour
A meltdown is a nervous system going into overload, not a child being defiant. Correcting the behaviour mid-event usually extends it. Fix: reduce input first, speak later, and give whatever sensory input helps.
Refusing to leave when it is clearly time
Holding on until the scheduled departure is how a good morning turns into a bad night. Fix: set the departure time for your child’s energy level and treat it as fixed.
Two smaller things that help: keep the day’s plan where everyone can see it, and give your child one job in the planning, such as choosing the first ride or the snack, so the day has something in it that is theirs.
If a staff member helps during a hard moment, say thank you. Parents often talk about how much the calm ones matter, and how often it was a park employee rather than a stranger who settled things.
A word on requests being refused. If Guest Services turns down your accommodation, ask which specific criterion your child does not meet, ask whether a different pass applies, and ask for the answer in writing so you can raise it with the park’s accessibility team. Do not argue in front of your child, and do not keep re-explaining at the counter; a written refusal is something you can escalate calmly later.
Frequently Asked Questions
Can a child with a disability enjoy a theme park without riding every attraction?
Yes, and that is the most realistic version of the day for most families. Shows, parades, character meets, animal areas, water play and food experiences can carry a whole visit on their own. Many parents plan two rides as the goal and treat everything else as a bonus. A child who leaves happy after three good hours has had a successful park day, not a failed one.
What should I do if my child has sensory overload at a theme park?
Move to the quietest available space first, ideally indoors and away from speakers. Reduce input before you speak: headphones on, lights dimmed if possible, no questions. Offer water, a chew or a familiar item, and give your child time without an audience. Let the overload pass on its own terms, then leave the area rather than pushing through to the next attraction.
Are theme parks wheelchair accessible for children with mobility disabilities?
Most major parks have accessible entrances, routes, restrooms and rides, with rentals available as a backup. What varies widely is ride transfer, private transfer space, and which attractions a chair can actually board. Ask each park about transfer devices and accessible restrooms for your child specifically, because those details change between parks and even between lands within one park.
How can I find a theme park that accommodates food allergies or a special diet?
Call or email Guest Services before you travel and describe the allergy in plain terms, including cross-contact. Parks with allergy-aware menus usually flag them in the app and at the ordering counter, and can often route you to a kitchen that handles allergen-free preparation. Bring your own safe snacks anyway, in case the queue for a special meal runs longer than your child can manage.
Where should my family take a break when my child becomes overwhelmed?
Look for an indoor space away from speakers and screens, a quieter land rather than the main hub, a family restroom if it is calm, or an air-conditioned restaurant off the main walkway. Many parks also publish sensory-friendly or quiet hours with reduced music and announcements. Download the accessibility guide on your phone before you go so you can find these without wandering a crowded park.
Can another adult help my disabled child at a theme park?
Yes, and it changes the day. One adult handles transfers, hydration and the kit bag while the other keeps the child regulated and engaged, and they swap on a rhythm you decide in advance. If a sibling comes along, assign one adult to that sibling too, because attention splits fast in a crowd. Write the roles down before you enter so nobody is improvising at a crowded gate.
Conclusion
Start with two lists: what your child must have to enjoy the day, and what is most likely to derail it. Take those to a park whose rides, access and quiet spaces genuinely match, request the pass before you need it, and build a plan ranked by energy rather than by clock.
Keep the day small enough to end early without anyone feeling cheated. The goal is participation and comfort, not a completed ride list.