To teach self dressing skills step by step, start with one small goal, break the routine into single actions, and practise that same piece for five calm minutes until it sticks. Most children move from taking socks off to getting dressed in about two years, and autistic children often need the sequence shown rather than explained.
Somewhere between two and six, most kids stop needing you in the room for getting dressed. The path there is not one skill but a chain of small ones, and each link can be taught on its own. That is the good news: you do not have to teach dressing. You have to teach sock, then shirt, then pants, then shoes.
I have watched families get stuck because they tried to teach the whole routine at once. It turns into a fight every morning and nobody learns anything. Pick one garment, one skill, one short session, and repeat until it is boring.
Dressing is genuinely demanding. It asks for fine motor prehension on fasteners and socks, bilateral coordination with two arms, shoulder rotation to get a shirt over a head, and praxis, which is the brain’s ability to plan a sequence of unfamiliar actions. Add body awareness, because the child has to know where their body is in space without looking. A child can have all the motor capacity and still stall, because the bottleneck is usually instruction, not muscle.
So before you change anything about your child, work out which of the four walls is in the way: sensory, motor, sequencing, or routine anxiety. Each one needs a different response, and treating a sensory problem with more verbal instructions rarely works.
Table of Contents
- What You Need
- Step-by-Step: How to Teach Self Dressing Skills
- How to Teach Self Dressing Skills With a Visual Routine
- Step 1: Choose One Small Dressing Goal
- Step 2: Practice the Easy Parts First
- Step 3: Use Clear, Specific Prompts
- Step 4: Add Clothing Gradually
- Step 5: Practice Socks, Pants, and Shoes Separately
- Step 6: Teach Fasteners One at a Time
- Step 7: Fade Support Slowly
- Step 8: Celebrate and Review Progress
- Common Mistakes
- Frequently Asked Questions
- How to teach self dressing skills step by step?
- At what age should a child begin learning to dress independently?
- How can I help an autistic child learn to get dressed?
- What clothing makes self dressing easier for children?
- How do I teach a child to put on socks and shoes?
- When should I ask for help with a child’s dressing skills?
- Conclusion
What You Need
You do not need a special curriculum. You need the right clothes, a predictable spot, and a way to see progress. Gather all of it before the first session, because a five-minute practice window disappears fast if you are hunting for socks while the child is already melting down.
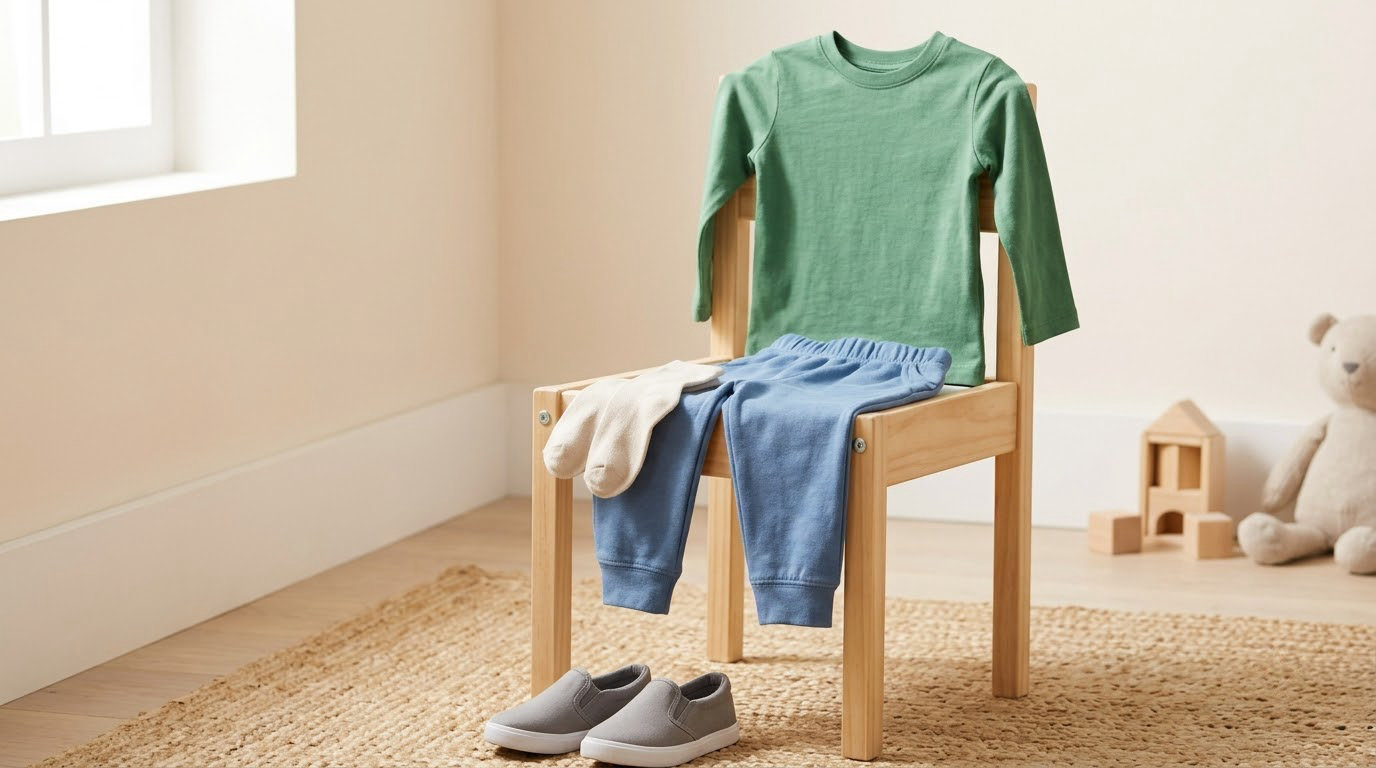
- Easy-on clothing to start with. Loose T-shirts with a wide neck opening, elastic waistbands, tagless or seamless underwear, pyjamas that fit over clothes, and shoes with one wide Velcro strap instead of laces.
- Visual supports. Either printed cards with photos or simple icons, or a laminated routine chart with one picture per step. Keep it where the dressing happens, not in another room.
- A consistent practice spot. A chair at a low table works well. Many therapists ask the child to sit down for dressing, because balance while standing and while manipulating a fastener at the same time doubles the load.
- A timer. A visual timer or a slow song marked at one minute. A clear stop point keeps practice from turning into a power struggle, and ending early while things still feel fine builds the habit of coming back.
- A progress tracker. A simple checklist on the fridge or a chart on the wall. Tick each successful attempt. On hard days this is the difference between evidence and guesswork.
- Adaptive tools when you get there. Magnetic buttons, zipper pulls with large rings, elastic laces, or a shoe-sticker set for left and right. Bring these in after the basics, not before.
Pick a time of day that is already calm. Ten minutes after breakfast usually works better than the last five minutes before the door opens, when everyone is already shouting.
Step-by-Step: How to Teach Self Dressing Skills
The method below takes a full morning routine and cuts it into eight teaching moves you can run in order. Do not skip ahead because a step feels easy. The order exists because each move sets up the next one.
How to Teach Self Dressing Skills With a Visual Routine
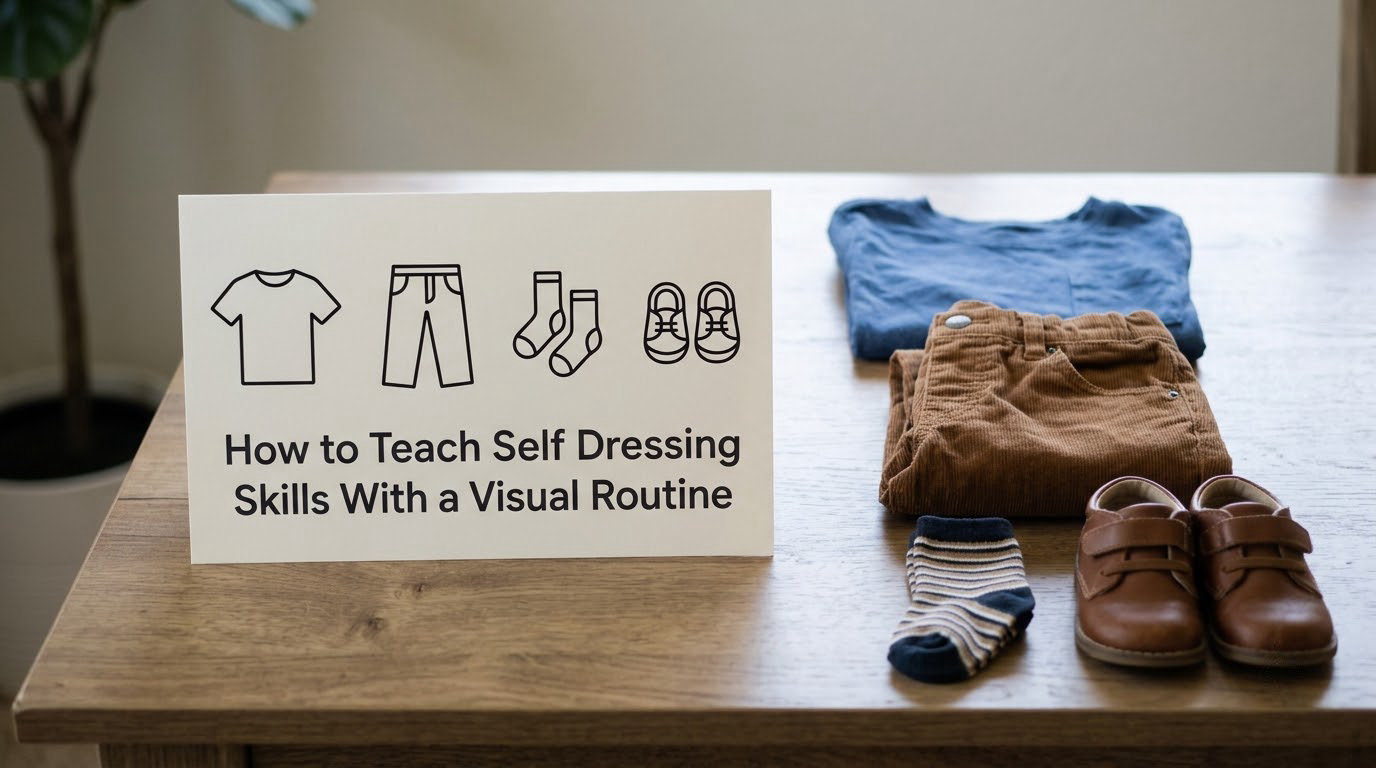
A visual routine turns a vague instruction into a place to look. Sit down with your child and build the chart together, using photos of the actual clothes in their actual drawer. Six steps is plenty for a first version: sit down, put on shirt, pull through the sleeves, put on socks, put on pants, put on shoes.
Each picture is a completed state, not an action. Show the shirt photo when the shirt is on, not while you are pointing at a shoulder. Go through the chart pointing and naming each one, then practice pointing to the next step before you start. Children who cannot follow verbal instructions often follow this perfectly, because the visual carries the sequence instead of their listening.
When a step is done, mark it or move a clothespin. That visible movement is the reward and the record at the same time.
Step 1: Choose One Small Dressing Goal
Choose a goal your child can nearly do already. Pulling a loose shirt down over the head and arms is a better first target than a button. Take off socks is an even better first target, because undressing is almost always easier than dressing and the child already has the movement in their hands.
Write the goal as a single sentence you could tick off: “takes off both socks and puts them in the basket, four out of five mornings.” Vague goals like “get dressed independently” give you no way to know when to move on.
You are ready to add the next piece when the current one happens on four or five mornings a week with no more than one reminder. Not perfect. Consistent.
Step 2: Practice the Easy Parts First
Break the skill into its components and teach the parts the child already owns. For a T-shirt that is: touch the label to find the front, hold the bottom hem, find one armhole, reach one arm through, repeat on the other side, then pull down.
Practise two or three of those in isolation on a doll shirt or your own knee, then put the whole garment on. Keep the session to about five minutes of actual attempts. Repetition is doing the work here, not the length of the session.
Bunching the shirt up at the back and letting the child shake it down over their head cuts the time fabric covers their face, which is a common sensory trigger. That one change does more for some children than any prompt you could add.
Step 3: Use Clear, Specific Prompts
One instruction at a time, said once, then wait. “Arm through the hole” is workable. “Now get your shirt on” is five instructions disguised as one, and it gives a child nothing to act on.
Move down this ladder and only move down it as the child succeeds consistently:
- Hand-over-hand guidance. You guide their hands through the whole motion. Use it to show the pattern once, then stop.
- Partial physical prompt. You steady the collar or hold the waistband while they do the rest.
- Verbal prompt. One short phrase, said once.
- Visual prompt. Point at the next picture on the routine chart.
- Gesture. A point, a nod, or a hand held out waiting.
- Time delay. Say nothing, wait a full five seconds, then help.
The five-second wait feels unbearable the first few times. Most children fill it themselves if you let them.
For a child who is non-verbal or minimally verbal, swap the verbal prompt for showing. Model the motion slowly on your own body, film a ten-second clip on your phone and replay it, or use their AAC device to say “shirt” and point at the card. Parents on r/OccupationalTherapy say the same thing repeatedly: the motor capacity is usually there and the missing piece is a way to demonstrate the sequence that does not depend on listening to speech.
Step 4: Add Clothing Gradually
Move up the clothing ladder one rung at a time, and only when the current rung is boring. Loose shirt, then shirt with a logo or a print, then long sleeves, then elastic-waist pants, then harder fastenings. Many families keep a rotation of easy clothes specifically for practice days.
Watch fabric too. Seams, tags, and stiff collars create the kind of tactile problem that looks like defiance and is actually a sensory response. If your child removes a shirt the second it goes on, try the same shirt turned inside out or a tagless version before you add more practice.
Step 5: Practice Socks, Pants, and Shoes Separately
Do not put socks, pants, and shoes into one session. Give each its own short slot, one or two days a week, on the same visual chart.
For socks, you handle the heel and the child handles the toe. That split is the single most useful trick for socks, and it works almost immediately because it turns one impossible two-handed sequence into two short ones.
For pants, hold the waistband open and flat so the child can aim, or stand behind them and pull the waistband up over their hips while they push down with their feet. Pulling up pants while standing is harder than it looks; doing it seated with legs threaded one at a time is fairest.
For shoes, name the left and right every single time out loud, and stick one sticker on the inside of each shoe once a month so the pair stays straight. Left and right confusion is not carelessness, it is a spatial reasoning task still in progress.
Step 6: Teach Fasteners One at a Time
Fasteners stall progress for years, and most of that stall comes from teaching them in the wrong order. Work down this difficulty ladder: elastic, then a large zipper with a ring pull, then snaps, then hook and loop, then large buttons, then laces.
Do not teach two fasteners in the same week. For whichever one you are on, follow the same four-part method:
- Stabilise the clothing so it cannot move. Hold the bottom of a jacket flat on a table, or use a towel to stop a shirt swinging.
- Demonstrate one motion, slowly, once. Show the whole thing rather than describing it.
- Let the child copy you with the fastener still open.
- Move to the last piece of the motion, which is usually where it goes wrong.
For zippers, start by holding the two halves together and joining them from the bottom. Pulling the tab up happens on its own once the halves are joined. For buttons, punch through the first hole with a finger, then find the next. Buttons on the outside of a shirt and a hidden placket beat buttons on a waistband every time.
Do not force an adaptive tool on a child who is close. Switch to Velcro or magnetic buttons as a bridge, then keep practising the original fastener for short, low-pressure sessions on days that go well.
Step 7: Fade Support Slowly
Fading is where most families quit, usually because they drop support too fast and the child falls apart. Move down one rung every few successful sessions, not every day, and hold the routine itself constant while you do it.
When a step falls apart after you remove a prompt, put that prompt back and try again next time. That is data, not failure. What you are watching for is not independence on demand, it is a child who recovers faster and needs fewer rescues across a week.
Step 8: Celebrate and Review Progress
Mark every successful attempt on your tracker, even partial ones. Ten seconds of data across two weeks tells you far more than one bad Tuesday morning.
Review on a fixed day. Ask three questions: which skill is closest to independent, which supports are still doing all the work, and what is the next single step. Then introduce one new piece and nothing else.
Progress is not a straight line. Some weeks it looks flat, and some skills leap forward six months after stalling. Children also regress during illness, a new sibling, or a change at school, and that is normal.
Common Mistakes
These are the errors I see most often, and each one has a straightforward fix.
- Rushing. Adding pants and shoes to a session that already went well. Fix: one garment per session, every session.
- Too many directions at once. “Arms in, then pull it down, now your socks” is three instructions delivered as one. Fix: one action, then wait.
- Correcting every attempt. When each try is corrected, the child learns that getting it wrong comes with adult attention. Fix: correct silently or with a gesture, praise the part that was right.
- Only practising at difficult times. Real mornings have no calm in them. Fix: practise at a set quiet time so the skill exists before it is needed under pressure.
- Comparing pace to peers. Your child is not behind a schedule, they are on their own. Fix: judge progress against their own record from two weeks ago.
- Treating a sensory block as stubbornness. If a child pulls a garment off within seconds, every time, suspect the fabric before the motivation. Fix: change the clothing, not the instructions.
- Waiting too long to help. Extreme frustration teaches nothing. Fix: give the help immediately, then go back to full support and try again later.
- Teaching without a reason. Fix: connect the skill to something the child wants, such as a preferred activity at the end of the routine.
Two rules I would keep on the fridge. Practice early, practice often, five minutes at a time. And let the child do as much of the real task as their body allows, even when it takes longer and ends crooked, because a crooked shirt they put on themselves teaches more than a straight one you finished.
Frequently Asked Questions
How to teach self dressing skills step by step?
Break dressing into single actions, then teach one action at a time. Start with the easiest, usually removing socks or pulling a loose shirt on. Use a visual routine so the child can see the sequence, give one short instruction and wait five seconds, then practise the same piece for five minutes until it happens on most days. Only then add the next action.
At what age should a child begin learning to dress independently?
Most children begin around age two with loose shirts and taking clothes off, and manage basic fasteners several years later. Start earlier if your child is ready, since the building blocks are body awareness and following a sequence rather than age itself. If a child shows no progress after three months of steady practice, ask a pediatrician for a developmental screening.
How can I help an autistic child learn to get dressed?
Show rather than tell. Build a visual routine with photos of the real clothes, teach undressing before dressing, and pick one goal at a time. Model each motion slowly on your own body, use one phrase with a wait, and fade support gradually. Familiar clothes and a predictable time of day reduce the sensory load that usually blocks practice.
What clothing makes self dressing easier for children?
Loose shirts with wide neck openings, elastic waistbands, tagless and seamless underwear, pyjamas that fit over clothes, and shoes with one wide Velcro strap instead of laces. Skip stiff collars, waist seams, and gathered sleeves. Adaptive items such as magnetic buttons and zipper ring pulls help once the basic sequence is secure.
How do I teach a child to put on socks and shoes?
Do socks and shoes as separate short practices, never together. For socks, you hold the heel and the child pushes the toes through, then reverse the roles once it is steady. For pants, hold the waistband open and flat so the child can aim. Name left and right out loud every time, and add stickers inside the shoes to keep the pair straight.
When should I ask for help with a child’s dressing skills?
Ask a pediatrician or occupational therapist if your child loses skills they once had, cannot manage any dressing step after several months of practice, seems to feel pain or fatigue during dressing, or has significant motor or sensory differences. Bring your progress tracker and ask for a task analysis of dressing plus specific clothing adaptations to try at home.
Conclusion
Teaching self dressing skills step by step works because it shrinks the task. One garment, one action, five minutes, repeated until it is uninteresting. Choose the skill your child can almost do, put it on a visual routine, and let the practice happen at the same time every day.
Start this week with the easiest thing your child can do alone, gather the easy-on clothing, and give yourself two weeks before you judge it. And on the mornings when you end up dressing them yourself, that is a hard morning, not a failure.