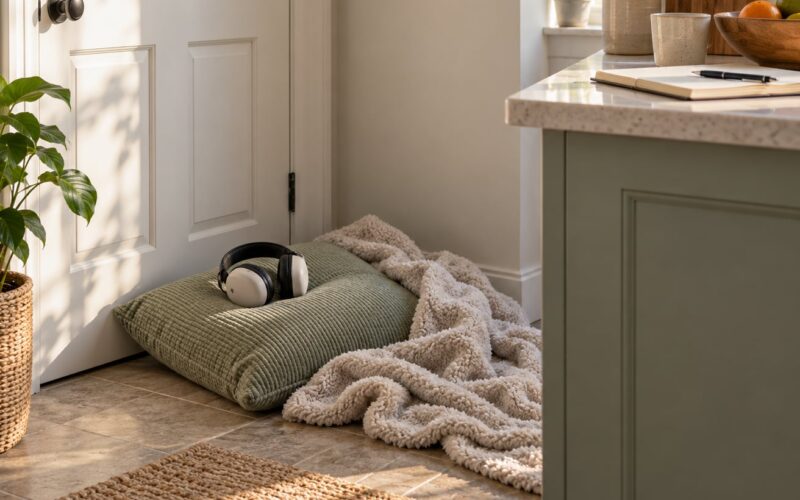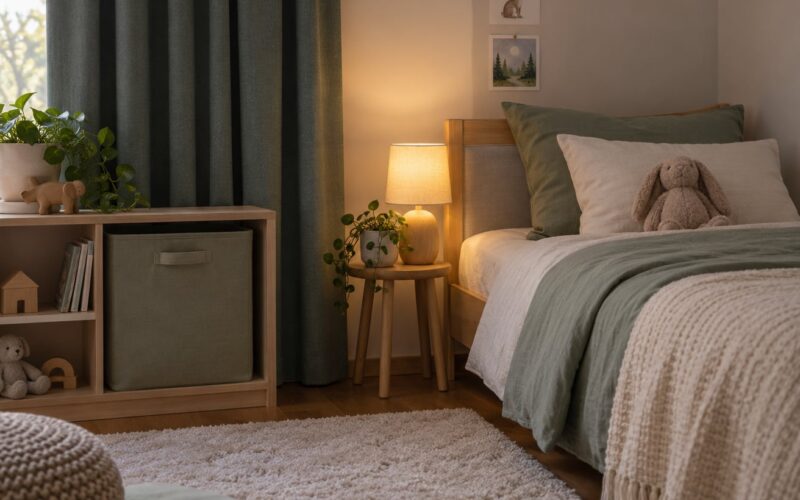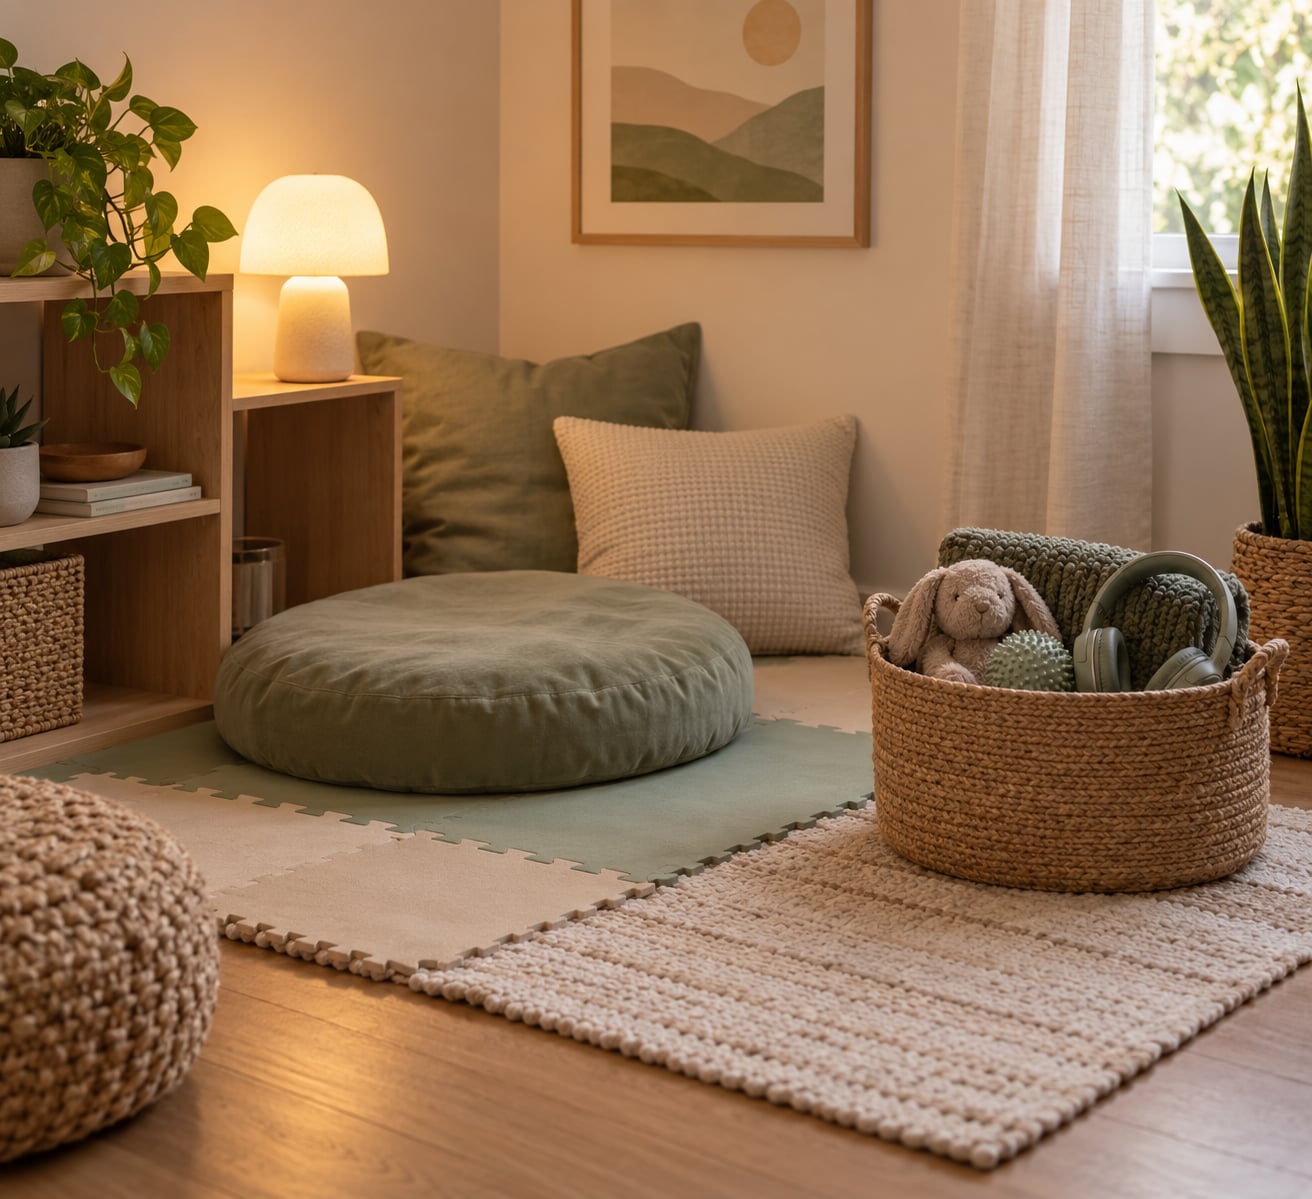
You do not need a spare bedroom, a swing set, or a big spend to make a sensory room at home on a budget. Most families get a space that works by clearing one predictable corner, adding warm dimmable light, soft seating, and two or three regulation tools they already own or borrow. A bare-bones version costs nothing, and a fuller one usually lands somewhere in the low hundreds of US dollars.
I built our first one out of a reading corner, two floor cushions and a thrifted lamp shade. It was not pretty. It worked well enough that my kid now goes there on his own before asking me for help, and that is the whole point of the room.
Below is the sequence I would use again, including what to buy first, what to skip, and how to test whether the space is actually helping.
Table of Contents
- What You Need: Mostly Things You Already Own
- Step-by-Step: How to Make a Sensory Room at Home on a Budget
- 1. Choose a Predictable Location
- 2. Learn Which Senses Need Support First
- 3. Set a Small Working Budget
- 4. Build Simple Sensory Zones
- 5. Control Light, Sound, and Clutter
- 6. Add Regulation Tools Gradually
- 7. Test and Adjust
- Common Mistakes: The Ones That Cost Families the Most
- Frequently Asked Questions
- Do I need a separate room to make a sensory room?
- How much does it cost to build a sensory room at home?
- What sensory room items work best for autistic children?
- Can a bedroom double as a sensory room?
- Are weighted blankets or body socks safe for sensory rooms?
- Conclusion: Start With One Corner and Two Weeks of Watching
What You Need: Mostly Things You Already Own
A dedicated room is optional. The requirement is a place your child can find without being told, that is quiet enough to settle in and safe enough to be left in for a few minutes.
- An existing space. A bedroom corner, a spot in the playroom, a walk-in closet, an under-stairs nook or a quiet corner of a shared room all work. If the space cannot be seen from where you usually are, that is not automatically a problem, but it does need to be within earshot.
- Soft furnishings you own. Floor cushions, a beanbag, a folding chair with a soft throw, a folded duvet cover on the floor.
- One warm dimmable light. A thrifted table lamp with a dimmer switch beats a ceiling fixture every time. Avoid cool white bulbs and fluorescent tubes, which many sensory-sensitive children find harsh.
- Visual calming tools. A sheet or curtain for a tent nook, a canvas drop cloth, or two blankets over a folding chair. These cost less than a bought canopy and do the same job.
- Movement or regulation supplies. One or two things, not twenty. A resistance band, a body sock, noise-reducing headphones or a weighted lap pad are the ones most families end up keeping.
- Storage. One bin or basket so everything else in the room can be put away. Closed storage is what keeps a shared room from turning into a toy store.
- Optional safety items. Cord covers, a doorstop, non-slip shelf liner, a securely anchored hanging element if you add one.
All price ranges in this guide are typical US estimates, in USD, that vary by region and change over time. Check current product safety guidance for children before buying anything a child will mouth, climb on or put near their face, and follow the maker’s age and weight instructions.
Step-by-Step: How to Make a Sensory Room at Home on a Budget
1. Choose a Predictable Location
Pick the spot the child can reach without asking, and keep it in the same place for months. Predictability is doing more work than any single item in the room.
Test two or three options before you commit. Sit in each one for five minutes and notice what your body does: is it dim enough, quiet enough, away from the kitchen noise and the TV, is there a clear path in and out, and can you supervise from nearby? If the child walks past it and keeps going for a week, the location is wrong, not the room.
Corners of shared rooms work when you add a visual barrier. Parents who build this way often start from the same calm down corner setup and then add sensory tools as the child shows what helps.
2. Learn Which Senses Need Support First
Before spending anything, note what actually fills your child up or knocks them down. For several days, jot down four things: what triggers a shutdown or meltdown, what they seek out, what calms them within a minute, and what they avoid.
Then pick three or four priorities, not ten. A child who seeks movement needs a jumping or crashing option. A child who avoids sound needs quiet and soft surfaces, not a busy board. Preferences shift with age, sleep, communication ability and how tired they are, so expect your notes to change.
3. Set a Small Working Budget
Split your spending three ways: a few essentials, a couple of optional additions later, and free swaps that cost nothing. Most of the impact comes from the free swaps.
| Item | Typical range (USD) | Free or cheaper swap |
|---|---|---|
| Thrifted seating | 10 to 40 | Floor cushions and a folded duvet cover |
| Dimmable table lamp | 15 to 45 | Thrifted lamp plus an in-line dimmer |
| Tent or canopy | 30 to 90 | Sheet on a folding chair or a blanket over a table |
| Weighted lap pad | 20 to 60 | A heavy blanket folded to the right size |
| Noise-reducing headphones | 25 to 80 | Foam ear defenders from a dollar store |
| Sensory bin supplies | 10 to 30 | Rice, dried beans, pasta and water from the kitchen |
| Rug or foam mat | 20 to 70 | Existing runner rug or interlocking tiles you already own |
| Storage bins and labels | 10 to 40 | Cardboard boxes, a hamper, a dresser drawer |
If you only have one amount to spend, buy lighting first. Light is the biggest thing you can change without moving furniture, and it shapes how everything else in the room feels.
4. Build Simple Sensory Zones
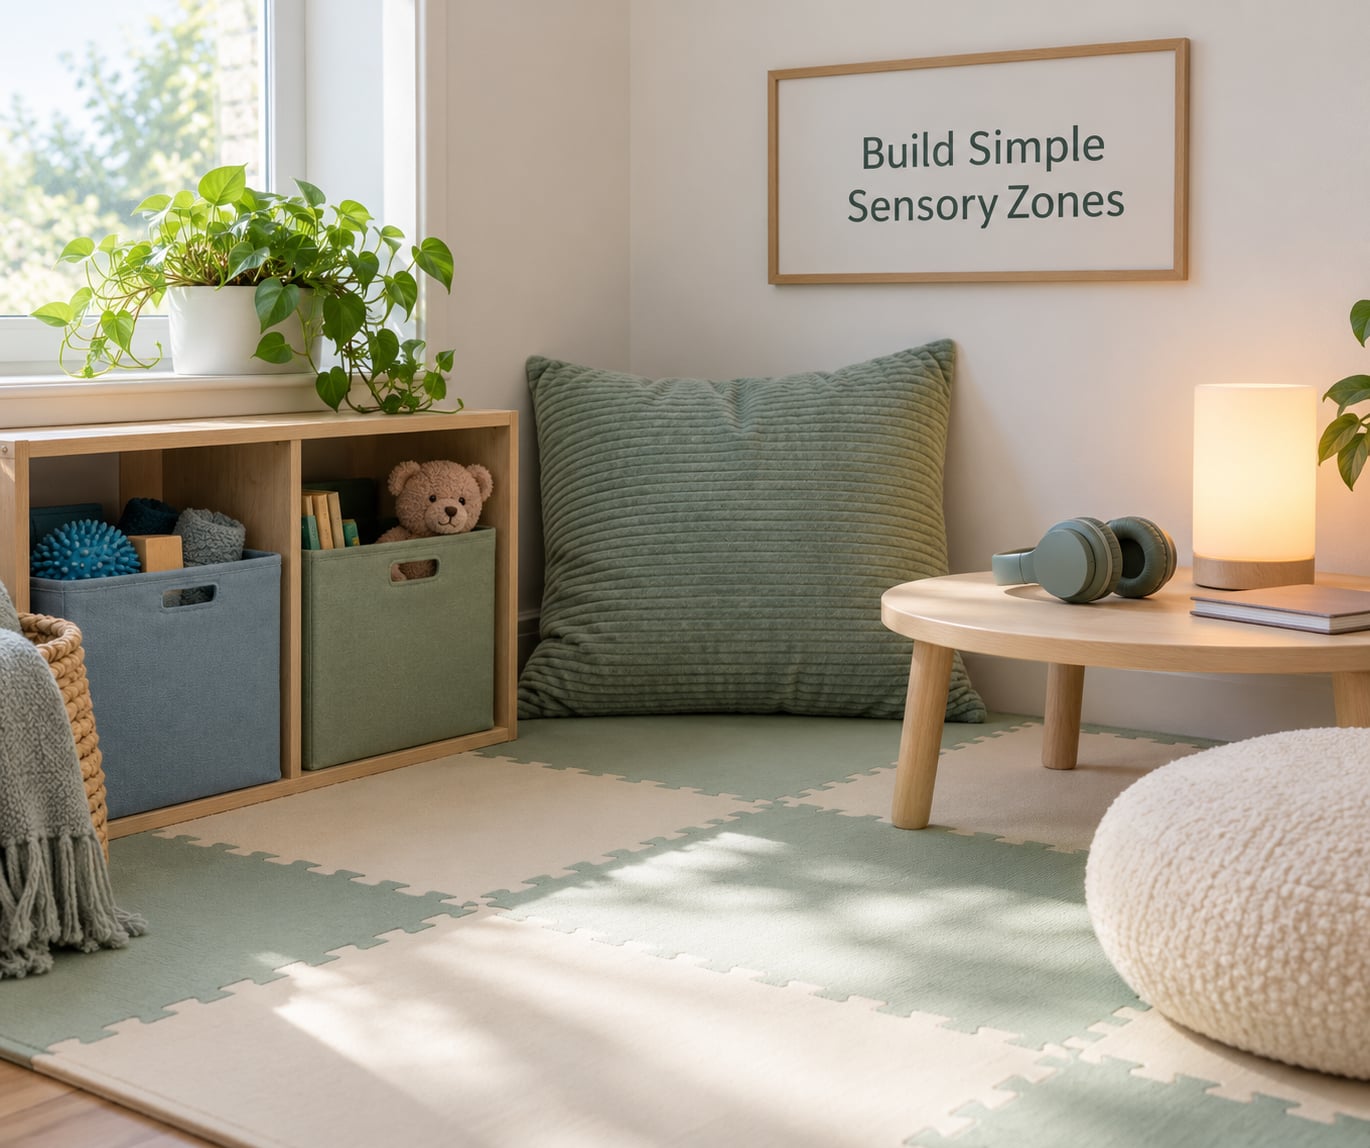
Four zones cover almost every need, and each one takes a basket of items rather than a shopping trip.
- Low-light calming area. A lamp on the dimmest setting, a curtain if you have one, minimal visual clutter.
- Soft or weighted rest area. A beanbag, a floor cushion or a folded blanket, positioned away from the door so nobody walks past it.
- Visual or tactile focus area. One sensory bin, a jar of rice with a spoon, or a simple wall of clipped pictures. One activity, not a wall of options.
- Small movement area. A clear patch of floor with a cushion or crash pad for jumping, spinning or flopping. Keep it open, not furnished.
Leave a clear pathway to the doorway. Children who use these rooms tend to come and go quickly, and a blocked path turns a regulation tool into a frustration. Rotate one item every couple of weeks so the space does not go stale.
5. Control Light, Sound, and Clutter
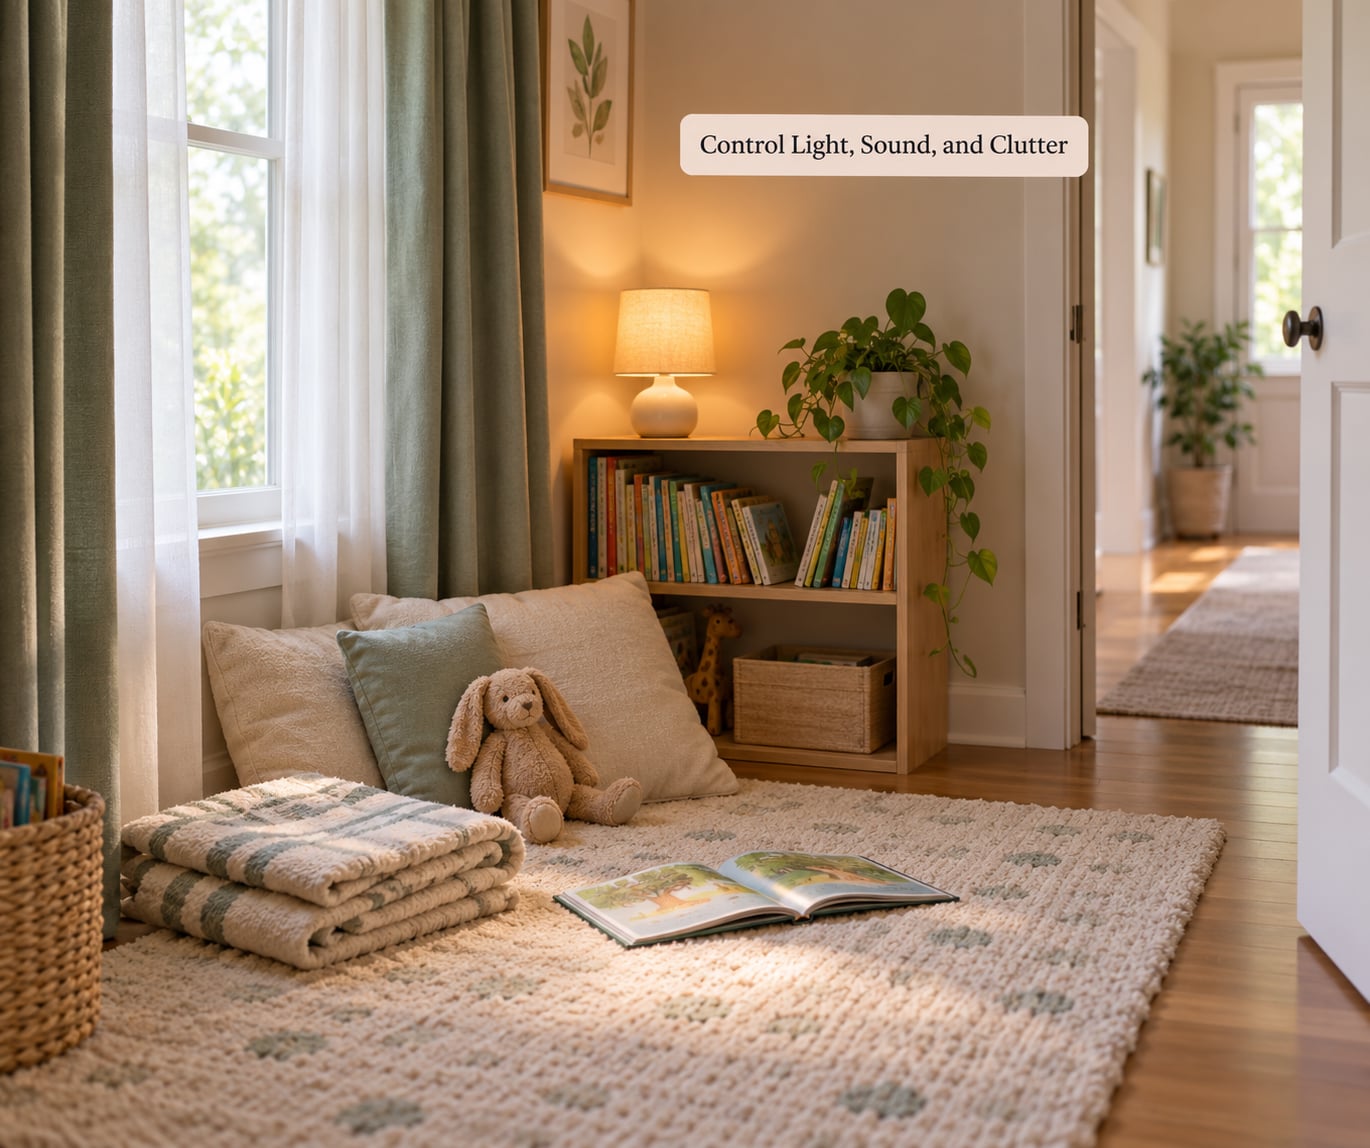
Calming a room is mostly subtraction. Hang a sheet or portable shade over a window, swap cool white bulbs for warm ones, add a rug and one or two textiles to soften hard surfaces, and put everything else in closed bins.
For sound, thick curtains, a rug, fabric wall hangings and a closed door do more than most gadgets. A white noise machine helps some kids and annoys others, so treat it as one more thing to test rather than a fixture.
On safety: run cords along a wall and cover them, keep the doorway clear, secure anything hanging or stacked, watch ventilation in a small closed space, and skip scented candles and diffusers around young children. Use only products sold for their intended age and weight, and do not install electrical or structural modifications yourself. If you want blackout capability or a hanging swing, have it installed properly rather than improvising with a screw in a stud that may not be there.
6. Add Regulation Tools Gradually
Add only tools you have already seen help: headphones, a body sock, a resistance band, a chew item rated for your child’s age and abilities, a visual schedule, or a simple breathing activity. If you want the full picture of which inputs help and when, read about building a sensory diet for your child.
Introduce one tool at a time and watch what happens. Offer it, step back, and see whether the child reaches for it again later. Stop and remove anything that causes distress, and follow the manufacturer’s instructions rather than improvising pressure or resistance.
Weighted items, chew items and compression garments are not universal fixes. Some children love them and some find them aversive. If you have specific questions about a particular child’s safety, sleep or responses to input, ask their pediatrician or occupational therapist rather than taking a general guide as clinical advice.
7. Test and Adjust
Run a two-week trial and keep a short note each day. Write down whether the child went there voluntarily, how long they stayed, and whether transitions or recovery seemed easier. Volume and choice matter more than duration.
Change one thing at a time so you know what helped. Move the lamp, then wait a week. Add the movement cushion, then wait again. Involve your child by offering two or three visual choices of what to put in the space, which also keeps it flexible as they grow.
If nothing changes after a few honest weeks, the room is not the problem to fix. It may be the wrong location, the wrong tools, or a sign that your child needs support beyond a home setup. Our guide to handling autism meltdowns at home covers the in-the-moment steps.
Common Mistakes: The Ones That Cost Families the Most
Buying every popular item at once. Twenty tools in a small room is a sensory load, not a calm space. Start with light and seating, then add one tool at a time.
Decorating for adults. Bright wall colors, busy posters and character bedding are yours, not your child’s. If they never mention them, they are clutter.
Filling the space. Leave open floor. Children use this room for movement as often as for calm, and a room packed with stuff cannot do both jobs.
Treating weighted or chew items as medicine. They help some children and bother others. Nothing belongs in the room until your child has actually reached for it.
Spending the whole budget on day one. Set aside half. You will discover what is missing after two weeks of watching, and it is rarely the expensive thing.
Waiting for a perfect room before involving them. A space built entirely by adults stays theirs. Let your child place two items and choose the cushion.
One more habit helps more than any single item: rotate. Swap one object out every couple of weeks, and keep a basket of “not now” tools so the room stays light without you losing what you bought.
Frequently Asked Questions
Do I need a separate room to make a sensory room?
No. Most families build one in a bedroom corner, a playroom corner, a walk-in closet or an under-stairs nook. What matters is that the child can reach it independently, that it is quiet and dim enough, and that an adult is nearby enough to supervise. A shared family room works if you add a visual barrier such as a curtain or a folding screen and keep the rest of the space from getting cluttered.
How much does it cost to build a sensory room at home?
A very small setup can be assembled almost entirely from items you already own, which brings the cost to nothing. Spending in the tens of dollars covers a thrifted dimmable lamp, a few cushions and pantry-jar sensory bins. A fuller version with a tent nook, weighted option, headphones and storage typically lands in the low hundreds of US dollars. Figures vary by region and change over time.
What sensory room items work best for autistic children?
The most-used items in our home and in the parent communities we read are warm dimmable light, soft seating, a tent or canopy made from a sheet, and one portable tool such as noise-reducing headphones or a resistance band. There is no universal best list, because sensory preferences differ widely. Watch what your child already seeks out and build around that instead of a ranked list.
Can a bedroom double as a sensory room?
Yes, and it is one of the most common setups. Keep the corner visually distinct with a curtain, a rug and a lamp on a dimmer, and store the sensory items in one labeled bin so bedtime still works normally. If the child starts using the space to avoid sleep rather than to settle, adjust the lighting so the room still reads as a nighttime space.
Are weighted blankets or body socks safe for sensory rooms?
They are generally used without problems, but they are not appropriate for every child or every age. Follow the manufacturer age and weight guidance, use the lightest effective option, and supervise young children so a blanket cannot cover the face. Some children find pressure uncomfortable or overwhelming. If your child has breathing, skin, feeding or sleep concerns, raise it with their pediatrician or occupational therapist.
Conclusion: Start With One Corner and Two Weeks of Watching
The cheapest version of this project is four steps: notice what your child seeks and avoids, pick one safe and predictable location, add a single calming tool you already own, then test it for two weeks before spending another dollar. That sequence costs nothing, and it tells you what to buy next better than any list.
A sensory room is allowed to stay unfinished. Ours still has no canopy and a bin of tools I have never seen used, and that has not stopped my kid from going there on his own. Let the space follow your child’s needs rather than a finished-room look.