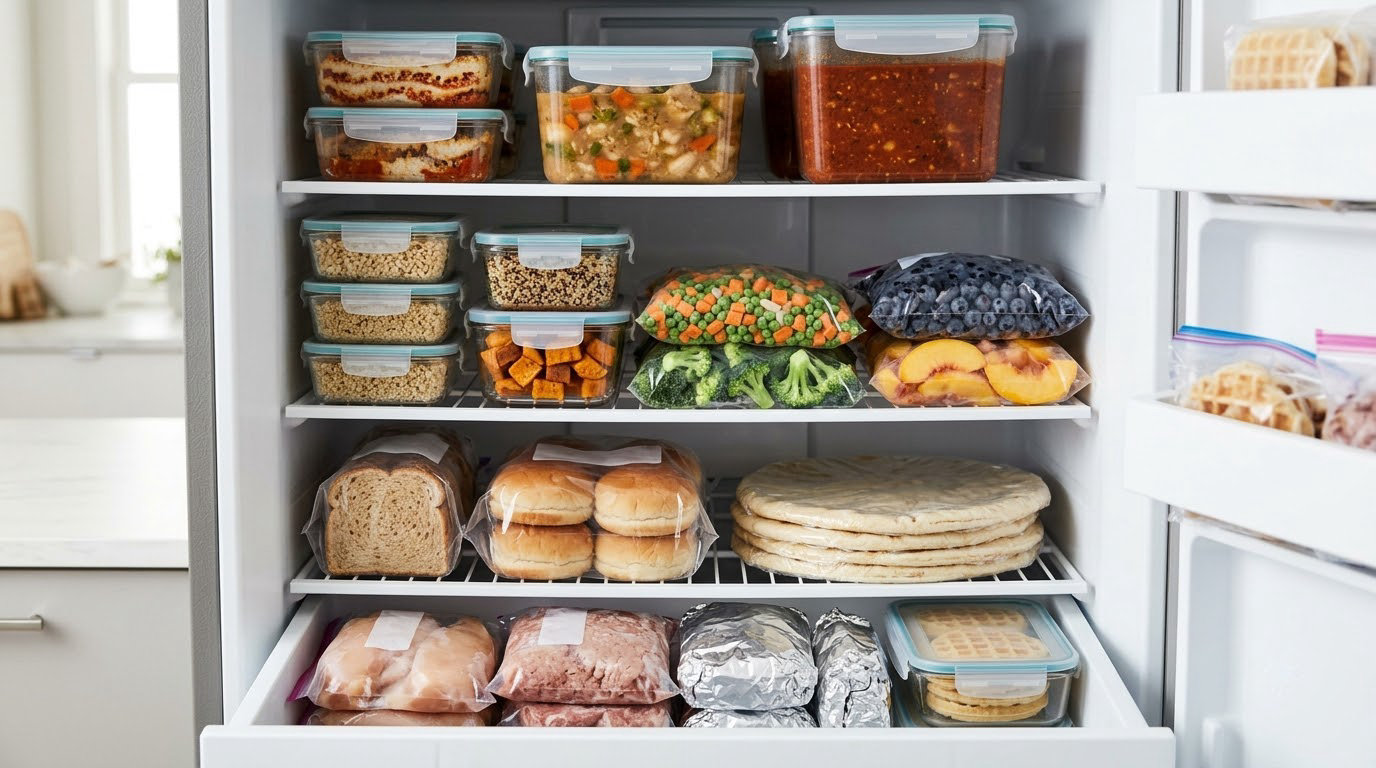
To stock a gluten free freezer for busy weeks, batch cook on one day, cool everything completely, freeze it in single-serving portions with a written date, and sort it into three labeled zones. On a Tuesday when nobody has a plan, you pull one container, thaw it in the fridge overnight or reheat from frozen, and dinner takes minutes instead of an hour.
This matters more than it sounds. Gluten-free food goes wrong faster than regular food. A container of leftover rice that would sit happily in the fridge for four days turns dry and unappetizing by day two, and a certified gluten-free snack that gets eaten by a hungry teenager is simply gone. Freezing at 0°F stops all of that, and it gives you safe food that does not depend on how the week goes.
Most of the work happens once, on a Sunday or whenever you have two free hours. After that it is a ten-minute weekly check. Here is the whole system.
Table of Contents
What You Need
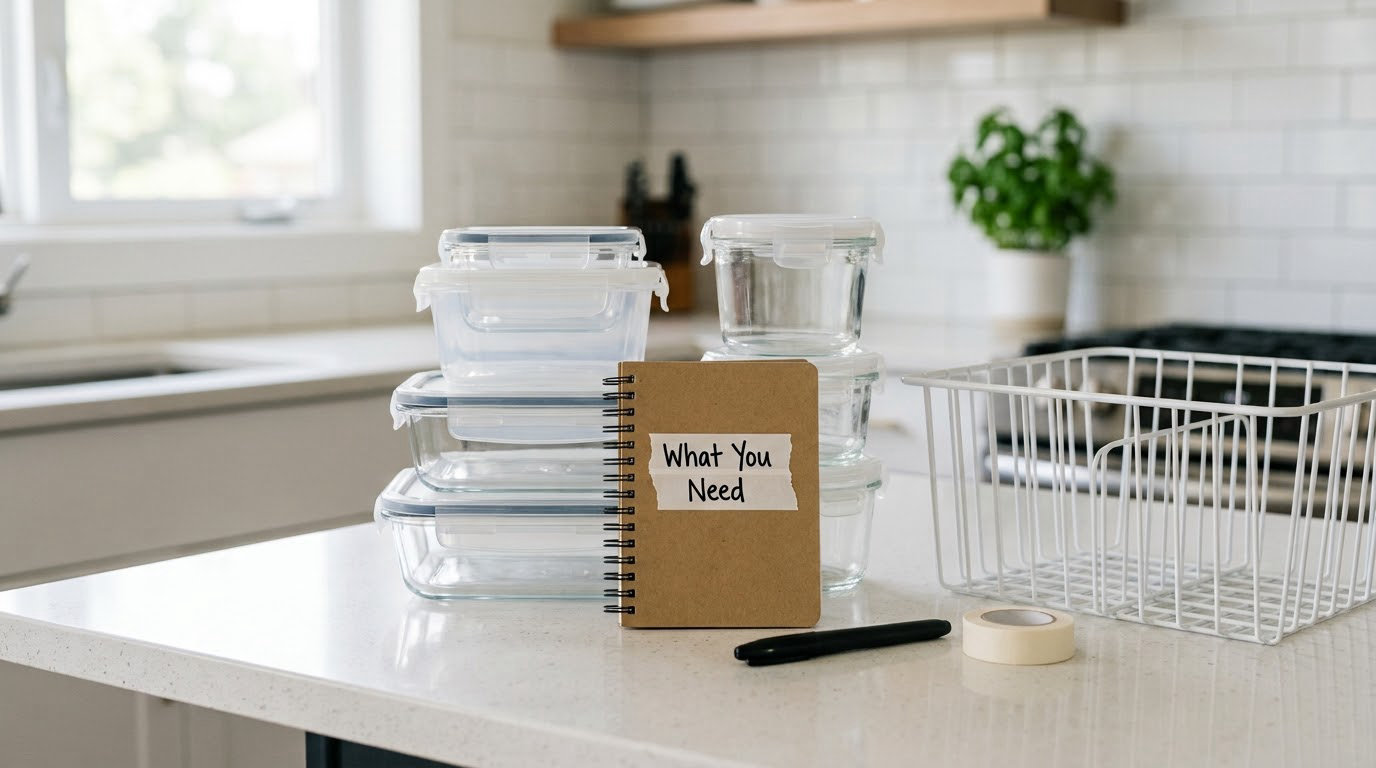
You can absolutely do this with almost nothing, but four things make a real difference: leakproof containers in two sizes, a permanent marker, a short list to work from, and a place to put the containers once they are frozen.
Containers in at least two sizes
Get a set of deli containers or glass containers with snap lids that come in roughly two sizes. The small one holds one portion and stacks neatly; the larger one holds a family dinner or a batch of soup. If space is tight, gallon-size freezer bags work well for flat items like pancakes, burritos and cookie dough, but they are harder to write on and easier to stack wrong.
Skip anything that is not genuinely airtight. A loose lid in a freezer is how you find ice crystals in the rice three weeks later.
A marker and a labeling habit
A permanent marker or a roll of freezer-safe masking tape is the cheapest tool in this whole process. Write on the lid or on the tape, not on the container side, so you can stack either way. Three things go on every label: the dish name, the date it went in, and the portion count.
A simple inventory list
Keep one page on the fridge or in your phone notes. It does not need to be elaborate. A category list with a running count of how many containers of each thing are in the freezer is enough, and it takes about two minutes to update.
One or two baskets or bins
Bins solve two problems at once: they stop small items from migrating to the back, and they make a zone portable. A dedicated bin for gluten-free food that you can pull out and set on the counter is the single most useful thing in a mixed-diet household.
Food-safe supplies
If celiac disease or a wheat allergy is part of the picture, add a separate cutting board, a dedicated toaster, and storage bags or a container that only holds gluten-free food. Cross-contact is the one risk that planning around cannot undo later.
Step-by-Step: How to Stock a Gluten Free Freezer for Busy Weeks
Step 1: Choose a Simple Freezer Inventory
A useful gluten-free freezer covers six categories, and you want at least a few items in each. Most people start with dinners only and discover in week three that they have no lunch and no breakfast.
- Ready meals: batch-cooked soups, stews, chilis, curries and casseroles, portioned and dated. These are your first line of defense on a hard night.
- Proteins: cooked chicken, roasted vegetables, ground meat, marinated fish and meatballs. Cooked proteins freeze well and reheat quickly, which makes them the fastest path to a plate.
- Breakfast: pancakes, waffles, breakfast burritos, muffins, banana bread and unbaked cookie dough. This is the category families most often skip and most often regret skipping.
- Lunches: soups, grain bowls, sandwich constructions on gluten-free bread, and snack-pack style boxes. Nearly every freezer thread I read was really about lunch, not dinner.
- Snacks: individually portioned items that go straight into a bag: mini muffins, crackers, fruit leathers, energy bites, roasted nuts.
- Emergency backups: shelf-stable, no-cook food for the night when nobody can heat anything. Certified gluten-free pasta with a jar of sauce, tuna packs, nut butter packets, dried fruit.
Gluten-free flour counts too, and it is worth keeping some on hand. A bag of gluten-free blend in the freezer takes up almost no room and lets you make pancakes, muffins or quick bread on a Sunday morning with no store trip.
Step 2: Plan for Different Busy-Week Scenarios
The mistake is stocking only one kind of food. You fill the freezer with dinners, and then Tuesday arrives and everyone needs a lunch that travels and a snack that fits in a pocket. Balance the categories against the way your actual week runs.
- Three cooked dinners and one fresh: aim for three cooked-from-scratch meals in the freezer and keep the fourth slot for something simple, so you are not eating the same thing five days running.
- Five work or school lunches: plan portions for each person, each day. For a family of four that is twenty containers, which sounds like a lot until you freeze them flat and stack them.
- Sports season evenings: nobody is home before seven. Slower cookers, soups and one-pot meals reheat on their own schedule without a cook standing over them.
- Sick weeks: sick people want familiar, soft, bland food. Keep a few of those favorites frozen even though they are not exciting.
- New baby or postpartum weeks: free meals are the entire point. Portion generously and label for whoever is covering the shift, including the portion count.
Write the plan down before you shop. A glance at the calendar is faster than buying six bags of the same thing.
Step 3: Portion and Package for Easy Reheating
Freeze both. One family-size container for a shared dinner, plus single servings for lunches and for nights when one person is eating late. Singles thaw in a few hours in the fridge and reheat in two or three minutes, which is the whole point of doing this in advance.
Two details decide whether a frozen meal is still worth eating next month.
First, cool the food fast before it goes in. Let the pot sit uncovered on the counter briefly, then divide into shallow containers so heat leaves quickly. Food that goes into the freezer lukewarm keeps cooking in the middle and can freeze into an icy block.
Second, push the air out. Press the lid down until you hear the seal, or press the air out of a freezer bag with your hands before sealing it. Air is what causes freezer burn, and freezer burn is what makes people throw out perfectly safe food. A spoon of olive oil stirred into a soup or stew before freezing also creates a seal on the surface and slows it down.
For gluten-free texture, thin things freeze worse than thick things. Soups, chilis and sauces come back close to fresh. Skip the pasta water and add a splash of broth or water when reheating.
Step 4: Organize the Freezer by How You Use It
Sort the freezer into three zones, and label each one. The labels can be index cards taped to the front of a bin.
- Zone 1, ready meals: cooked and portioned meals you want to grab tonight. Put this at eye level or in a bin near the door, because it gets used most.
- Zone 2, ingredients: proteins, vegetables, breakfast items and baked goods you assemble or reheat. Lower shelves work well here.
- Zone 3, emergency backups: shelf-stable, no-cook gluten-free food. This is your floor. When someone is sick, grieving or stuck at work, the answer is already there.
In a mixed-diet household, make the gluten-free zone a physical bin with a lid rather than a corner of the freezer. A bin can be carried out, carried in, and kept closed. It also solves the problem of a well-meaning family member eating the one container of safe lunch you packed for someone who needs it.
Put the things you use most at eye level and the things you use rarely on the bottom. Back-of-freezer items are not lost, they are just forgotten, and forgotten food gets thrown out.
Step 5: Label Everything and Check It Weekly
Write the dish, the date it went into the freezer, and the number of servings on every single container. A label format that works: Soup, chicken and lentil — Oct 4 — 6 servings.
Use it oldest-first. When you pull a container from the back, pull everything behind it too. That is the whole FIFO system, and it is the difference between a freezer you empty out twice a year and one you actually finish.
Spend ten minutes a week on a quick check. Look for anything dated older than three months and plan to cook it. If a batch is not going to get eaten, move it to the front and label it for this week, because food sitting in the back of a freezer is food you will eventually throw away.
On safe storage times: food kept frozen at 0°F stays safe indefinitely, and that includes gluten-free food. Quality is the separate question. Most cooked meals, soups and stews taste best within three to four months, baked goods within two to three months, and nut butters within six months or so.
Step 6: Keep Gluten-Free Foods Separate
For someone with celiac disease, cross-contact is the risk that actually causes harm, and it comes from handling rather than from ingredients. A crumb on a toaster, a shared cutting board, a scoop that touched regular pasta and then went into the gluten-free pot, all of it matters.
A few habits handle most of it:
- Store gluten-free food in a closed bin or dedicated bags, ideally on the top shelf, above anything else.
- Use a separate cutting board, and store it above or away from the regular one so a stray splash is unlikely.
- Use a dedicated toaster, or buy a toaster oven that lives in the gluten-free cabinet.
- Label containers in a way the whole household understands, including visitors and teenagers.
- Read ingredient labels every time, because formulations change. Look for a certified gluten-free mark where one exists, and treat a shared production line or a shared fryer or bakery as a warning even when the ingredient list looks clean.
- Use separate utensils, a separate colander for pasta, and clean surfaces before you start.
At the table, the same rule applies to serving. If a gluten-free plate is going out alongside regular food, use a separate serving spoon and keep the safe portion covered until that person is actually eating. During a chaotic week this matters more than usual, because chaotic weeks are when the food gets passed around.
One note for households with more than one restriction, whether gluten plus dairy, egg, soy or peanut. Write the allergen set on the lid in full, and keep a second bin for foods that are safe for the narrower set. That way a safe-for-more-people dinner can be assembled without guessing.
Common Mistakes
Packing the freezer solid. A full freezer looks organized and behaves badly, because you have to excavate for anything at the back. Fix: leave about a fifth of the space open, and use shallow bins so a single dinner does not require unloading half the freezer.
Freezing without writing a date. Undated food turns into a guessing game, and guessing games end with waste. Fix: date every container at the moment it goes in, before you forget which batch it is.
Freezing whole family-size containers only. A container meant for six cannot become a Tuesday lunch for one person. Fix: freeze each batch as one family portion plus single servings, and count servings on the label so you know what you have.
Ignoring cross-contact. Freezer organization will not fix a shared toaster or an open bag of flour next to a container of gluten-free dough. Fix: separate the storage, the surfaces and the tools, even on weeks when it feels like overkill.
Relying on one kind of backup meal. If every frozen container is the same soup, week three becomes a problem. Fix: keep at least four distinct options in Zone 1 at all times, and rotate the protein or the base rather than the whole dish.
Stuffing everything in without testing reheating. Some gluten-free meals freeze fine and reheat badly, especially pasta, which turns mushy and clumped. Fix: freeze one portion first, reheat it the way you plan to serve it, and learn what it needs before you commit a whole batch.
Forgetting the refrigerator step. Reheating frozen food from a hard block is uneven, which matters more when the person eating it is already unwell. Fix: thaw overnight in the refrigerator, then reheat to 165°F and check the center.
A few reheating fixes specific to gluten-free food: cover containers with a lid or damp paper towel in the microwave so steam softens what freezing stiffened, stir halfway, and give soups a splash of water or broth to loosen them. For crisp items like fried chicken or roasted vegetables, finish a microwave reheat in a hot oven or air fryer for ten minutes.
Frequently Asked Questions
How long do gluten free freezer meals last?
Frozen at 0 degrees F, food stays safe indefinitely, gluten-free or not. Quality fades sooner. Soups, stews, chilis and casseroles taste best within three to four months, baked goods and pancakes within two to three, and nut butters within about six. Date every container and eat the oldest first.
What can I freeze for kids’ lunches and breakfasts?
Freeze pancakes, waffles, muffins, breakfast burritos and unbaked cookie dough for mornings, and soups, sandwich constructions, muffin-pan frittatas and individually portioned snacks for lunches. Portion for the whole week, freeze flat in a container with parchment between layers, and pack with a frozen cold pack so lunchboxes stay cold.
How do I organize a small upright freezer?
Use bins instead of loose stacking. One bin for ready meals at eye level, one for ingredients, one for no-cook emergency backups, and keep a fifth of the space free. Label the bins on the front. A chest freezer holds more per cubic foot, but an upright one wins on organization, so use the drawer space and leave room to move things.
How far in advance can I make gluten free freezer meals?
Most cooked meals, soups and stews freeze well for two to three months with no loss worth noticing, so a weekend cooking session covers a busy stretch easily. Baked goods and breads are best used within a few weeks. Cool everything fully before freezing, and always thaw in the refrigerator overnight rather than on the counter.
When should I talk to a doctor or dietitian about a gluten-free diet?
If gluten avoidance is for celiac disease, a diagnosed wheat allergy or a medically advised restriction, stay with guidance from your doctor or a registered dietitian, because a gluten-free diet needs to stay nutritionally complete on its own. Many people eat gluten-free without needing to, so it is worth checking the reason before you spend money on specialty ingredients.
Start with the first thing to do: pick one recipe you already cook, double it, and freeze four single servings of it this weekend. Label them, put them at eye level in a bin, and write down how long reheating took and whether you needed to add moisture. One honest test portion teaches you more than a whole batch you never questioned.