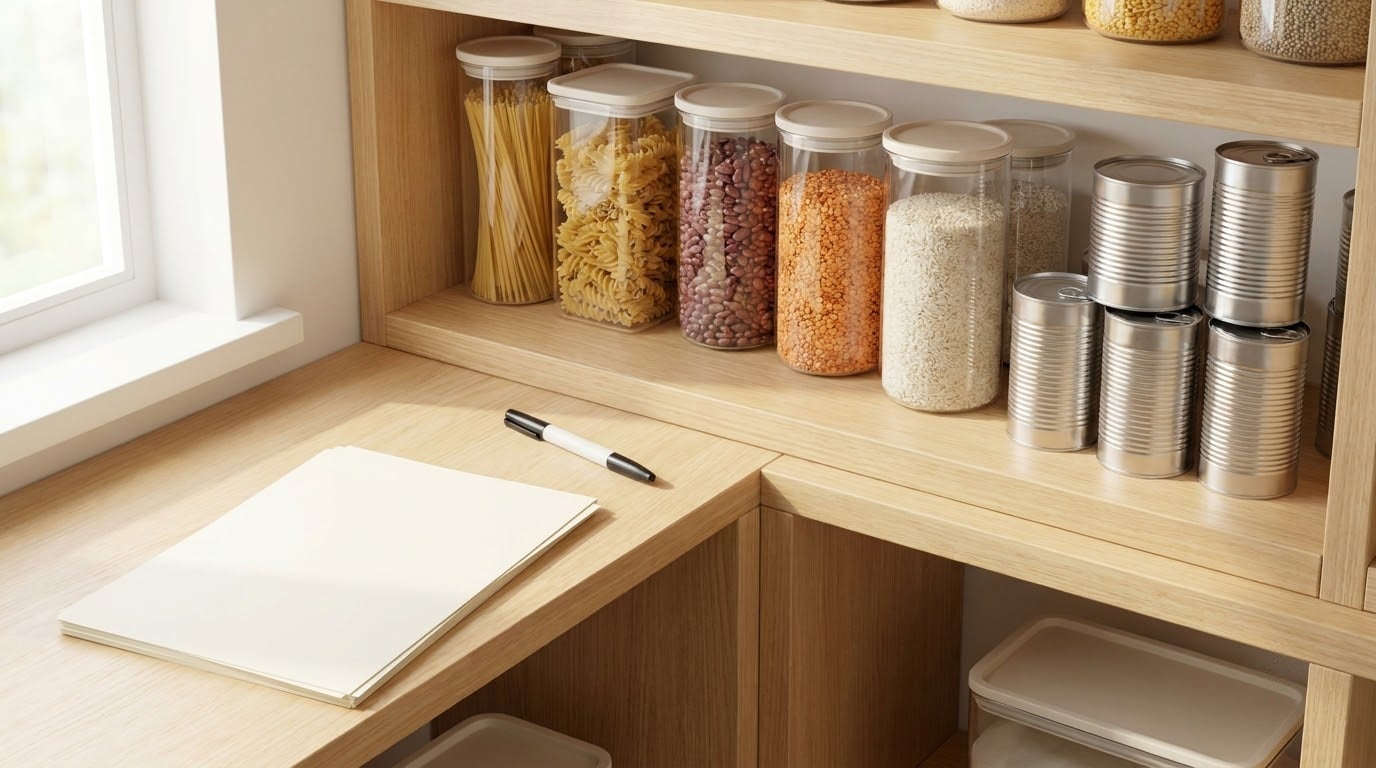
An allergen free pantry is a clearly marked, separate part of your kitchen where only foods free from your household’s allergens are stored, protected from spills, hands and cross-contact. Setting one up takes an afternoon: sort what you already have, clean the shelves, rebuild the space in labeled zones with allergen-free food on the top shelves, then tell everyone the rules.
Quick note on what this guide is not about. When people search this phrase, a large share of results describe community and food bank pantries. This is about the pantry in your own kitchen, the one your family reaches into six times a day.
If a child in your home has a diagnosed allergy, celiac disease, or a medical-grade food restriction, your allergist or pediatrician sets the boundaries. What follows is the home organization system around those boundaries, written for US households using US allergen labeling. For a child who is autistic or simply very selective about food, the labeling and routine parts matter as much as the safety parts, and there is a section for that too.
Table of Contents
- What You Need
- Step-by-Step: Build Your Allergen-Free Pantry
- Common Mistakes and What to Fix
- Frequently Asked Questions
- What is the best way to store allergen-free food in a shared kitchen?
- What are the nine major food allergens in the US?
- Do I need separate utensils and a dedicated toaster?
- How long does an allergen-free pantry reset take?
- How do you group items in an allergen-free pantry?
- What are the most common pantry organization mistakes?
- Conclusion
What You Need
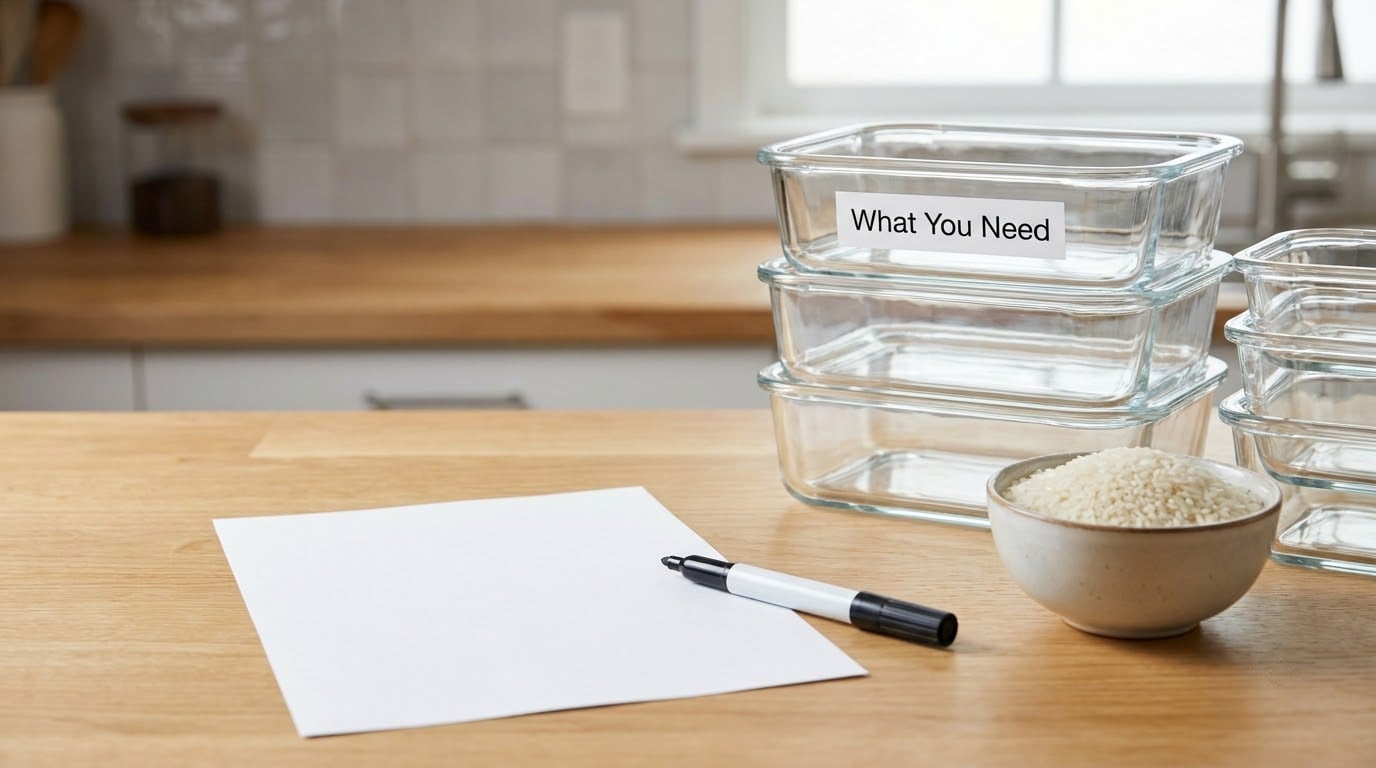
Most of this list costs nothing. The only real expense is replacing a handful of kitchen tools, and most of that can wait until something actually wears out.
- A written list of confirmed allergens. Every allergy in the household, from every person, in one place. Copy it from medical records or the after-visit summary your clinic gives you.
- A household allergen master list. One page, in plain language, naming what is banned, what is tolerated, and what is simply unknown. This becomes the document taped inside the pantry door and the one handed to babysitters.
- Sealed containers you can see through. Clear glass or clear plastic bins and jars, matched in size so they stack. Airtight lids matter more than matching decor.
- A label method. Masking tape and a permanent marker, or a cheap label printer. Pick one system and use it for everything, including the bins that stay empty.
- A color legend. Two or three colors maximum, each with one meaning. Green for allergen-free, yellow for shared or uncertain, red for allergen-containing is the version most households land on.
- Cleaning supplies. Dish soap, a sanitizer you actually follow the label on, and fresh sponges. Old sponges are the most commonly underestimated risk in a kitchen reset.
- An inventory sheet. A single page taped inside a cabinet door listing what you keep in the safe zone and roughly how much is left.
If money is tight, spend in this order: new sponges and dish towels, then a dedicated cutting board and toaster, then containers. Everything else on this list can wait, and naturally free-from whole foods like rice, beans, canned fish and potatoes cost less per serving than specialty packaged products anyway.
Step-by-Step: Build Your Allergen-Free Pantry
Step 1: Identify Your Allergens and Safe Ingredients
The FDA requires nine major food allergens to be declared on US labels: milk, eggs, fish, crustacean shellfish, tree nuts, peanuts, wheat, soybeans and sesame. Sesame is the ninth because it was folded into the list through the FASTER Act, so older guides that stop at eight are out of date.
Write down more than the allergen names. For each person, note the severity your clinician gave you, the foods they tolerate, and the foods you are not sure about. That third category matters more than people expect, because the not-sure foods are the ones that cause arguments at the dinner table.
You have finished this step when the list fits on one page and someone who does not live in your home could follow it without asking a question. If a diagnosis is new or unclear, take that page to your doctor or a registered dietitian before you reorganize anything around it.
Step 2: Clear and Clean the Pantry
Take everything out. Every can, every bag, every open box, including the back corners you have not looked at since the last move. Set it all on the floor or the kitchen table in three piles: safe, unsafe, and not sure.
The not-sure pile is the useful one. A jar of unlabeled homemade granola goes there, not into the safe zone, and it does not have to go in the trash if you find the recipe or call whoever made it. What belongs in the trash is anything open, damaged, or past its date.
Wash the bare shelves with hot soapy water, then sanitize following the product label. Clean the door seals and the shelf edges, which collect spills nobody wipes. Replace your sponges rather than trying to boil them, and give the floor a sweep for crumbs that have been sitting under the shelf since last year.
Success looks like this: you can run a hand along every shelf and come back clean. When that is true, the rest of the setup is just deciding where things go.
Step 3: Choose Storage Containers and Zones
Decant dry goods into sealed containers and label each one with the food name, the date it went in and the household member or purpose it belongs to. Open bags of flour and cereal boxes are where contamination and staleness both start.
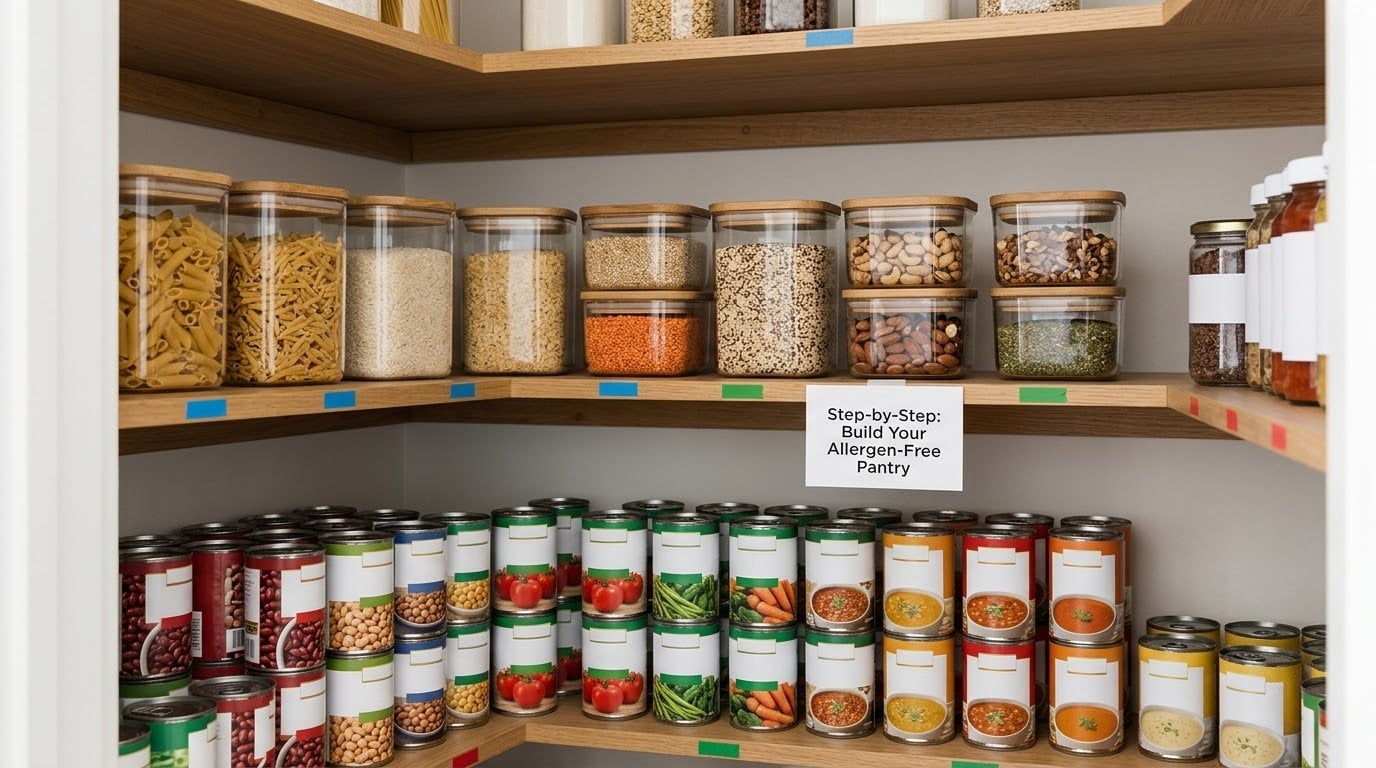
Then pick your zones. The organizing principle is simple: allergen-free food lives high, allergen-containing food lives low, and nothing sits above protected food that could spill.
| Zone | Shelf position | What goes there | Labeling |
|---|---|---|---|
| Protected | Top shelf and top of the fridge | Everything free from your household allergens, including open bags and partial containers | Green tape, green lid, dated |
| Everyday safe | Second shelf, eye level | Allergen-free snacks, breakfast items and baking supplies used weekly | Green tape, dated |
| Shared | Middle shelves | Items both people can eat, in closed containers | Unmarked or neutral |
| Uncertain | Any low shelf, clearly marked | Anything you have not verified, so it never gets grabbed by accident | Yellow tape and a date |
| Allergen-containing | Bottom shelves and the floor | Anything with the allergen, plus heavy cans and open oils | Red tape or plain |
Use first-in-first-out ordering as the habit: new bags go behind old ones, not in front. When you unload groceries, push the current stock to the back and the new purchase to the front. That one habit removes most expiration dates from your problem.
Not every household needs a fully converted pantry. If someone in your home eats the allergen and shows no interest in changing, a single protected zone with clear boundaries is more realistic and holds up better than a rule the whole house quietly ignores.
For an autistic or very selective child, write the zone names on the shelf edges in the same order every time, and keep the layout stable. A child who knows the shelf order does not have to ask or reread a label, which removes a surprising amount of daily friction.
Step 4: Fill the Shelves with Allergen-Free Staples
Single-ingredient foods are your strongest guarantee, because there is nothing hidden to decode. Build the base of the safe zone with these, then add specialty items on top.
- Grains and starches: white and brown rice, quinoa, millet, cornmeal, tapioca and arrowroot starches, buckwheat, and oats labeled gluten-free, since regular oats are frequently cross-contacted with wheat.
- Legumes: dried beans, lentils and chickpeas, which are also some of the cheapest protein you will find.
- Canned proteins: tuna, salmon, sardines and chickpeas, canned without added sugar where that matters to you.
- Fruit and vegetables: canned without syrup, dried fruit, and frozen produce, which keeps well and costs less than fresh out of season.
- Oils and fats: olive, canola, avocado and sunflower oils, plus butter or a dairy-free alternative depending on your list.
- Snacks: rice cakes, corn tortilla chips, dried fruit, plain popcorn, and seed butters where nut butters are off the table.
- Baking: a gluten-free flour blend you have tested, plus xanthan gum or psyllium if a recipe calls for it.
Two label habits pay off here. First, a package labeled free-from is a manufacturer’s claim, and only some of those claims are third-party certified, so a certification mark carries more weight than the word itself. Second, read the ingredient list every single time you buy, because manufacturers change formulations and print without much warning.
For a child who eats a narrow set of foods, keep duplicates of the two or three items that never fail. Holding a backup of a safe favorite is worth more than variety you cannot reliably source.
Step 5: Read Labels and Prevent Cross-Contact
Label reading has three parts, and most people only check the first. The contains statement names the allergens in the product. The ingredient list is where hidden sources hide. The advisory statement, which reads may contain or processed in a facility with, is the manufacturer’s warning about shared equipment.
Hidden sources catch people out in predictable places. Wheat shows up as malt, brewer’s yeast, modified food starch and wheat starch. Tree nuts hide in almond extract, natural flavors and some seed butters. Soy appears as soybean oil, edamame, tofu and hydrolyzed vegetable protein. Sesame appears in tahini, hummus and some breads. Spice blends, gravy powders, salad dressings and deli meats are all common repeat offenders.
Cross-contact happens even when no one eats the wrong food. It is the crumb left in a toaster, the spoon that went back into the peanut butter, the flour dust that settles on an open bag, the shared fryer oil, and the sponge that has been everywhere.
| Kitchen item | Dedicated or shareable | Reason |
|---|---|---|
| Toaster | Dedicated | Airborne flour and trapped crumbs are hard to remove and easy to inhale |
| Frying pan and cooking oil | Dedicated | Oil carries protein and does not fully degrade between batches |
| Cutting board | Dedicated, color-coded | Cheap to replace, impossible to fully disinfect once scored |
| Wooden spoons, spatulas, rolling pin | Dedicated | Porous surfaces hold residue no wash fully reaches |
| Colander, sieve, rice paddle | Dedicated | Fine holes trap particles and are a poor fit for full cleaning |
| Slow cooker, rice cooker, air fryer | Dedicated if used daily for both | Sealed heating surfaces need a full cycle to clean; sharing daily is hard |
| Can opener, measuring cups, whisk | Shareable | Smooth metal surfaces wash fully and have no hidden seams |
| Dish towels, sponges, oven mitts | Dedicated, replaced often | Fabric and sponges hold particles and get reused without thinking |
Order of cooking matters too. Cook allergen-free food first, before anything containing the allergen goes in the pan, the oven or the rice cooker. If you bake with wheat flour, do it after the safe baking is finished and put the sheets away before you start.
Step 6: Build a Simple Refill System
Keep the inventory sheet inside the cabinet door, not on your phone. A paper list taped where the food lives gets checked; an app gets ignored when the rest of the day goes sideways.
Run the list weekly and shop from it, so a purchase is a decision rather than a reaction to an empty shelf. Keep one reserve item per staple that would hurt if you ran out, such as a backup bag of rice or a second box of an allergen-free pasta. That is what turns the safe zone into something you can cook from on a bad week.
For school, daycare and sleepovers, pack from the safe zone into a separate box that stays with the food. Include a one-page list of your household allergens and a contact number, and check the school policy on outside food, since many still restrict it.
Tell every adult who enters the kitchen the rule once, in plain words, and point at the green tape. Rules that live only in your head fail the first time someone new makes toast at six in the morning.
Common Mistakes and What to Fix
Most pantry resets go wrong in predictable ways, and every one of them has a simple correction.
Buying before auditing. Families shop first and sort later, which doubles the haul and leaves mismatched containers everywhere. Sort what you have first, learn what is missing, then shop once against the list.
Storing food without a label. A loose bag of something safe-looking will get grabbed by the wrong person, and nobody can tell whether it was verified. If it goes in a container, it gets a label. If it does not have one, it does not go in the protected zone.
Reading the label once and trusting it forever. Manufacturers change recipes and print without much notice, so the assumption that lasts years is the dangerous one. Re-read every purchase, especially for the person with the most severe allergy.
Mixing safe and unsafe food in the same bin. One shared container defeats the entire zone system. Protected food gets its own container, its own shelf, and nothing above it that can drip.
Forgetting non-pantry sources. The common vectors are the toaster, the fryer, the bulk bin at the store, the scoop, the shared ice cream scoop and the birthday cake. A safe pantry does not protect against any of those.
Not writing the rules down. A verbal rule lasts about a week in a busy house. One page on the pantry door and one copy for the babysitter last considerably longer.
Converting the whole kitchen at once. A total conversion is expensive, exhausting and usually abandoned. A protected zone, a color code and a small set of dedicated tools covers most of the risk at a fraction of the cost.
Two popular beliefs are worth clearing up. Washing produce does reduce surface contamination, but it does not make a product safe for someone with a severe allergy, since washing cannot guarantee what happened before it reached the bin. And a shared air fryer is genuinely risky for airborne flour and shared oil, so if yours handles both kinds of cooking regularly, give the allergic person their own.
One final organization tip: date everything on the shelf edge, not just the container. A shelf that says September tells you more at a glance than any label ever will.
Frequently Asked Questions
What is the best way to store allergen-free food in a shared kitchen?
Store allergen-free food on the top shelf, in sealed labeled containers, with nothing above it that can spill or leak. Keep allergen-containing items on the bottom shelves so a dropped jar never lands on protected food. Use one consistent label color for safe items and keep the layout identical week to week, so anyone in the house can find and return things without asking.
What are the nine major food allergens in the US?
The FDA requires nine to be declared on labels: milk, eggs, fish, crustacean shellfish, tree nuts, peanuts, wheat, soybeans and sesame. Sesame became the ninth under the FASTER Act. Many pantry items also hide these ingredients under other names, so the ingredient list matters as much as the contains statement when you are setting up a safe zone.
Do I need separate utensils and a dedicated toaster?
For a severe allergy, yes, a dedicated toaster is one of the first things to replace, because airborne flour and trapped crumbs are hard to remove. Wooden utensils, frying pans and oil, cutting boards and colanders also need to be dedicated because they are porous or hold residue. Smooth metal tools like can openers and measuring cups can be shared and washed normally.
How long does an allergen-free pantry reset take?
A single-zone reset takes about an afternoon: a couple of hours to clear, sort and clean, then an hour or two to decant, label and arrange. A full kitchen conversion takes a weekend and a shopping list. If you are doing it in stages, clearing and labeling the pantry first delivers most of the safety benefit for the least effort and money.
How do you group items in an allergen-free pantry?
Group by safety first, then by use. Put all allergen-free food on the top two shelves, in sealed containers, labeled and dated. Put shared items in the middle, uncertain items on a clearly marked low shelf, and anything containing the allergen on the bottom shelf or the floor. Within each zone, group by category and use first-in-first-out ordering so older packages stay at the front.
What are the most common pantry organization mistakes?
The usual mistakes are shopping before auditing, storing food in containers with no label, reading an ingredient list once and never again, mixing safe and unsafe items in one bin, and protecting the pantry while ignoring the toaster, fryer, bulk bins and shared scoops. Rules that only live in one person’s head also fail fast, so write them down for everyone who uses the kitchen.
Conclusion
Start with three things this week. Write down every confirmed allergen in the household on a single page. Pull the pantry out and sort it into safe, unsafe and not sure, then clean the bare shelves. After that, rebuild with allergen-free food in sealed, labeled containers on the top two shelves and everything else below it.
One protected zone with a color code and a page of rules beats a full kitchen conversion every time, and it is the version your family will still be using six months from now.